Difference between revisions of "User:Kynde"
(→Sandbox) |
|||
| Line 35: | Line 35: | ||
==Sandbox== | ==Sandbox== | ||
{| class="wikitable sortable" | {| class="wikitable sortable" | ||
| − | |||
! colspan="2"| Tiles (X, Y) | ! colspan="2"| Tiles (X, Y) | ||
| + | ! colspan="4"| References | ||
| + | ! | ||
| + | ! | ||
! | ! | ||
| − | |||
! | ! | ||
|- | |- | ||
| − | |||
| − | |||
! Defining | ! Defining | ||
! Secondary? | ! Secondary? | ||
| − | |||
! S<br>W | ! S<br>W | ||
! L<br>O<br>T<br>R | ! L<br>O<br>T<br>R | ||
! T.<br>E. | ! T.<br>E. | ||
! Other | ! Other | ||
| + | ! Overview links | ||
| + | ! Description | ||
| + | ! Transcript | ||
! Explanation | ! Explanation | ||
|- | |- | ||
| − | | Everything Left of play area.||N/A||Overview || || [http://www.explainxkcd.com/wiki/images/d/ | + | | N/A || N/A|| || || || || [http://www.explainxkcd.com/wiki/images/d/d4/1608_Everything_Left_of_play_area.png Overview]<br>[http://www.explainxkcd.com/wiki/images/e/e4/1608_Everything_Left_of_play_area_red.png Hidden passages in red]||Everything Left of play area.||N/A|| |
| + | |- | ||
| + | | N/A || N/A || || || || || [http://www.explainxkcd.com/wiki/images/d/d5/1608_Entire_Volcano_plateau_zoom_out_extra.png Overview] <br>[http://www.explainxkcd.com/wiki/images/3/3d/1608_Entire_Volcano_plateau_zoom_out_extra_red.png Hidden passages in red]||Entire Volcano plateau.||N/A|| | ||
| + | |- | ||
| + | | N/A || N/A || || || || || [http://www.explainxkcd.com/wiki/images/a/a9/1608_Left_of_play_area_to_Kite.png Overview]<br>[http://www.explainxkcd.com/wiki/images/8/80/1608_Left_of_play_area_to_Kite_red.png Hidden passages in red]||Left of play area to Kite.||N/A|| | ||
| + | |- | ||
| + | | N/A || N/A || || || || || [http://www.explainxkcd.com/wiki/images/6/6a/Entire_Volcano_zoom_out.png Overview]<br>[http://www.explainxkcd.com/wiki/images/0/01/1608_Entire_Volcano_zoom_out_red.png Hidden passages in red]||Entire Volcano.||N/A|| | ||
| + | |- | ||
| + | | [http://xkcd.com/1608/928:-1082+s.png (928,1082)] || [http://xkcd.com/1608/929:-1082+s.png (929,1082)]|| || || || || [http://www.explainxkcd.com/wiki/images/6/63/1608_0928x1082y_At_the_end_of_all_things.png Overview]||At the end of all things.|||| | ||
| + | |- | ||
| + | | [http://xkcd.com/1608/933:-1083+s.png (933,1083)] || [http://xkcd.com/1608/934:-1083+s.png (934,1083)]|| || || || || [http://www.explainxkcd.com/wiki/images/6/63/1608_0933x1083y_Coin_and_boulders.png Overview]||Coin and boulders.|||| | ||
| + | |- | ||
| + | | [http://xkcd.com/1608/936:-1084+s.png (936,1084)] || [http://xkcd.com/1608/937:-1084+s.png (937,1084)]|| || || || || [http://www.explainxkcd.com/wiki/images/a/a4/1608_0936x1084y_Basketball_on_the_volcano.png Overview]||Basketball on the volcano.|||| | ||
| + | |- | ||
| + | | [http://xkcd.com/1608/937:-1085+s.png (937,1085)] || [http://xkcd.com/1608/938:-1085+s.png (938,1085)]|| || || || || [http://www.explainxkcd.com/wiki/images/5/5d/1608_0937x1085y_Old_man_walking_up_the_volcano.png Overview]||Old man walking up the volcano.|||| | ||
| + | |- | ||
| + | | [http://xkcd.com/1608/940:-1087+s.png (940,1087)] || [http://xkcd.com/1608/941:-1087+s.png (941,1087)]|| || || || || [http://www.explainxkcd.com/wiki/images/4/41/1608_0940x1087y_Duck_at_the_left_crater_top.png Overview]||Duck at the left crater top.|||| | ||
| + | |- | ||
| + | | N/A || N/A || || || || || [http://www.explainxkcd.com/wiki/images/4/4e/1608_0943x1087y_Left_Volcano_Top_zoom_out.png Overview]||Left Volcano Top||N/A|| | ||
| + | |- | ||
| + | | N/A || N/A || || || || || [http://www.explainxkcd.com/wiki/images/b/b1/1608_0946x1083y_Entire_Lava_lake_zoom_out.png Overview] <br>[http://www.explainxkcd.com/wiki/images/0/09/1608_0946x1083y_Entire_Lava_lake_zoom_out_red.png Hidden passages in red] <br>[http://www.explainxkcd.com/wiki/images/f/f4/1608_0942x1081y_Lava_lake_left.png Zoom in left part] <br>[http://www.explainxkcd.com/wiki/images/8/82/1608_0942x1081y_Lava_lake_left_red.png Hidden passages in red] <br>[http://www.explainxkcd.com/wiki/images/0/02/1608_0943x1083y_Left_Lava_lake_zoom_out.png Entire left part]<br>[http://www.explainxkcd.com/wiki/images/7/75/1608_0943x1083y_Left_Lava_lake_zoom_out_red.png Hidden passages in red] <br>[http://www.explainxkcd.com/wiki/images/d/d6/1608_0946x1080y_Lava_lake_Upper_shaft_red.png Shaft in lake in red] <br>[http://www.explainxkcd.com/wiki/images/9/94/1608_0947x1081y_Lava_lake_center.png Zoom in central part] <br>[http://www.explainxkcd.com/wiki/images/2/25/1608_0947x1081y_Lava_lake_center_red.png Hidden passages in red]<br>[http://www.explainxkcd.com/wiki/images/f/f7/1608_0949x1083y_Right_Lava_lake_zoom_out.png Entire Right part] <br>[http://www.explainxkcd.com/wiki/images/b/ba/1608_0949x1083y_Right_Lava_lake_zoom_out_red.png Hidden passages in red] <br>[http://www.explainxkcd.com/wiki/images/3/3f/1608_0944x1076y_Lava_lake_very_bottom_of_shaft_and_shaft_in_lair.png Shaft into lair below] <br>[http://www.explainxkcd.com/wiki/images/c/c0/1608_0944x1076y_Lava_lake_very_bottom_of_shaft_and_shaft_in_lair_red.png Hidden passages in red] || Entire Lava lake || N/A || | ||
| + | |- | ||
| + | | [http://xkcd.com/1608/941:-1084+s.png (941,1084)] || [http://xkcd.com/1608/942:-1084+s.png (942,1084)]|| || || || || [http://www.explainxkcd.com/wiki/images/4/43/1608_0941x1084y_Megans_treassure_hoarde.png Overview]||Megan’s treasure hoard.|||| | ||
| + | |- | ||
| + | | [http://xkcd.com/1608/944:-1083+s.png (944,1083)] || [http://xkcd.com/1608/945:-1083+s.png (945,1083)]|| || || || || [http://www.explainxkcd.com/wiki/images/a/a5/1608_0944x1083y_Rock_with_Gandalf_in_Lava_lake.png Overview]<br>[http://www.explainxkcd.com/wiki/images/f/fa/1608_0944x1083y_Rock_with_Gandalf_in_Lava_lake_red.png Hidden passages in red]||Rock with Gandalf in Lava lake.|||| | ||
| + | |- | ||
| + | | [http://xkcd.com/1608/950:-1084+s.png (950,1084)] || [http://xkcd.com/1608/951:-1084+s.png (951,1084)]|| || || || || [http://www.explainxkcd.com/wiki/images/7/7c/1608_0950x1084y_Quadcopters_over_lava_lake_right.png Overview]<br>[http://www.explainxkcd.com/wiki/images/b/b2/1608_0950x1084y_Quadcopters_over_lava_lake_right_red.png Hidden passages in red]||Quadcopters over lava lake right.|||| | ||
| + | |- | ||
| + | | N/A || N/A || || || || || [http://www.explainxkcd.com/wiki/images/6/69/1608_0946x1075y_Entire_Lava_lair_zoom_out.png Overview]<br>[http://www.explainxkcd.com/wiki/images/e/e0/1608_0946x1075y_Entire_Lava_lair_zoom_out_red.png Hidden passages in red]||Entire Lava lair - zoom out.||N/A|| | ||
| + | |- | ||
| + | | [http://xkcd.com/1608/944:-1079+s.png (944,1079)] || [http://xkcd.com/1608/945:-1079+s.png (945,1079)]|| || || || || [http://www.explainxkcd.com/wiki/images/6/6e/1608_0944x1079y_Trending_on_twitter_cave_in_lair_and_Lava_lake_bottom_shaft.png Overview]<br>[http://www.explainxkcd.com/wiki/images/2/2a/1608_0944x1079y_Trending_on_twitter_cave_in_lair_and_Lava_lake_bottom_shaft_red.png Hidden passages in red]||Trending on twitter cave in lair and Lava lake bottom shaft.|||| | ||
| + | |- | ||
| + | | [http://xkcd.com/1608/945:-1074+s.png (945,1074)] || [http://xkcd.com/1608/946:-1074+s.png (946,1074)]|| || || || || [http://www.explainxkcd.com/wiki/images/7/73/1608_0945x1074y_Elon_Musks_cave_in_lair.png Overview]||Elon Musk’s cave in lair.|||| | ||
| + | |- | ||
| + | | [http://xkcd.com/1608/947:-1073+s.png (947,1073)] || [http://xkcd.com/1608/948:-1073+s.png (948,1073)]|| || || || || [http://www.explainxkcd.com/wiki/images/2/2d/1608_0947x1073y_Antenna_cave_in_lair.png Overview]||Antenna cave in lair.|||| | ||
| + | |- | ||
| + | | N/A || N/A || || || || || [http://www.explainxkcd.com/wiki/images/7/70/1608_0953x1087y_Right_Volcano_Top_zoom_out.png Overview]<br>[http://www.explainxkcd.com/wiki/images/b/b8/1608_0953x1087y_Right_Volcano_Top_zoom_out_extra.png Extra zoom out]<br>[http://www.explainxkcd.com/wiki/images/7/75/1608_0953x1087y_Right_Volcano_Top_zoom_out_extra_red.png Hidden passages in red]||Right Volcano Top||N/A|| | ||
| + | |- | ||
| + | | [http://xkcd.com/1608/952:-1087+s.png (952,1087)] || [http://xkcd.com/1608/953:-1087+s.png (953,1087)]|| || || || || [http://www.explainxkcd.com/wiki/images/7/77/1608_0952x1087y_Ring_of_power_and_lave_floor_at_the_right_crater_top.png Overview]||Ring of power and lave floor at the right crater top.|||| | ||
| + | |- | ||
| + | | [http://xkcd.com/1608/956:-1085+s.png (956,1085)] || [http://xkcd.com/1608/957:-1085+s.png (957,1085)]|| || || || || [http://www.explainxkcd.com/wiki/images/1/15/1608_0956x1085y_Megan_sliding_down_slope_on_snow_sleigh.png Overview]||Megan sliding down slope on snow sleigh.|||| | ||
| + | |- | ||
| + | | [http://xkcd.com/1608/956:-1088+s.png (956,1088)] || [http://xkcd.com/1608/957:-1088+s.png (957,1088)]|| || || || || [http://www.explainxkcd.com/wiki/images/c/cb/1608_0956x1088y_Eagles_over_right_crater_top.png Overview]||Eagles over right crater top.|||| | ||
| + | |- | ||
| + | | [http://xkcd.com/1608/958:-1083+s.png (958,1083)] || [http://xkcd.com/1608/959:-1083+s.png (959,1083)]|| || || || || [http://www.explainxkcd.com/wiki/images/c/cd/1608_0958x1083y_Ponytail_racing_down_the_steep_slope_on_a_bike.png Overview]||Ponytail racing down the steep slope on a bike.|||| | ||
| + | |- | ||
| + | | [http://xkcd.com/1608/960:-1081+s.png (960,1081)] || [http://xkcd.com/1608/961:-1081+s.png (961,1081)]|| || || || || [http://www.explainxkcd.com/wiki/images/c/ce/1608_0960x1081y_Tell_my_wife_why_you_left_me_there.png Overview]||Tell my wife why you left me there.|||| | ||
| + | |- | ||
| + | | [http://xkcd.com/1608/962:-1080+s.png (962,1080)] || [http://xkcd.com/1608/963:-1080+s.png (963,1080)]|| || || || || [http://www.explainxkcd.com/wiki/images/7/75/1608_0962x1080y_It_becomes_a_V7_if_the_volcano_erupts.png Overview]||It becomes a V7 if the volcano erupts.|||| | ||
| + | |- | ||
| + | | [http://xkcd.com/1608/964:-1078+s.png (964,1078)] || [http://xkcd.com/1608/965:-1078+s.png (965,1078)]|| || || || || [http://www.explainxkcd.com/wiki/images/6/66/1608_0964x1078y_Megan_reading_for_children_about_Saurons_ring.png Overview]||Megan reading for children about Sauron’s ring.|||| | ||
| + | |- | ||
| + | | [http://xkcd.com/1608/969:-1077+s.png (969,1077)] || [http://xkcd.com/1608/970:-1077+s.png (970,1077)]|| || || || || [http://www.explainxkcd.com/wiki/images/b/bd/1608_0969x1077y_Vaping_Earth.png Overview]||Vaping Earth.|||| | ||
| + | |- | ||
| + | | [http://xkcd.com/1608/970:-1077+s.png (970,1077)] || [http://xkcd.com/1608/971:-1077+s.png (971,1077)]|| || || || || [http://www.explainxkcd.com/wiki/images/a/ae/1608_0970x1077y_Kite_and_weird_bug.png Overview]<br>[http://www.explainxkcd.com/wiki/images/a/a4/1608_0970x1077y_Kite_and_weird_bug_red.png Hidden passages in red]||Kite and weird bug.|||| | ||
| + | |- | ||
| + | | [http://xkcd.com/1608/976:-1079+s.png (976,1079)] || [http://xkcd.com/1608/977:-1079+s.png (977,1079)]|| || || || || [http://www.explainxkcd.com/wiki/images/e/e2/1608_0976x1079y_Space_capsule_with_parachutes.png Overview]||Space capsule with parachutes.|||| | ||
| + | |- | ||
| + | | [http://xkcd.com/1608/978:-1077+s.png (978,1077)] || [http://xkcd.com/1608/979:-1077+s.png (979,1077)]|| || || || || [http://www.explainxkcd.com/wiki/images/3/30/1608_0978x1077y_Girl_running_to_other_girl_and_small_forrest.png Overview]||Girl running to other girl and small forest.|||| | ||
| + | |- | ||
| + | | N/A || N/A || || || || || [http://www.explainxkcd.com/wiki/images/2/2e/1608_0980x1075y_Entire_well_zoom_out.png Overview]<br>[http://www.explainxkcd.com/wiki/images/0/06/1608_0980x1075y_Entire_well_zoom_out_red.png Hidden passages in red]||Entire well - zoom out.||N/A|| | ||
| + | |- | ||
| + | | [http://xkcd.com/1608/980:-1077+s.png (980,1077)] || [http://xkcd.com/1608/981:-1077+s.png (981,1077)]|| || || || || [http://www.explainxkcd.com/wiki/images/7/70/1608_0980x1077y_Well_top.png Overview]||Well top.|||| | ||
| + | |- | ||
| + | | [http://xkcd.com/1608/980:-1073+s.png (980,1073)] || [http://xkcd.com/1608/981:-1073+s.png (981,1073)]|| || || || || [http://www.explainxkcd.com/wiki/images/8/82/1608_0980x1073y_Well_bottom.png Overview]<br>[http://www.explainxkcd.com/wiki/images/a/aa/1608_0980x1073y_Well_bottom_red.png Hidden passages in red]||Well bottom.|||| | ||
| + | |- | ||
| + | | N/A || N/A || || || || || [http://www.explainxkcd.com/wiki/images/b/b3/1608_0982x1079y_Gas_station_with_birds_above_with_coin_on_string.png Overview]<br>[http://www.explainxkcd.com/wiki/images/8/83/1608_0982x1079y_Gas_station_with_birds_above_without_coin_on_string.png Without coin]||Entire gas station with birds above||N/A|| | ||
| + | |- | ||
| + | | [http://xkcd.com/1608/982:-1077+s.png (982,1077)] || [http://xkcd.com/1608/983:-1077+s.png (983,1077)]|| || || || || [http://www.explainxkcd.com/wiki/images/4/44/1608_0982x1077y_Gas_station_with_x-wing.png Overview]||Gas station with x-wing.|||| | ||
| + | |- | ||
| + | | [http://xkcd.com/1608/982:-1079+s.png (982,1079)] || [http://xkcd.com/1608/983:-1079+s.png (983,1079)]|| || || || || [http://www.explainxkcd.com/wiki/images/7/7e/1608_0982x1079y_Birds_with_coin.png Overview]<br>[http://www.explainxkcd.com/wiki/images/9/9e/1608_0982x1079y_Birds_without_coin.png Without coin]||Birds with coin.|||| | ||
| + | |- | ||
| + | | [http://xkcd.com/1608/986:-1076+s.png (986,1076)] || [http://xkcd.com/1608/987:-1076+s.png (987,1076)]|| || || || || [http://www.explainxkcd.com/wiki/images/a/a0/1608_0986x1076y_Our_kingdom_from_a_cliff.png Overview]||Our kingdom from a cliff.|||| | ||
| + | |- | ||
| + | | [http://xkcd.com/1608/987:-1075+s.png (987,1075)] || [http://xkcd.com/1608/988:-1075+s.png (988,1075)]|| || || || || [http://www.explainxkcd.com/wiki/images/5/53/1608_0987x1075y_Hamsterball_bowling.png Overview]||Hamster ball bowling.|||| | ||
| + | |- | ||
| + | | [http://xkcd.com/1608/990:-1074+s.png (990,1074)] || [http://xkcd.com/1608/991:-1074+s.png (991,1074)]|| || || || || [http://www.explainxkcd.com/wiki/images/4/4f/1608_0990x1074y_If_loving_you_is_wrong_I_dont_want_to.png Overview]||If loving you is wrong I don’t want to and Beret Guy following insects|||| | ||
| + | |- | ||
| + | | N/A || N/A || || || || || [http://www.explainxkcd.com/wiki/images/2/21/1608_0995x1079y_Entire_Washington_monument_extra_zoom_out.png Overview]<br>[http://www.explainxkcd.com/wiki/images/a/ae/1608_0995x1079y_Entire_Washington_monument_extra_zoom_out_red.png Hidden passages in red] <br>[http://www.explainxkcd.com/wiki/images/7/7a/1608_0995x1078y_Middle_of_Washington_monument_zoom_out.png Central hidden passage] <br>[http://www.explainxkcd.com/wiki/images/6/6d/1608_0995x1078y_Middle_of_Washington_monument_zoom_out_red.png Hidden passages in red] || Entire Washington monument || N/A || | ||
| + | |- | ||
| + | | [http://xkcd.com/1608/994:-1074+s.png (994,1074)] || [http://xkcd.com/1608/995:-1074+s.png (995,1074)]|| || || || || [http://www.explainxkcd.com/wiki/images/d/dc/1608_0994x1074y_Base_of_Washington_monument.png Overview]<br>[http://www.explainxkcd.com/wiki/images/1/16/1608_0994x1074y_Base_of_Washington_monument_red.png Hidden passages in red]||Base of Washington monument with Cueball and Megan|||| | ||
| + | |- | ||
| + | | [http://xkcd.com/1608/995:-1083+s.png (995,1083)] || [http://xkcd.com/1608/996:-1083+s.png (996,1083)]|| || || || || [http://www.explainxkcd.com/wiki/images/6/6f/1608_0995x1083y_Tip_of_Washington_monument.png Overview]||Tip of Washington monument with Cueball and White Hat|||| | ||
| + | |- | ||
| + | | N/A || N/A || || || || || [http://www.explainxkcd.com/wiki/images/5/5c/1608_0994x1110y_Entire_floating_rock_island_zoom_out.png Overview]||Entire floating rock island - zoom out.||N/A|| | ||
| + | |- | ||
| + | | [http://xkcd.com/1608/989:-1112+s.png (989,1112)] || [http://xkcd.com/1608/990:-1112+s.png (990,1112)]|| || || || || [http://www.explainxkcd.com/wiki/images/f/f5/1608_0989x1112y_Top_of_floating_rock_island_with_coin.png Overview]||Top left of floating rock island with coin.|||| | ||
| + | |- | ||
| + | | [http://xkcd.com/1608/993:-1112+s.png (993,1112)] || [http://xkcd.com/1608/994:-1112+s.png (994,1112)]|| || || || || [http://www.explainxkcd.com/wiki/images/9/92/1608_0993x1112y_Top_of_floating_rock_island_with_base_jumpers.png Overview]||Top right of floating rock island with base jumpers.|||| | ||
| + | |- | ||
| + | | [http://xkcd.com/1608/992:-1109+s.png (992,1109)] || [http://xkcd.com/1608/993:-1109+s.png (993,1109)]|| || || || || [http://www.explainxkcd.com/wiki/images/e/e1/1608_0992x1109y_Bottom_middle_of_floating_rock_island_with_coin.png Overview]||Bottom of floating rock island with coin.|||| | ||
| + | |- | ||
| + | | N/A || N/A || || || || || [http://www.explainxkcd.com/wiki/images/7/7b/1608_1001x1074y_Entire_Play_Area_Zoom_out.png Overview]<br>[http://www.explainxkcd.com/wiki/images/8/8b/1680_Play_Area_Full_Size_Coins_Hoverboard_and_View.png With starting view]||Entire Play Area - zoom out.||N/A|| | ||
| + | |- | ||
| + | | [http://xkcd.com/1608/1000:-1074+s.png (1000,1074)] || [http://xkcd.com/1608/1001:-1074+s.png (1001,1074)]|| || || || || [http://www.explainxkcd.com/wiki/images/6/6c/1608_1000x1074y_The_Play_Area.png Overview]<br>[http://www.explainxkcd.com/wiki/images/3/30/1608_1000x1074y_The_Play_Area_red.png Hidden passages in red]||The Play Area.|||| | ||
| + | |- | ||
| + | | N/A || N/A || || || || || [http://www.explainxkcd.com/wiki/images/6/66/1608_Everything_Right_of_washington_monument.png Overview]||Everything Right of Washington monument.||N/A|| | ||
| + | |- | ||
| + | | [http://xkcd.com/1608/1004:-1074+s.png (1004,1074)] || [http://xkcd.com/1608/1005:-1074+s.png (1005,1074)]|| || || || || [http://www.explainxkcd.com/wiki/images/c/c0/1608_1004x1074y_Cueball_outside_play_area.png Overview]||Cueball outside play area.|||| | ||
| + | |- | ||
| + | | [http://xkcd.com/1608/1008:-1074+s.png (1008,1074)] || [http://xkcd.com/1608/1009:-1074+s.png (1009,1074)]|| || || || || [http://www.explainxkcd.com/wiki/images/5/53/1608_1008x1074y_Megan_points_at_Runner_after_forest.png Overview]||Megan points at Runner after forest.|||| | ||
| + | |- | ||
| + | | [http://xkcd.com/1608/1010:-1073+s.png (1010,1073)] || [http://xkcd.com/1608/1011:-1073+s.png (1011,1073)]|| || || || || [http://www.explainxkcd.com/wiki/images/f/f2/1608_1010x1073y_Cliff_with_rock_and_cactus.png Overview]||Cliff with rock and cactus.|||| | ||
| + | |- | ||
| + | | N/A || N/A || || || || || [http://www.explainxkcd.com/wiki/images/7/76/1608_1014x1076y_Entire_wires_from_ground_to_Runner.png Overview]||Entire wires from ground to Runner.||N/A|| | ||
| + | |- | ||
| + | | [http://xkcd.com/1608/1013:-1073+s.png (1013,1073)] || [http://xkcd.com/1608/1014:-1073+s.png (1014,1073)]|| || || || || [http://www.explainxkcd.com/wiki/images/c/c9/1608_1013x1073y_Three_wires_and_people_holding_on.png Overview]||Three wires and people holding on on the ground|||| | ||
| + | |- | ||
| + | | [http://xkcd.com/1608/1014:-1078+s.png (1014,1078)] || [http://xkcd.com/1608/1015:-1078+s.png (1015,1078)]|| || || || || [http://www.explainxkcd.com/wiki/images/5/58/1608_1014x1078y_Three_wires_and_reaching_up_to_anchors_in_Runner.png Overview]||Three wires Megan hanging on that reaches up to three anchors in the bottom hull of the Runner.|||| | ||
| + | |- | ||
| + | | N/A || N/A || || || || || [http://www.explainxkcd.com/wiki/images/3/33/1608_1015x1073y_Ponytail_in_the_dunes_zoom_out.png Overview]||Ponytail in the dunes - zoom out.||N/A|| | ||
| + | |- | ||
| + | | [http://xkcd.com/1608/1015:-1073+s.png (1015,1073)] || [http://xkcd.com/1608/1016:-1073+s.png (1016,1073)]|| || || || || [http://www.explainxkcd.com/wiki/images/c/c4/1608_1015x1073y_Ponytail_in_the_dunes.png Overview]||Ponytail in the dunes.|||| | ||
| + | |- | ||
| + | | [http://xkcd.com/1608/1017:-1073+s.png (1017,1073)] || [http://xkcd.com/1608/1018:-1073+s.png (1018,1073)]|| || || || || [http://www.explainxkcd.com/wiki/images/0/0a/1608_1017x1073y_The_largest_dune.png Overview]||The largest dune.|||| | ||
| + | |- | ||
| + | | N/A || N/A || || || || || [http://www.explainxkcd.com/wiki/images/0/0e/1608_1022x1073y_Entire_ocean.png Overview]<br>[http://www.explainxkcd.com/wiki/images/0/0c/1608_1022x1073y_Entire_ocean_red.png Hidden passages in red]||Entire ocean.||N/A|| | ||
| + | |- | ||
| + | | [http://xkcd.com/1608/1019:-1073+s.png (1019,1073)] || [http://xkcd.com/1608/1020:-1073+s.png (1020,1073)]|| || || || || [http://www.explainxkcd.com/wiki/images/9/99/1608_1019x1073y_Megan_rates_the_Sea.png Overview]<br>[http://www.explainxkcd.com/wiki/images/c/c8/1608_1019x1073y_Megan_rates_the_Sea_red.png Hidden passages in red]||Megan rates the Sea.|||| | ||
|- | |- | ||
| − | | | + | | [http://xkcd.com/1608/1022:-1073+s.png (1022,1073)] || [http://xkcd.com/1608/1023:-1073+s.png (1023,1073)]|| || || || || [http://www.explainxkcd.com/wiki/images/1/11/1608_1022x1073y_Rouge_wave.png Overview]<br>[http://www.explainxkcd.com/wiki/images/b/bf/1608_1022x1073y_Rouge_wave_red.png Hidden passages in red]||Rouge wave.|||| |
|- | |- | ||
| − | | | + | | [http://xkcd.com/1608/1026:-1073+s.png (1026,1073)] || [http://xkcd.com/1608/1027:-1073+s.png (1027,1073)]|| || || || || [http://www.explainxkcd.com/wiki/images/0/0d/1608_1026x1073y_Ruins_with_Cueball_singing_of_Spiders_and_Panama.png Overview]||Ruins with Cueball singing of Spiders and Panama.|||| |
|- | |- | ||
| − | + | | [http://xkcd.com/1608/1029:-1073+s.png (1029,1073)] || [http://xkcd.com/1608/1030:-1073+s.png (1030,1073)]|| || || || || [http://www.explainxkcd.com/wiki/images/3/3b/1608_1029x1073y_Ponytail_flying.png Overview]||Ponytail flying.|||| | |
| − | |||
| − | |||
| − | |||
| − | |||
|- | |- | ||
| − | | | + | | N/A || N/A || || || || || [http://www.explainxkcd.com/wiki/images/3/3a/1608_1032x1074y_Entire_forest_zoom_out.png Overview]||Entire forest - zoom out.||N/A|| |
| − | | | ||
|- | |- | ||
| − | | | + | | [http://xkcd.com/1608/1032:-1074+s.png (1032,1074)] || [http://xkcd.com/1608/1033:-1074+s.png (1033,1074)]|| || || || || [http://www.explainxkcd.com/wiki/images/5/56/1608_1032x1074y_Left_part_of_forest.png Overview]||Left part of forest.|||| |
|- | |- | ||
| − | | | + | | [http://xkcd.com/1608/1034:-1073+s.png (1034,1073)] || [http://xkcd.com/1608/1035:-1073+s.png (1035,1073)]|| || || || || [http://www.explainxkcd.com/wiki/images/3/37/1608_1034x1073y_Right_part_of_forest.png Overview]||Right part of forest.|||| |
|- | |- | ||
| − | + | | [http://xkcd.com/1608/1038:-1073+s.png (1038,1073)] || [http://xkcd.com/1608/1039:-1073+s.png (1039,1073)]|| || || || || [http://www.explainxkcd.com/wiki/images/c/c9/1608_1038x1073y_Wedding_and_picnic.png Overview]||Wedding and picnic.|||| | |
|- | |- | ||
| − | + | | [http://xkcd.com/1608/1042:-1074+s.png (1042,1074)] || [http://xkcd.com/1608/1043:-1074+s.png (1043,1074)]|| || || || || [http://www.explainxkcd.com/wiki/images/7/7b/1608_1042x1074y_Cemetary.png Overview]||Cemetery.|||| | |
| − | |||
| − | |||
|- | |- | ||
| − | + | | [http://xkcd.com/1608/1046:-1074+s.png (1046,1074)] || [http://xkcd.com/1608/1047:-1074+s.png (1047,1074)]|| || || || || [http://www.explainxkcd.com/wiki/images/d/d0/1608_1046x1074y_Huge_foot.png Overview]||Huge foot.|||| | |
| − | |||
|- | |- | ||
| − | | | + | | N/A || N/A || || || || || [http://www.explainxkcd.com/wiki/images/1/1d/1608_1050x1075y_Pyramid_Entire_zoom_out.png Overview]||Pyramid Entire - zoom out.||N/A|| |
| − | |||
|- | |- | ||
| − | + | | [http://xkcd.com/1608/1048:-1074+s.png (1048,1074)] || [http://xkcd.com/1608/1049:-1074+s.png (1049,1074)]|| || || || || [http://www.explainxkcd.com/wiki/images/5/50/1608_1048x1074y_Pyramid_protip.png Overview]||Pyramid protip.|||| | |
|- | |- | ||
| − | + | | [http://xkcd.com/1608/1050:-1076+s.png (1050,1076)] || [http://xkcd.com/1608/1051:-1076+s.png (1051,1076)]|| || || || || [http://www.explainxkcd.com/wiki/images/f/f6/1608_1050x1076y_Pyramid_tip.png Overview]||Pyramid tip.|||| | |
| − | |||
|- | |- | ||
| − | | | + | | [http://xkcd.com/1608/1053:-1074+s.png (1053,1074)] || [http://xkcd.com/1608/1054:-1074+s.png (1054,1074)]|| || || || || [http://www.explainxkcd.com/wiki/images/c/c5/1608_1053x1074y_Pyramid_Right_bottom.png Overview]||Pyramid Right bottom.|||| |
|- | |- | ||
| − | + | | [http://xkcd.com/1608/1056:-1074+s.png (1056,1074)] || [http://xkcd.com/1608/1057:-1074+s.png (1057,1074)]|| || || || || [http://www.explainxkcd.com/wiki/images/1/19/1608_1056x1074y_Flat_and_bare_ground.png Overview]||Flat and bare ground.|||| | |
|- | |- | ||
| − | + | | [http://xkcd.com/1608/1059:-1074+s.png (1059,1074)] || [http://xkcd.com/1608/1060:-1074+s.png (1060,1074)]|| || || || || [http://www.explainxkcd.com/wiki/images/d/d2/1608_1059x1074y_Flat_grassy_ground.png Overview]||Flat grassy ground.|||| | |
| − | |||
|- | |- | ||
| − | + | | [http://xkcd.com/1608/1063:-1075+s.png (1063,1075)] || [http://xkcd.com/1608/1064:-1075+s.png (1064,1075)]|| || || || || [http://www.explainxkcd.com/wiki/images/9/99/1608_1063x1075y_Small_cliff_or_hill.png Overview]||Small cliff or hill.|||| | |
|- | |- | ||
| − | | | + | | [http://xkcd.com/1608/1066:-1075+s.png (1066,1075)] || [http://xkcd.com/1608/1067:-1075+s.png (1067,1075)]|| || || || || [http://www.explainxkcd.com/wiki/images/1/15/1608_1066x1075y_The_three_Ts.png Overview]||The three T's.|||| |
| − | : | ||
| − | |||
|- | |- | ||
| − | | | + | | [http://xkcd.com/1608/1071:-1074+s.png (1071,1074)] || [http://xkcd.com/1608/1072:-1074+s.png (1072,1074)]|| || || || || [http://www.explainxkcd.com/wiki/images/7/71/1608_1071x1074y_Coin_over_grass_hole.png Overview]<br>[http://www.explainxkcd.com/wiki/images/b/b6/1608_1071x1074y_Coin_over_grass_hole_red.png Hidden passages in red]||Coin over grass hole.|||| |
| − | |||
|- | |- | ||
| − | + | | [http://xkcd.com/1608/1073:-1074+s.png (1073,1074)] || [http://xkcd.com/1608/1074:-1074+s.png (1074,1074)]|| || || || || [http://www.explainxkcd.com/wiki/images/b/bc/1608_1073x1074y_Ponytail_and_bird_black_hat_on_a_stick_and_Cueball_whistling.png Overview]||Ponytail and bird black hat on a stick and Cueball whistling.|||| | |
| − | |||
| − | |||
| − | |||
|- | |- | ||
| − | + | | [http://xkcd.com/1608/1078:-1074+s.png (1078,1074)] || [http://xkcd.com/1608/1079:-1074+s.png (1079,1074)]|| || || || || [http://www.explainxkcd.com/wiki/images/0/04/1608_1078x1074y_Small_stone_pile.png Overview]||Small stone pile.|||| | |
|- | |- | ||
| − | + | | [http://xkcd.com/1608/1081:-1074+s.png (1081,1074)] || [http://xkcd.com/1608/1082:-1074+s.png (1082,1074)]|| || || || || [http://www.explainxkcd.com/wiki/images/3/33/1608_1081x1074y_Two_birds_and_coin_above_them.png Overview]||Two birds and coin above them.|||| | |
|- | |- | ||
| − | + | | [http://xkcd.com/1608/1086:-1074+s.png (1086,1074)] || [http://xkcd.com/1608/1087:-1074+s.png (1087,1074)]|| || || || || [http://www.explainxkcd.com/wiki/images/b/bf/1608_1086x1074y_Pedestal.png Overview]||Pedestal.|||| | |
|- | |- | ||
| − | + | | [http://xkcd.com/1608/1088:-1074+s.png (1088,1074)] || [http://xkcd.com/1608/1089:-1074+s.png (1089,1074)]|| || || || || [http://www.explainxkcd.com/wiki/images/e/e5/1608_1088x1074y_Medusa_and_floating_earth.png Overview]||Medusa and floating earth.|||| | |
| − | |||
| − | |||
| − | |||
| − | |||
| − | |||
| − | |||
| − | |||
|- | |- | ||
| − | | | + | | [http://xkcd.com/1608/1093:-1074+s.png (1093,1074)] || [http://xkcd.com/1608/1094:-1074+s.png (1094,1074)]|| || || || || [http://www.explainxkcd.com/wiki/images/d/d9/1608_1093x1074y_White_Hat_hiding_in_the_grass.png Overview]||White Hat hiding in the grass.|||| |
|- | |- | ||
| − | | | + | | [http://xkcd.com/1608/1095:-1075+s.png (1095,1075)] || [http://xkcd.com/1608/1096:-1075+s.png (1096,1075)]|| || || || || [http://www.explainxkcd.com/wiki/images/0/09/1608_1095x1075y_Lollipop_plant_and_coin.png Overview]||Lollipop plant and coin.|||| |
|- | |- | ||
| − | + | | [http://xkcd.com/1608/1098:-1074+s.png (1098,1074)] || [http://xkcd.com/1608/1099:-1074+s.png (1099,1074)]|| || || || || [http://www.explainxkcd.com/wiki/images/9/9d/1608_1098x1074y_Drifting_Cueball.png Overview]||Drifting Cueball.|||| | |
|- | |- | ||
| − | | | + | | [http://xkcd.com/1608/1103:-1074+s.png (1103,1074)] || [http://xkcd.com/1608/1104:-1074+s.png (1104,1074)]|| || || || || [http://www.explainxkcd.com/wiki/images/3/30/1608_1103x1074y_Just_grass.png Overview]||Just grass.|||| |
|- | |- | ||
| − | + | | [http://xkcd.com/1608/1107:-1075+s.png (1107,1075)] || [http://xkcd.com/1608/1108:-1075+s.png (1108,1075)]|| || || || || [http://www.explainxkcd.com/wiki/images/c/ce/1608_1107x1075y_Storks_nest_at_right_end_of_the_world_with_10_coins.png Overview]||Storks nest at right end of the world with 10 coins.|||| | |
|- | |- | ||
| − | | | + | | N/A || N/A || || || || || [http://www.explainxkcd.com/wiki/images/8/82/1608_1015x1078y_Entire_Rebel_Blockade_Runner_zoom_out.png Overview]<br>[http://www.explainxkcd.com/wiki/images/f/fd/1608_1015x1078y_Entire_Rebbel_Blockade_Runner_and_wires_zoom_out.png Also with wires]<br>[http://www.explainxkcd.com/wiki/images/0/04/1608_1015x1078y_Entire_Rebbel_Blockade_Runner_zoom_out_to_torpedoes_and_ground.png Also with torpedoes]||Entire Rebel Blockade Runner||N/A|| |
| − | | | ||
| − | |||
| − | |||
| − | |||
| − | |||
| − | |||
| − | |||
|- | |- | ||
| − | + | | [http://xkcd.com/1608/1012:-1078+s.png (1012,1078)] || [http://xkcd.com/1608/1013:-1078+s.png (1013,1078)]|| || || || || [http://www.explainxkcd.com/wiki/images/b/bc/1608_1012x1078y_Bridge_on_the_Rebel_Blockade_Runner.png Overview]||Bridge on the Rebel Blockade Runner.|||| | |
| − | [http:// | ||
| − | |||
|- | |- | ||
| − | + | | [http://xkcd.com/1608/1017:-1078+s.png (1017,1078)] || [http://xkcd.com/1608/1018:-1078+s.png (1018,1078)]|| || || || || [http://www.explainxkcd.com/wiki/images/f/fa/1608_1017x1078y_Death_Star_Plans_in_the_Rebel_Blockade_Runner.png Overview]||Death Star Plans in the Rebel Blockade Runner.|||| | |
|- | |- | ||
| − | + | | [http://xkcd.com/1608/1018:-1079+s.png (1018,1079)] || [http://xkcd.com/1608/1019:-1079+s.png (1019,1079)]|| || || || || [http://www.explainxkcd.com/wiki/images/f/f1/1608_1018x1079y_Top_rear_end_of_the_Rebel_Blockade_Runner.png Overview]||Top rear end of the Rebel Blockade Runner.|||| | |
| − | |||
| − | |||
| − | |||
| − | | Top | ||
|- | |- | ||
| − | + | | [http://xkcd.com/1608/1020:-1078+s.png (1020,1078)] || [http://xkcd.com/1608/1021:-1078+s.png (1021,1078)]|| || || || || [http://www.explainxkcd.com/wiki/images/5/5b/1608_1020x1078y_Bottom_rear_end_of_the_Rebel_Blockade_Runner.png Overview]||Bottom rear end of the Rebel Blockade Runner.|||| | |
| − | |||
|- | |- | ||
| − | + | | N/A || N/A || || || || || [http://www.explainxkcd.com/wiki/images/8/87/1608_1023x1085y_Entire_torpedoes_rain_from_Runner_to_Destroyer.png Overview]||Entire torpedoes rain from Runner to Destroyer.||N/A|| | |
| − | |||
| − | |||
| − | |||
| − | |||
| − | |||
| − | |||
| − | |||
| − | |||
|- | |- | ||
| − | + | | [http://xkcd.com/1608/1019:-1081+s.png (1019,1081)] || [http://xkcd.com/1608/1020:-1081+s.png (1020,1081)]|| || || || || [http://www.explainxkcd.com/wiki/images/a/a7/1608_1019x1081y_Torpedoes_just_above_Runner_with_coin.png Overview]||Torpedoes just above Runner with coin.|||| | |
|- | |- | ||
| − | + | | [http://xkcd.com/1608/1020:-1083+s.png (1020,1083)] || [http://xkcd.com/1608/1021:-1083+s.png (1021,1083)]|| || || || || [http://www.explainxkcd.com/wiki/images/2/21/1608_1020x1083y_Torpedoes_two_steps_above_Runner_with_Beret_Guy.png Overview]||Torpedoes two steps above Runner with Beret Guy.|||| | |
|- | |- | ||
| − | + | | [http://xkcd.com/1608/1023:-1085+s.png (1023,1085)] || [http://xkcd.com/1608/1024:-1085+s.png (1024,1085)]|| || || || || [http://www.explainxkcd.com/wiki/images/a/a7/1608_1023x1085y_Torpedoes_three_steps_above_Runner.png Overview]||Torpedoes three steps above Runner.|||| | |
|- | |- | ||
| − | | | + | | [http://xkcd.com/1608/1025:-1087+s.png (1025,1087)] || [http://xkcd.com/1608/1026:-1087+s.png (1026,1087)]|| || || || || [http://www.explainxkcd.com/wiki/images/a/a8/1608_1025x1087y_Torpedoes_two_steps_below_Destroyer_with_exploding_torpedoes.png Overview]||Torpedoes two steps below Destroyer with exploding torpedoes.|||| |
|- | |- | ||
| − | + | | [http://xkcd.com/1608/1029:-1089+s.png (1029,1089)] || [http://xkcd.com/1608/1030:-1089+s.png (1030,1089)]|| || || || || [http://www.explainxkcd.com/wiki/images/2/2b/1608_1029x1089y_Torpedoes_one_step_below_Destroyer_with_coin.png Overview]||Torpedoes one step below Destroyer with coin.|||| | |
|- | |- | ||
| − | + | | [http://xkcd.com/1608/1034:-1091+s.png (1034,1091)] || [http://xkcd.com/1608/1035:-1091+s.png (1035,1091)]|| || || || || [http://www.explainxkcd.com/wiki/images/5/5f/1608_1034x1091y_Torpedo_canon_below_Destroyer.png Overview]||Torpedo canon below Destroyer.|||| | |
| − | |||
| − | |||
|- | |- | ||
| − | | | + | | N/A || N/A || || || || || [http://www.explainxkcd.com/wiki/images/c/cd/1608_Entire_Star_Destroyer.png Overview]||Entire Star Destroyer.||N/A|| |
|- | |- | ||
| − | | | + | | N/A || N/A || || || || || [http://www.explainxkcd.com/wiki/images/e/e1/1608_Entire_front_end.png Overview]<br>[http://www.explainxkcd.com/wiki/images/2/22/1608_Entire_front_end_red.png Hidden passages in red]||Entire front end.||N/A|| |
|- | |- | ||
| − | | | + | | N/A || N/A || || || || || [http://www.explainxkcd.com/wiki/images/9/92/1608_Zoom_out_of_the_very_front_end.png Overview]||The very tip of the front end.||N/A|| |
| − | |||
| − | |||
| − | |||
| − | |||
|- | |- | ||
| − | + | | [http://xkcd.com/1608/1002:-1094+s.png (1002,1094)] || [http://xkcd.com/1608/1003:-1094+s.png (1003,1094)]|| || || || || [http://www.explainxkcd.com/wiki/images/6/60/1608_1002x1094y_Very_front_with_Cueball_looking_out_at_bottom_of_hull.png Overview]||Very front with Cueball looking out at bottom of hull.|||| | |
| − | |||
| − | |||
| − | |||
| − | |||
| − | |||
| − | |||
| − | |||
| − | |||
| − | |||
| − | |||
| − | |||
|- | |- | ||
| − | | | + | | [http://xkcd.com/1608/1004:-1095+s.png (1004,1095)] || [http://xkcd.com/1608/1005:-1095+s.png (1005,1095)]|| || || || || [http://www.explainxkcd.com/wiki/images/a/a7/1608_1004x1095y_Very_front_with_playpen_balls_pit_at_top_of_hull.png Overview]<br>[http://www.explainxkcd.com/wiki/images/3/35/1608_1004x1095y_Very_front_with_playpen_balls_pit_at_top_of_hull_red.png Hidden passages in red]||Very front with playpen balls pit at top of hull.|||| |
|- | |- | ||
| − | + | | [http://xkcd.com/1608/1006:-1095+s.png (1006,1095)] || [http://xkcd.com/1608/1007:-1095+s.png (1007,1095)]|| || || || || [http://www.explainxkcd.com/wiki/images/2/20/1608_1006x1095y_Pinata_and_Cueball_with_lightsaber_at_top_of_hull.png Overview]||Piñata and Cueball with lightsaber at top of hull.|||| | |
|- | |- | ||
| − | + | | [http://xkcd.com/1608/1007:-1094+s.png (1007,1094)] || [http://xkcd.com/1608/1008:-1094+s.png (1008,1094)]|| || || || || [http://www.explainxkcd.com/wiki/images/e/eb/1608_1007x1094y_Shaft_and_corridor_at_bottom_of_hull.png Overview]||Shaft and corridor at bottom of hull.|||| | |
|- | |- | ||
| − | + | | [http://xkcd.com/1608/1010:-1094+s.png (1010,1094)] || [http://xkcd.com/1608/1011:-1094+s.png (1011,1094)]|| || || || || [http://www.explainxkcd.com/wiki/images/b/ba/1608_1010x1094y_Swimming_pool_with_Ponytail_jumping_at_bottom_of_hull.png Overview]<br>[http://www.explainxkcd.com/wiki/images/e/e6/1608_1010x1094y_Swimming_pool_with_Ponytail_jumping_at_bottom_of_hull_red.png Hidden passages in red]||Swimming pool with Ponytail jumping at bottom of hull.|||| | |
| − | |||
|- | |- | ||
| − | + | | [http://xkcd.com/1608/1011:-1096+s.png (1011,1096)] || [http://xkcd.com/1608/1012:-1096+s.png (1012,1096)]|| || || || || [http://www.explainxkcd.com/wiki/images/b/ba/1608_1011x1096y_Shaft_and_corridor_with_three_coins_at_top_of_hull.png Overview]||Shaft and corridor with three coins at top of hull.|||| | |
| − | |||
| − | |||
| − | |||
| − | |||
| − | |||
|- | |- | ||
| − | | | + | | [http://xkcd.com/1608/1015:-1093+s.png (1015,1093)] || [http://xkcd.com/1608/1016:-1093+s.png (1016,1093)]|| || || || || [http://www.explainxkcd.com/wiki/images/0/0c/1608_1015x1093y_Dead_end_shaft_with_rubbles_at_bottom_of_hull.png Overview]||Dead end shaft with rubbles at bottom of hull.|||| |
|- | |- | ||
| − | | | + | | N/A || N/A || || || || || [http://www.explainxkcd.com/wiki/images/3/34/1608_1019x1095y_Zoom_out_of_shaft_and_corridors_with_Hairy_looking_down_a_shaft_at_top_of_hull.png Overview]||Zoom out of shaft and corridors with Hairy looking down a shaft at top of hull.||N/A|| |
|- | |- | ||
| − | + | | [http://xkcd.com/1608/1016:-1095+s.png (1016,1095)] || [http://xkcd.com/1608/1017:-1095+s.png (1017,1095)]|| || || || || [http://www.explainxkcd.com/wiki/images/7/73/1608_1016x1095y_Hairy_looking_down_a_shaft_at_top_of_hull.png Overview]||Hairy looking down a shaft at top of hull.|||| | |
|- | |- | ||
| − | + | | [http://xkcd.com/1608/1023:-1095+s.png (1023,1095)] || [http://xkcd.com/1608/1024:-1095+s.png (1024,1095)]|| || || || || [http://www.explainxkcd.com/wiki/images/e/e6/1608_1023x1095y_Three_coins_room_and_shafts.png Overview]||Three coins room and shafts.|||| | |
|- | |- | ||
| − | + | | [http://xkcd.com/1608/1023:-1097+s.png (1023,1097)] || [http://xkcd.com/1608/1024:-1097+s.png (1024,1097)]|| || || || || [http://www.explainxkcd.com/wiki/images/d/d0/1608_1023x1097y_Triple_coins_and_a_single_coin_on_top_of_a_shaft_at_top_of_hull.png Overview]||Triple coins and a single coin on top of a shaft at top of hull.|||| | |
|- | |- | ||
| − | | | + | | N/A || N/A || || || || || [http://www.explainxkcd.com/wiki/images/6/6f/1608_1025x1092y_Zoom_out_of_shaft_and_corridors_with_ledge_at_bottom_of_hull.png Overview]||Zoom out of shaft and corridors with ledge at bottom of hull.||N/A|| |
|- | |- | ||
| − | + | | [http://xkcd.com/1608/1026:-1093+s.png (1026,1093)] || [http://xkcd.com/1608/1027:-1093+s.png (1027,1093)]|| || || || || [http://www.explainxkcd.com/wiki/images/a/ad/1608_1026x1093y_Shall_not_not_pass_room_and_parachutes_at_one_of_two_ledges_at_bottom_of_hull.png Overview]||Shall not not pass room and parachutes at one of two ledges at bottom of hull.|||| | |
|- | |- | ||
| − | + | | [http://xkcd.com/1608/1026:-1095+s.png (1026,1095)] || [http://xkcd.com/1608/1027:-1095+s.png (1027,1095)]|| || || || || [http://www.explainxkcd.com/wiki/images/5/5d/1608_1026x1095y_Two_coins_room_and_shafts.png Overview]||Two coins room and shafts.|||| | |
|- | |- | ||
| − | | | + | | [http://xkcd.com/1608/1031:-1095+s.png (1031,1095)] || [http://xkcd.com/1608/1032:-1095+s.png (1032,1095)]|| || || || || [http://www.explainxkcd.com/wiki/images/3/39/1608_1031x1095y_Steven_Universe_family_and_ice_cream_prediction.png Overview]||Steven Universe family and ice cream prediction.|||| |
|- | |- | ||
| − | | | + | | N/A || N/A || || || || || [http://www.explainxkcd.com/wiki/images/6/67/1608_Entire_Rotary_section.png Overview]<br>[http://www.explainxkcd.com/wiki/images/e/e4/1608_Entire_Rotary_section_red.png Hidden passages in red]||Entire Rotary section.||N/A|| |
|- | |- | ||
| − | | | + | | [http://xkcd.com/1608/1029:-1097+s.png (1029,1097)] || [http://xkcd.com/1608/1030:-1097+s.png (1030,1097)]|| || || || || [http://www.explainxkcd.com/wiki/images/c/cf/1608_1029x1097y_Empty_room_and_Cueball_on_corridor_going_to_rotary_at_top_of_hull.png Overview]||Empty room and Cueball on corridor going to rotary at top of hull.|||| |
|- | |- | ||
| − | + | | [http://xkcd.com/1608/1033:-1095+s.png (1033,1095)] || [http://xkcd.com/1608/1034:-1095+s.png (1034,1095)]|| || || || || [http://www.explainxkcd.com/wiki/images/3/3e/1608_1033x1095y_The_rotary.png Overview]||The rotary.|||| | |
| − | |||
|- | |- | ||
| − | + | | [http://xkcd.com/1608/1034:-1091+s.png (1034,1091)] || [http://xkcd.com/1608/1035:-1091+s.png (1035,1091)]|| || || || || [http://www.explainxkcd.com/wiki/images/d/df/1608_1034x1091y_Photon_canon_Tetris_piece_and_mini_robot_at_bottom_of_hull.png Overview]||Photon canon Tetris piece and mini robot at bottom of hull.|||| | |
|- | |- | ||
| − | | | + | | [http://xkcd.com/1608/1038:-1092+s.png (1038,1092)] || [http://xkcd.com/1608/1039:-1092+s.png (1039,1092)]|| || || || || [http://www.explainxkcd.com/wiki/images/d/d3/1608_1038x1092y_Shaft_corridor_with_coin_and_room_with_coin_over_ledge_at_bottom_of_hull.png Overview]||Shaft corridor with coin and room with coin over ledge at bottom of hull.|||| |
|- | |- | ||
| − | + | | [http://xkcd.com/1608/1038:-1094+s.png (1038,1094)] || [http://xkcd.com/1608/1039:-1094+s.png (1039,1094)]|| || || || || [http://www.explainxkcd.com/wiki/images/b/b5/1608_1038x1094y_Giant_octopus_in_Destroyer.png Overview]||Giant octopus in Destroyer.|||| | |
|- | |- | ||
| − | + | | [http://xkcd.com/1608/1038:-1095+s.png (1038,1095)] || [http://xkcd.com/1608/1039:-1095+s.png (1039,1095)]|| || || || || [http://www.explainxkcd.com/wiki/images/8/89/1608_1038x1095y_Hamsterball_and_stilts_room.png Overview]||Hamster ball and stilts room.|||| | |
| − | |||
| − | |||
| − | |||
| − | |||
| − | |||
| − | |||
| − | |||
| − | |||
| − | |||
| − | |||
| − | |||
| − | |||
| − | |||
| − | |||
| − | |||
| − | |||
| − | |||
| − | |||
|- | |- | ||
| − | + | | [http://xkcd.com/1608/1043:-1093+s.png (1043,1093)] || [http://xkcd.com/1608/1044:-1093+s.png (1044,1093)]|| || || || || [http://www.explainxkcd.com/wiki/images/a/a2/1608_1043x1093y_Box_with_horns_and_coin_room.png Overview]||Box with horns and coin room.|||| | |
| − | |||
| − | |||
| − | |||
| − | |||
| − | |||
| − | |||
| − | |||
| − | |||
| − | |||
|- | |- | ||
| − | | | + | | N/A || N/A || || || || || [http://www.explainxkcd.com/wiki/images/e/e6/1608_1046x1094y_Zoom_out_of_three_empty_rooms_near_bottom_of_hull.png Overview]||Zoom out of three empty rooms near bottom of hull.||N/A|| |
|- | |- | ||
| − | + | | [http://xkcd.com/1608/1046:-1097+s.png (1046,1097)] || [http://xkcd.com/1608/1047:-1097+s.png (1047,1097)]|| || || || || [http://www.explainxkcd.com/wiki/images/a/a2/1608_1046x1097y_Corridor_with_coin.png Overview]||Corridor with coin.|||| | |
|- | |- | ||
| − | + | | [http://xkcd.com/1608/1048:-1095+s.png (1048,1095)] || [http://xkcd.com/1608/1049:-1095+s.png (1049,1095)]|| || || || || [http://www.explainxkcd.com/wiki/images/0/01/1608_1048x1095y_Two_hoverboards_room.png Overview]||Two hoverboards room.|||| | |
| − | |||
|- | |- | ||
| − | | | + | | N/A || N/A || || || || || [http://www.explainxkcd.com/wiki/images/f/f9/1608_1051x1097y_Zoom_out_with_dead_end_corridor_car_room_and_shaft_at_top_of_hull.png Overview]||Zoom out with dead end corridor car room and shaft at top of hull.||N/A|| |
|- | |- | ||
| − | + | | [http://xkcd.com/1608/1048:-1099+s.png (1048,1099)] || [http://xkcd.com/1608/1049:-1099+s.png (1049,1099)]|| || || || || [http://www.explainxkcd.com/wiki/images/d/d4/1608_1048x1099y_Cueball_on_hood_of_car_room_and_a_giant_step_with_coins_at_top_of_hull.png Overview]||Cueball on hood of car room and a giant step with coins at top of hull.|||| | |
|- | |- | ||
| − | + | | [http://xkcd.com/1608/1049:-1090+s.png (1049,1090)] || [http://xkcd.com/1608/1050:-1090+s.png (1050,1090)]|| || || || || [http://www.explainxkcd.com/wiki/images/1/1d/1608_1049x1090y_Atmosphere_worry_and_car_room_at_bottom_of_hull.png Overview]||Atmosphere worry and car room at bottom of hull.|||| | |
|- | |- | ||
| − | | | + | | [http://xkcd.com/1608/1053:-1091+s.png (1053,1091)] || [http://xkcd.com/1608/1054:-1091+s.png (1054,1091)]|| || || || || [http://www.explainxkcd.com/wiki/images/7/76/1608_1053x1091y_Ponytail_flying_up_a_shaft_towards_a_coin.png Overview]||Ponytail flying up a shaft towards a coin.|||| |
| − | | | ||
|- | |- | ||
| − | + | | [http://xkcd.com/1608/1055:-1090+s.png (1055,1090)] || [http://xkcd.com/1608/1056:-1090+s.png (1056,1090)]|| || || || || [http://www.explainxkcd.com/wiki/images/f/fd/1608_1055x1090y_Trap_covered_with_leaves_and_flying_Ponytail_at_bottom_of_hull.png Overview]||Trap covered with leaves and flying Ponytail at bottom of hull.|||| | |
| − | |||
| − | |||
|- | |- | ||
| − | + | | [http://xkcd.com/1608/1053:-1094+s.png (1053,1094)] || [http://xkcd.com/1608/1054:-1094+s.png (1054,1094)]|| || || || || [http://www.explainxkcd.com/wiki/images/8/8f/1608_1053x1094y_Corridor_and_shaft_with_coin.png Overview]||Corridor and shaft with coin.|||| | |
| − | |||
|- | |- | ||
| − | | | + | | N/A || N/A || || || || || [http://www.explainxkcd.com/wiki/images/c/c6/1608_Entire_Corridor_peristalsis_and_colon.png Overview]<br>[http://www.explainxkcd.com/wiki/images/b/be/1608_Entire_area_around_Corridor_peristalsis_and_colon.png Zoom out to entire area]||Entire Corridor peristalsis and colon.||N/A|| |
|- | |- | ||
| − | + | | [http://xkcd.com/1608/1054:-1099+s.png (1054,1099)] || [http://xkcd.com/1608/1055:-1099+s.png (1055,1099)]|| || || || || [http://www.explainxkcd.com/wiki/images/e/e4/1608_1054x1099y_Corridor_peristalsis_and_two_coin_rooms_at_top_of_hull.png Overview]||Corridor peristalsis and two coin rooms at top of hull.|||| | |
|- | |- | ||
| − | + | | [http://xkcd.com/1608/1055:-1099+s.png (1055,1099)] || [http://xkcd.com/1608/1056:-1099+s.png (1056,1099)]|| || || || || [http://www.explainxkcd.com/wiki/images/0/0a/1608_1055x1099y_Corridor_peristalsis_and_colon.png Overview]||Corridor peristalsis and colon.|||| | |
|- | |- | ||
| − | | | + | | [http://xkcd.com/1608/1058:-1100+s.png (1058,1100)] || [http://xkcd.com/1608/1059:-1100+s.png (1059,1100)]|| || || || || [http://www.explainxkcd.com/wiki/images/b/b3/1608_1058x1100y_Colon_like_structure_with_Ponytail_and_Cueball_sliding_down.png Overview]||Colon like structure with Ponytail and Cueball sliding down.|||| |
|- | |- | ||
| − | + | | [http://xkcd.com/1608/1058:-1102+s.png (1058,1102)] || [http://xkcd.com/1608/1059:-1102+s.png (1059,1102)]|| || || || || [http://www.explainxkcd.com/wiki/images/1/14/1608_1058x1102y_Huge_step_and_three_room_with_coin_and_Cueball_looking_into_shaft_at_top_of_hull.png Overview]||Huge step and three room with coin and Cueball looking into shaft at top of hull.|||| | |
|- | |- | ||
| − | + | | [http://xkcd.com/1608/1060:-1099+s.png (1060,1099)] || [http://xkcd.com/1608/1061:-1099+s.png (1061,1099)]|| || || || || [http://www.explainxkcd.com/wiki/images/7/75/1608_1060x1099y_Coin_in_corridor_under_Buffer_stop_room.png Overview]||Coin in corridor under Buffer stop room.|||| | |
|- | |- | ||
| − | + | | [http://xkcd.com/1608/1060:-1103+s.png (1060,1103)] || [http://xkcd.com/1608/1061:-1103+s.png (1061,1103)]|| || || || || [http://www.explainxkcd.com/wiki/images/a/a0/1608_1060x1103y_Canon_with_coin_on_top_of_hull.png Overview]||Canon with coin on top of hull.|||| | |
|- | |- | ||
| − | | | + | | [http://xkcd.com/1608/1062:-1101+s.png (1062,1101)] || [http://xkcd.com/1608/1063:-1101+s.png (1063,1101)]|| || || || || [http://www.explainxkcd.com/wiki/images/c/c8/1608_1062x1101y_Coin_in_corridor_below_mining_company_in_dead_end_corridor.png Overview]||Coin in corridor below mining company in dead end corridor.|||| |
|- | |- | ||
| − | + | | [http://xkcd.com/1608/1063:-1102+s.png (1063,1102)] || [http://xkcd.com/1608/1064:-1102+s.png (1064,1102)]|| || || || || [http://www.explainxkcd.com/wiki/images/c/ca/1608_1063x1102y_Mining_company_in_dead_end_corridor_also_coin_on_top_of_hull.png Overview]||Mining company in dead end corridor also coin on top of hull.|||| | |
| − | | | ||
|- | |- | ||
| − | | | + | | N/A || N/A || || || || || [http://www.explainxkcd.com/wiki/images/7/78/1608_Entire_cotton_trap_and_spark_gap_room.png Overview]<br>[http://www.explainxkcd.com/wiki/images/6/65/1608_Entire_cotton_trap_and_spark_gap_room_red.png Hidden passages in red]<br>[http://www.explainxkcd.com/wiki/images/3/36/1608_Entire_area_around_cotton_trap.png Entire area around the rooms]<br>[http://www.explainxkcd.com/wiki/images/a/ae/1608_Entire_area_around_cotton_trap_red.png Hidden passages in red]||Entire cotton trap and spark gap room. || N/A || |
| − | |||
| − | |||
|- | |- | ||
| − | + | | [http://xkcd.com/1608/1058:-1094+s.png (1058,1094)] || [http://xkcd.com/1608/1059:-1094+s.png (1059,1094)]|| || || || || [http://www.explainxkcd.com/wiki/images/b/be/1608_1058x1094y_Zoom_out_of_Cotton_trap_room.png Overview]<br>[http://www.explainxkcd.com/wiki/images/1/11/1608_1058x1094y_Zoom_out_of_Cotton_trap_room_red.png Hidden passages in red]||Entire Cotton trap room.|||| | |
|- | |- | ||
| − | + | | [http://xkcd.com/1608/1055:-1095+s.png (1055,1095)] || [http://xkcd.com/1608/1056:-1095+s.png (1056,1095)]|| || || || || [http://www.explainxkcd.com/wiki/images/1/1d/1608_1055x1095y_Coins_in_two_corridors_towards_cotton_trap.png Overview]||Coins in two corridors towards cotton trap.|||| | |
|- | |- | ||
| − | + | | [http://xkcd.com/1608/1058:-1094+s.png (1058,1094)] || [http://xkcd.com/1608/1059:-1094+s.png (1059,1094)]|| || || || || [http://www.explainxkcd.com/wiki/images/2/28/1608_1058x1094y_Cotton_trap_room_with_Ponytail.png Overview]<br>[http://www.explainxkcd.com/wiki/images/4/42/1608_1058x1094y_Cotton_trap_room_with_Ponytail_red.png Hidden passages in red]||Cotton trap room with Ponytail.|||| | |
|- | |- | ||
| − | + | | [http://xkcd.com/1608/1058:-1092+s.png (1058,1092)] || [http://xkcd.com/1608/1059:-1092+s.png (1059,1092)]|| || || || || [http://www.explainxkcd.com/wiki/images/3/32/1608_1058x1092y_Cotton_trap_room_bottom.png Overview]<br>[http://www.explainxkcd.com/wiki/images/7/73/1608_1058x1092y_Cotton_trap_room_bottom_red.png Hidden passages in red]||Cotton trap room bottom.|||| | |
|- | |- | ||
| − | | | + | | N/A || N/A || || || || || [http://www.explainxkcd.com/wiki/images/7/7b/1608_1058x1090y_Zoom_out_of_spark_gap_room_to_bottom_of_hull.png Overview]||Entire spark gap room to bottom of hull.||N/A|| |
| − | | | ||
| − | |||
| − | |||
|- | |- | ||
| − | | | + | | [http://xkcd.com/1608/1057:-1092+s.png (1057,1092)] || [http://xkcd.com/1608/1058:-1092+s.png (1058,1092)]|| || || || || [http://www.explainxkcd.com/wiki/images/4/4d/1608_1057x1092y_Spark_gap_room_with_Cueball_on_the_wall.png Overview]<br>[http://www.explainxkcd.com/wiki/images/6/6a/1608_1058x1090y_Spark_gap_room_only_with_Cueball_on_floor_and_coins_at_bottom_of_hull.png Buttom part to below hull]||Spark gap room|||| |
|- | |- | ||
| − | | | + | | [http://xkcd.com/1608/1061:-1093+s.png (1061,1093)] || [http://xkcd.com/1608/1062:-1093+s.png (1062,1093)]|| || || || || [http://www.explainxkcd.com/wiki/images/a/a2/1608_1061x1093y_Corridor_with_fire_and_hammer_traps.png Overview]<br>[http://www.explainxkcd.com/wiki/images/1/16/1608_1061x1093y_Corridor_with_fire_and_hammer_traps_red.png Hidden passages in red]||Corridor with fire and hammer traps.|||| |
|- | |- | ||
| − | + | | [http://xkcd.com/1608/1061:-1093+s.png (1061,1093)] || [http://xkcd.com/1608/1062:-1093+s.png (1062,1093)]|| || || || || [http://www.explainxkcd.com/wiki/images/1/16/1608_1061x1093y_Corridor_with_fire_and_hammer_traps_red.png Overview]||Corridor with fire and hammer traps - hidden passages in red.|||| | |
| − | |||
|- | |- | ||
| − | + | | [http://xkcd.com/1608/1062:-1094+s.png (1062,1094)] || [http://xkcd.com/1608/1063:-1094+s.png (1063,1094)]|| || || || || [http://www.explainxkcd.com/wiki/images/3/32/1608_1062x1094y_Corridor_to_cave_opening.png Overview]||Corridor to cave opening.|||| | |
| − | |||
| − | |||
| − | |||
|- | |- | ||
| − | | | + | | N/A || N/A || || || || || [http://www.explainxkcd.com/wiki/images/4/45/1608_1063x1091y_Zoom_out_with_spiral_corridor_at_bottom_of_the_hull.png Overview]||Zoom out with spiral corridor at bottom of the hull.||N/A|| |
|- | |- | ||
| − | | | + | | N/A || N/A || || || || || [http://www.explainxkcd.com/wiki/images/c/c4/1608_Entire_Cave_Bridge_and_rear_end.png Overview]<br>[http://www.explainxkcd.com/wiki/images/8/8c/1608_Entire_Cave_Bridge_and_rear_end_red.png Hidden passages in red]||Entire Cave Bridge and rear end.||N/A|| |
|- | |- | ||
| − | + | | N/A || N/A || || || || || [http://www.explainxkcd.com/wiki/images/1/1d/1608_Entire_cave_section.png Overview]||Entire cave section.||N/A|| | |
| − | | | ||
|- | |- | ||
| − | | | + | | N/A || N/A || || || || || [http://www.explainxkcd.com/wiki/images/e/ea/1608_Entire_Cave_and_Glitch_floor_room.png Overview]||Entire Cave and Glitch floor room.||N/A|| |
| − | |||
|- | |- | ||
| − | | | + | | N/A || N/A || || || || || [http://www.explainxkcd.com/wiki/images/5/58/1608_Entire_Cave.png Overview]<br>[http://www.explainxkcd.com/wiki/images/2/24/1608_Entire_Cave_and_shaft_above.png With shaft and room above]||Entire Cave.||N/A|| |
|- | |- | ||
| − | | | + | | [http://xkcd.com/1608/1053:-1093+s.png (1053,1093)] || [http://xkcd.com/1608/1054:-1093+s.png (1054,1093)]|| || || || || [http://www.explainxkcd.com/wiki/images/7/75/1608_1053x1093y_Lake_with_tree_birds_and_puma_on_rock_at_exit_in_the_bottom_left_side_of_the_cave.png Overview]<br>[http://www.explainxkcd.com/wiki/images/8/81/1608_1053x1093y_Lake_with_tree_birds_and_puma_on_rock_at_exit_in_the_bottom_left_side_of_the_cave_red.png Hidden passages in red]||Lake with tree birds and puma on rock at exit in the bottom left side of the cave.|||| |
|- | |- | ||
| − | + | | [http://xkcd.com/1608/1065:-1095+s.png (1065,1095)] || [http://xkcd.com/1608/1066:-1095+s.png (1066,1095)]|| || || || || [http://www.explainxkcd.com/wiki/images/5/5a/1608_1065x1095y_Three_birds_in_the_top_left_side_of_the_cave.png Overview]||Three birds in the top left side of the cave.|||| | |
| − | |||
|- | |- | ||
| − | + | | [http://xkcd.com/1608/1067:-1094+s.png (1067,1094)] || [http://xkcd.com/1608/1068:-1094+s.png (1068,1094)]|| || || || || [http://www.explainxkcd.com/wiki/images/b/b0/1608_1067x1094y_Gazebo_puma_deer_Cueball_with_bow_and_talk_of_Palpatine_in_the_middle_of_the_cave.png Overview]||Gazebo puma deer Cueball with bow and talk of Palpatine in the middle of the cave.|||| | |
|- | |- | ||
| − | + | | [http://xkcd.com/1608/1067:-1097+s.png (1067,1097)] || [http://xkcd.com/1608/1068:-1097+s.png (1068,1097)]|| || || || || [http://www.explainxkcd.com/wiki/images/a/a5/1608_1067x1097y_The_broad_shaft_going_into_the_top_of_the_cave.png Overview]||The broad shaft going into the top of the cave.|||| | |
|- | |- | ||
| − | | | + | | [http://xkcd.com/1608/1069:-1093+s.png (1069,1093)] || [http://xkcd.com/1608/1070:-1093+s.png (1070,1093)]|| || || || || [http://www.explainxkcd.com/wiki/images/6/68/1608_1069x1093y_Deer_and_exit_below_lamp_coin_and_Black_Hat_in_the_bottom_right_side_of_the_cave.png Overview]<br>[http://www.explainxkcd.com/wiki/images/6/69/1608_1069x1093y_Deer_and_exit_below_lamp_coin_and_Black_Hat_in_the_bottom_right_side_of_the_cave_no_coin.png Without coin]||Deer and exit below lamp coin and Black Hat in the bottom right side of the cave.|||| |
|- | |- | ||
| − | + | | [http://xkcd.com/1608/1070:-1095+s.png (1070,1095)] || [http://xkcd.com/1608/1071:-1095+s.png (1071,1095)]|| || || || || [http://www.explainxkcd.com/wiki/images/0/0d/1608_1070x1095y_Lamp_coin_and_Black_Hat_in_the_top_right_side_of_the_cave.png Overview]<br>[http://www.explainxkcd.com/wiki/images/a/aa/1608_1070x1095y_Lamp_coin_and_Black_Hat_in_the_top_right_side_of_the_cave_no_coin.png Without coin]||Lamp coin and Black Hat in the top right side of the cave.|||| | |
|- | |- | ||
| − | + | | [http://xkcd.com/1608/1063:-1099+s.png (1063,1099)] || [http://xkcd.com/1608/1064:-1099+s.png (1064,1099)]|| || || || || [http://www.explainxkcd.com/wiki/images/e/e1/1608_1063x1099y_Corridor_from_shaft_to_the_two_coins_in_corridors.png Overview]||Corridor from shaft to the two coins in corridors.|||| | |
|- | |- | ||
| − | + | | [http://xkcd.com/1608/1067:-1104+s.png (1067,1104)] || [http://xkcd.com/1608/1068:-1104+s.png (1068,1104)]|| || || || || [http://www.explainxkcd.com/wiki/images/0/0b/1608_1067x1104y_Two_coins_in_corridors_and_four_coin_room_above_shaft_to_cave.png Overview]||Two coins in corridors and four coin room above shaft to cave.|||| | |
|- | |- | ||
| − | | | + | | [http://xkcd.com/1608/1070:-1098+s.png (1070,1098)] || [http://xkcd.com/1608/1071:-1098+s.png (1071,1098)]|| || || || || [http://www.explainxkcd.com/wiki/images/d/d6/1608_1070x1098y_Chandelier_room_with_two_coins_above_cave.png Overview]||Chandelier room with two coins above cave.|||| |
|- | |- | ||
| − | | | + | | N/A || N/A || || || || || [http://www.explainxkcd.com/wiki/images/f/f3/1608_1068x1101y_Zoom_out_with_dance_room_and_basketball_and_slinky_stair_at_top_of_hull.png Overview]||Zoom out with dance room and basketball and slinky stair at top of hull.||N/A|| |
| − | |||
| − | |||
| − | |||
|- | |- | ||
| − | | | + | | N/A || N/A || || || || || [http://www.explainxkcd.com/wiki/images/5/5a/1608_1065x1104y_Basket_ball_on_top_of_Destroyer_zoom_out.png Overview]||Basketball on top of Destroyer - zoom out.||N/A|| |
| − | |||
|- | |- | ||
| − | + | | [http://xkcd.com/1608/1063:-1104+s.png (1063,1104)] || [http://xkcd.com/1608/1064:-1104+s.png (1064,1104)]|| || || || || [http://www.explainxkcd.com/wiki/images/4/4e/1608_1063x1104y_Coin_close_to_basket_ball_on_top_of_Destroyer.png Overview]||Coin close to basketball on top of Destroyer.|||| | |
|- | |- | ||
| − | | | + | | [http://xkcd.com/1608/1067:-1104+s.png (1067,1104)] || [http://xkcd.com/1608/1068:-1104+s.png (1068,1104)]|| || || || || [http://www.explainxkcd.com/wiki/images/1/1d/1608_1067x1104y_Basket_ball_on_top_of_Destroyer.png Overview]||Basketball on top of Destroyer.|||| |
|- | |- | ||
| − | | | + | | [http://xkcd.com/1608/1069:-1101+s.png (1069,1101)] || [http://xkcd.com/1608/1070:-1101+s.png (1070,1101)]|| || || || || [http://www.explainxkcd.com/wiki/images/a/a7/1608_1069x1101y_Dancing_room_with_piano.png Overview]||Dancing room with piano.|||| |
|- | |- | ||
| − | | | + | | [http://xkcd.com/1608/1069:-1104+s.png (1069,1104)] || [http://xkcd.com/1608/1070:-1104+s.png (1070,1104)]|| || || || || [http://www.explainxkcd.com/wiki/images/1/1c/1608_1069x1104y_Slinky_stair_case_at_top_of_hull.png Overview]||Slinky stair case at top of hull.|||| |
|- | |- | ||
| − | + | | [http://xkcd.com/1608/1073:-1104+s.png (1073,1104)] || [http://xkcd.com/1608/1074:-1104+s.png (1074,1104)]|| || || || || [http://www.explainxkcd.com/wiki/images/7/79/1608_1073x1104y_Upside_down_room_and_Giddyayup_cowboy_riding_the_ship_at_top_of_hull.png Overview]||Upside down room and Giddyayup cowboy riding the ship at top of hull.|||| | |
| − | |||
| − | |||
|- | |- | ||
| − | | | + | | N/A || N/A || || || || || [http://www.explainxkcd.com/wiki/images/5/52/1608_Entire_Glitch_floor_room.png Overview]<br>[http://www.explainxkcd.com/wiki/images/6/6b/1608_Entire_Glitch_floor_room_red.png Hidden passages in red]<br>[http://www.explainxkcd.com/wiki/images/6/63/1608_Entire_Glitch_floor_room_and_two_close_rooms.png Also including two close rooms]<br>[http://www.explainxkcd.com/wiki/images/d/dd/1608_Entire_Glitch_floor_room_and_two_close_rooms_red.png Hidden passages in red]<br>[http://www.explainxkcd.com/wiki/images/4/49/1608_Entire_area_around_Glitch_floor_room.png Entire area around the room]<br>[http://www.explainxkcd.com/wiki/images/0/00/1608_Entire_area_around_Glitch_floor_room_red.png Hidden passages in red] || Entire Glitch floor room. || N/A || |
|- | |- | ||
| − | + | | [http://xkcd.com/1608/1070:-1089+s.png (1070,1089)] || [http://xkcd.com/1608/1071:-1089+s.png (1071,1089)]|| || || || || [http://www.explainxkcd.com/wiki/images/f/fa/1608_1070x1089y_Bottom_center_of_Glitch_floor_room_with_coin_sign_and_Cueball.png Overview]<br>[http://www.explainxkcd.com/wiki/images/7/71/1608_1070x1089y_Bottom_center_of_Glitch_floor_room_with_coin_sign_and_Cueball_red.png Hidden passages in red]||Bottom center of Glitch floor room with coin sign and Cueball.|||| | |
| − | |||
| − | |||
|- | |- | ||
| − | + | | [http://xkcd.com/1608/1074:-1090+s.png (1074,1090)] || [http://xkcd.com/1608/1075:-1090+s.png (1075,1090)]|| || || || || [http://www.explainxkcd.com/wiki/images/2/2e/1608_1074x1090y_Two_rooms_with_coins_right_of_Glitch_floor_room.png Overview]||Two rooms with coins right of Glitch floor room.|||| | |
|- | |- | ||
| − | + | | [http://xkcd.com/1608/1075:-1088+s.png (1075,1088)] || [http://xkcd.com/1608/1076:-1088+s.png (1076,1088)]|| || || || || [http://www.explainxkcd.com/wiki/images/f/f4/1608_1075x1088y_Canon_protruding_below_the_hull.png Overview]||Canon protruding below the hull.|||| | |
| − | |||
| − | |||
| − | |||
|- | |- | ||
| − | | | + | | N/A || N/A || || || || || [http://www.explainxkcd.com/wiki/images/b/bd/1608_Entire_area_around_the_bridge.png Overview]<br>[http://www.explainxkcd.com/wiki/images/4/4b/1608_Entire_Bridge_and_rear_section.png Entire bridge area]<br>[http://www.explainxkcd.com/wiki/images/f/f1/1608_Entire_Bridge_and_emperor.png Brdige and emperor]<br>[http://www.explainxkcd.com/wiki/images/c/c2/1608_Entire_Bridge_and_globe_of_death.png Bridge and globe of]<br>[http://www.explainxkcd.com/wiki/images/5/54/1608_Actual_Bridge_with_Vader_and_Tarkin.png Actual bridge]<br>[http://www.explainxkcd.com/wiki/images/c/c7/1608_Vader_twice_and_emperor_on_and_near_bridge.png Vader twice and emperor]||Entire area around the bridge.||N/A|| |
|- | |- | ||
| − | + | | [http://xkcd.com/1608/1077:-1107+s.png (1077,1107)] || [http://xkcd.com/1608/1078:-1107+s.png (1078,1107)]|| || || || || [http://www.explainxkcd.com/wiki/images/1/11/1608_1077x1107y_Ponytail_with_paper_plane_and_coin_below_her_on_top_hull.png Overview]||Ponytail with paper plane and coin below her on top hull.|||| | |
|- | |- | ||
| − | | | + | | [http://xkcd.com/1608/1077:-1107+s.png (1077,1107)] || [http://xkcd.com/1608/1078:-1107+s.png (1078,1107)]|| || || || || [http://www.explainxkcd.com/wiki/images/2/20/1608_1077x1107y_Tarkin_on_the_bridge_and_Ponytail_with_paper_plane.png Overview]||Tarkin on the bridge and Ponytail with paper plane.|||| |
|- | |- | ||
| − | | | + | | [http://xkcd.com/1608/1077:-1109+s.png (1077,1109)] || [http://xkcd.com/1608/1078:-1109+s.png (1078,1109)]|| || || || || [http://www.explainxkcd.com/wiki/images/f/fa/1608_1077x1109y_Darth_Vaders_talks_about_Steven_Universe_on_the_bridge_Megan_adjust_antenna.png Overview]||Darth Vader talks about Steven Universe on the bridge Megan adjust antenna.|||| |
|- | |- | ||
| − | + | | [http://xkcd.com/1608/1078:-1111+s.png (1078,1111)] || [http://xkcd.com/1608/1079:-1111+s.png (1079,1111)]|| || || || || [http://www.explainxkcd.com/wiki/images/7/7b/1608_1078x1111y_Globe_of_Death_at_the_top_of_the_Destroyer.png Overview]||Globe of Death at the top of the Destroyer.|||| | |
|- | |- | ||
| − | + | | [http://xkcd.com/1608/1080:-1105+s.png (1080,1105)] || [http://xkcd.com/1608/1081:-1105+s.png (1081,1105)]|| || || || || [http://www.explainxkcd.com/wiki/images/d/d0/1608_1080x1105y_Fire_system_with_pure_oxygen_and_two_coins_room.png Overview]||Fire system with pure oxygen and two coins room.|||| | |
| − | |||
|- | |- | ||
| − | + | | [http://xkcd.com/1608/1080:-1108+s.png (1080,1108)] || [http://xkcd.com/1608/1081:-1108+s.png (1081,1108)]|| || || || || [http://www.explainxkcd.com/wiki/images/7/7e/1608_1080x1108y_Darth_Vaders_gold_bullion_and_Cueball_and_Ponytail_in_small_room_at_the_top_of_the_hull.png Overview]||Darth Vader’s gold bullion and Cueball and Ponytail in small room at the top of the hull.|||| | |
|- | |- | ||
| − | + | | [http://xkcd.com/1608/1081:-1110+s.png (1081,1110)] || [http://xkcd.com/1608/1082:-1110+s.png (1082,1110)]|| || || || || [http://www.explainxkcd.com/wiki/images/e/e8/1608_1081x1110y_Large_crocodile_near_globe_of_death_at_the_top_of_the_hull.png Overview]||Large crocodile near globe of death at the top of the hull.|||| | |
|- | |- | ||
| − | + | | [http://xkcd.com/1608/1083:-1109+s.png (1083,1109)] || [http://xkcd.com/1608/1084:-1109+s.png (1084,1109)]|| || || || || [http://www.explainxkcd.com/wiki/images/6/6b/1608_1083x1109y_The_Emperor_Palpatine_and_his_birds_at_the_top_of_the_hull.png Overview]||The Emperor Palpatine and his birds at the top of the hull.|||| | |
| − | |||
| − | |||
| − | |||
| − | |||
| − | |||
| − | |||
| − | |||
| − | |||
| − | |||
| − | |||
|- | |- | ||
| − | + | | [http://xkcd.com/1608/1087:-1108+s.png (1087,1108)] || [http://xkcd.com/1608/1088:-1108+s.png (1088,1108)]|| || || || || [http://www.explainxkcd.com/wiki/images/0/01/1608_1087x1108y_Coin_behind_the_rear_end_at_the_top_of_the_hull.png Overview]||Coin behind the rear end at the top of the hull.|||| | |
|- | |- | ||
| − | | | + | | N/A || N/A || || || || || [http://www.explainxkcd.com/wiki/images/b/b0/1608_Entire_Prince_of_Persia_maze.png Overview]<br>[http://www.explainxkcd.com/wiki/images/f/fa/1608_Entire_Prince_of_Persia_maze_with_both_exits.png Including both exits]||Entire Prince of Persia maze.||N/A|| |
|- | |- | ||
| − | + | | [http://xkcd.com/1608/1073:-1101+s.png (1073,1101)] || [http://xkcd.com/1608/1074:-1101+s.png (1074,1101)]|| || || || || [http://www.explainxkcd.com/wiki/images/5/5b/1608_1073x1101y_Corridor_left_of_Prince_of_Persia_maze.png Overview]||Corridor left of Prince of Persia maze.|||| | |
| − | |||
|- | |- | ||
| − | + | | [http://xkcd.com/1608/1076:-1101+s.png (1076,1101)] || [http://xkcd.com/1608/1077:-1101+s.png (1077,1101)]|| || || || || [http://www.explainxkcd.com/wiki/images/6/6c/1608_1076x1101y_Left_entrance_to_Prince_of_Persia_maze.png Overview]||Left entrance to Prince of Persia maze.|||| | |
| − | |||
| − | |||
| − | |||
| − | |||
| − | |||
| − | |||
| − | | | ||
| − | |||
| − | |||
| − | |||
| − | |||
|- | |- | ||
| − | + | | [http://xkcd.com/1608/1079:-1102+s.png (1079,1102)] || [http://xkcd.com/1608/1080:-1102+s.png (1080,1102)]|| || || || || [http://www.explainxkcd.com/wiki/images/0/03/1608_1079x1102y_Left_part_of_Prince_of_Persia_maze.png Overview]||Left part of Prince of Persia maze.|||| | |
| − | |||
| − | |||
| − | |||
|- | |- | ||
| − | + | | [http://xkcd.com/1608/1082:-1101+s.png (1082,1101)] || [http://xkcd.com/1608/1083:-1101+s.png (1083,1101)]|| || || || || [http://www.explainxkcd.com/wiki/images/1/1d/1608_1082x1101y_Right_part_and_exit_of_Prince_of_Persia_maze.png Overview]||Right part and exit of Prince of Persia maze.|||| | |
|- | |- | ||
| − | + | | [http://xkcd.com/1608/1084:-1103+s.png (1084,1103)] || [http://xkcd.com/1608/1085:-1103+s.png (1085,1103)]|| || || || || [http://www.explainxkcd.com/wiki/images/4/42/1608_1084x1103y_Right_exit_of_Prince_of_Persia_maze_and_shafts.png Overview]||Right exit of Prince of Persia maze and shafts.|||| | |
| − | |||
| − | |||
| − | |||
| − | |||
| − | |||
|- | |- | ||
| − | | | + | | N/A || N/A || || || || || [http://www.explainxkcd.com/wiki/images/1/10/1608_Ant_Queen_and_alarm_ante_room.png Overview]||Ant Queen and alarm ante room.||N/A|| |
|- | |- | ||
| − | + | | [http://xkcd.com/1608/1075:-1094+s.png (1075,1094)] || [http://xkcd.com/1608/1076:-1094+s.png (1076,1094)]|| || || || || [http://www.explainxkcd.com/wiki/images/0/01/1608_1075x1094y_Corridor_with_alarm_and_trapped_Cueball.png Overview]||Corridor with alarm and trapped Cueball.|||| | |
| − | |||
|- | |- | ||
| − | + | | [http://xkcd.com/1608/1078:-1095+s.png (1078,1095)] || [http://xkcd.com/1608/1079:-1095+s.png (1079,1095)]|| || || || || [http://www.explainxkcd.com/wiki/images/d/d2/1608_1078x1095y_Ant_Queen_in_Destroyer.png Overview]||Ant Queen in Destroyer.|||| | |
|- | |- | ||
| − | | | + | | N/A || N/A || || || || || [http://www.explainxkcd.com/wiki/images/c/ce/1608_Entire_shafts_from_top_to_bottom_towards_the_rear_end.png Overview]||Entire shafts from top to bottom towards the rear end.||N/A|| |
|- | |- | ||
| − | + | | [http://xkcd.com/1608/1084:-1099+s.png (1084,1099)] || [http://xkcd.com/1608/1085:-1099+s.png (1085,1099)]|| || || || || [http://www.explainxkcd.com/wiki/images/5/5a/1608_1084x1099y_Coin_in_the_longest_shaft.png Overview]||Coin in the longest shaft.|||| | |
|- | |- | ||
| − | + | | [http://xkcd.com/1608/1084:-1095+s.png (1084,1095)] || [http://xkcd.com/1608/1085:-1095+s.png (1085,1095)]|| || || || || [http://www.explainxkcd.com/wiki/images/c/c4/1608_1084x1095y_Cueball_and_Megan_hanging_on_to_each_other_in_a_shaft_figuring_this_out.png Overview]||Cueball and Megan hanging on to each other in a shaft figuring this out.|||| | |
|- | |- | ||
| − | + | | N/A || N/A || || || || || [http://www.explainxkcd.com/wiki/images/5/5b/1608_1084x1092y_Zoom_out_on_light_bulb_with_corridor_and_other_room.png Overview]||Zoom out on light bulb with corridor and other room.||N/A|| | |
| − | | | ||
| − | |||
| − | |||
|- | |- | ||
| − | + | | [http://xkcd.com/1608/1084:-1090+s.png (1084,1090)] || [http://xkcd.com/1608/1085:-1090+s.png (1085,1090)]|| || || || || [http://www.explainxkcd.com/wiki/images/d/d2/1608_1084x1090y_Giant_light_bulb_room.png Overview]||Giant light bulb room.|||| | |
| − | |||
| − | |||
| − | |||
| − | |||
|- | |- | ||
| − | | | + | | [http://xkcd.com/1608/1086:-1091+s.png (1086,1091)] || [http://xkcd.com/1608/1087:-1091+s.png (1087,1091)]|| || || || || [http://www.explainxkcd.com/wiki/images/6/63/1608_1086x1091y_Hair_Bun_Girl_proposition_room_and_Cueball_losing_his_sandwich_at_the_rear_end.png Overview]||Hair Bun Girl proposition room and Cueball losing his sandwich at the rear end.|||| |
| − | |||
|- | |- | ||
| − | | | + | | [http://xkcd.com/1608/1086:-1088+s.png (1086,1088)] || [http://xkcd.com/1608/1087:-1088+s.png (1087,1088)]|| || || || || [http://www.explainxkcd.com/wiki/images/4/44/1608_1086x1088y_Coin_bouncing_out_from_a_shaft_below_the_hull.png Overview]||Coin bouncing out from a shaft below the hull.|||| |
|- | |- | ||
| − | + | | [http://xkcd.com/1608/1082:-1088+s.png (1082,1088)] || [http://xkcd.com/1608/1083:-1088+s.png (1083,1088)]|| || || || || [http://www.explainxkcd.com/wiki/images/e/ee/1608_1082x1088y_Megan_hanging_on_below_the_bottom_of_the_hull.png Overview]||Megan hanging on below the bottom of the hull.|||| | |
| − | |||
| − | |||
| − | |||
| − | |||
| − | | Megan hanging on below the bottom of the hull. | ||
|- | |- | ||
| − | | | + | | N/A || N/A || || || || || [http://www.explainxkcd.com/wiki/images/1/11/1608_1088x1098y_Zoom_out_on_shaft_and_small_dead_end_room_at_the_rear_end.png Overview]||Zoom out on shaft and small dead end room at the rear end.||N/A|| |
|- | |- | ||
| − | | | + | | N/A || N/A || || || || || [http://www.explainxkcd.com/wiki/images/4/45/1608_1088x1105y_Zoom_out_on_shafts_and_part_of_the_rear_end.png Overview]||Zoom out on shafts and part of the rear end.||N/A|| |
|- | |- | ||
| − | | | + | | [http://xkcd.com/1608/1090:-1102+s.png (1090,1102)] || [http://xkcd.com/1608/1091:-1102+s.png (1091,1102)]|| || || || || [http://www.explainxkcd.com/wiki/images/3/35/1608_1090x1102y_Coin_in_a_small_indentation_corridor_at_the_rear_end.png Overview]||Coin in a small indentation corridor at the rear end.|||| |
|- | |- | ||
| − | | | + | | [http://xkcd.com/1608/1090:-1088+s.png (1090,1088)] || [http://xkcd.com/1608/1091:-1088+s.png (1091,1088)]|| || || || || [http://www.explainxkcd.com/wiki/images/9/9d/1608_1090x1088y_Megan_want_synesthesia_at_the_rear_end_at_bottom_of_the_hull.png Overview]||Megan wants synesthesia at the rear end at bottom of the hull.|||| |
|} | |} | ||
Revision as of 23:39, 13 March 2016
Another fan of XKCD :) Discovered it through the "new" What if section - and has then proceeded to the beginning of the XKCD comic. And found that I needed this page to fully understand and appreciate many of the comics.
Favorites
I have so far (May 2014) only progressed through the first 400 comics (+ references) but have read all the new since October 2013. So there may be many favorites waiting for me. (Reached no. 400 on May 28th 2014, then 480 September 15th 2014 - slow progress at the moment. 500 in November. 530 reached in January 2015. 540 march 2015. 550 June 2015. 560 mid June 2015. 570 end of July 2015. 582 September 1st 2015. 585 October 20th. 591 February 14th 2016).
This is just a list of some comics I really appreciate:
- 1314: Photos
- 289: Alone
- 1024: Error Code
- 505: A Bunch of Rocks
- 355: Couple
- 356: Nerd Sniping
- 372: To Be Wanted
- 420: Jealousy
- 435: Purity (Hey - I'm a physicist - what would you expect?)
- 438: Internet Argument
- 482: Height
- 562: Parking
- 150: Grownups
- 540: Base System
- 1141: Two Years
- 1123: The Universal Label
- 1515: Basketball Earth
- 1519: Venus
- 1520: Degree-Off
- 1534: Beer. (I do not like beer!)
- 551: Etch-a-Sketch
- 926: Time Vulture
- 1608: Hoverboard
- 1633: Possible Undiscovered Planets (Hey I guessed he would post a comic about this the day before the release :-)
- 1644: Stargazing (This is how I feel about astronomy ;-)
Sandbox
| Tiles (X, Y) | References | ||||||||
|---|---|---|---|---|---|---|---|---|---|
| Defining | Secondary? | S W |
L O T R |
T. E. |
Other | Overview links | Description | Transcript | Explanation |
| N/A | N/A | Overview Hidden passages in red |
Everything Left of play area. | N/A | |||||
| N/A | N/A | Overview Hidden passages in red |
Entire Volcano plateau. | N/A | |||||
| N/A | N/A | Overview Hidden passages in red |
Left of play area to Kite. | N/A | |||||
| N/A | N/A | Overview Hidden passages in red |
Entire Volcano. | N/A | |||||
| (928,1082) | (929,1082) | Overview | At the end of all things. | ||||||
| (933,1083) | (934,1083) | Overview | Coin and boulders. | ||||||
| (936,1084) | (937,1084) | Overview | Basketball on the volcano. | ||||||
| (937,1085) | (938,1085) | Overview | Old man walking up the volcano. | ||||||
| (940,1087) | (941,1087) | Overview | Duck at the left crater top. | ||||||
| N/A | N/A | Overview | Left Volcano Top | N/A | |||||
| N/A | N/A | Overview Hidden passages in red Zoom in left part Hidden passages in red Entire left part Hidden passages in red Shaft in lake in red Zoom in central part Hidden passages in red Entire Right part Hidden passages in red Shaft into lair below Hidden passages in red |
Entire Lava lake | N/A | |||||
| (941,1084) | (942,1084) | Overview | Megan’s treasure hoard. | ||||||
| (944,1083) | (945,1083) | Overview Hidden passages in red |
Rock with Gandalf in Lava lake. | ||||||
| (950,1084) | (951,1084) | Overview Hidden passages in red |
Quadcopters over lava lake right. | ||||||
| N/A | N/A | Overview Hidden passages in red |
Entire Lava lair - zoom out. | N/A | |||||
| (944,1079) | (945,1079) | Overview Hidden passages in red |
Trending on twitter cave in lair and Lava lake bottom shaft. | ||||||
| (945,1074) | (946,1074) | Overview | Elon Musk’s cave in lair. | ||||||
| (947,1073) | (948,1073) | Overview | Antenna cave in lair. | ||||||
| N/A | N/A | Overview Extra zoom out Hidden passages in red |
Right Volcano Top | N/A | |||||
| (952,1087) | (953,1087) | Overview | Ring of power and lave floor at the right crater top. | ||||||
| (956,1085) | (957,1085) | Overview | Megan sliding down slope on snow sleigh. | ||||||
| (956,1088) | (957,1088) | Overview | Eagles over right crater top. | ||||||
| (958,1083) | (959,1083) | Overview | Ponytail racing down the steep slope on a bike. | ||||||
| (960,1081) | (961,1081) | Overview | Tell my wife why you left me there. | ||||||
| (962,1080) | (963,1080) | Overview | It becomes a V7 if the volcano erupts. | ||||||
| (964,1078) | (965,1078) | Overview | Megan reading for children about Sauron’s ring. | ||||||
| (969,1077) | (970,1077) | Overview | Vaping Earth. | ||||||
| (970,1077) | (971,1077) | Overview Hidden passages in red |
Kite and weird bug. | ||||||
| (976,1079) | (977,1079) | Overview | Space capsule with parachutes. | ||||||
| (978,1077) | (979,1077) | Overview | Girl running to other girl and small forest. | ||||||
| N/A | N/A | Overview Hidden passages in red |
Entire well - zoom out. | N/A | |||||
| (980,1077) | (981,1077) | Overview | Well top. | ||||||
| (980,1073) | (981,1073) | Overview Hidden passages in red |
Well bottom. | ||||||
| N/A | N/A | Overview Without coin |
Entire gas station with birds above | N/A | |||||
| (982,1077) | (983,1077) | Overview | Gas station with x-wing. | ||||||
| (982,1079) | (983,1079) | Overview Without coin |
Birds with coin. | ||||||
| (986,1076) | (987,1076) | Overview | Our kingdom from a cliff. | ||||||
| (987,1075) | (988,1075) | Overview | Hamster ball bowling. | ||||||
| (990,1074) | (991,1074) | Overview | If loving you is wrong I don’t want to and Beret Guy following insects | ||||||
| N/A | N/A | Overview Hidden passages in red Central hidden passage Hidden passages in red |
Entire Washington monument | N/A | |||||
| (994,1074) | (995,1074) | Overview Hidden passages in red |
Base of Washington monument with Cueball and Megan | ||||||
| (995,1083) | (996,1083) | Overview | Tip of Washington monument with Cueball and White Hat | ||||||
| N/A | N/A | Overview | Entire floating rock island - zoom out. | N/A | |||||
| (989,1112) | (990,1112) | Overview | Top left of floating rock island with coin. | ||||||
| (993,1112) | (994,1112) | Overview | Top right of floating rock island with base jumpers. | ||||||
| (992,1109) | (993,1109) | Overview | Bottom of floating rock island with coin. | ||||||
| N/A | N/A | Overview With starting view |
Entire Play Area - zoom out. | N/A | |||||
| (1000,1074) | (1001,1074) | Overview Hidden passages in red |
The Play Area. | ||||||
| N/A | N/A | Overview | Everything Right of Washington monument. | N/A | |||||
| (1004,1074) | (1005,1074) | Overview | Cueball outside play area. | ||||||
| (1008,1074) | (1009,1074) | Overview | Megan points at Runner after forest. | ||||||
| (1010,1073) | (1011,1073) | Overview | Cliff with rock and cactus. | ||||||
| N/A | N/A | Overview | Entire wires from ground to Runner. | N/A | |||||
| (1013,1073) | (1014,1073) | Overview | Three wires and people holding on on the ground | ||||||
| (1014,1078) | (1015,1078) | Overview | Three wires Megan hanging on that reaches up to three anchors in the bottom hull of the Runner. | ||||||
| N/A | N/A | Overview | Ponytail in the dunes - zoom out. | N/A | |||||
| (1015,1073) | (1016,1073) | Overview | Ponytail in the dunes. | ||||||
| (1017,1073) | (1018,1073) | Overview | The largest dune. | ||||||
| N/A | N/A | Overview Hidden passages in red |
Entire ocean. | N/A | |||||
| (1019,1073) | (1020,1073) | Overview Hidden passages in red |
Megan rates the Sea. | ||||||
| (1022,1073) | (1023,1073) | Overview Hidden passages in red |
Rouge wave. | ||||||
| (1026,1073) | (1027,1073) | Overview | Ruins with Cueball singing of Spiders and Panama. | ||||||
| (1029,1073) | (1030,1073) | Overview | Ponytail flying. | ||||||
| N/A | N/A | Overview | Entire forest - zoom out. | N/A | |||||
| (1032,1074) | (1033,1074) | Overview | Left part of forest. | ||||||
| (1034,1073) | (1035,1073) | Overview | Right part of forest. | ||||||
| (1038,1073) | (1039,1073) | Overview | Wedding and picnic. | ||||||
| (1042,1074) | (1043,1074) | Overview | Cemetery. | ||||||
| (1046,1074) | (1047,1074) | Overview | Huge foot. | ||||||
| N/A | N/A | Overview | Pyramid Entire - zoom out. | N/A | |||||
| (1048,1074) | (1049,1074) | Overview | Pyramid protip. | ||||||
| (1050,1076) | (1051,1076) | Overview | Pyramid tip. | ||||||
| (1053,1074) | (1054,1074) | Overview | Pyramid Right bottom. | ||||||
| (1056,1074) | (1057,1074) | Overview | Flat and bare ground. | ||||||
| (1059,1074) | (1060,1074) | Overview | Flat grassy ground. | ||||||
| (1063,1075) | (1064,1075) | Overview | Small cliff or hill. | ||||||
| (1066,1075) | (1067,1075) | Overview | The three T's. | ||||||
| (1071,1074) | (1072,1074) | Overview Hidden passages in red |
Coin over grass hole. | ||||||
| (1073,1074) | (1074,1074) | Overview | Ponytail and bird black hat on a stick and Cueball whistling. | ||||||
| (1078,1074) | (1079,1074) | Overview | Small stone pile. | ||||||
| (1081,1074) | (1082,1074) | Overview | Two birds and coin above them. | ||||||
| (1086,1074) | (1087,1074) | Overview | Pedestal. | ||||||
| (1088,1074) | (1089,1074) | Overview | Medusa and floating earth. | ||||||
| (1093,1074) | (1094,1074) | Overview | White Hat hiding in the grass. | ||||||
| (1095,1075) | (1096,1075) | Overview | Lollipop plant and coin. | ||||||
| (1098,1074) | (1099,1074) | Overview | Drifting Cueball. | ||||||
| (1103,1074) | (1104,1074) | Overview | Just grass. | ||||||
| (1107,1075) | (1108,1075) | Overview | Storks nest at right end of the world with 10 coins. | ||||||
| N/A | N/A | Overview Also with wires Also with torpedoes |
Entire Rebel Blockade Runner | N/A | |||||
| (1012,1078) | (1013,1078) | Overview | Bridge on the Rebel Blockade Runner. | ||||||
| (1017,1078) | (1018,1078) | Overview | Death Star Plans in the Rebel Blockade Runner. | ||||||
| (1018,1079) | (1019,1079) | Overview | Top rear end of the Rebel Blockade Runner. | ||||||
| (1020,1078) | (1021,1078) | Overview | Bottom rear end of the Rebel Blockade Runner. | ||||||
| N/A | N/A | Overview | Entire torpedoes rain from Runner to Destroyer. | N/A | |||||
| (1019,1081) | (1020,1081) | Overview | Torpedoes just above Runner with coin. | ||||||
| (1020,1083) | (1021,1083) | Overview | Torpedoes two steps above Runner with Beret Guy. | ||||||
| (1023,1085) | (1024,1085) | Overview | Torpedoes three steps above Runner. | ||||||
| (1025,1087) | (1026,1087) | Overview | Torpedoes two steps below Destroyer with exploding torpedoes. | ||||||
| (1029,1089) | (1030,1089) | Overview | Torpedoes one step below Destroyer with coin. | ||||||
| (1034,1091) | (1035,1091) | Overview | Torpedo canon below Destroyer. | ||||||
| N/A | N/A | Overview | Entire Star Destroyer. | N/A | |||||
| N/A | N/A | Overview Hidden passages in red |
Entire front end. | N/A | |||||
| N/A | N/A | Overview | The very tip of the front end. | N/A | |||||
| (1002,1094) | (1003,1094) | Overview | Very front with Cueball looking out at bottom of hull. | ||||||
| (1004,1095) | (1005,1095) | Overview Hidden passages in red |
Very front with playpen balls pit at top of hull. | ||||||
| (1006,1095) | (1007,1095) | Overview | Piñata and Cueball with lightsaber at top of hull. | ||||||
| (1007,1094) | (1008,1094) | Overview | Shaft and corridor at bottom of hull. | ||||||
| (1010,1094) | (1011,1094) | Overview Hidden passages in red |
Swimming pool with Ponytail jumping at bottom of hull. | ||||||
| (1011,1096) | (1012,1096) | Overview | Shaft and corridor with three coins at top of hull. | ||||||
| (1015,1093) | (1016,1093) | Overview | Dead end shaft with rubbles at bottom of hull. | ||||||
| N/A | N/A | Overview | Zoom out of shaft and corridors with Hairy looking down a shaft at top of hull. | N/A | |||||
| (1016,1095) | (1017,1095) | Overview | Hairy looking down a shaft at top of hull. | ||||||
| (1023,1095) | (1024,1095) | Overview | Three coins room and shafts. | ||||||
| (1023,1097) | (1024,1097) | Overview | Triple coins and a single coin on top of a shaft at top of hull. | ||||||
| N/A | N/A | Overview | Zoom out of shaft and corridors with ledge at bottom of hull. | N/A | |||||
| (1026,1093) | (1027,1093) | Overview | Shall not not pass room and parachutes at one of two ledges at bottom of hull. | ||||||
| (1026,1095) | (1027,1095) | Overview | Two coins room and shafts. | ||||||
| (1031,1095) | (1032,1095) | Overview | Steven Universe family and ice cream prediction. | ||||||
| N/A | N/A | Overview Hidden passages in red |
Entire Rotary section. | N/A | |||||
| (1029,1097) | (1030,1097) | Overview | Empty room and Cueball on corridor going to rotary at top of hull. | ||||||
| (1033,1095) | (1034,1095) | Overview | The rotary. | ||||||
| (1034,1091) | (1035,1091) | Overview | Photon canon Tetris piece and mini robot at bottom of hull. | ||||||
| (1038,1092) | (1039,1092) | Overview | Shaft corridor with coin and room with coin over ledge at bottom of hull. | ||||||
| (1038,1094) | (1039,1094) | Overview | Giant octopus in Destroyer. | ||||||
| (1038,1095) | (1039,1095) | Overview | Hamster ball and stilts room. | ||||||
| (1043,1093) | (1044,1093) | Overview | Box with horns and coin room. | ||||||
| N/A | N/A | Overview | Zoom out of three empty rooms near bottom of hull. | N/A | |||||
| (1046,1097) | (1047,1097) | Overview | Corridor with coin. | ||||||
| (1048,1095) | (1049,1095) | Overview | Two hoverboards room. | ||||||
| N/A | N/A | Overview | Zoom out with dead end corridor car room and shaft at top of hull. | N/A | |||||
| (1048,1099) | (1049,1099) | Overview | Cueball on hood of car room and a giant step with coins at top of hull. | ||||||
| (1049,1090) | (1050,1090) | Overview | Atmosphere worry and car room at bottom of hull. | ||||||
| (1053,1091) | (1054,1091) | Overview | Ponytail flying up a shaft towards a coin. | ||||||
| (1055,1090) | (1056,1090) | Overview | Trap covered with leaves and flying Ponytail at bottom of hull. | ||||||
| (1053,1094) | (1054,1094) | Overview | Corridor and shaft with coin. | ||||||
| N/A | N/A | Overview Zoom out to entire area |
Entire Corridor peristalsis and colon. | N/A | |||||
| (1054,1099) | (1055,1099) | Overview | Corridor peristalsis and two coin rooms at top of hull. | ||||||
| (1055,1099) | (1056,1099) | Overview | Corridor peristalsis and colon. | ||||||
| (1058,1100) | (1059,1100) | Overview | Colon like structure with Ponytail and Cueball sliding down. | ||||||
| (1058,1102) | (1059,1102) | Overview | Huge step and three room with coin and Cueball looking into shaft at top of hull. | ||||||
| (1060,1099) | (1061,1099) | Overview | Coin in corridor under Buffer stop room. | ||||||
| (1060,1103) | (1061,1103) | Overview | Canon with coin on top of hull. | ||||||
| (1062,1101) | (1063,1101) | Overview | Coin in corridor below mining company in dead end corridor. | ||||||
| (1063,1102) | (1064,1102) | Overview | Mining company in dead end corridor also coin on top of hull. | ||||||
| N/A | N/A | Overview Hidden passages in red Entire area around the rooms Hidden passages in red |
Entire cotton trap and spark gap room. | N/A | |||||
| (1058,1094) | (1059,1094) | Overview Hidden passages in red |
Entire Cotton trap room. | ||||||
| (1055,1095) | (1056,1095) | Overview | Coins in two corridors towards cotton trap. | ||||||
| (1058,1094) | (1059,1094) | Overview Hidden passages in red |
Cotton trap room with Ponytail. | ||||||
| (1058,1092) | (1059,1092) | Overview Hidden passages in red |
Cotton trap room bottom. | ||||||
| N/A | N/A | Overview | Entire spark gap room to bottom of hull. | N/A | |||||
| (1057,1092) | (1058,1092) | Overview Buttom part to below hull |
Spark gap room | ||||||
| (1061,1093) | (1062,1093) | Overview Hidden passages in red |
Corridor with fire and hammer traps. | ||||||
| (1061,1093) | (1062,1093) | Overview | Corridor with fire and hammer traps - hidden passages in red. | ||||||
| (1062,1094) | (1063,1094) | Overview | Corridor to cave opening. | ||||||
| N/A | N/A | Overview | Zoom out with spiral corridor at bottom of the hull. | N/A | |||||
| N/A | N/A | Overview Hidden passages in red |
Entire Cave Bridge and rear end. | N/A | |||||
| N/A | N/A | Overview | Entire cave section. | N/A | |||||
| N/A | N/A | Overview | Entire Cave and Glitch floor room. | N/A | |||||
| N/A | N/A | Overview With shaft and room above |
Entire Cave. | N/A | |||||
| (1053,1093) | (1054,1093) | Overview Hidden passages in red |
Lake with tree birds and puma on rock at exit in the bottom left side of the cave. | ||||||
| (1065,1095) | (1066,1095) | Overview | Three birds in the top left side of the cave. | ||||||
| (1067,1094) | (1068,1094) | Overview | Gazebo puma deer Cueball with bow and talk of Palpatine in the middle of the cave. | ||||||
| (1067,1097) | (1068,1097) | Overview | The broad shaft going into the top of the cave. | ||||||
| (1069,1093) | (1070,1093) | Overview Without coin |
Deer and exit below lamp coin and Black Hat in the bottom right side of the cave. | ||||||
| (1070,1095) | (1071,1095) | Overview Without coin |
Lamp coin and Black Hat in the top right side of the cave. | ||||||
| (1063,1099) | (1064,1099) | Overview | Corridor from shaft to the two coins in corridors. | ||||||
| (1067,1104) | (1068,1104) | Overview | Two coins in corridors and four coin room above shaft to cave. | ||||||
| (1070,1098) | (1071,1098) | Overview | Chandelier room with two coins above cave. | ||||||
| N/A | N/A | Overview | Zoom out with dance room and basketball and slinky stair at top of hull. | N/A | |||||
| N/A | N/A | Overview | Basketball on top of Destroyer - zoom out. | N/A | |||||
| (1063,1104) | (1064,1104) | Overview | Coin close to basketball on top of Destroyer. | ||||||
| (1067,1104) | (1068,1104) | Overview | Basketball on top of Destroyer. | ||||||
| (1069,1101) | (1070,1101) | Overview | Dancing room with piano. | ||||||
| (1069,1104) | (1070,1104) | Overview | Slinky stair case at top of hull. | ||||||
| (1073,1104) | (1074,1104) | Overview | Upside down room and Giddyayup cowboy riding the ship at top of hull. | ||||||
| N/A | N/A | Overview Hidden passages in red Also including two close rooms Hidden passages in red Entire area around the room Hidden passages in red |
Entire Glitch floor room. | N/A | |||||
| (1070,1089) | (1071,1089) | Overview Hidden passages in red |
Bottom center of Glitch floor room with coin sign and Cueball. | ||||||
| (1074,1090) | (1075,1090) | Overview | Two rooms with coins right of Glitch floor room. | ||||||
| (1075,1088) | (1076,1088) | Overview | Canon protruding below the hull. | ||||||
| N/A | N/A | Overview Entire bridge area Brdige and emperor Bridge and globe of Actual bridge Vader twice and emperor |
Entire area around the bridge. | N/A | |||||
| (1077,1107) | (1078,1107) | Overview | Ponytail with paper plane and coin below her on top hull. | ||||||
| (1077,1107) | (1078,1107) | Overview | Tarkin on the bridge and Ponytail with paper plane. | ||||||
| (1077,1109) | (1078,1109) | Overview | Darth Vader talks about Steven Universe on the bridge Megan adjust antenna. | ||||||
| (1078,1111) | (1079,1111) | Overview | Globe of Death at the top of the Destroyer. | ||||||
| (1080,1105) | (1081,1105) | Overview | Fire system with pure oxygen and two coins room. | ||||||
| (1080,1108) | (1081,1108) | Overview | Darth Vader’s gold bullion and Cueball and Ponytail in small room at the top of the hull. | ||||||
| (1081,1110) | (1082,1110) | Overview | Large crocodile near globe of death at the top of the hull. | ||||||
| (1083,1109) | (1084,1109) | Overview | The Emperor Palpatine and his birds at the top of the hull. | ||||||
| (1087,1108) | (1088,1108) | Overview | Coin behind the rear end at the top of the hull. | ||||||
| N/A | N/A | Overview Including both exits |
Entire Prince of Persia maze. | N/A | |||||
| (1073,1101) | (1074,1101) | Overview | Corridor left of Prince of Persia maze. | ||||||
| (1076,1101) | (1077,1101) | Overview | Left entrance to Prince of Persia maze. | ||||||
| (1079,1102) | (1080,1102) | Overview | Left part of Prince of Persia maze. | ||||||
| (1082,1101) | (1083,1101) | Overview | Right part and exit of Prince of Persia maze. | ||||||
| (1084,1103) | (1085,1103) | Overview | Right exit of Prince of Persia maze and shafts. | ||||||
| N/A | N/A | Overview | Ant Queen and alarm ante room. | N/A | |||||
| (1075,1094) | (1076,1094) | Overview | Corridor with alarm and trapped Cueball. | ||||||
| (1078,1095) | (1079,1095) | Overview | Ant Queen in Destroyer. | ||||||
| N/A | N/A | Overview | Entire shafts from top to bottom towards the rear end. | N/A | |||||
| (1084,1099) | (1085,1099) | Overview | Coin in the longest shaft. | ||||||
| (1084,1095) | (1085,1095) | Overview | Cueball and Megan hanging on to each other in a shaft figuring this out. | ||||||
| N/A | N/A | Overview | Zoom out on light bulb with corridor and other room. | N/A | |||||
| (1084,1090) | (1085,1090) | Overview | Giant light bulb room. | ||||||
| (1086,1091) | (1087,1091) | Overview | Hair Bun Girl proposition room and Cueball losing his sandwich at the rear end. | ||||||
| (1086,1088) | (1087,1088) | Overview | Coin bouncing out from a shaft below the hull. | ||||||
| (1082,1088) | (1083,1088) | Overview | Megan hanging on below the bottom of the hull. | ||||||
| N/A | N/A | Overview | Zoom out on shaft and small dead end room at the rear end. | N/A | |||||
| N/A | N/A | Overview | Zoom out on shafts and part of the rear end. | N/A | |||||
| (1090,1102) | (1091,1102) | Overview | Coin in a small indentation corridor at the rear end. | ||||||
| (1090,1088) | (1091,1088) | Overview | Megan wants synesthesia at the rear end at bottom of the hull. | ||||||

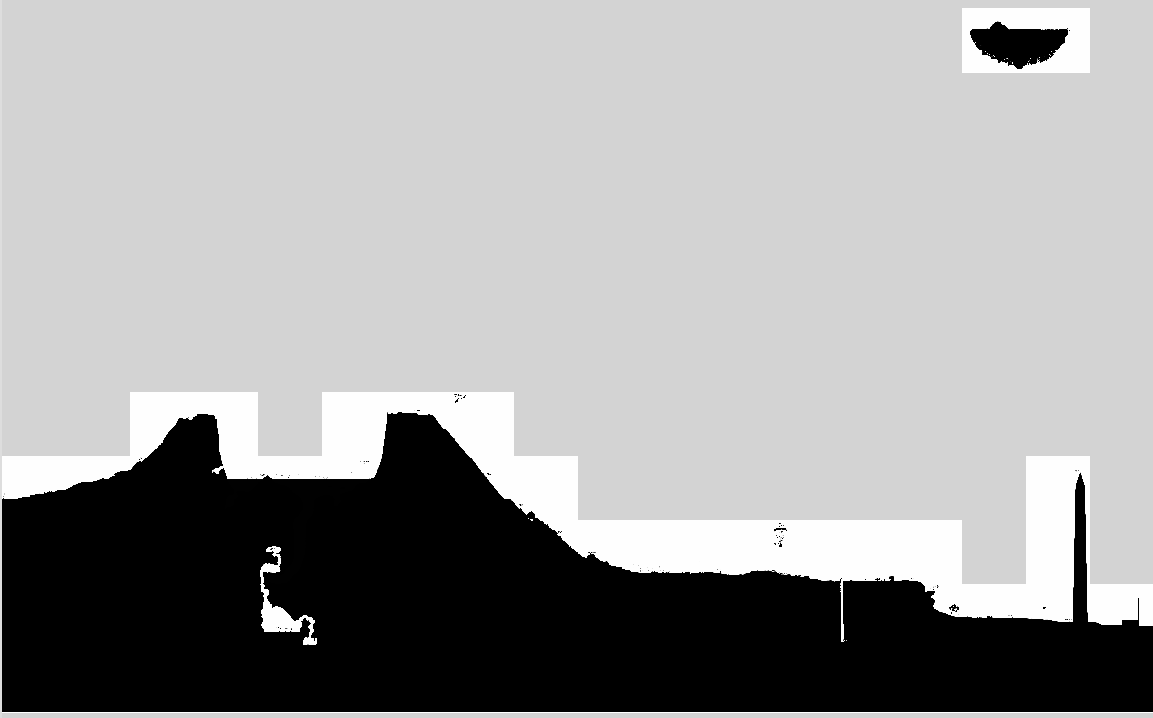
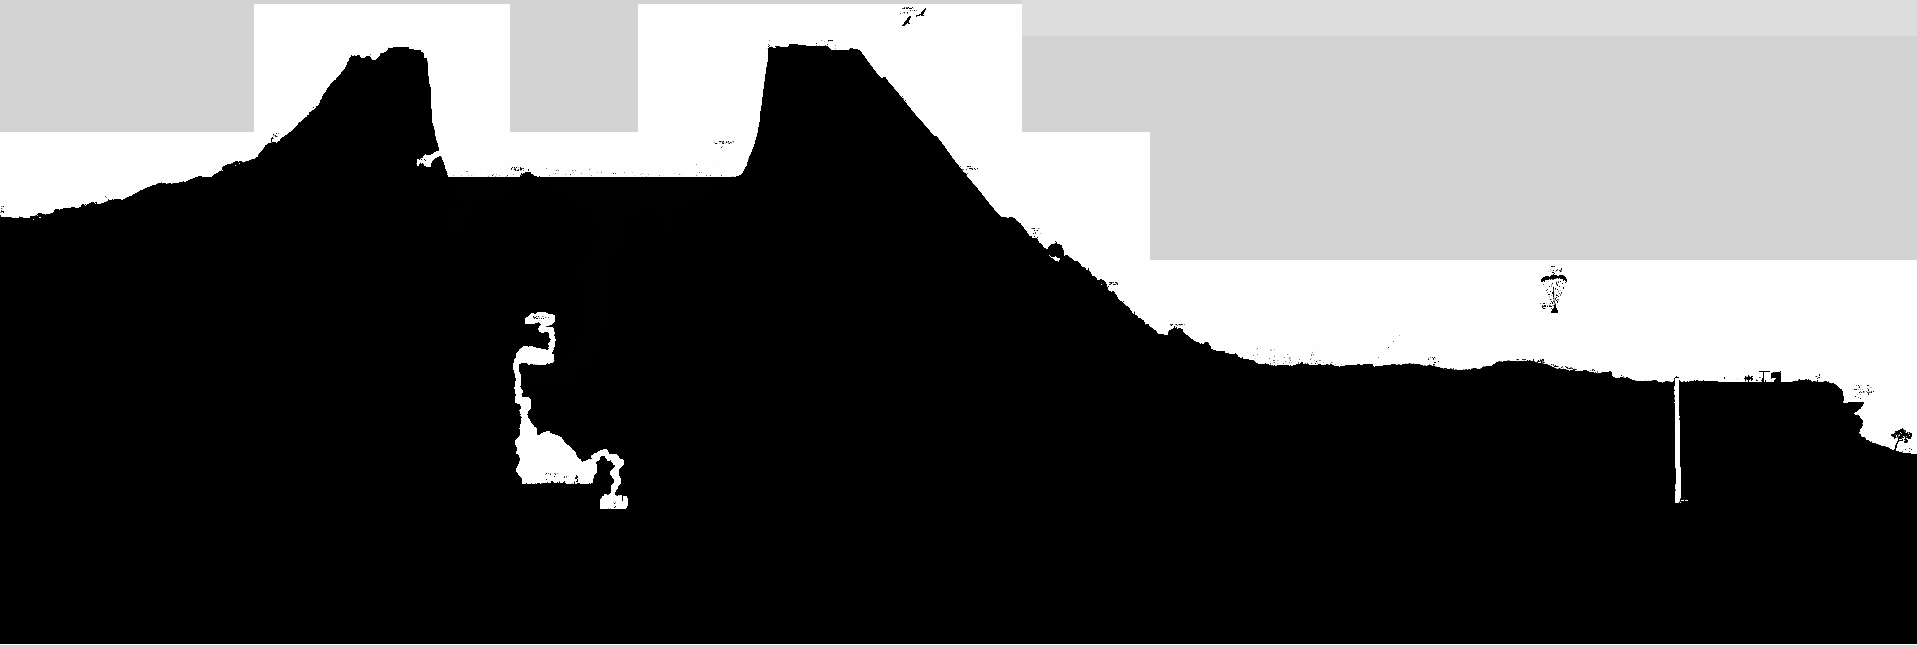
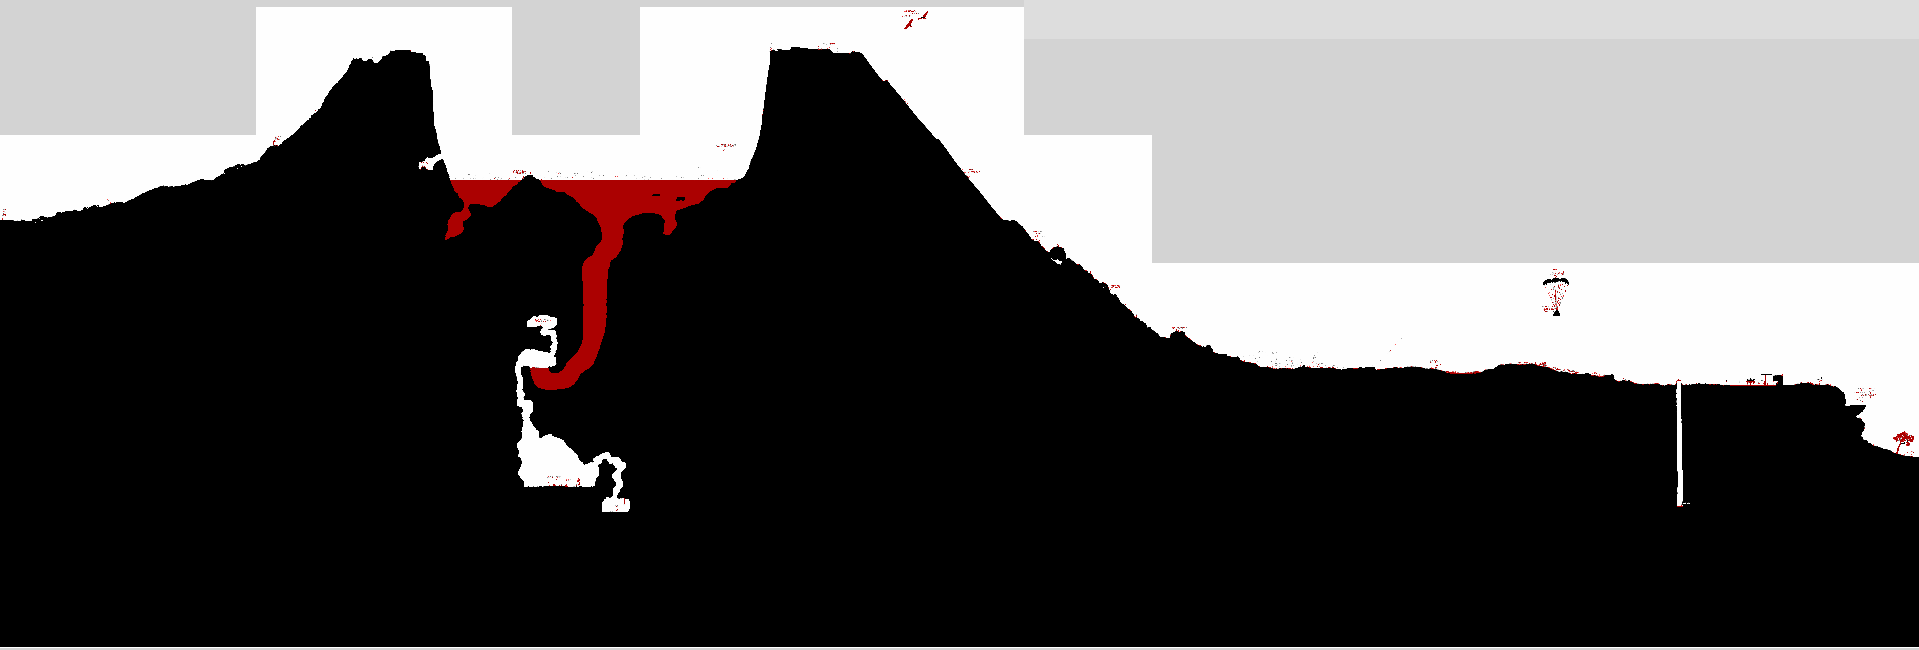
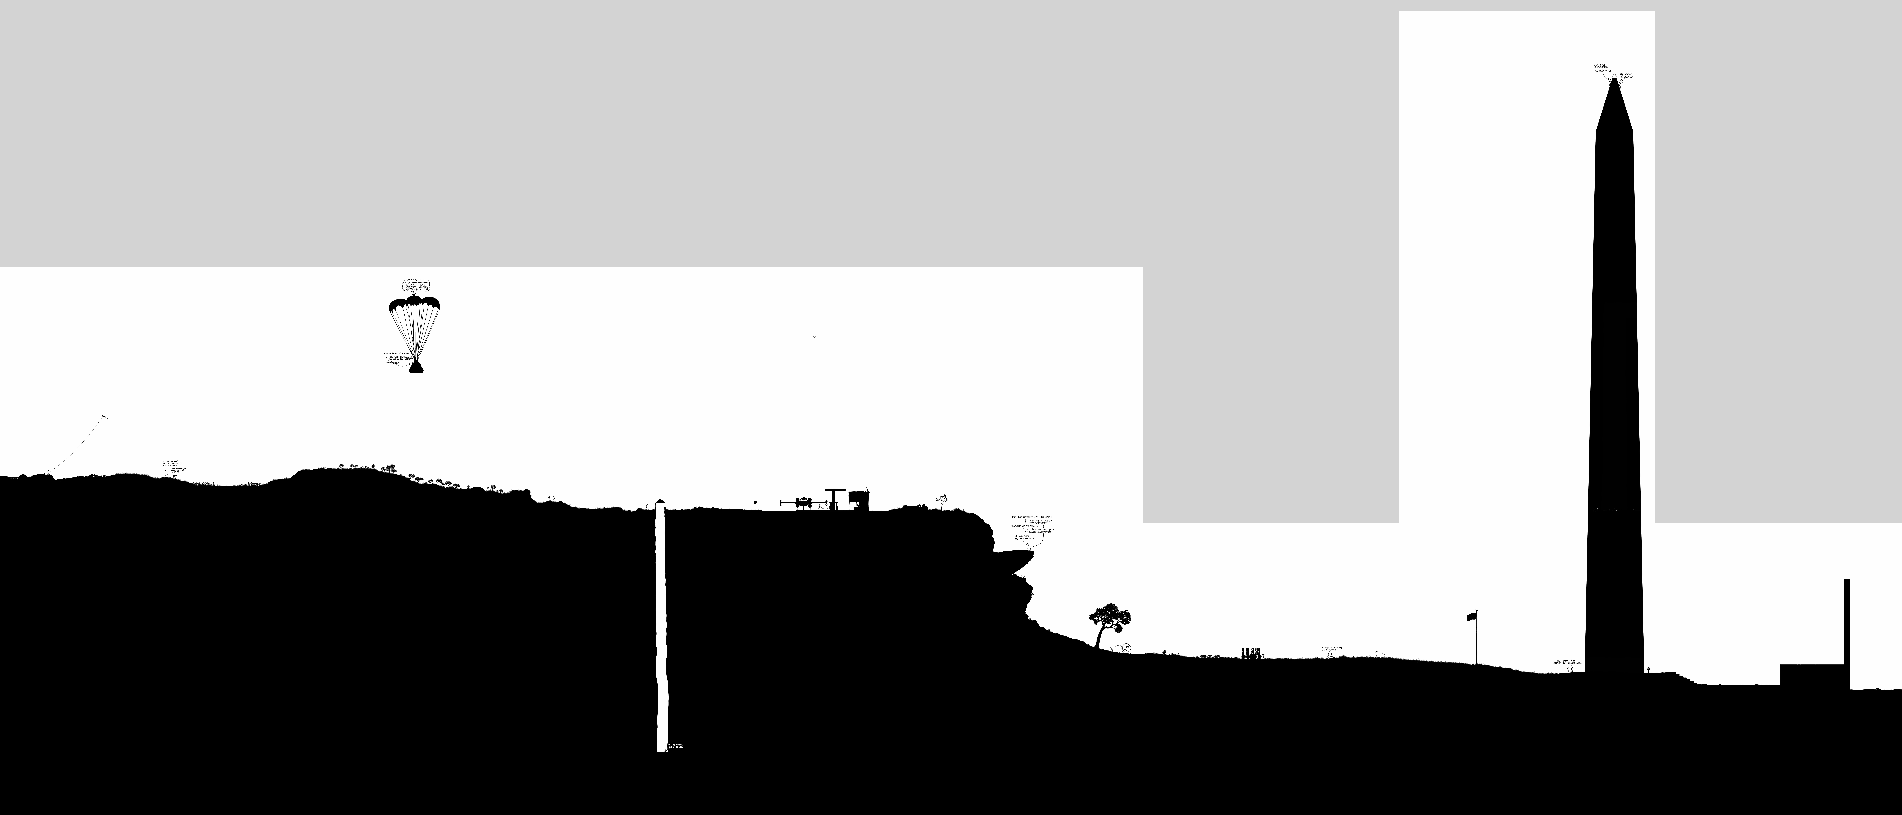
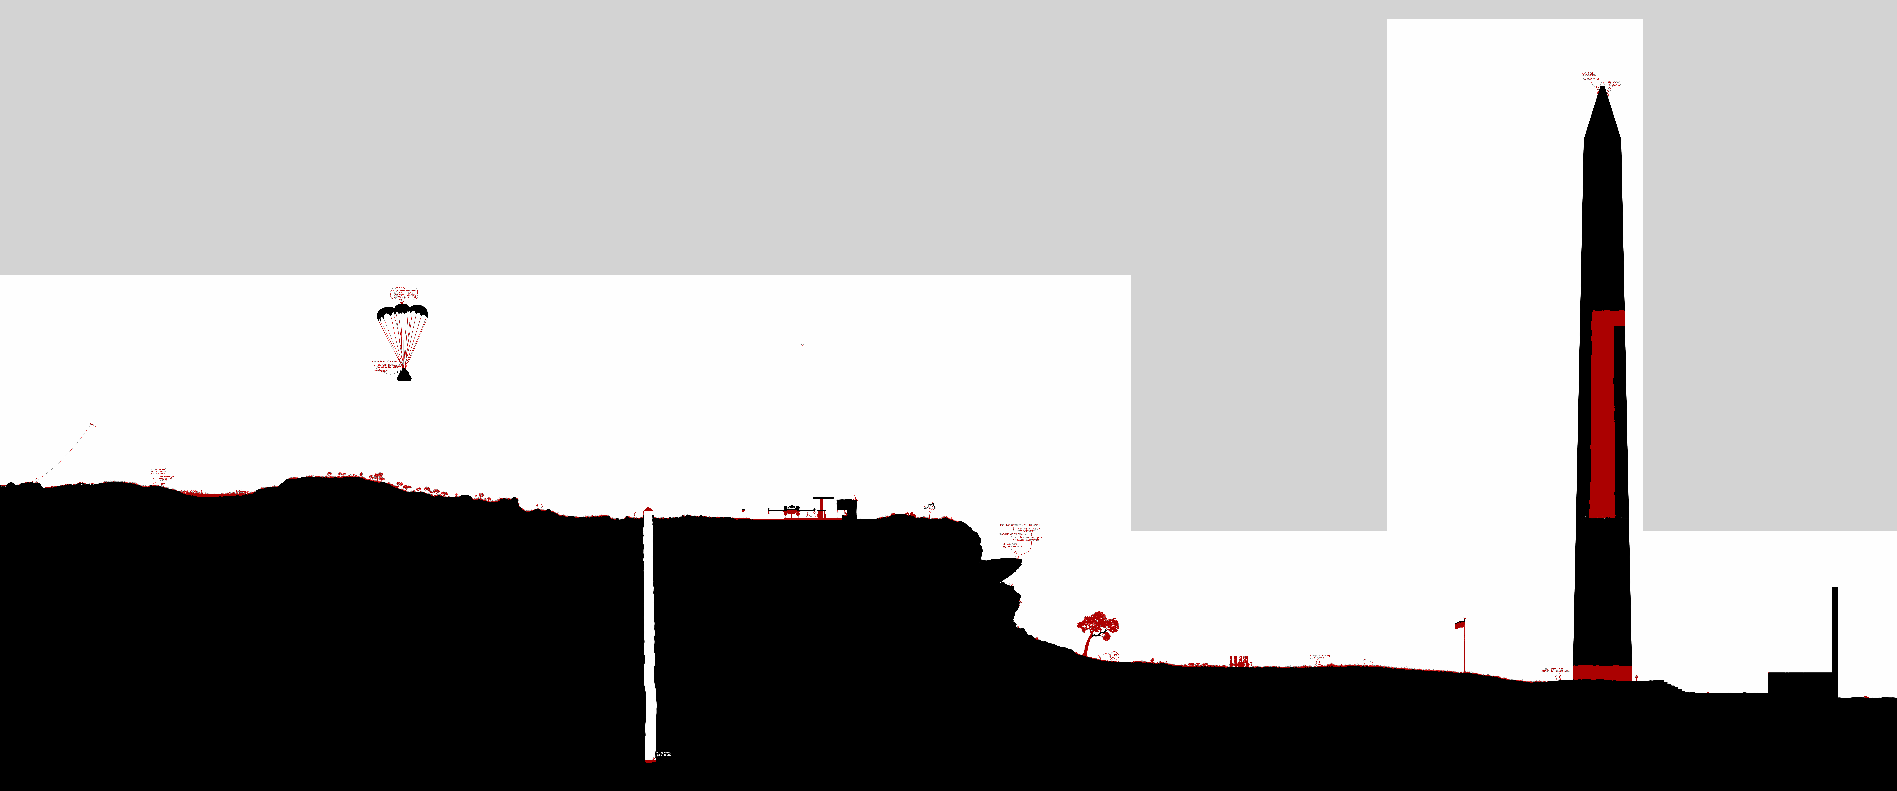
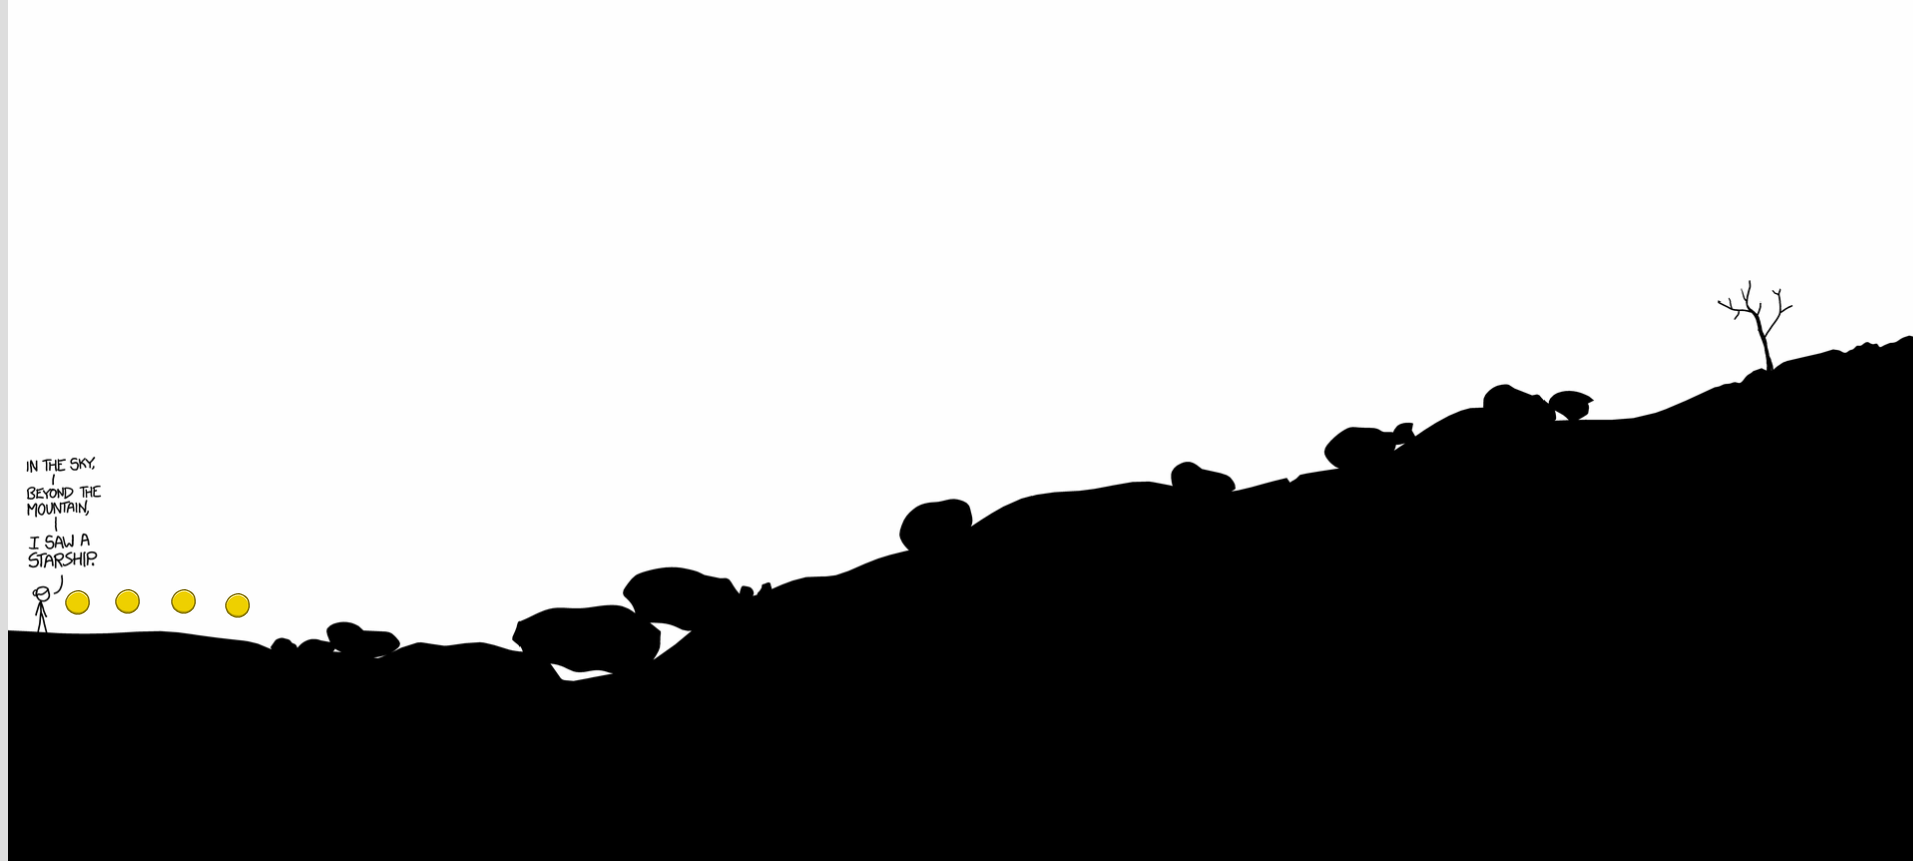
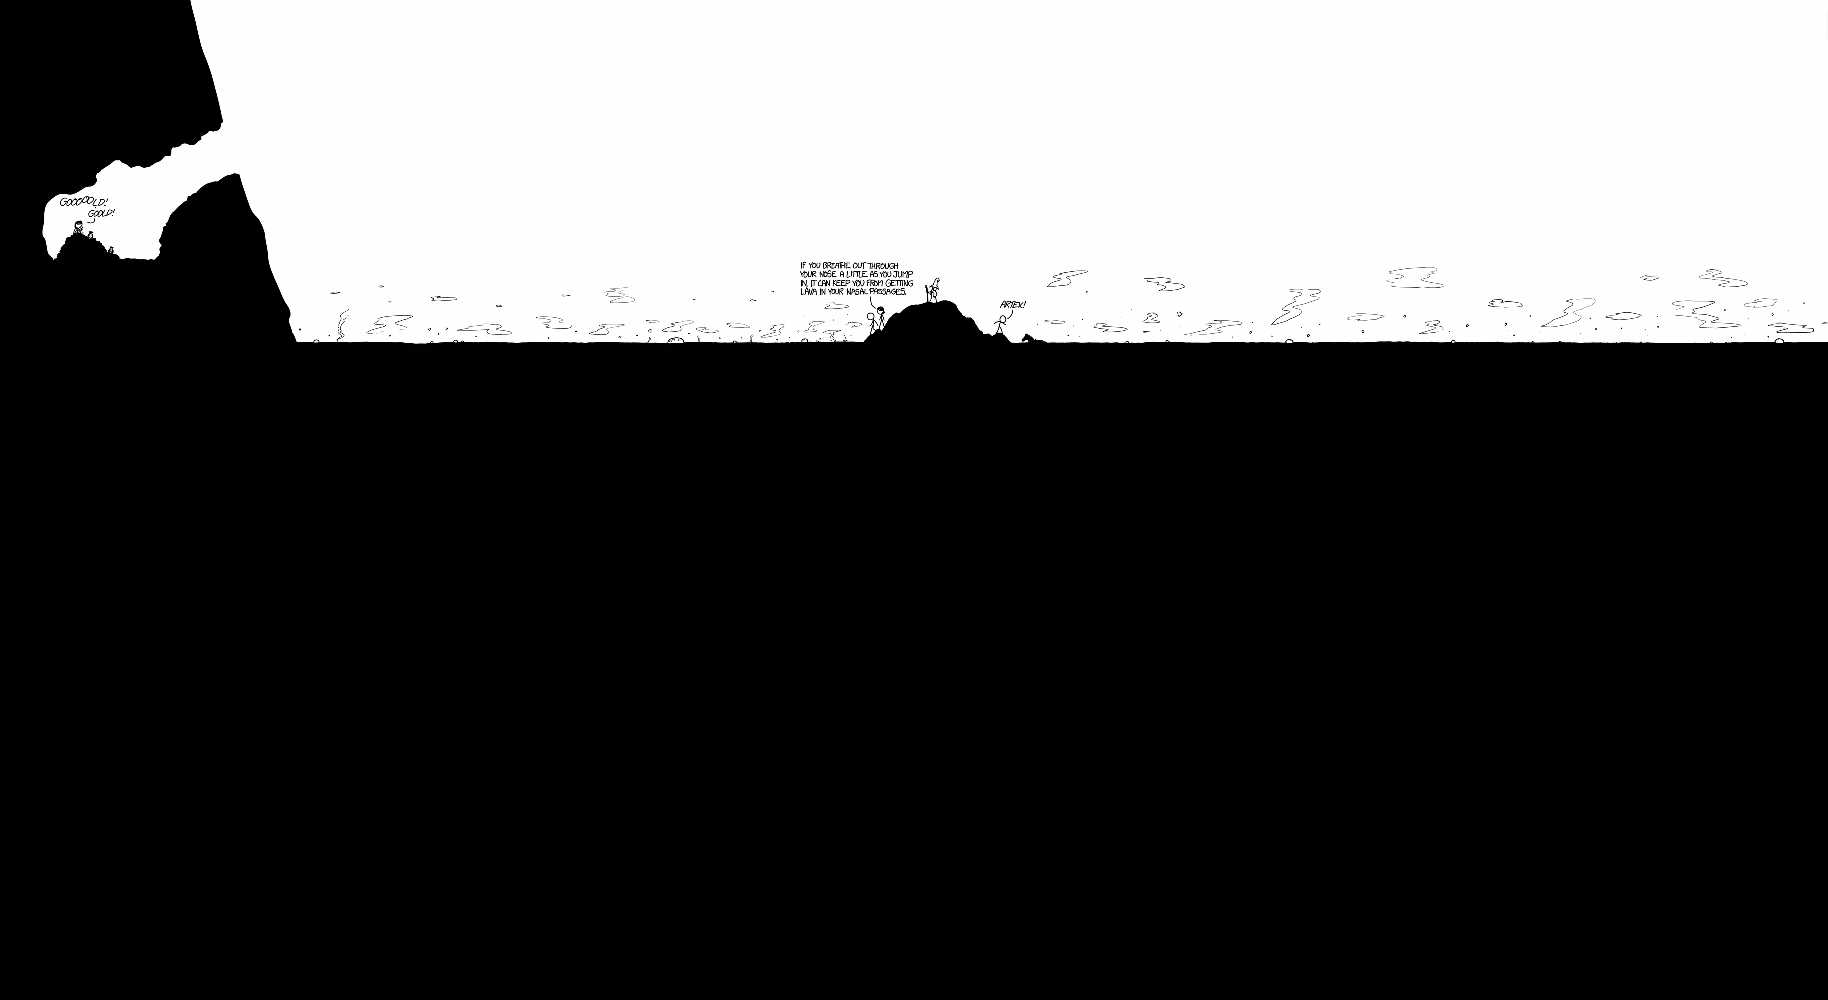
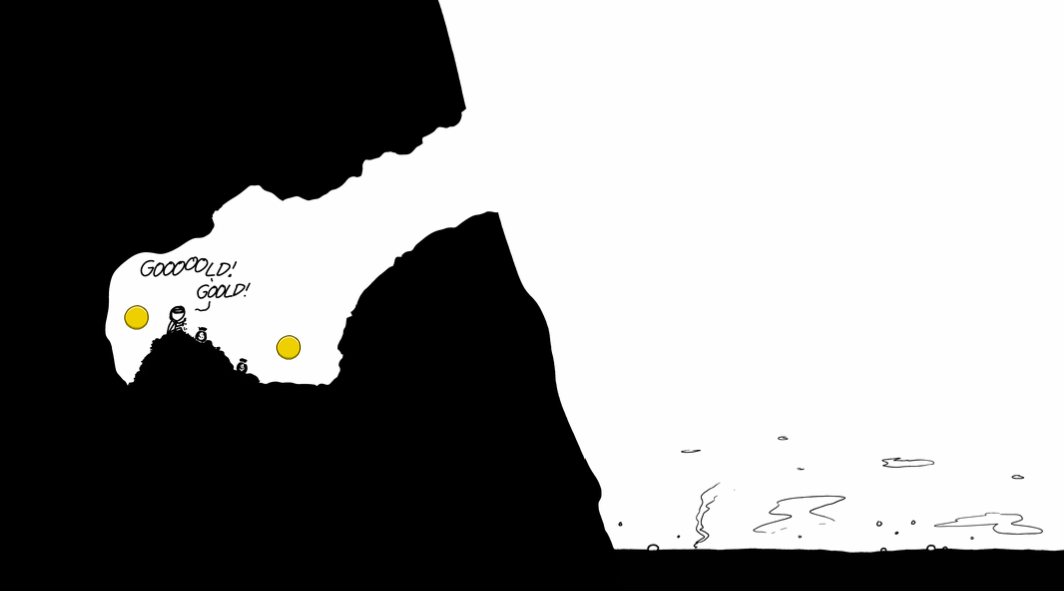
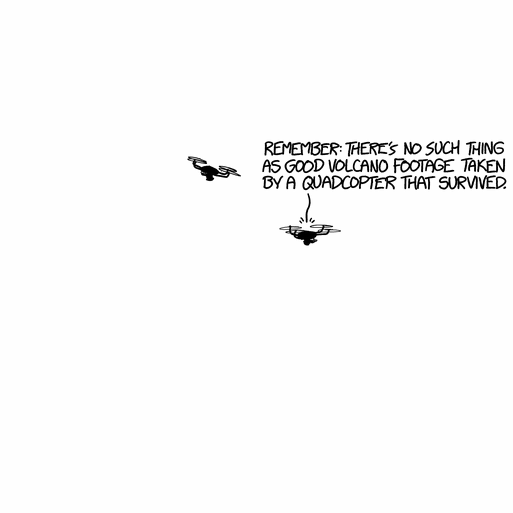
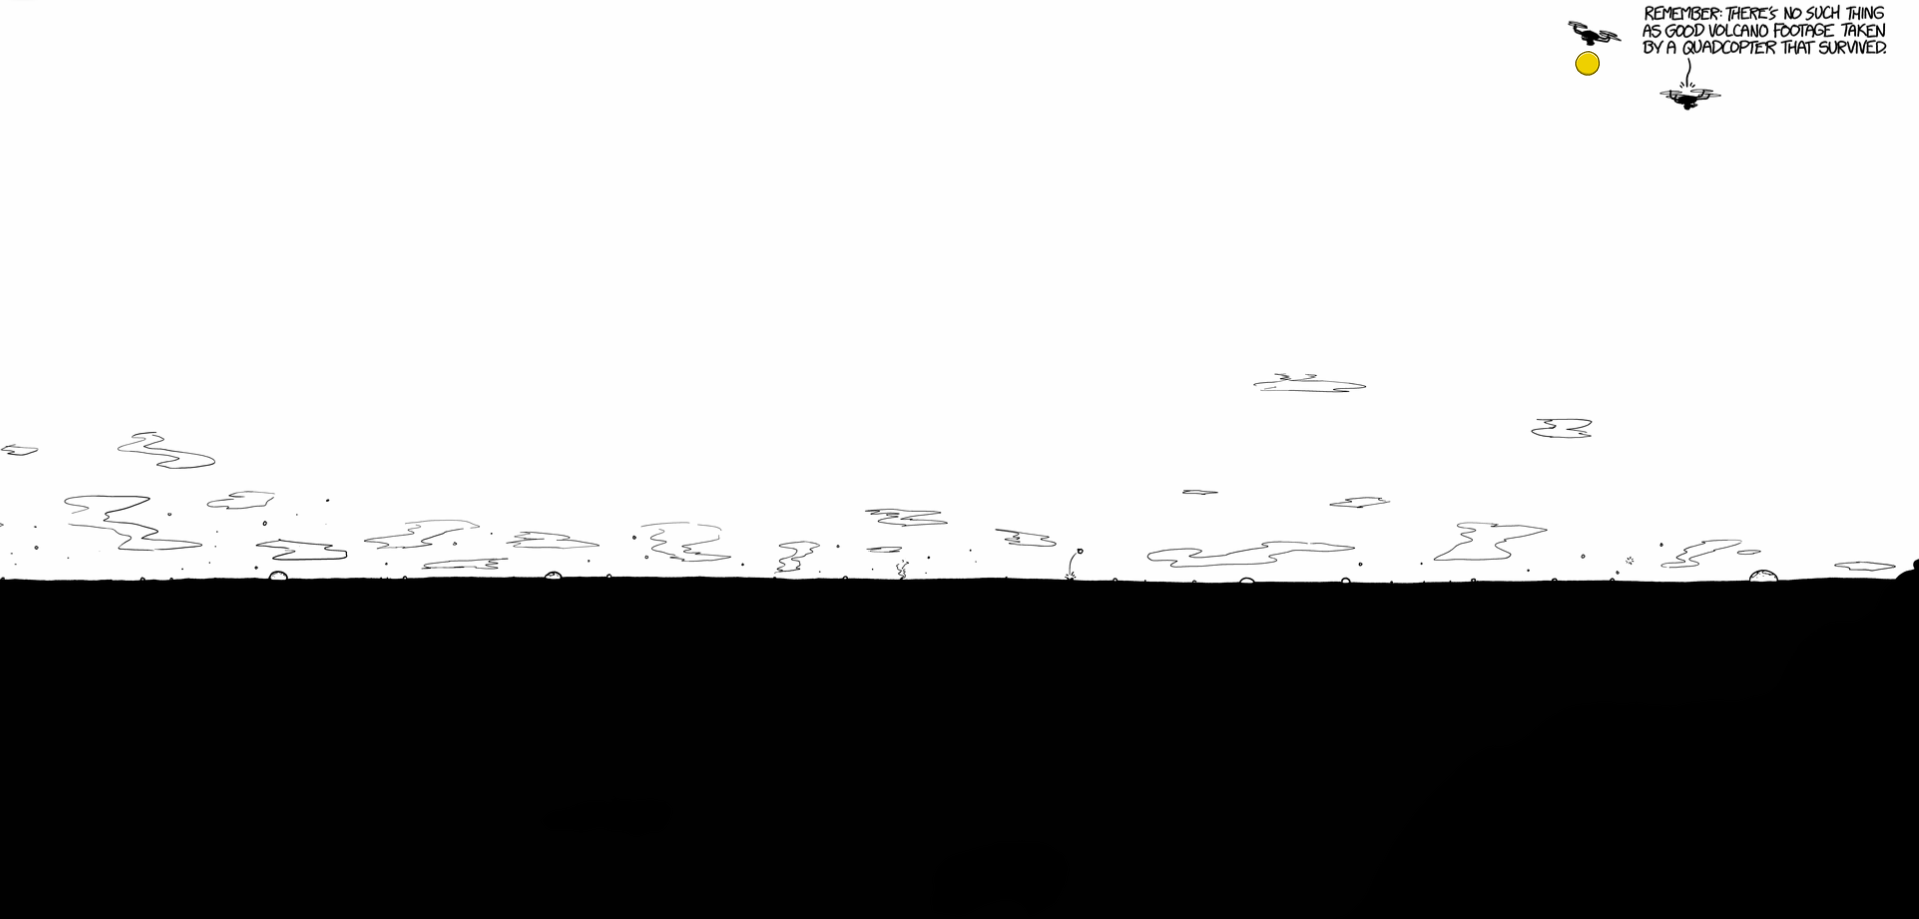
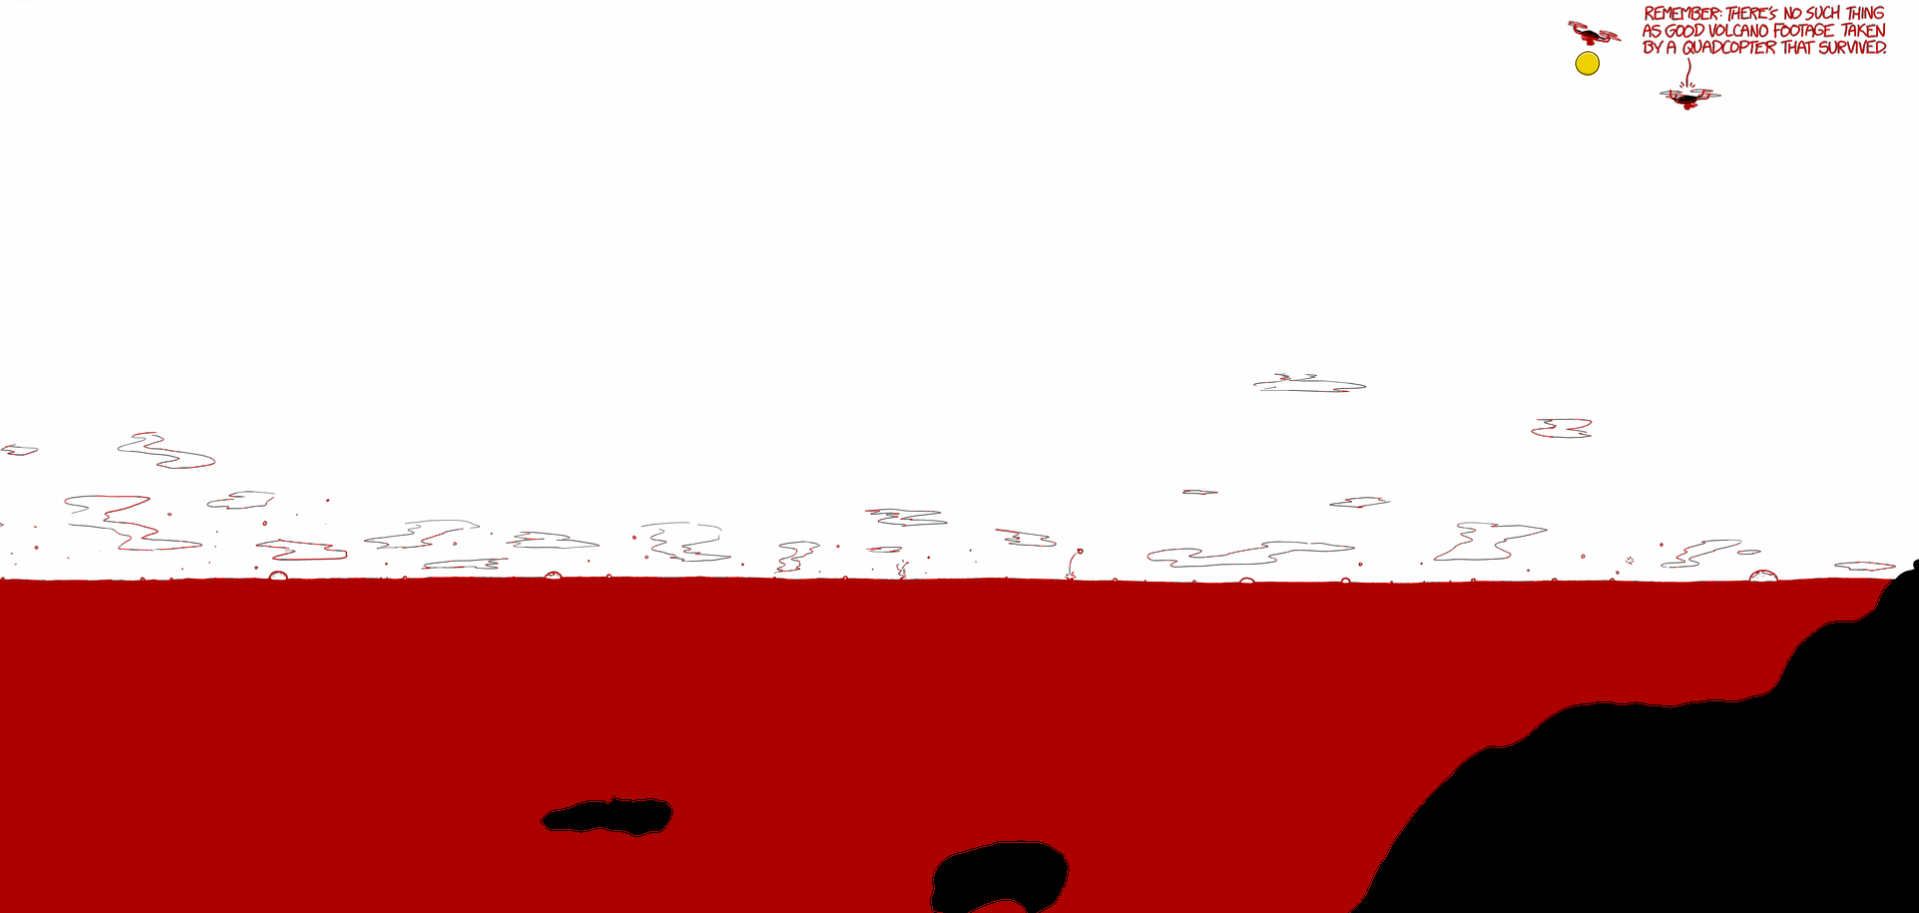
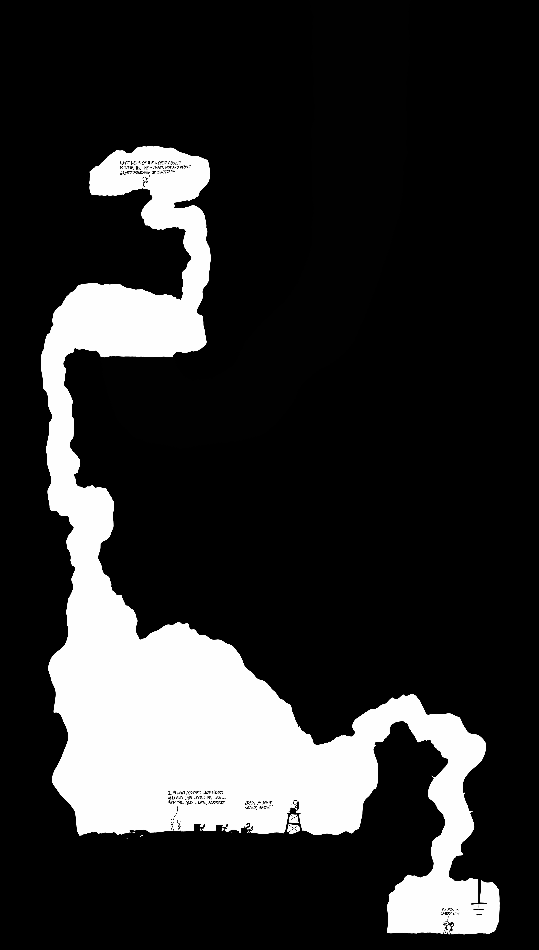
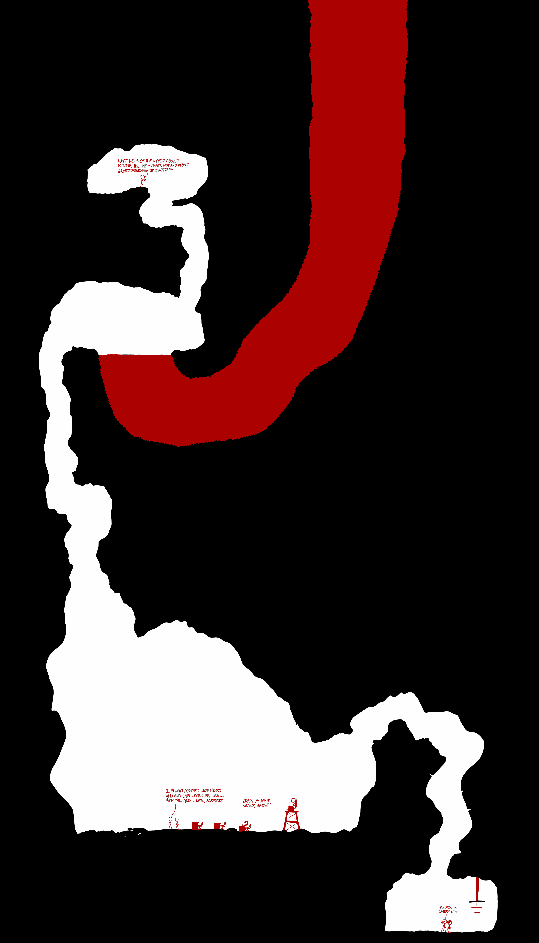
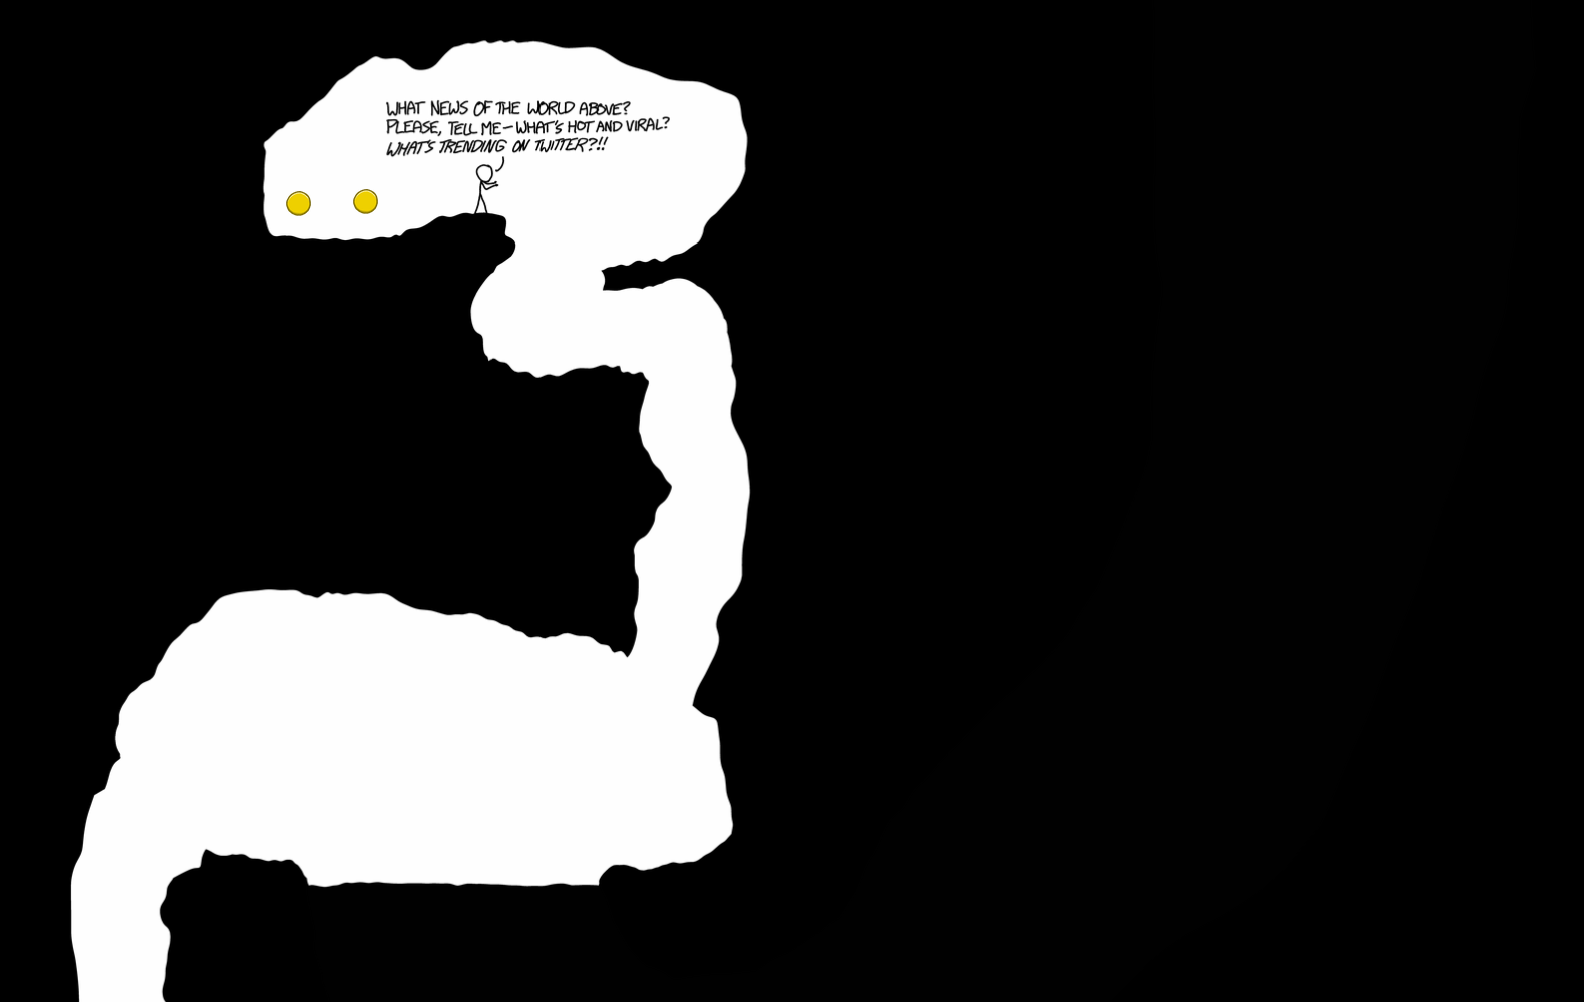
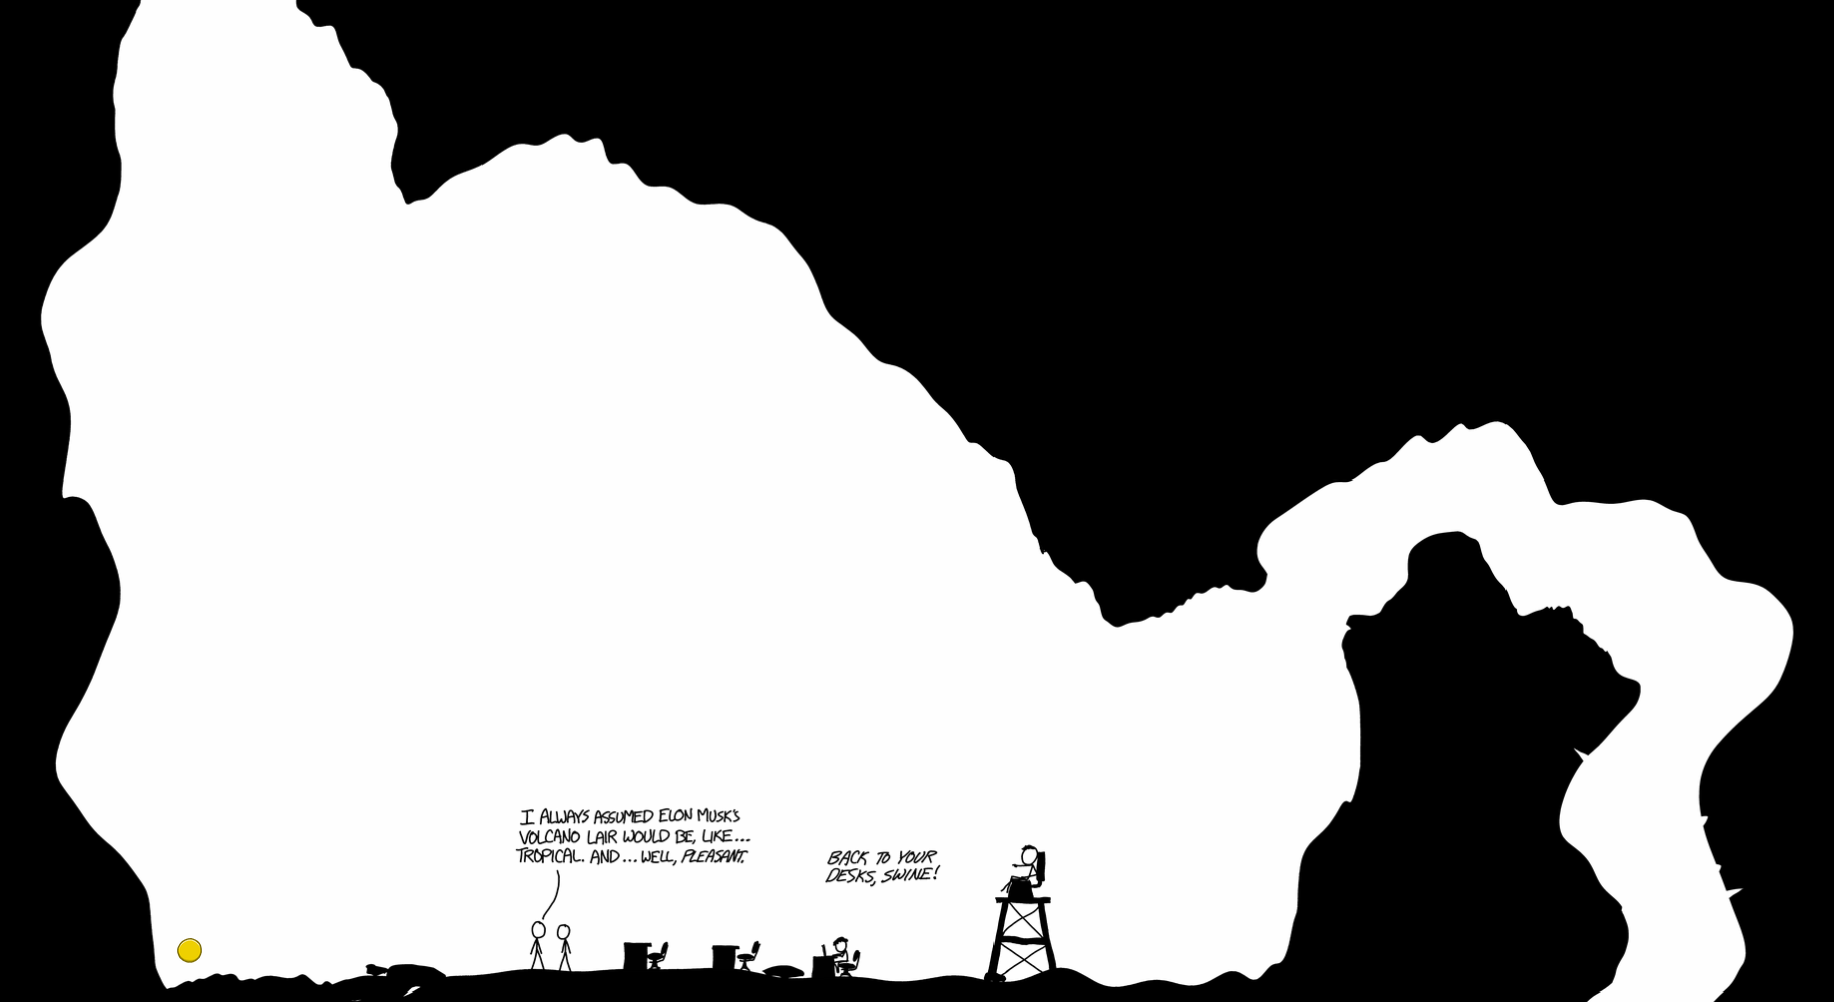
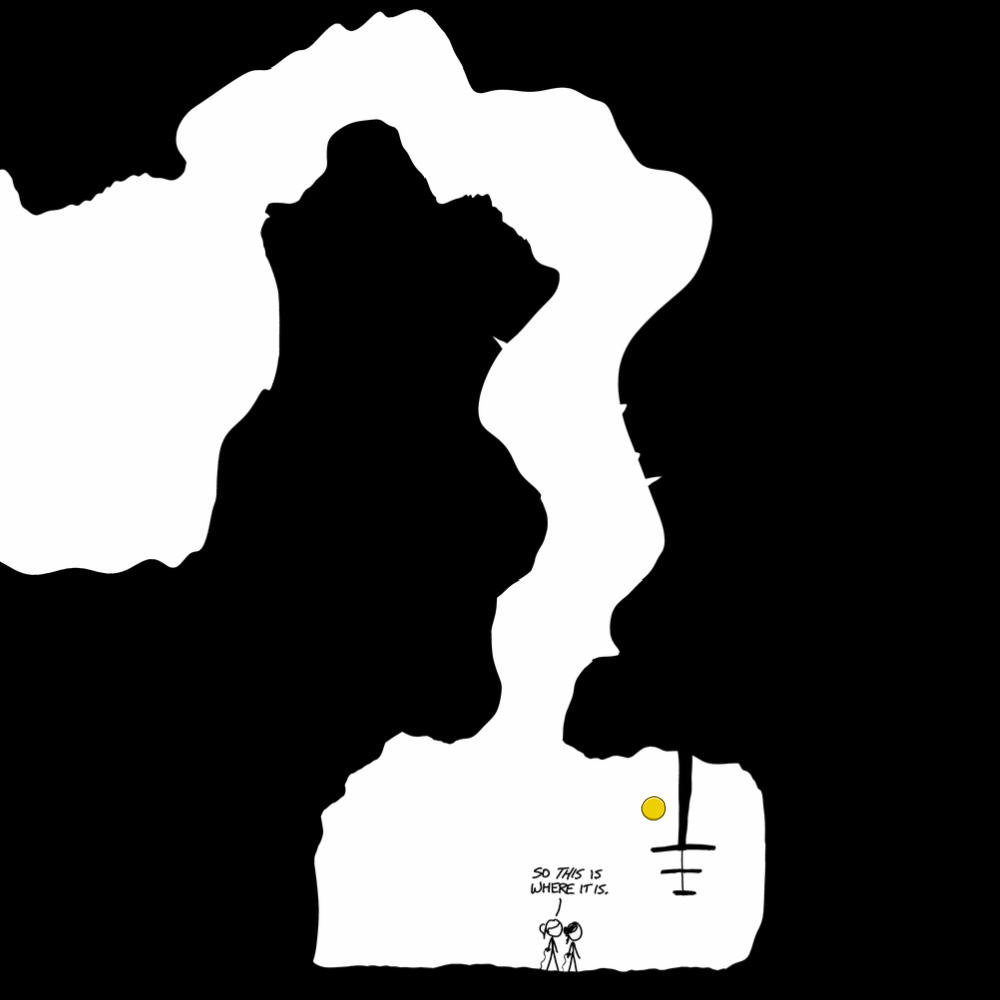
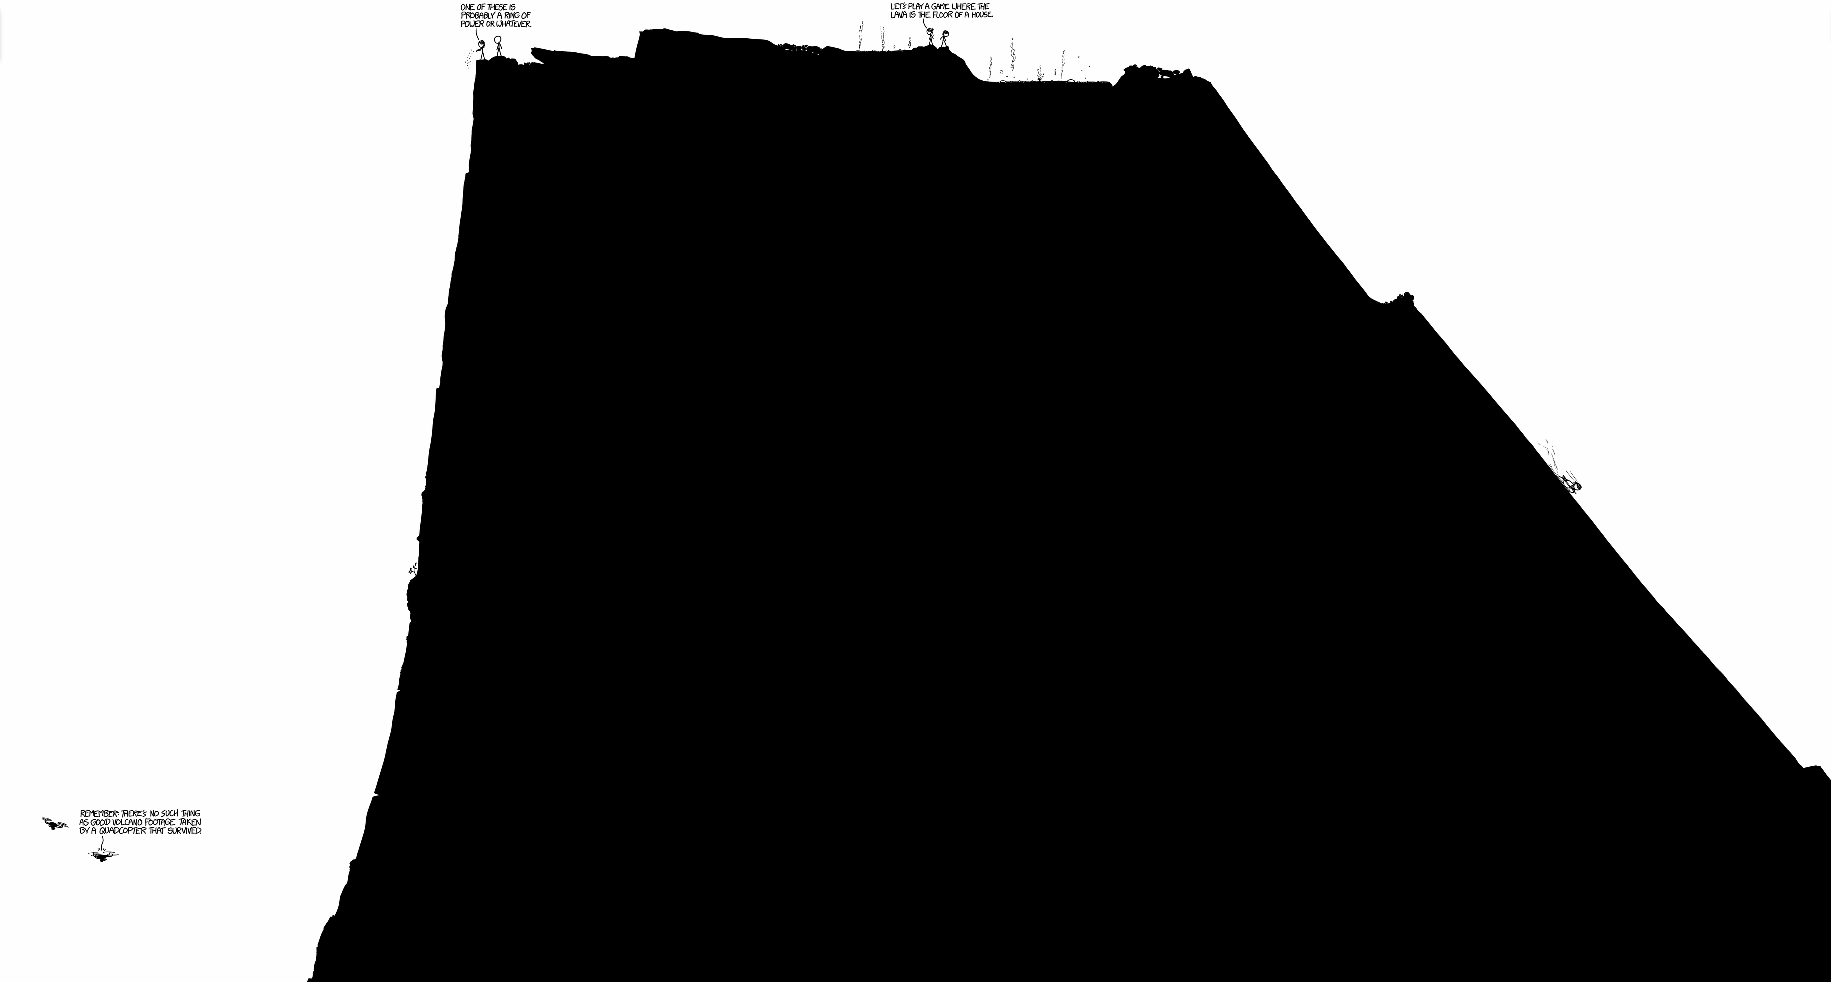
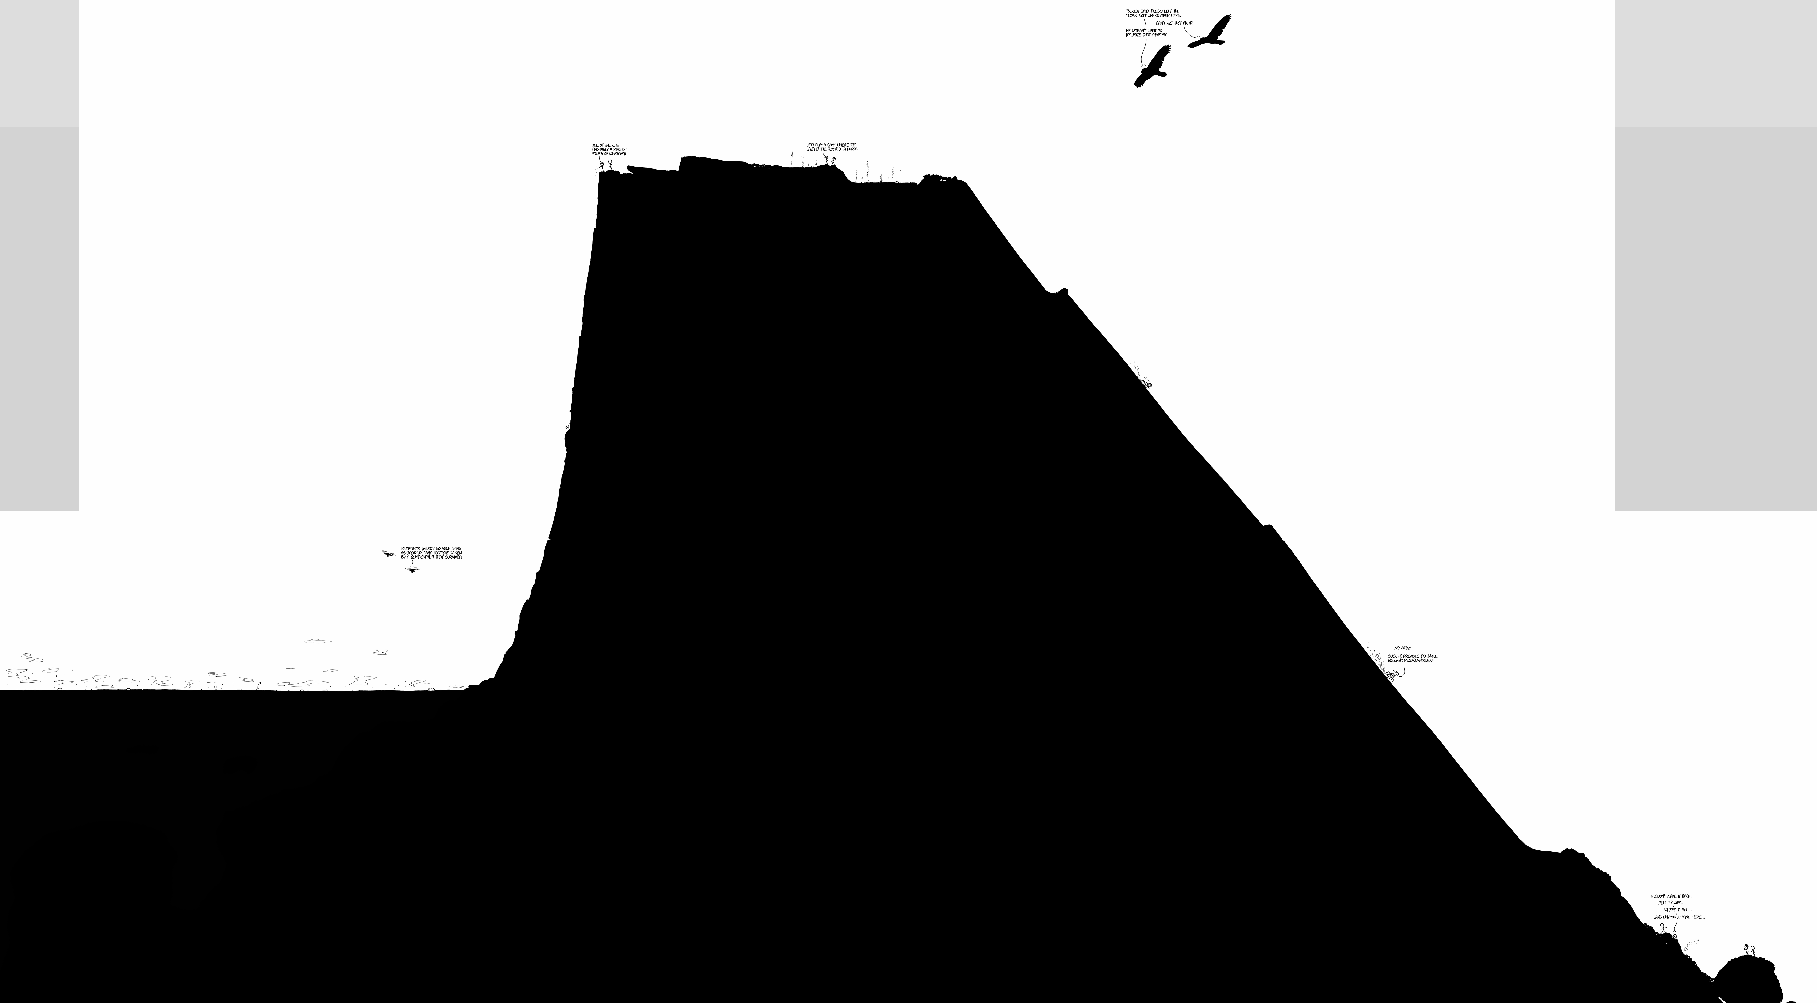
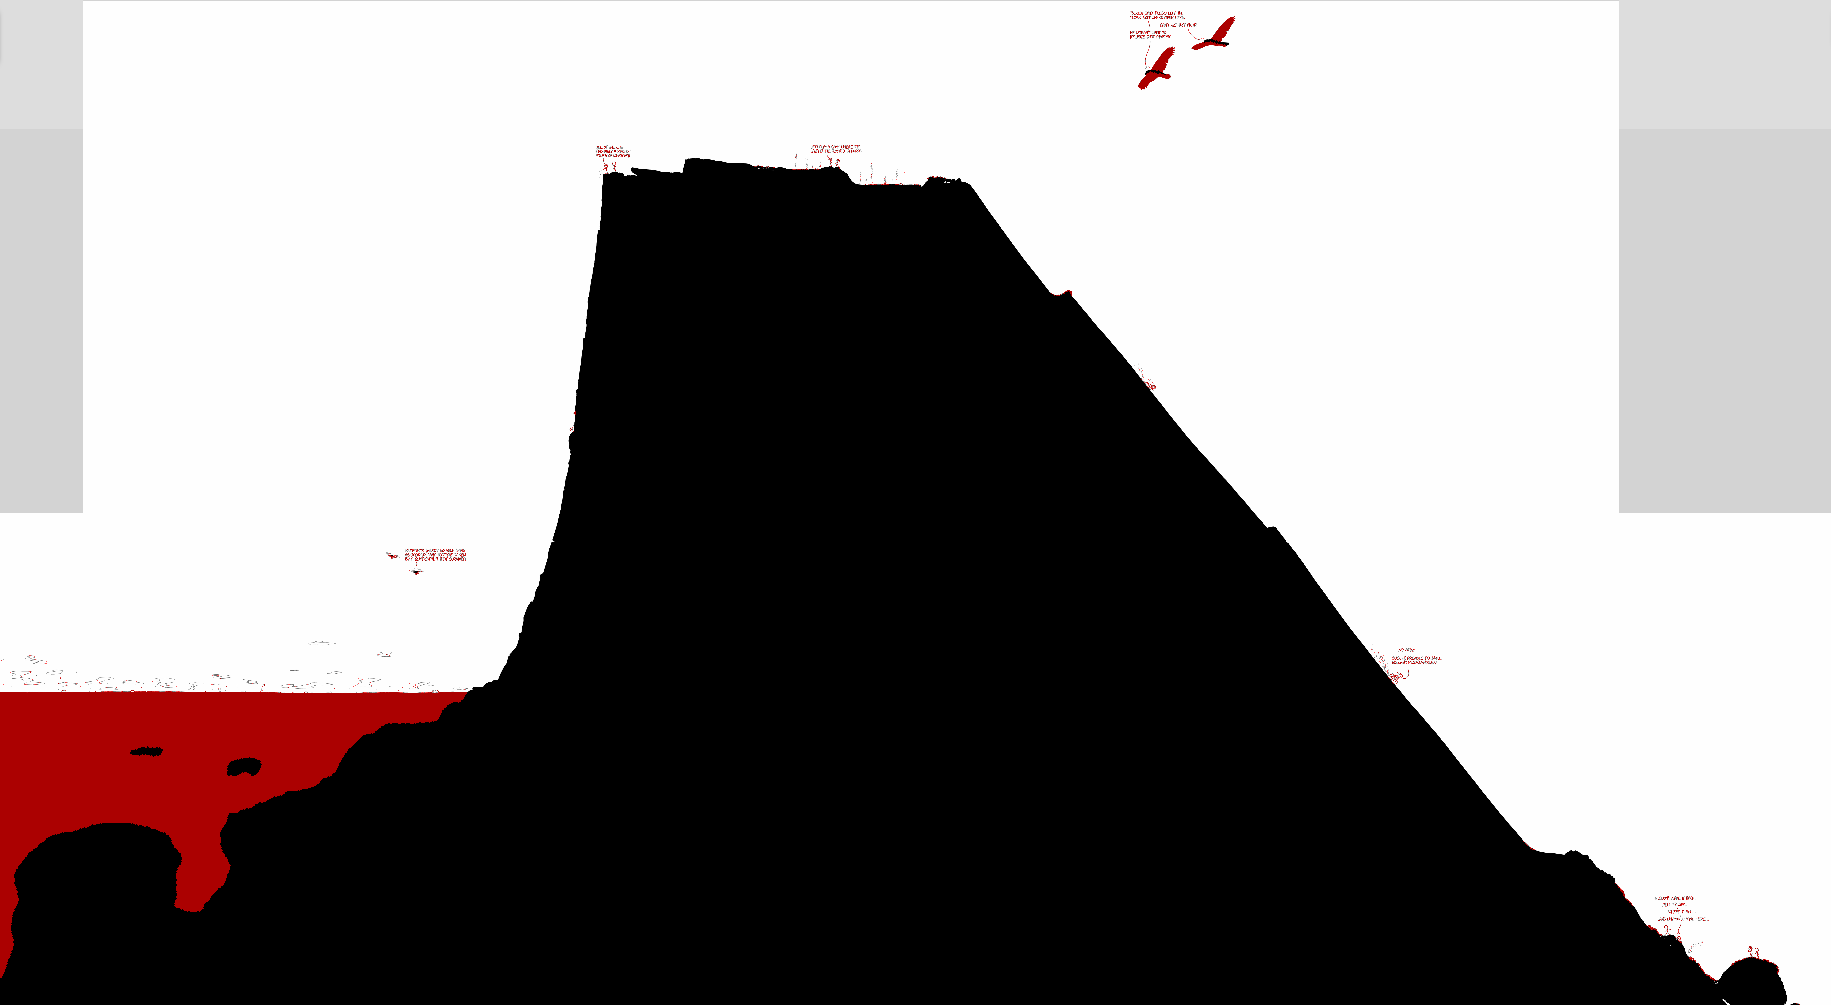
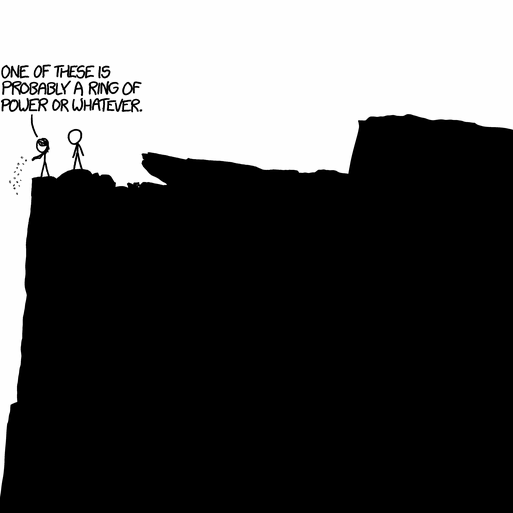
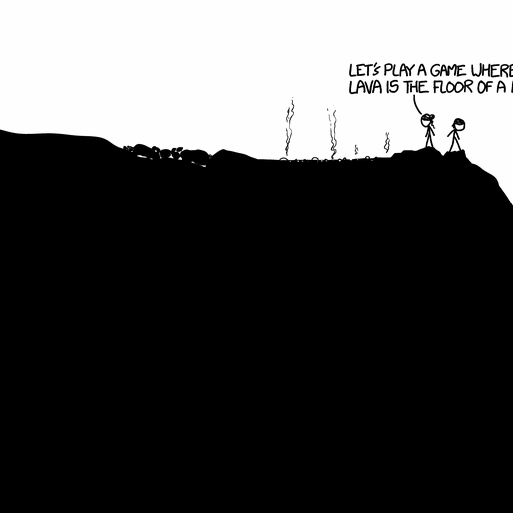
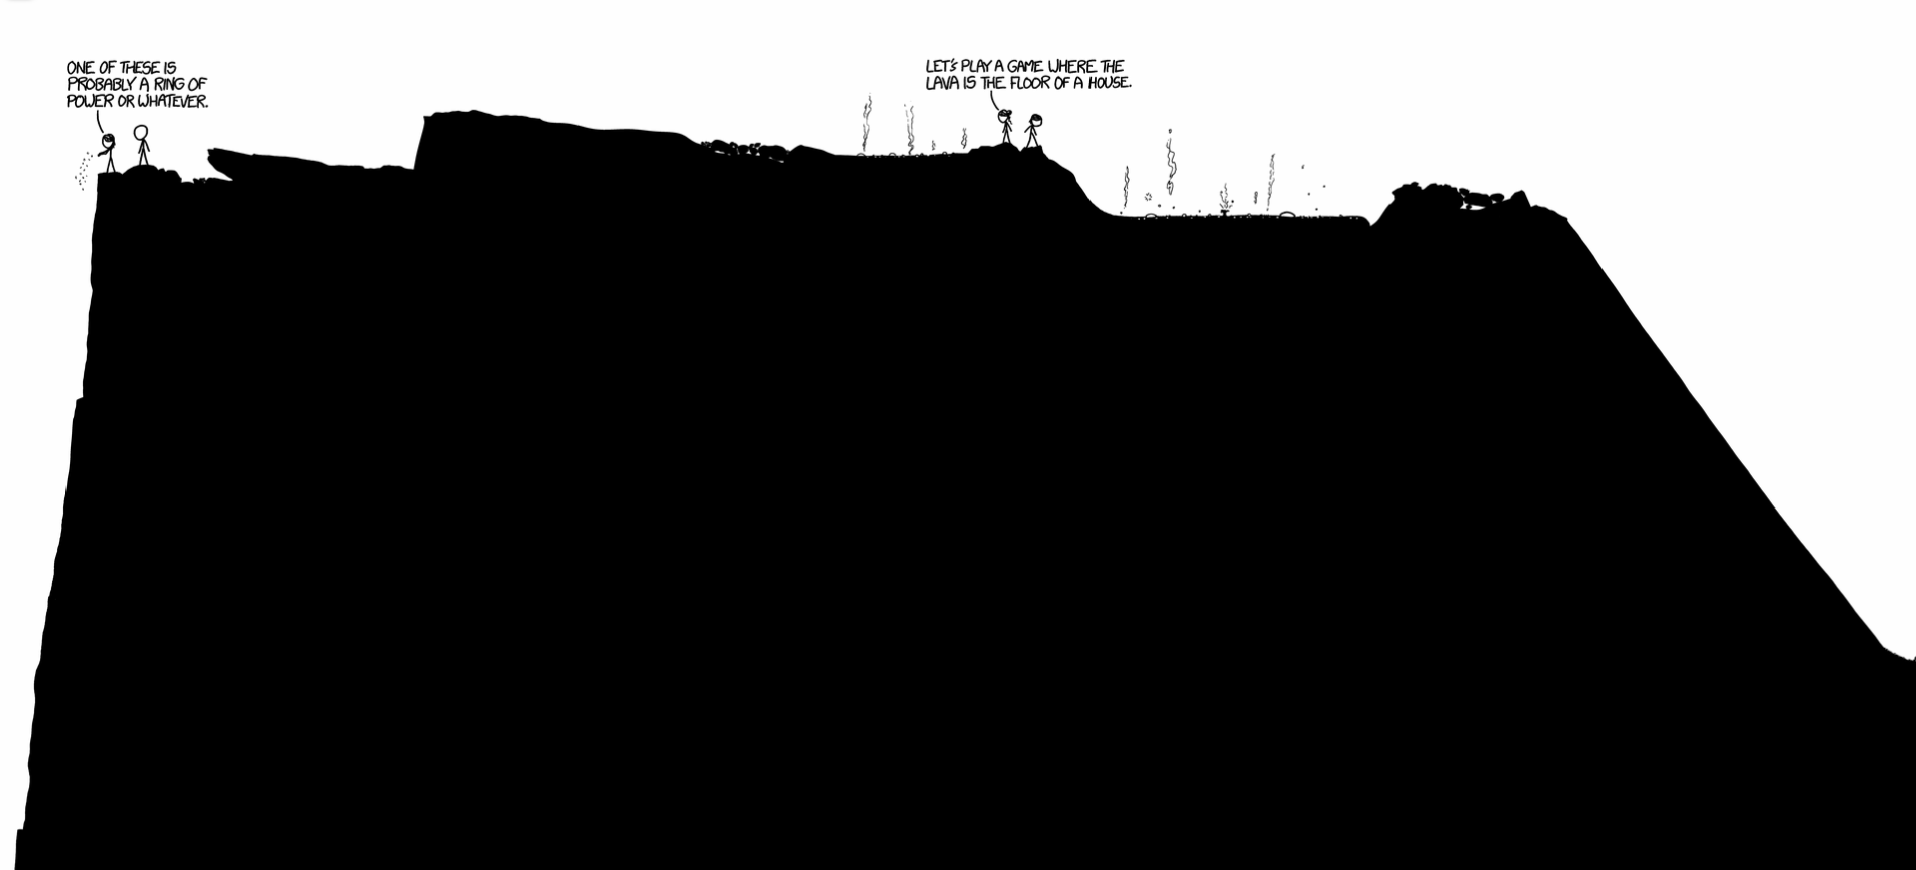
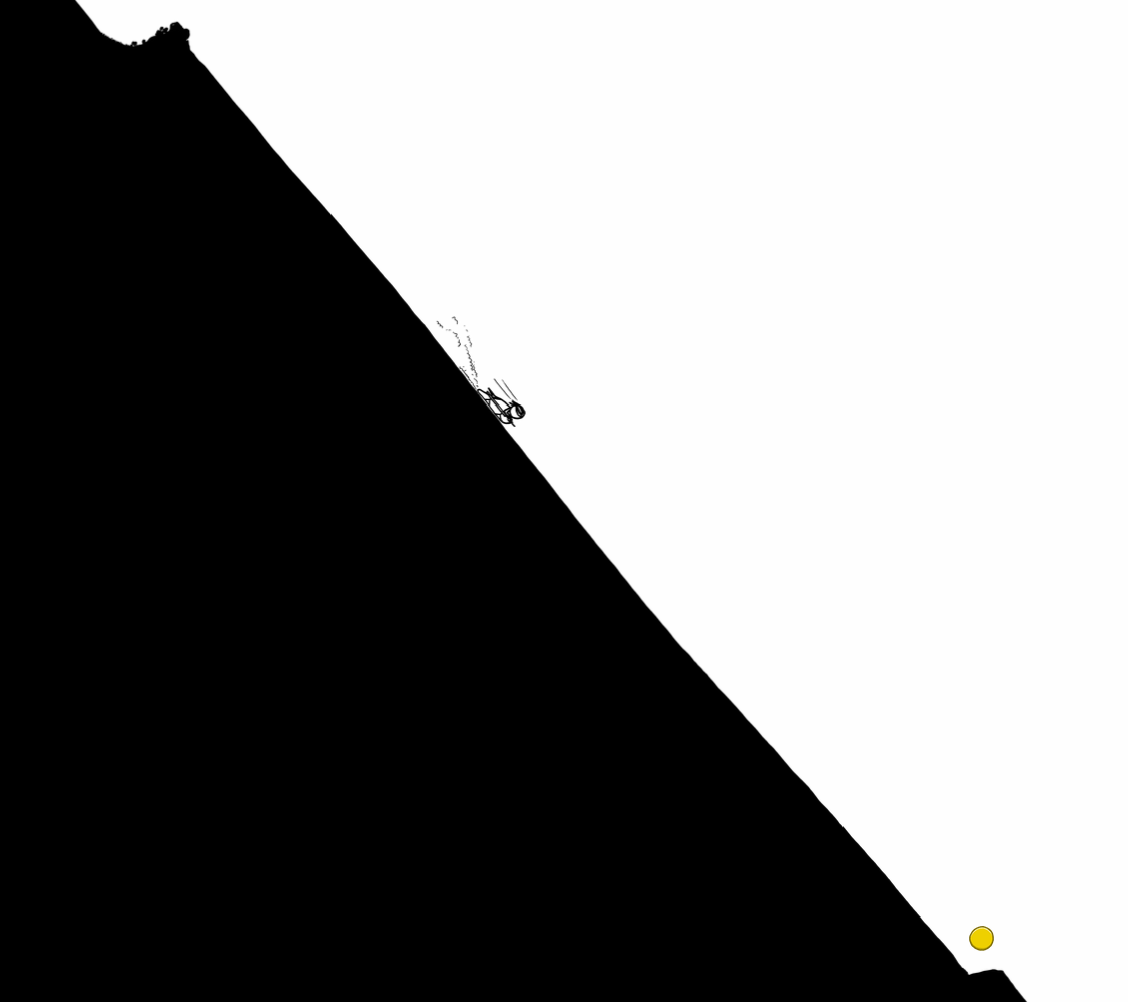
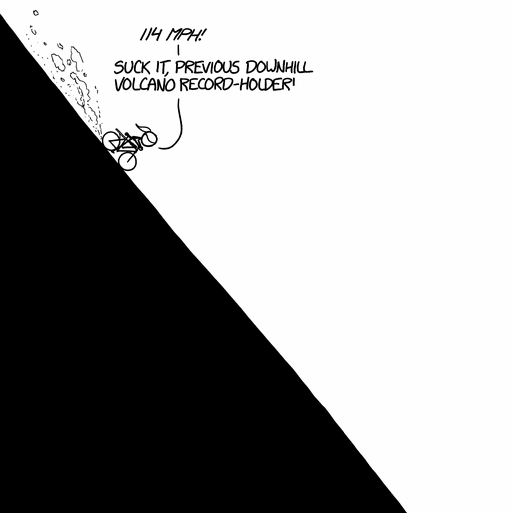
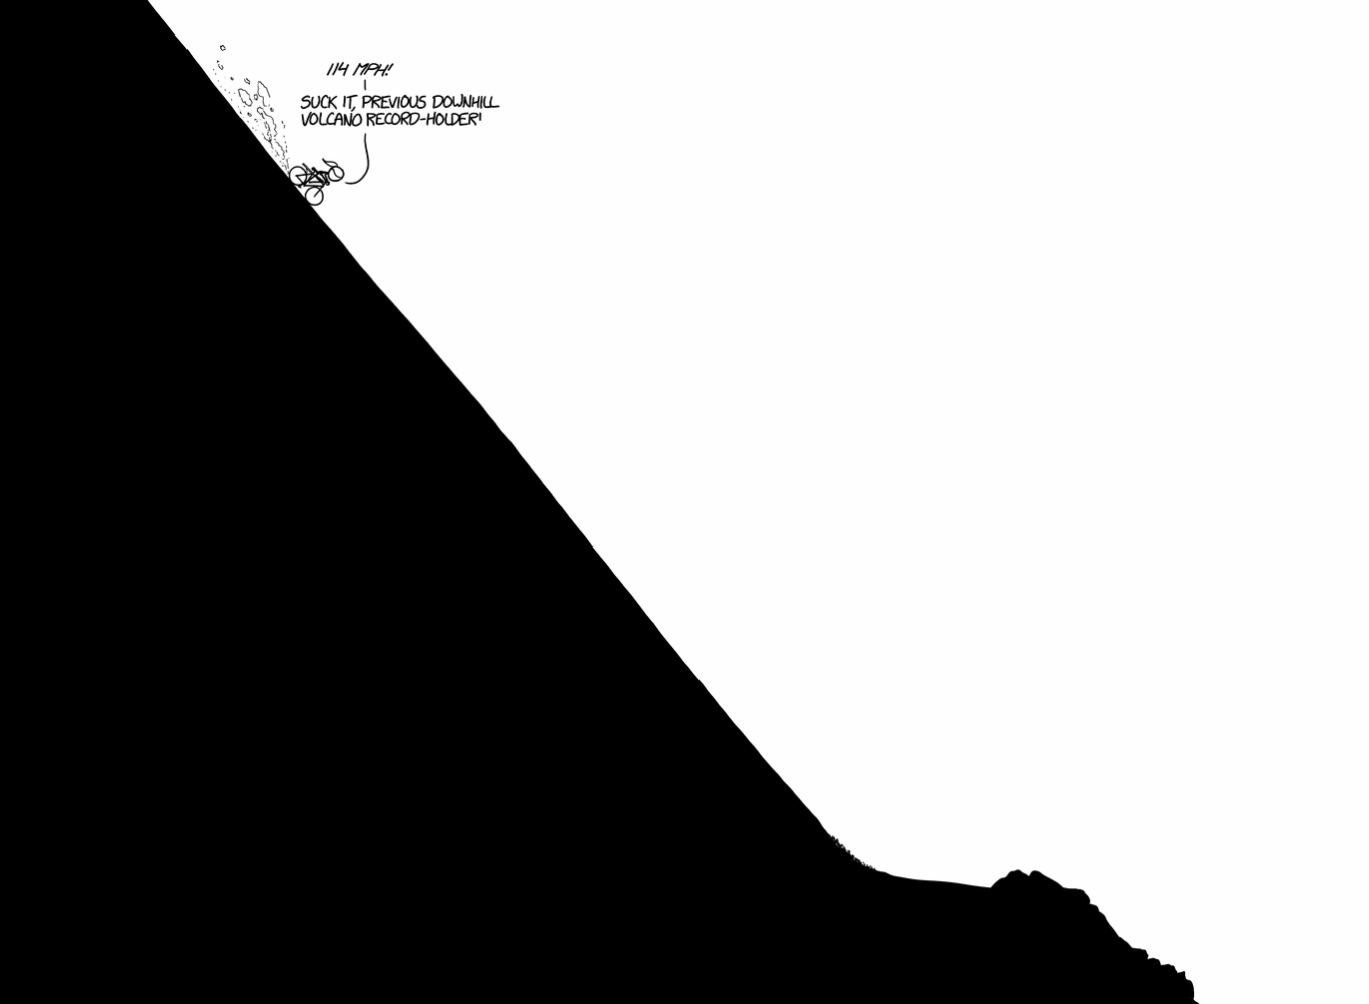
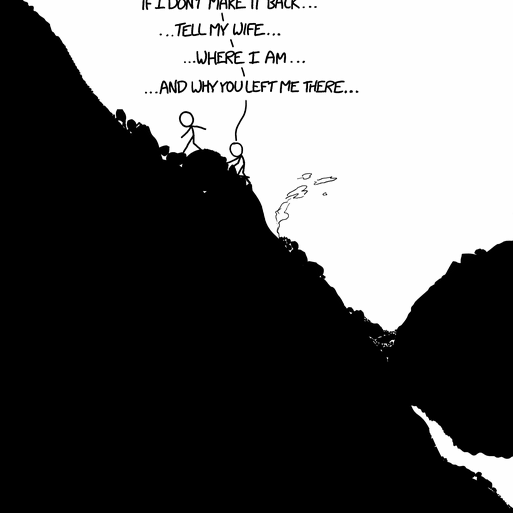
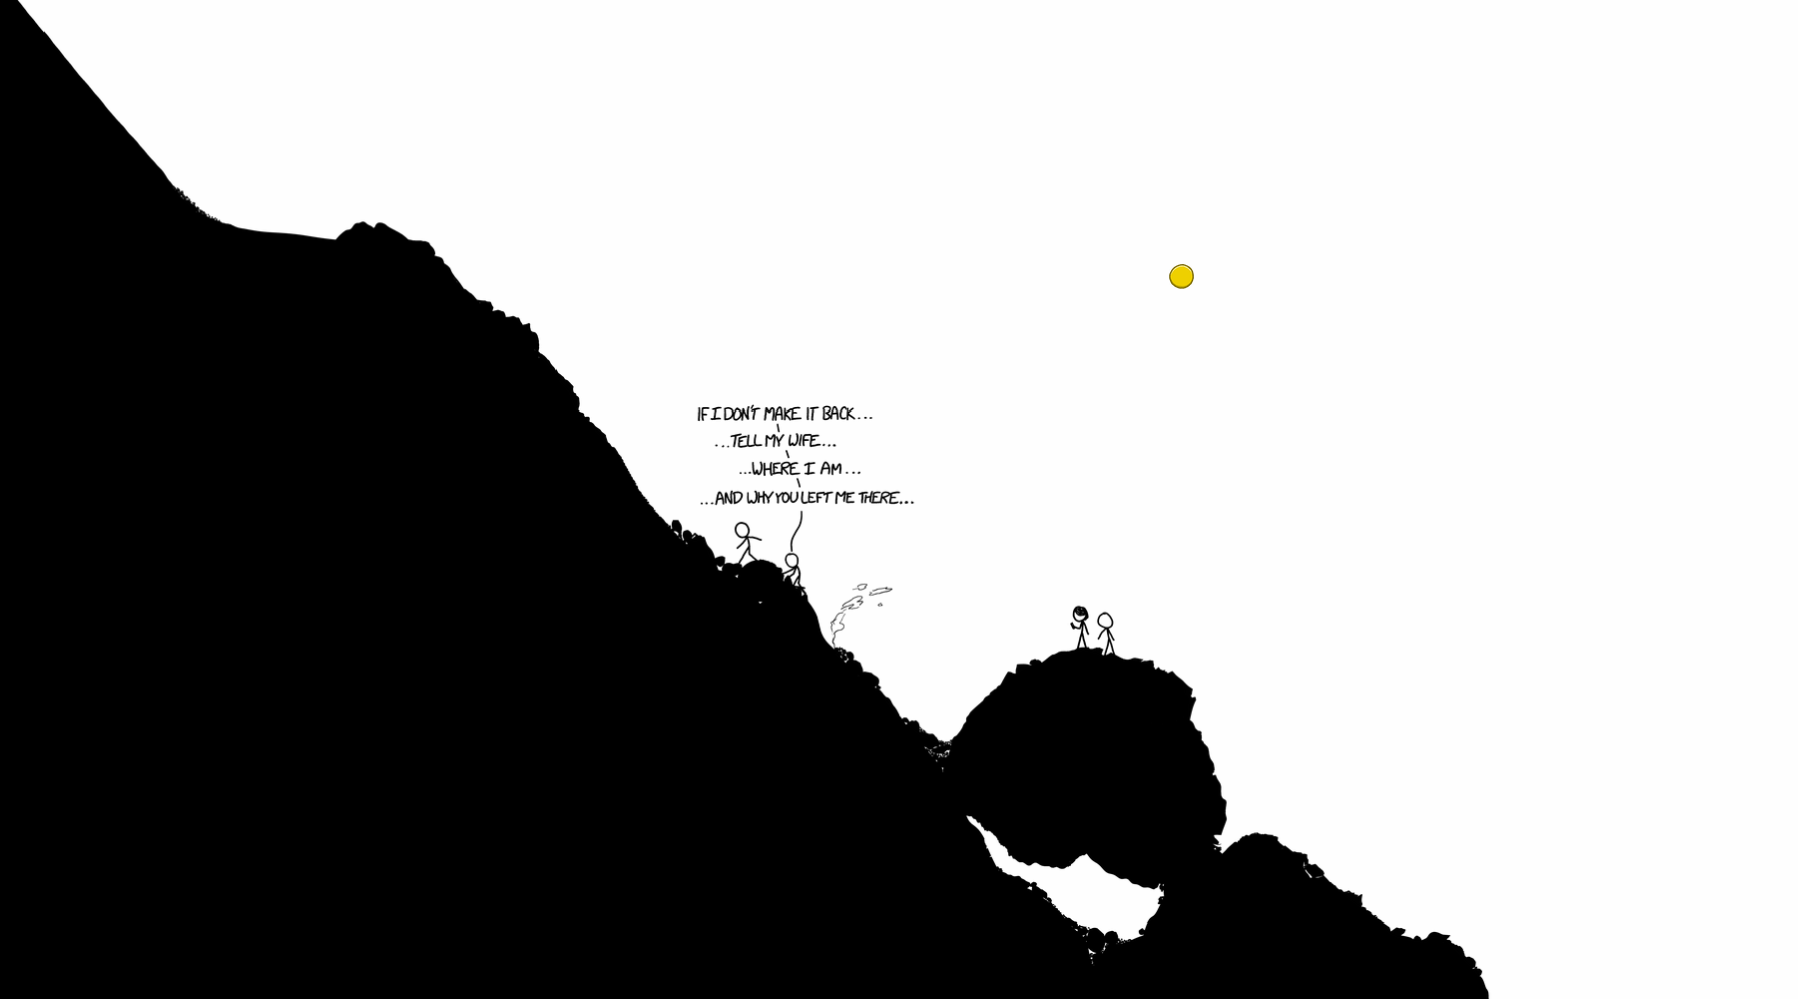
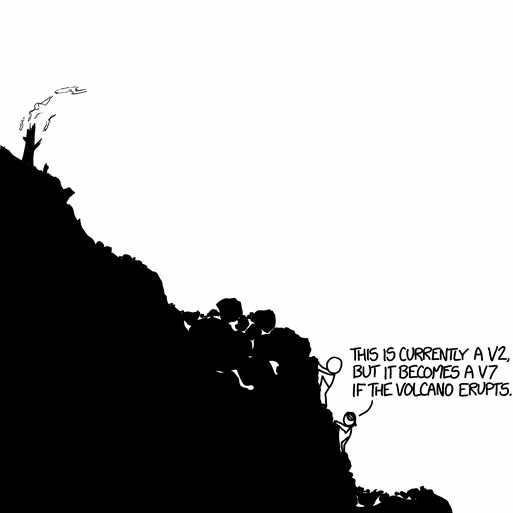
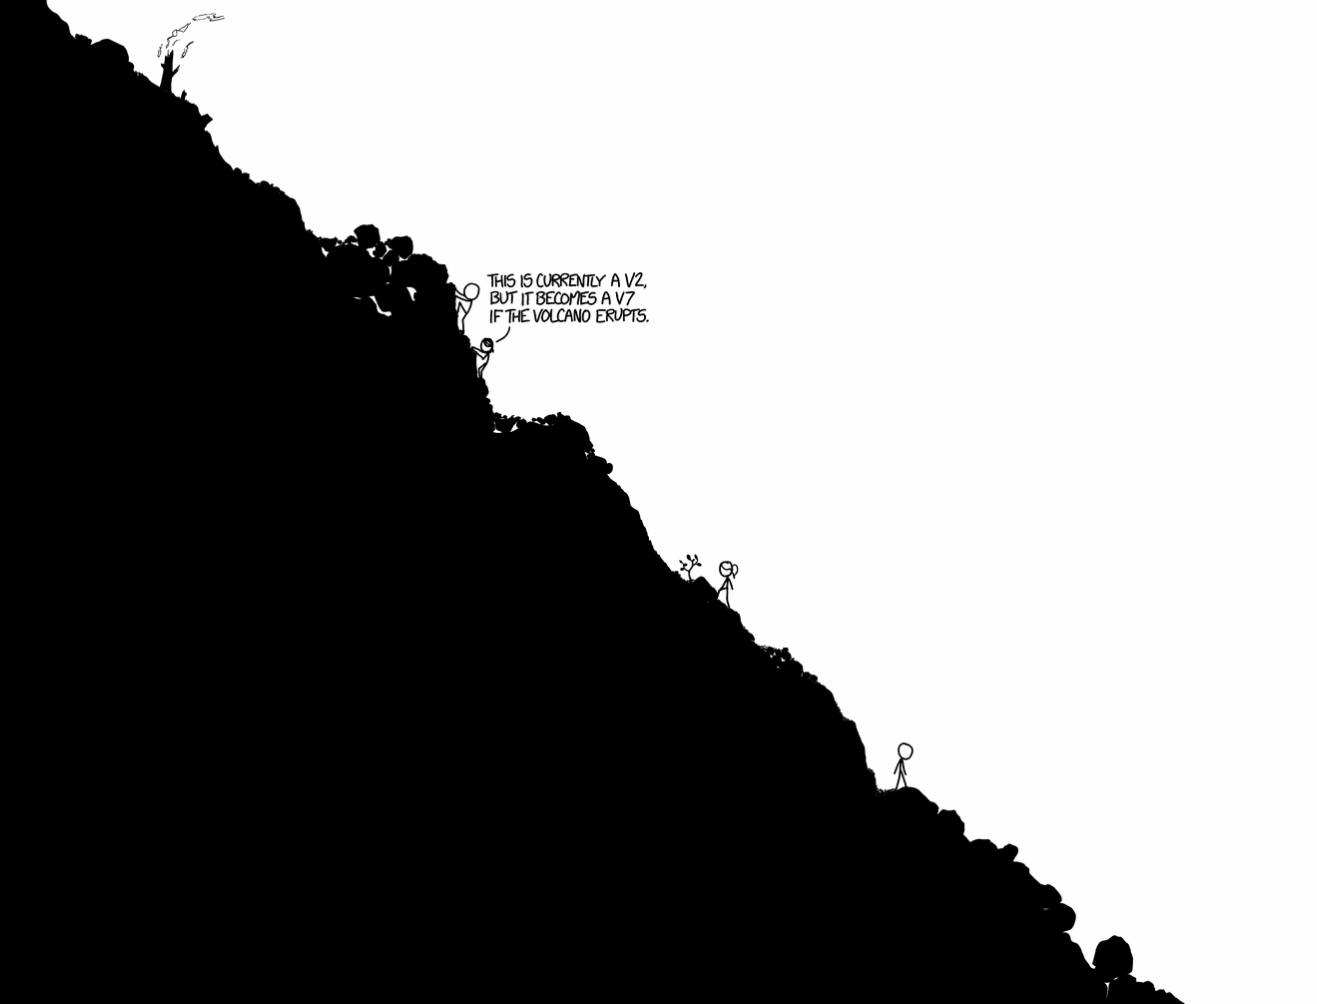
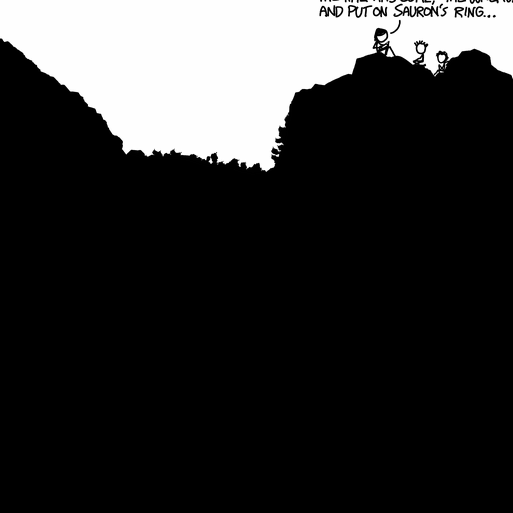
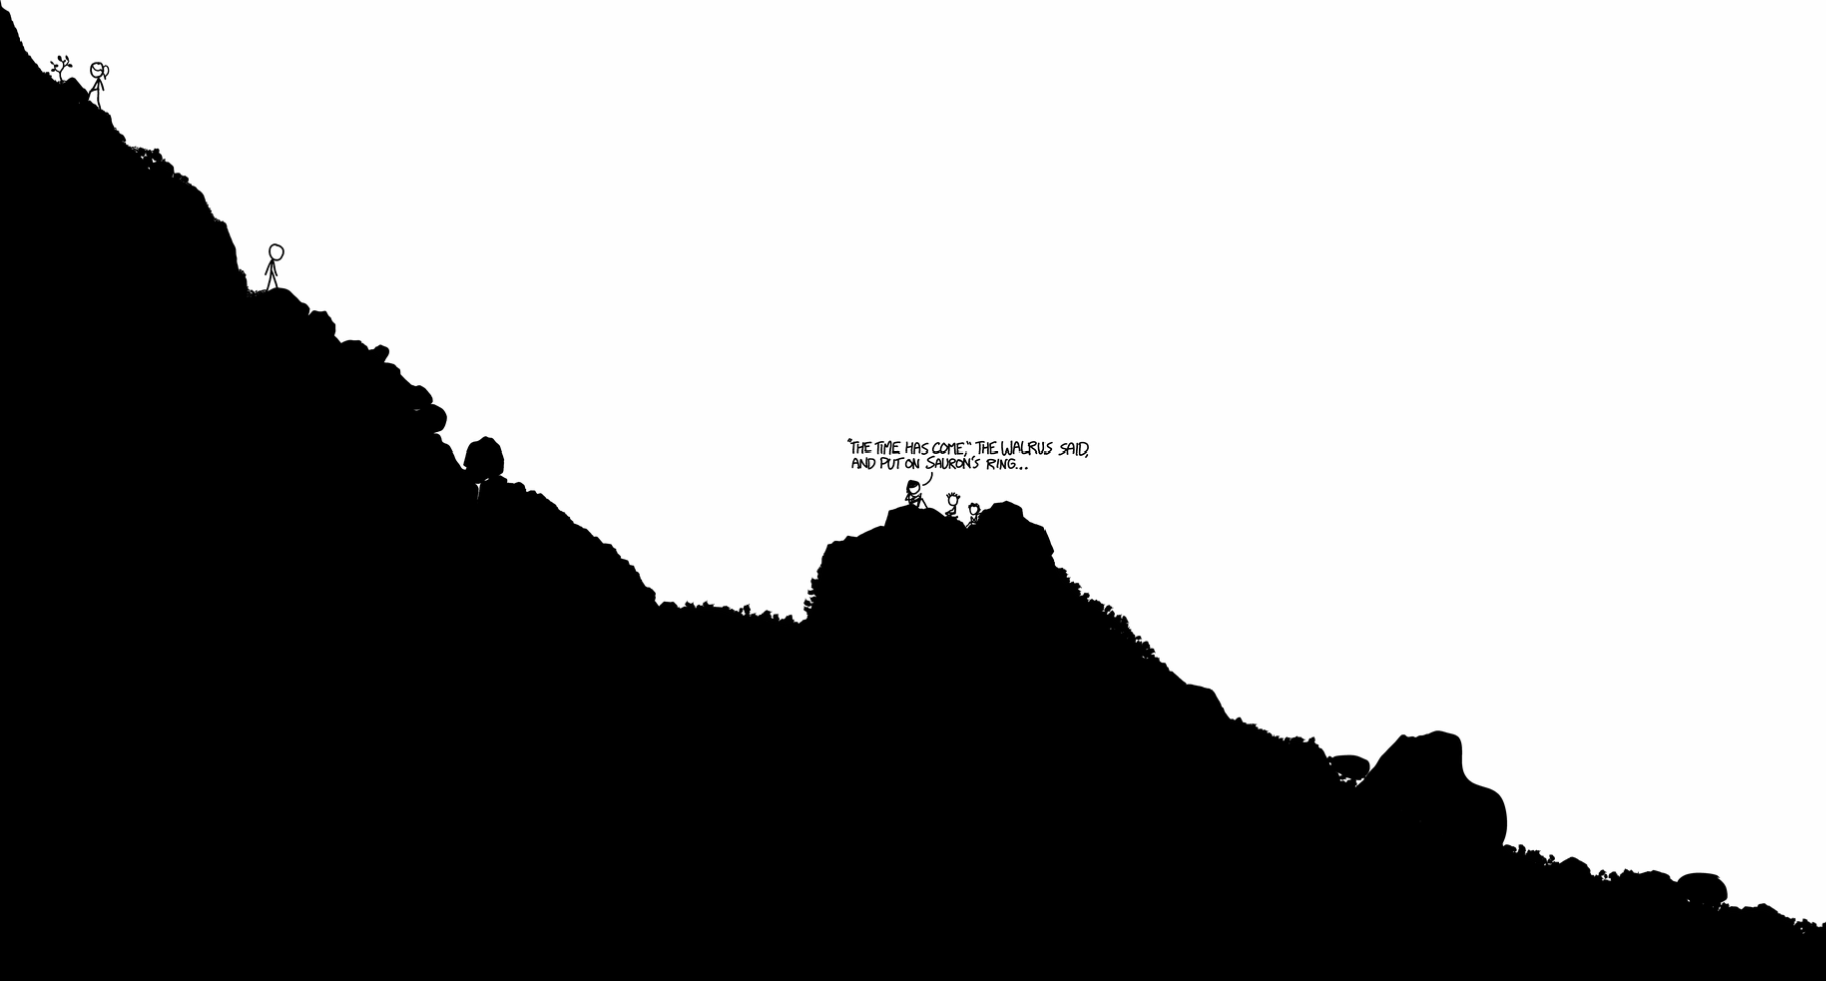
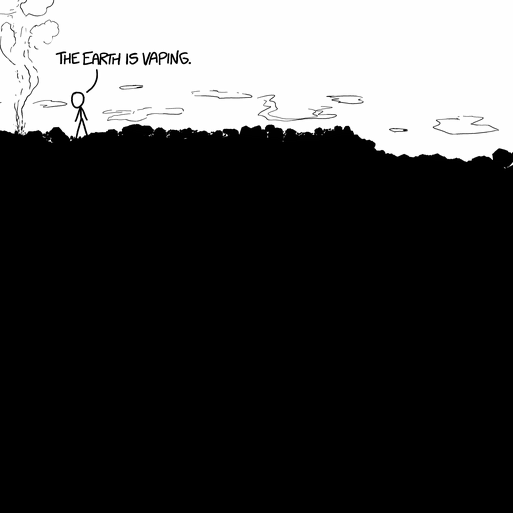
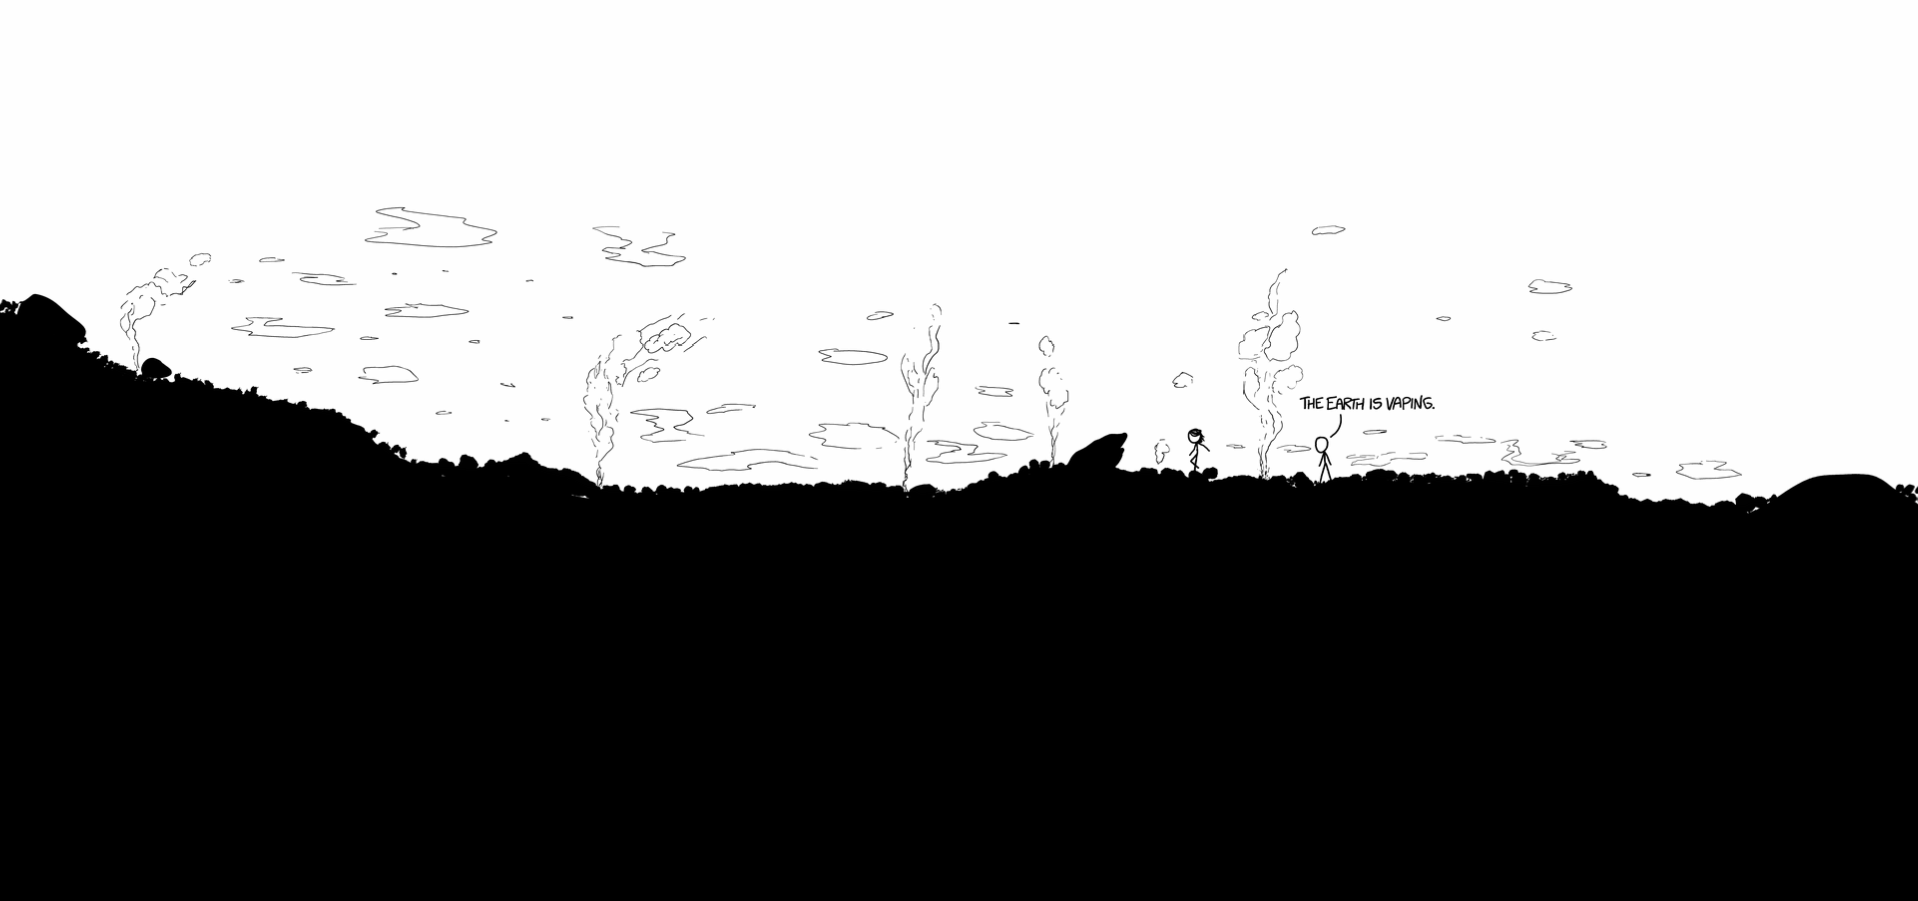
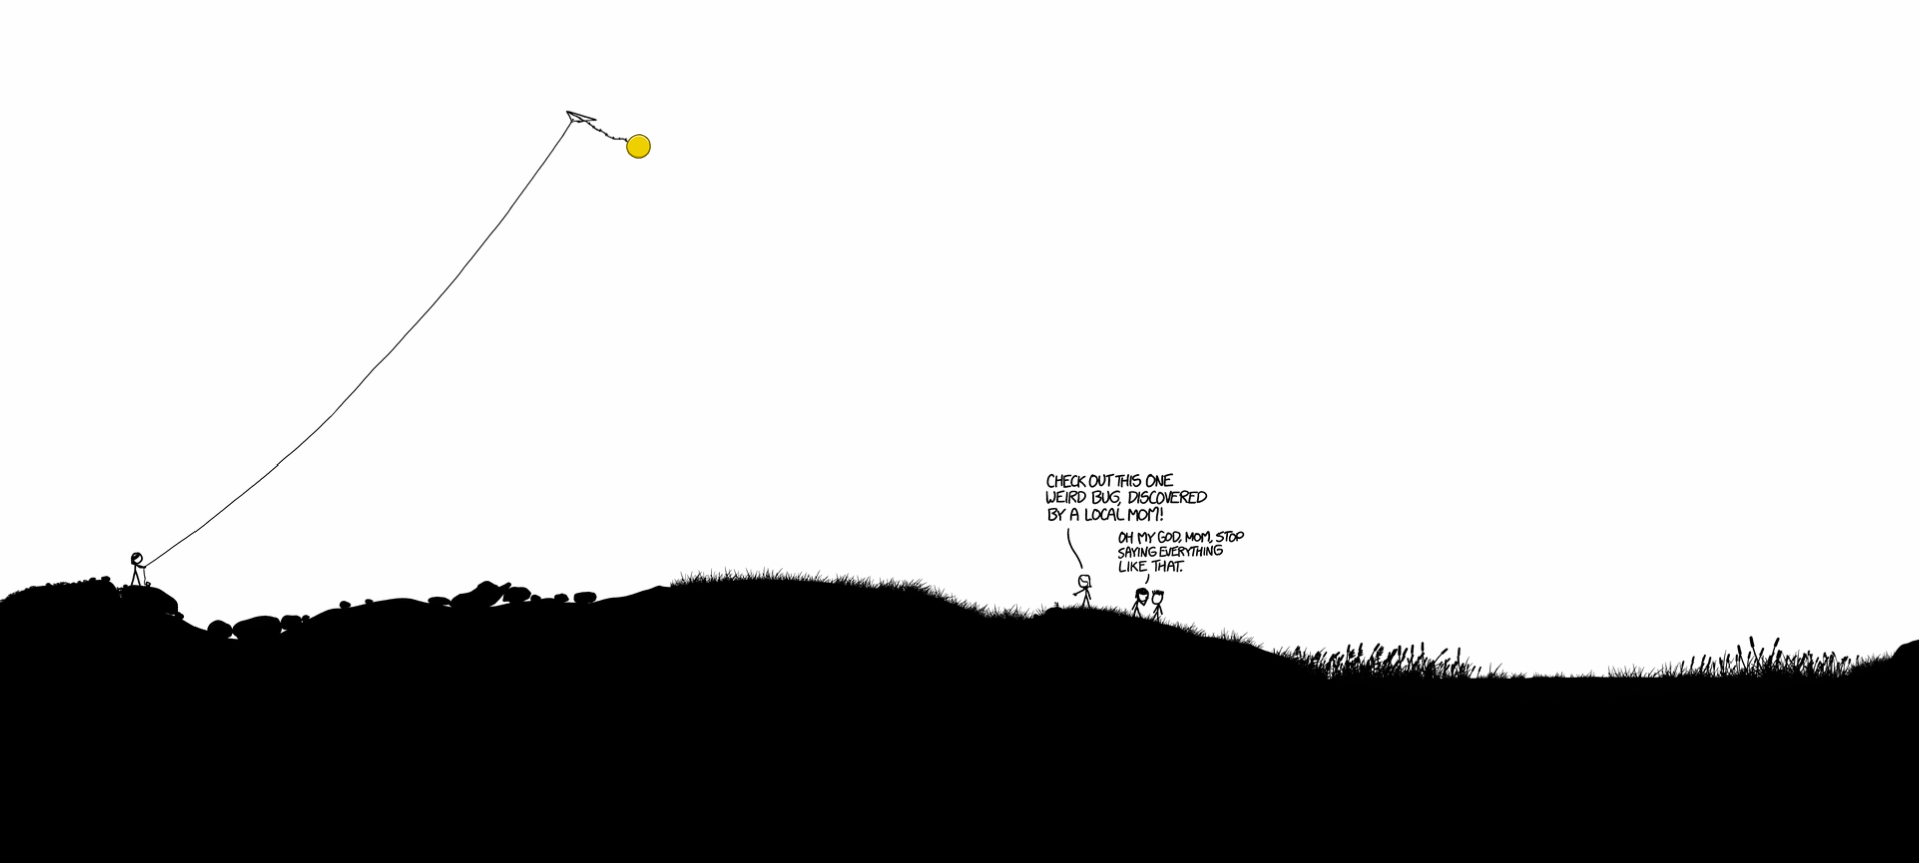
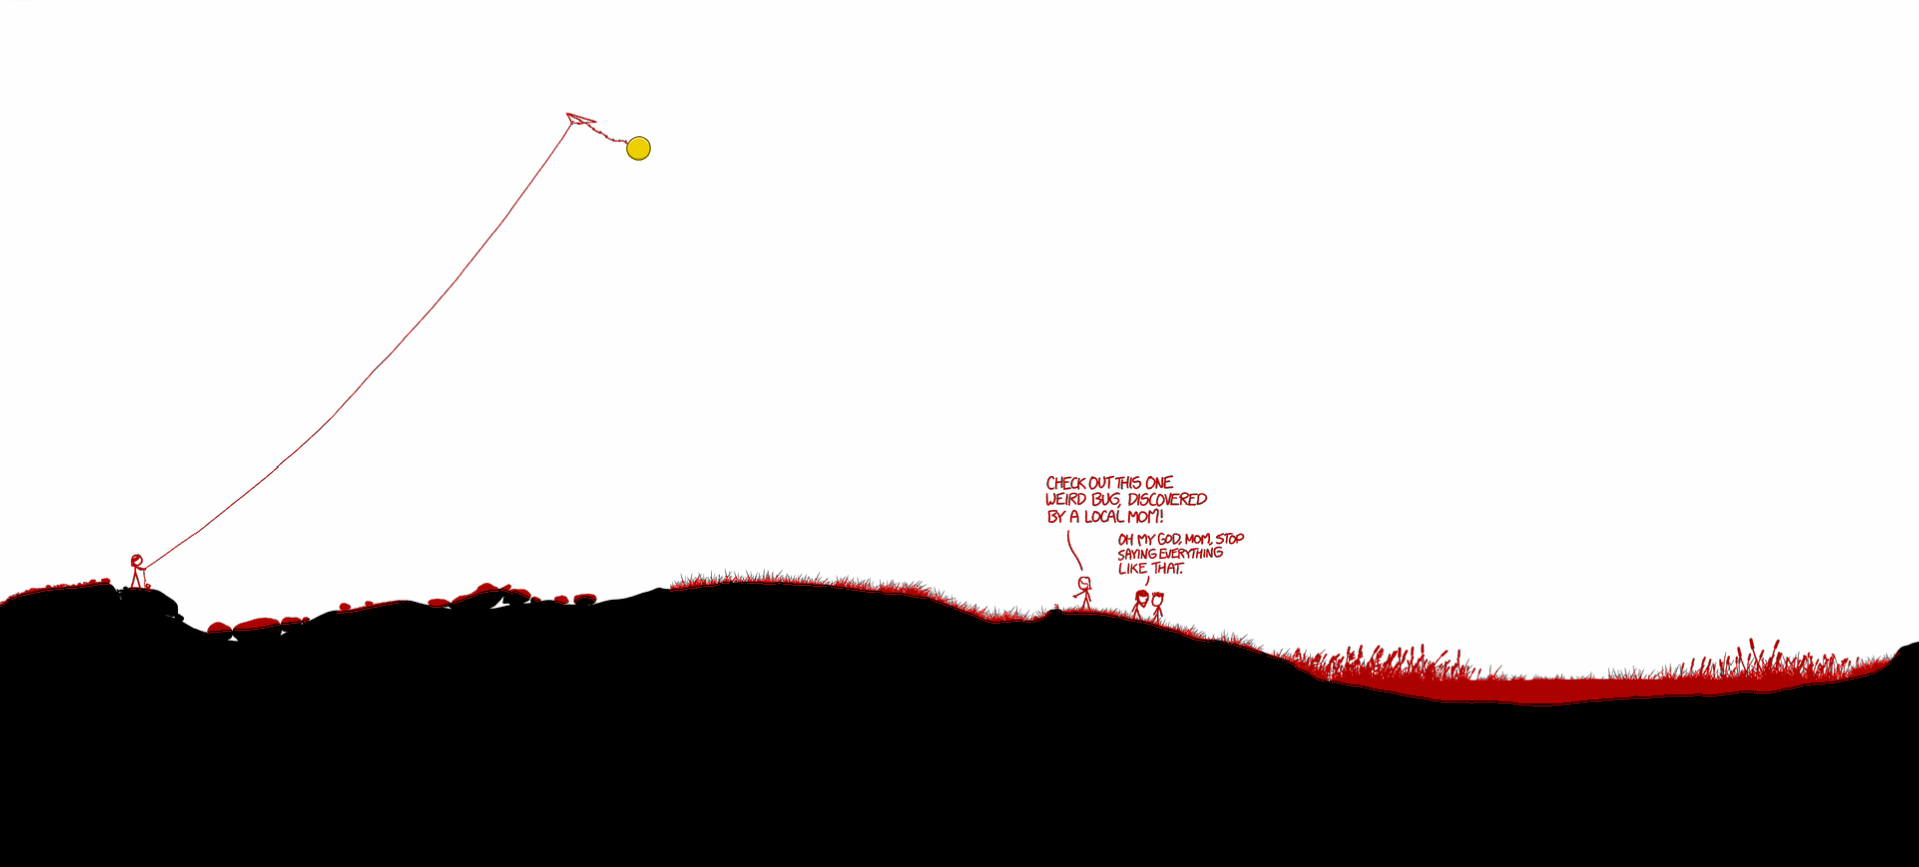
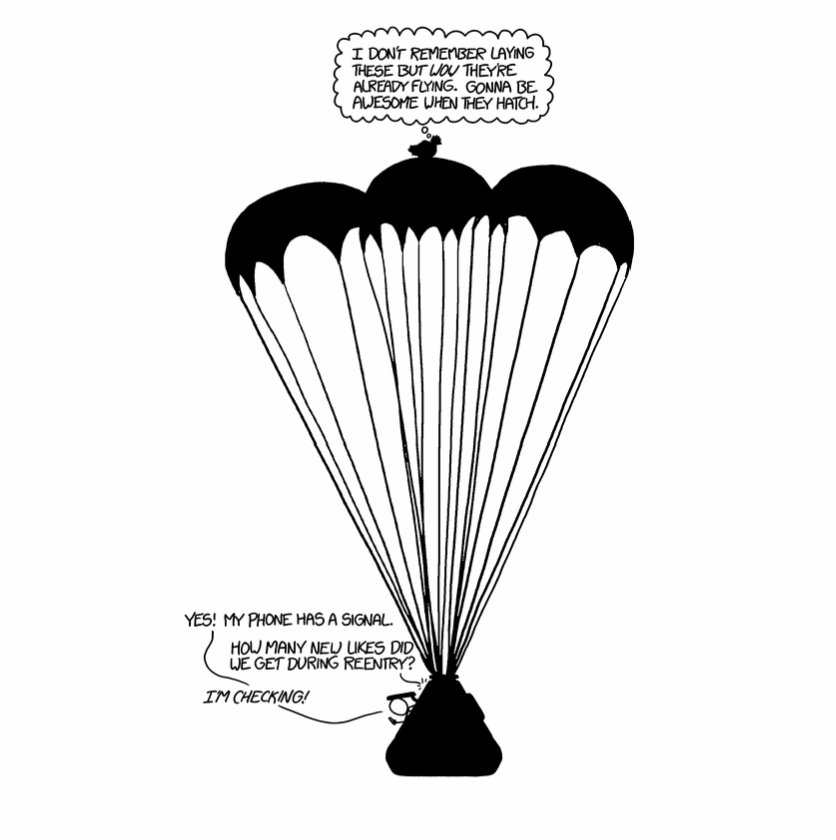
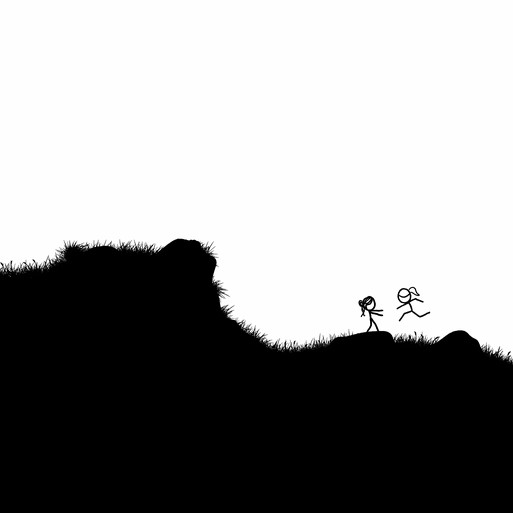
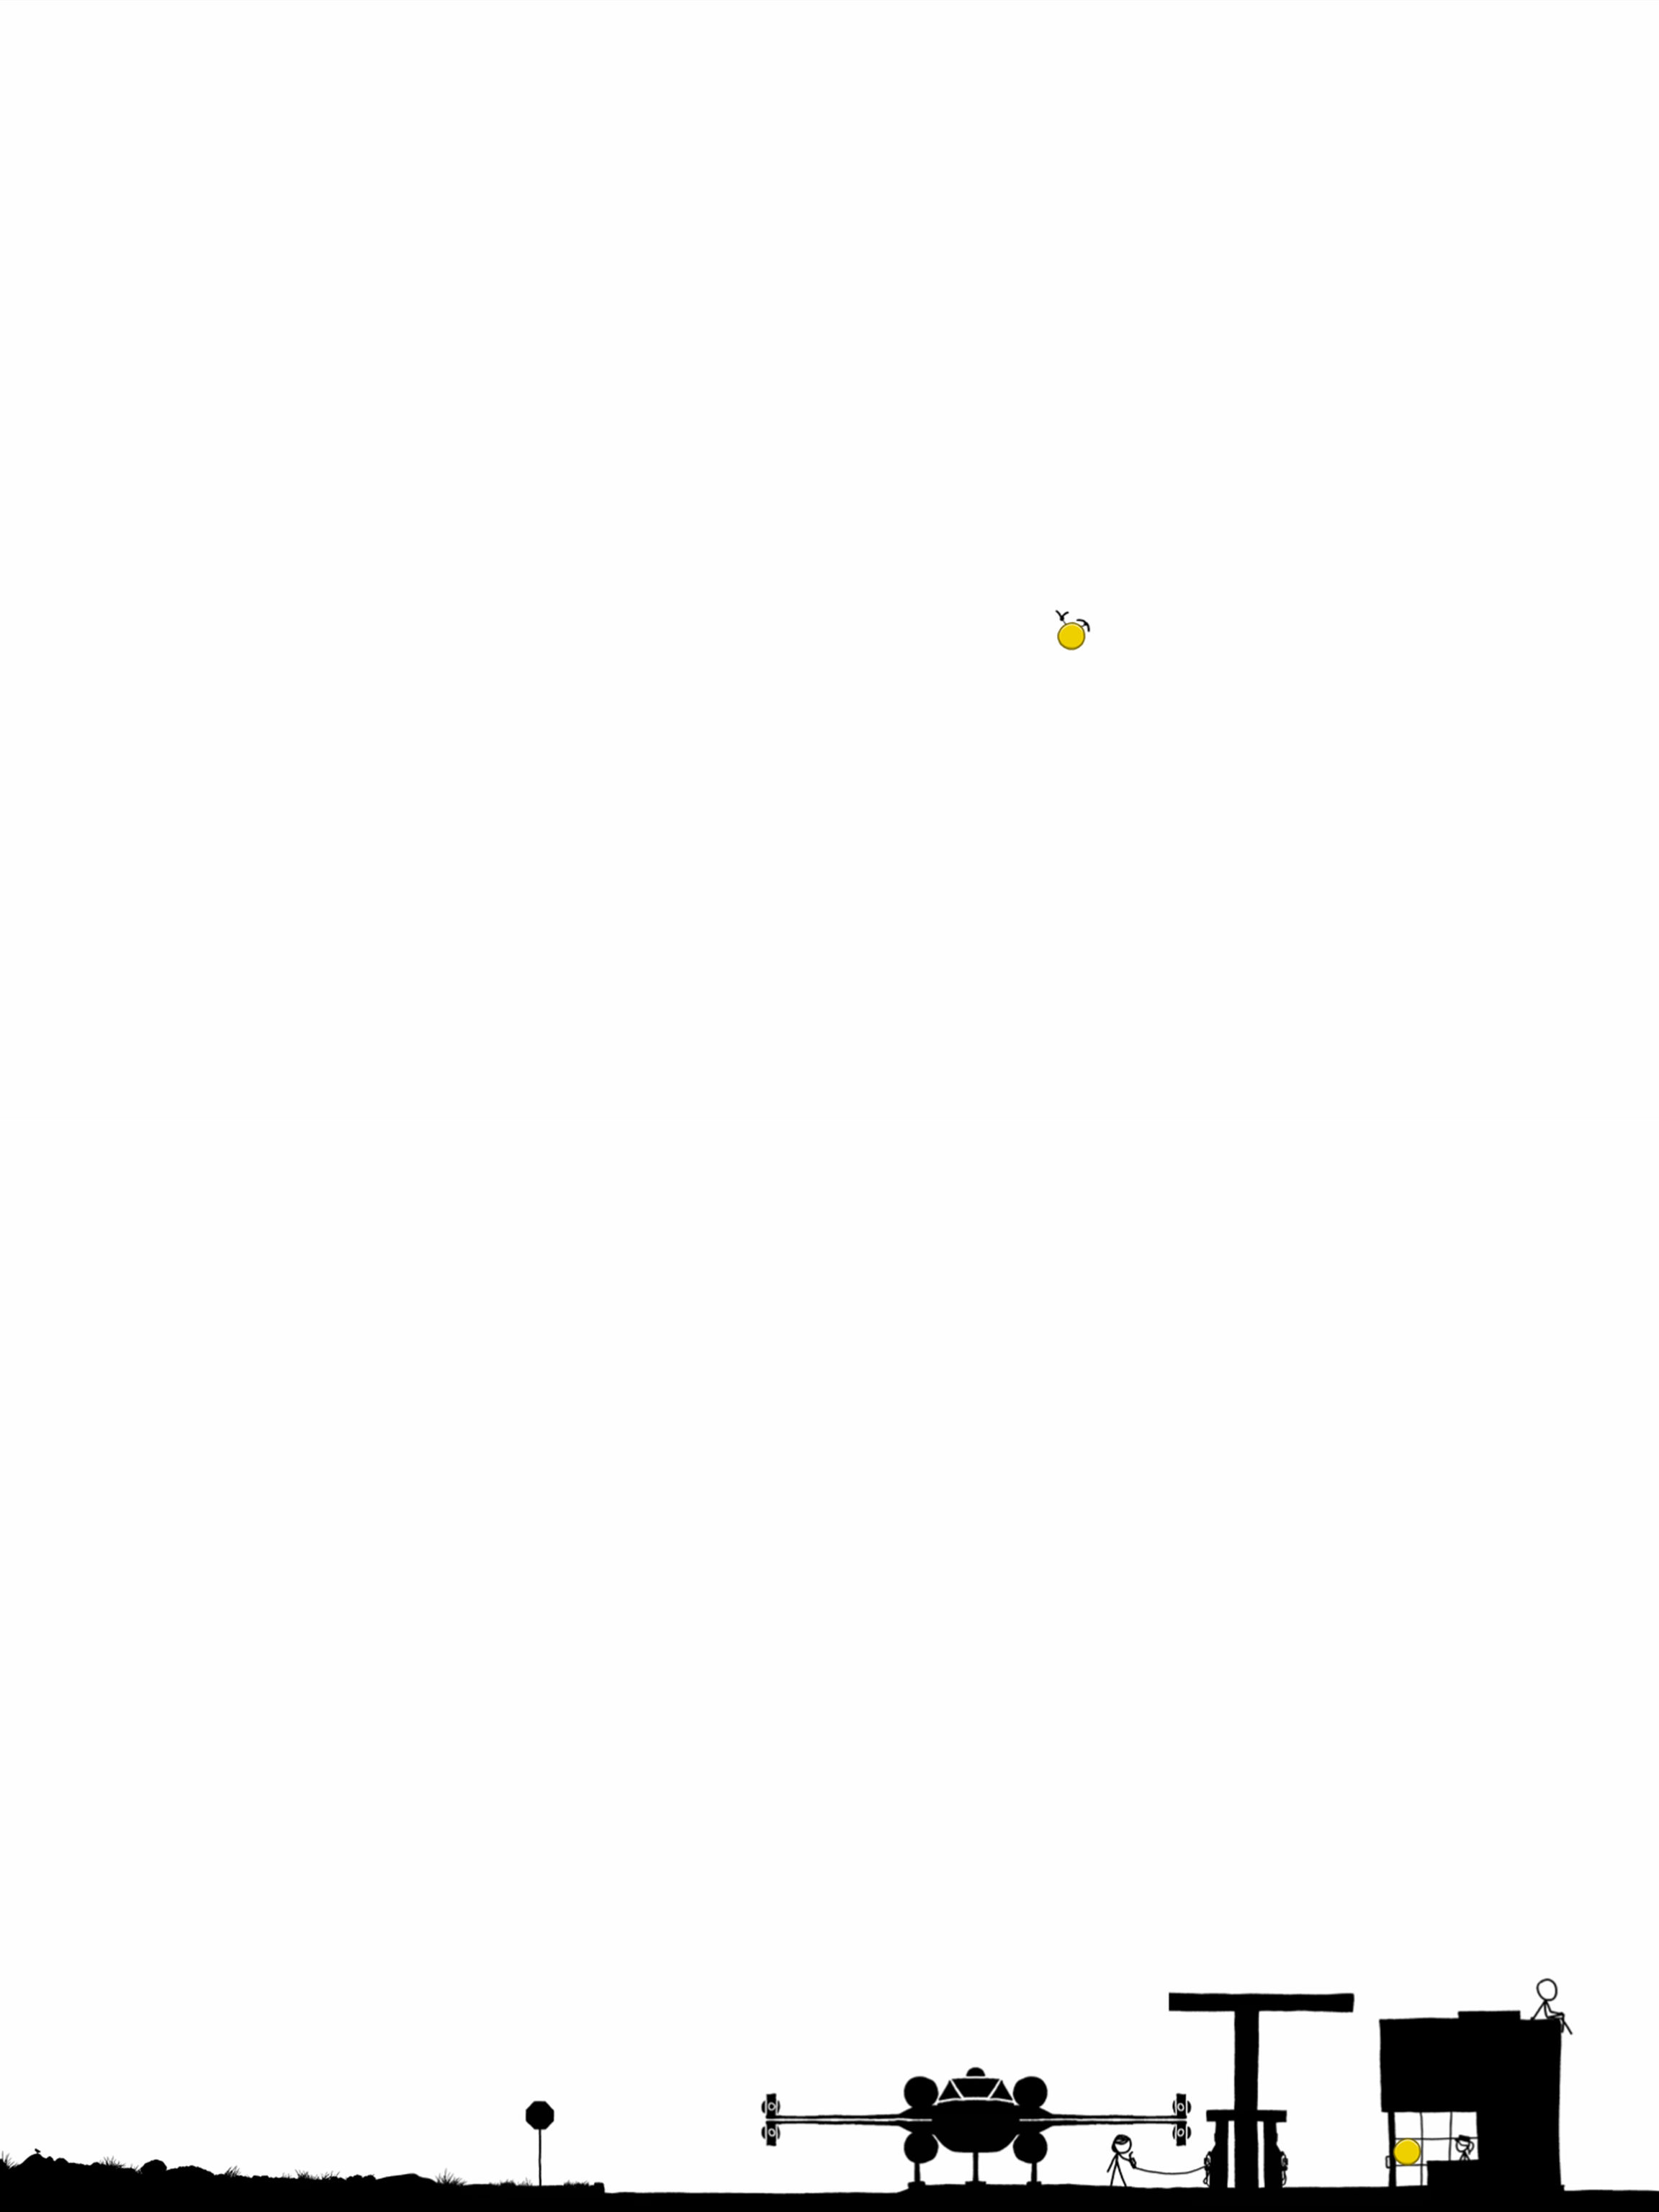
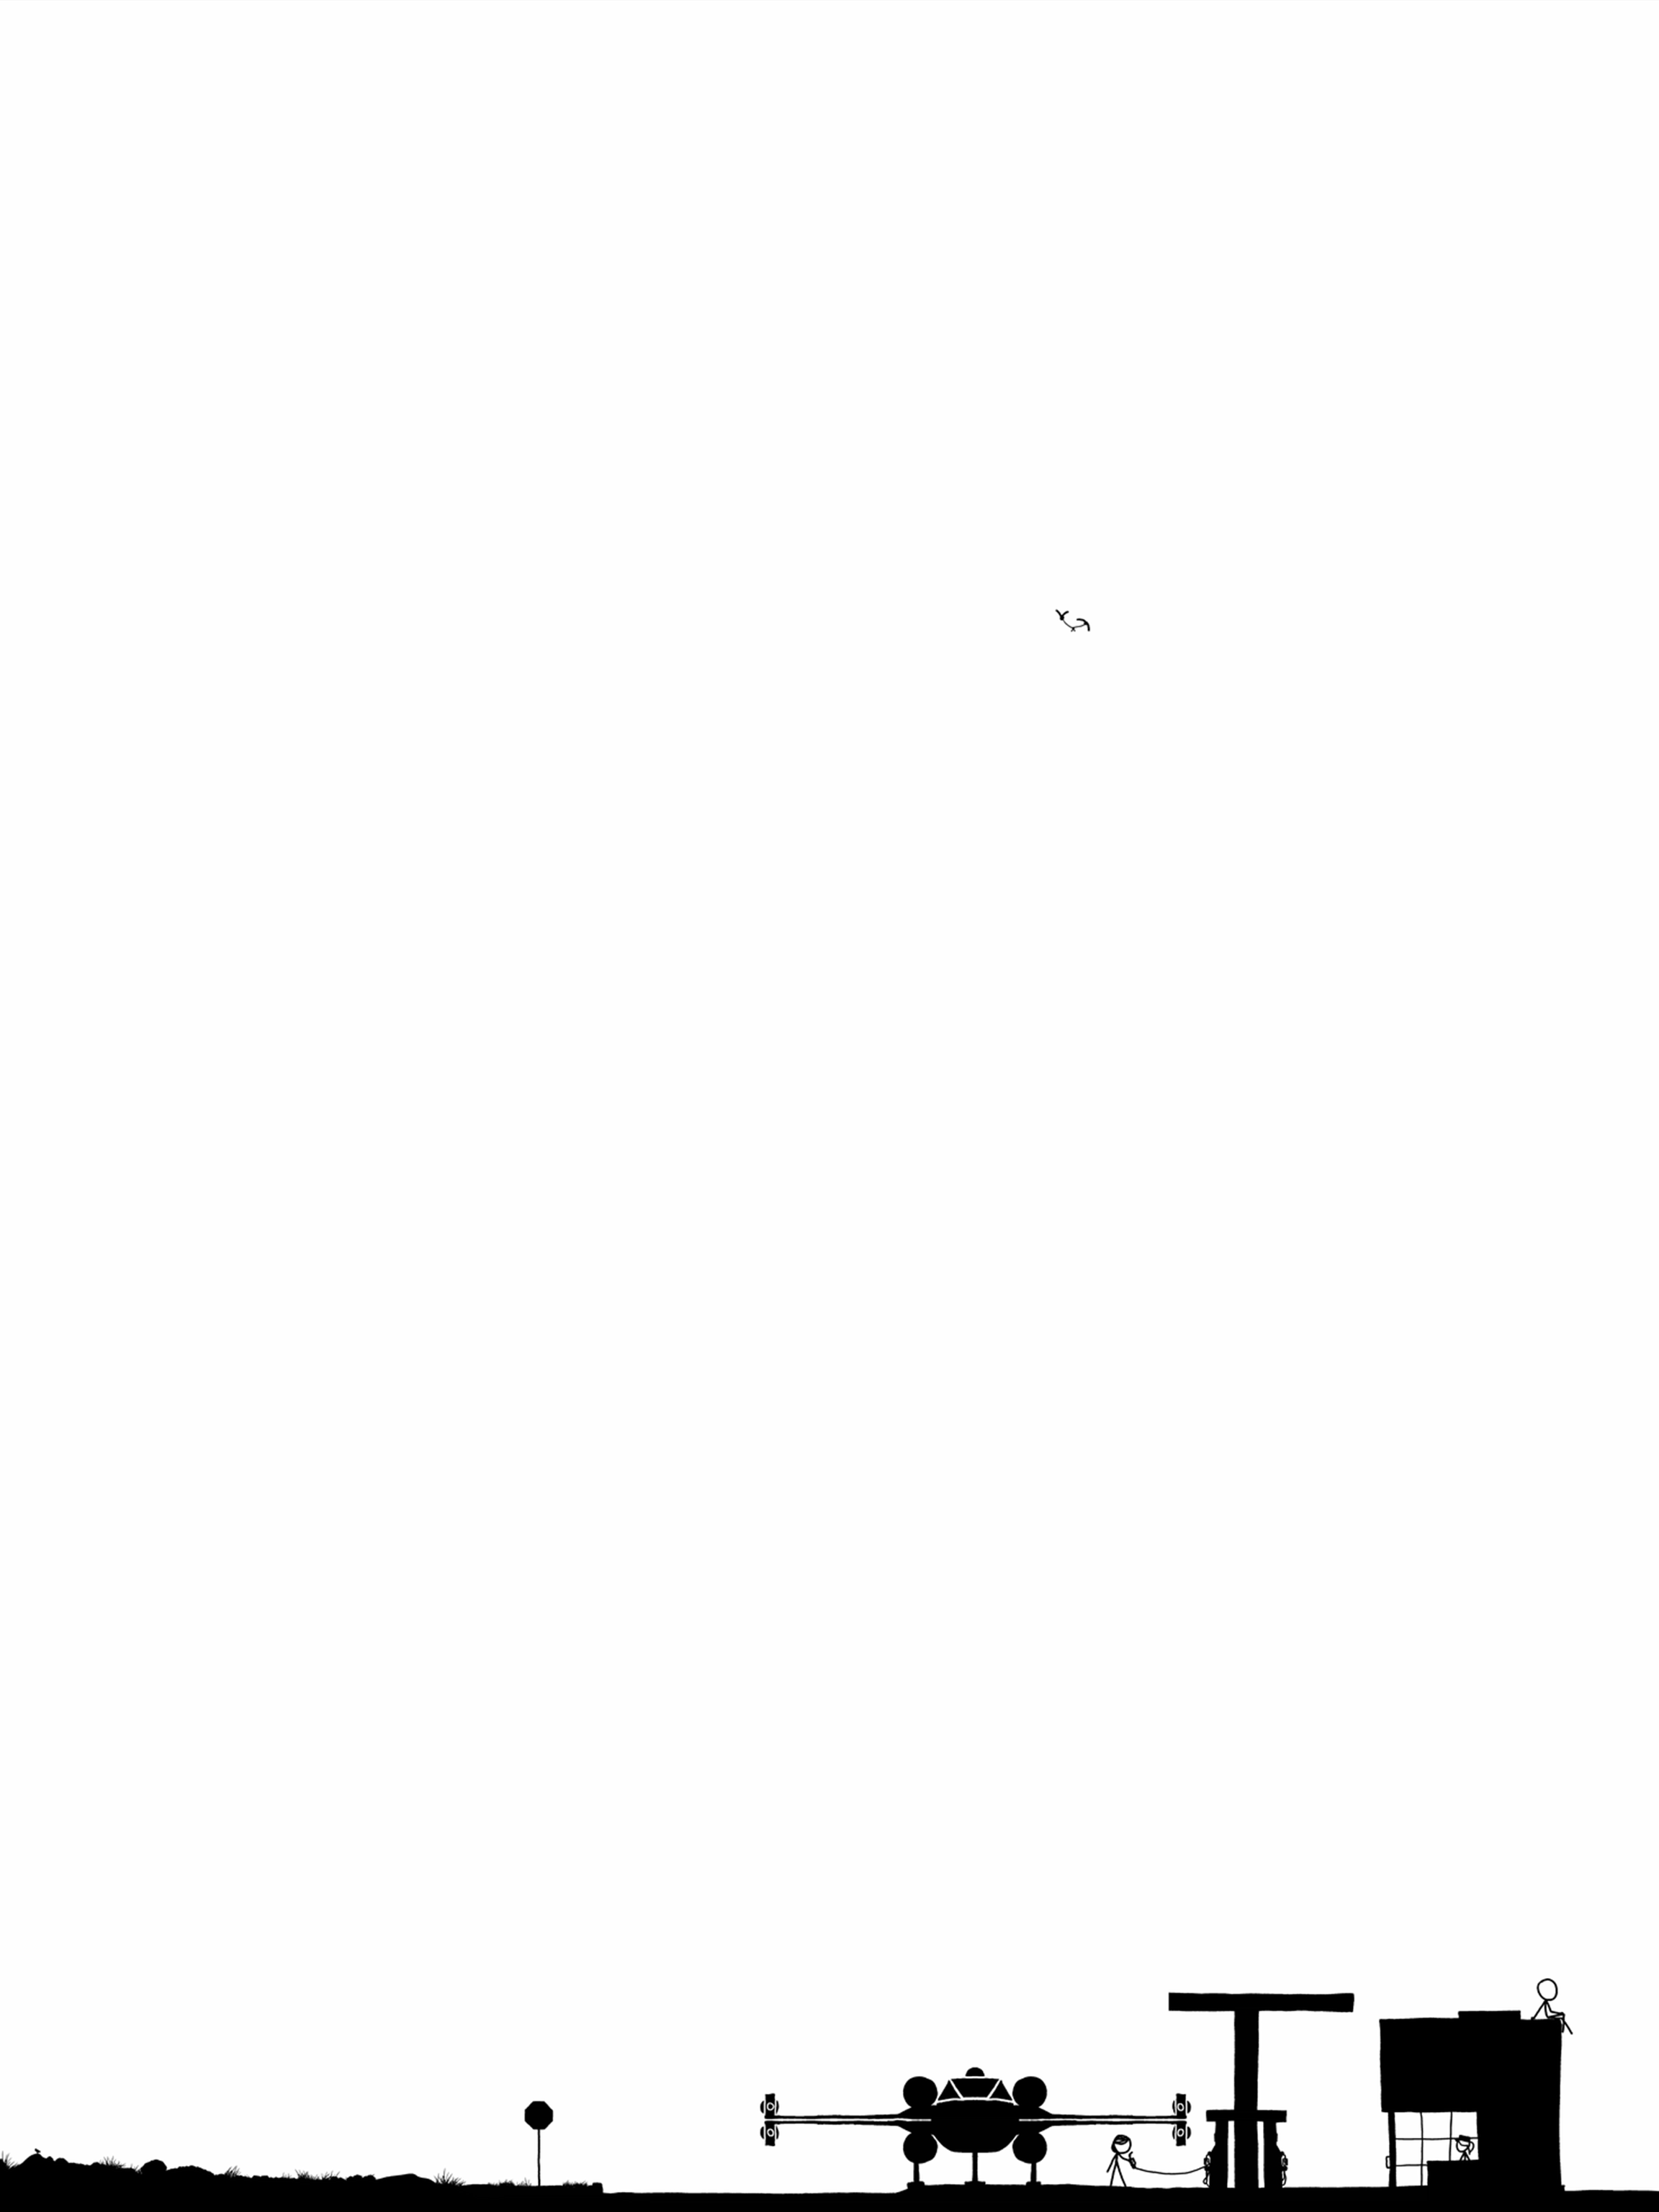
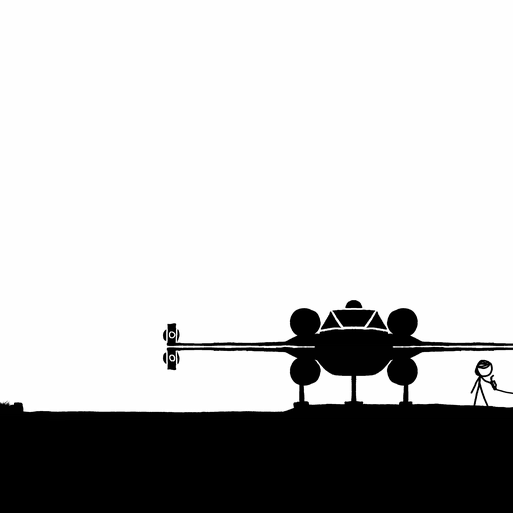
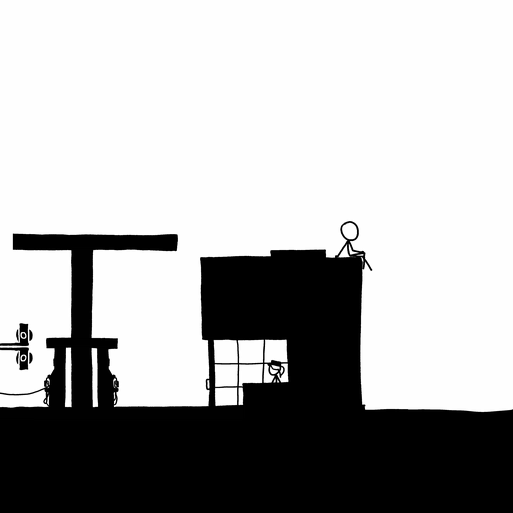
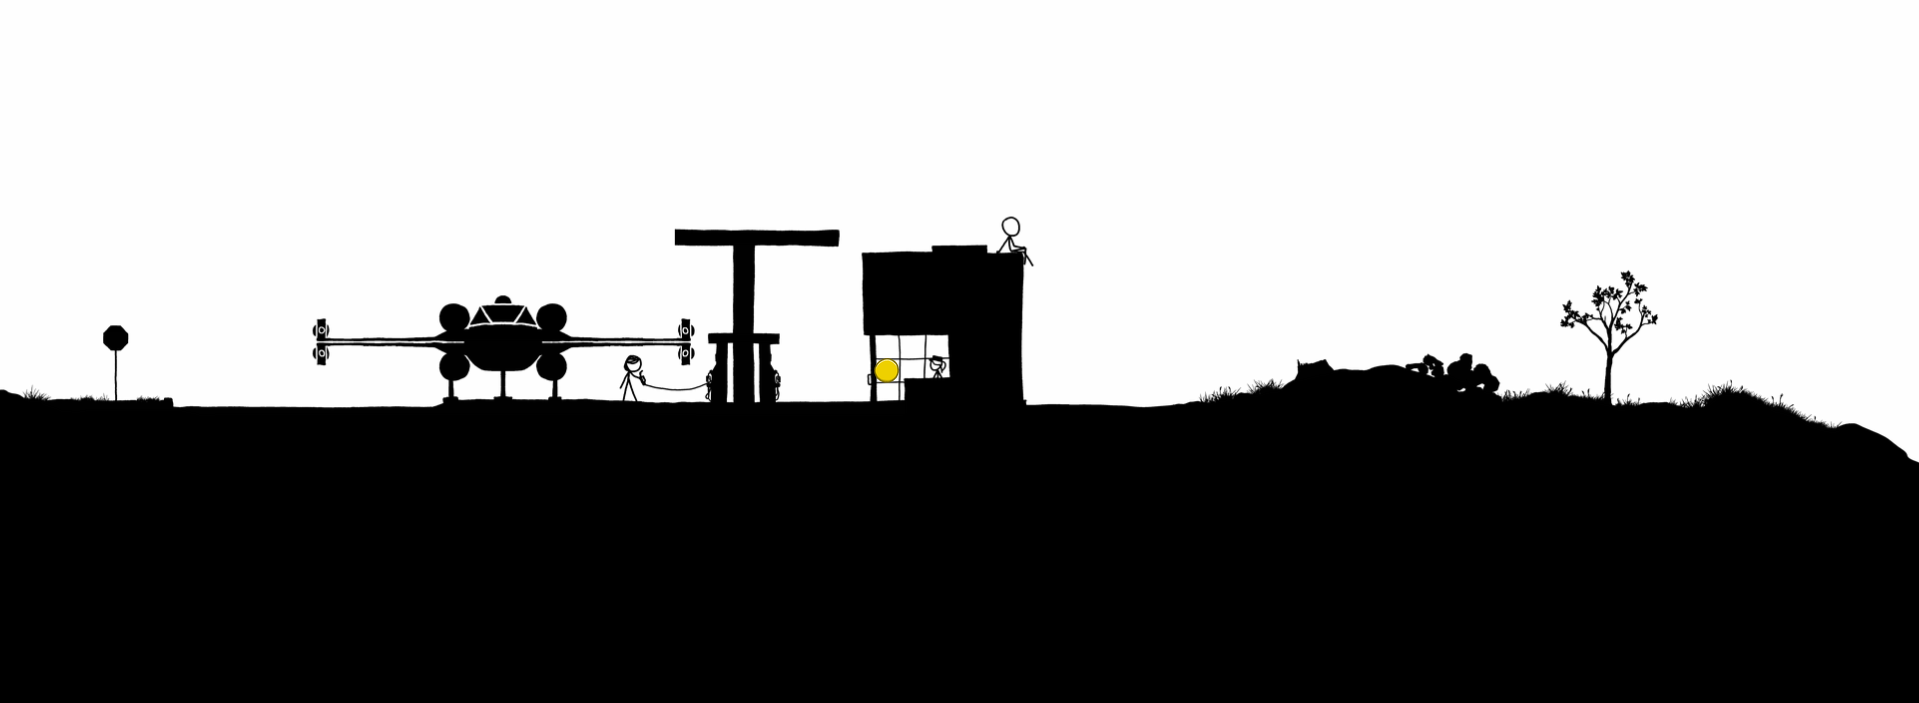
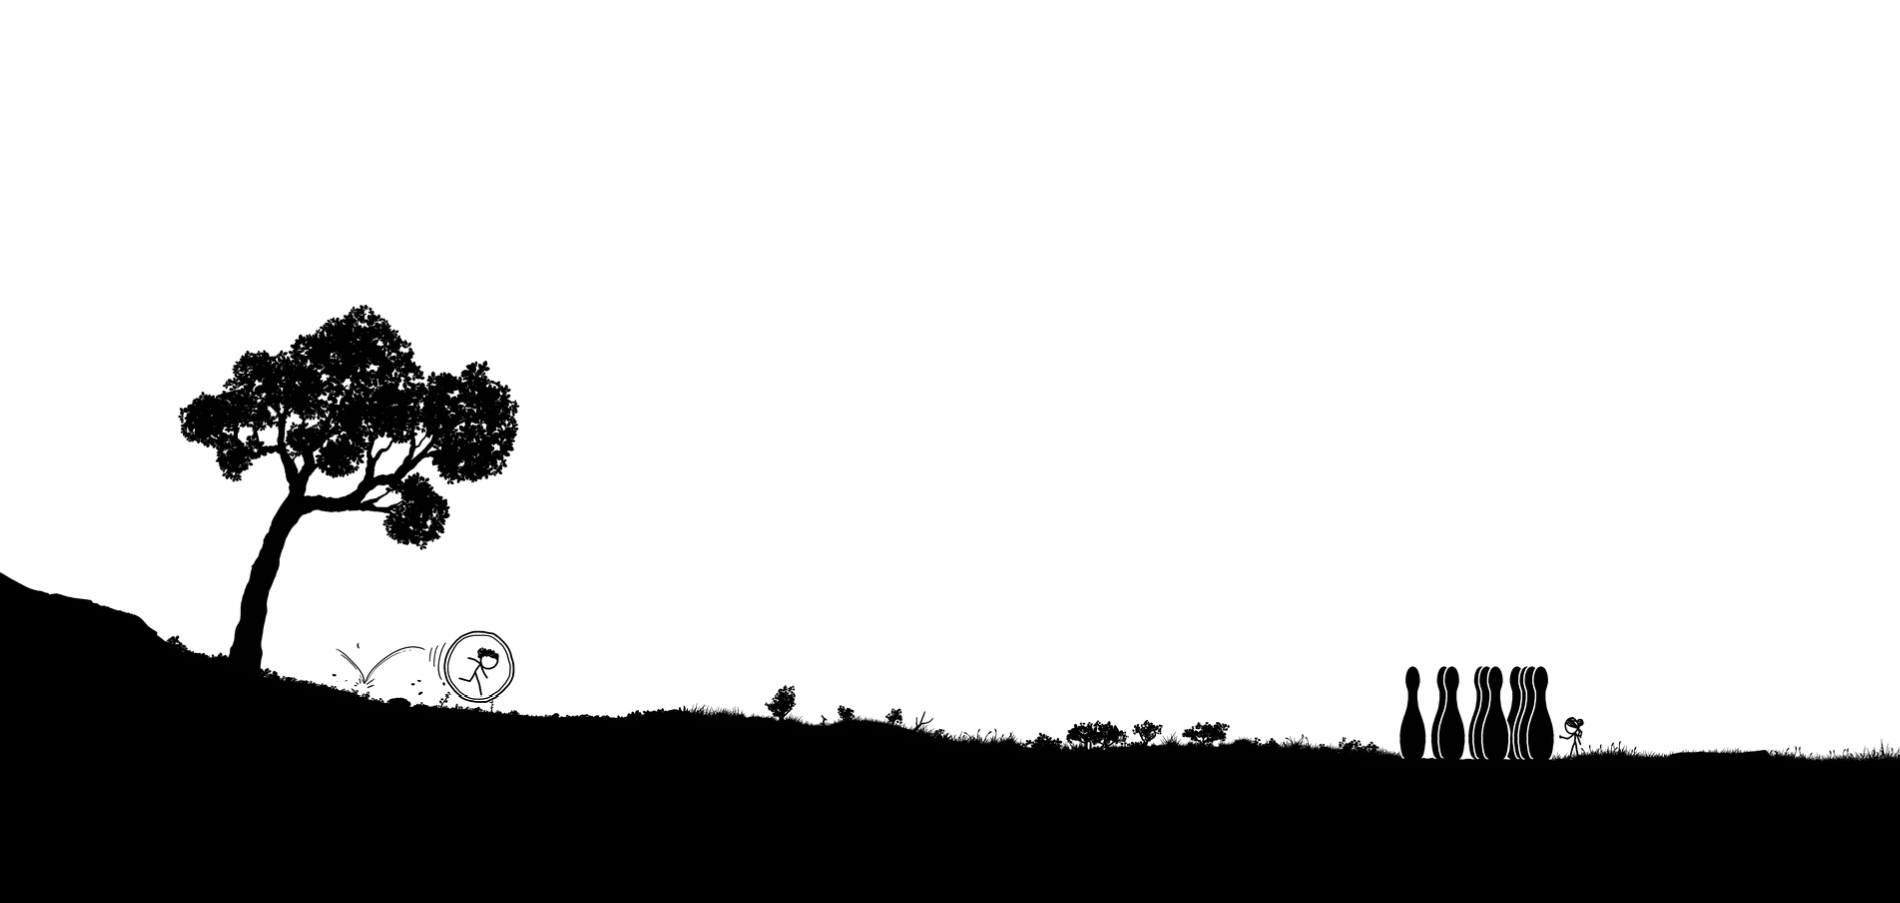
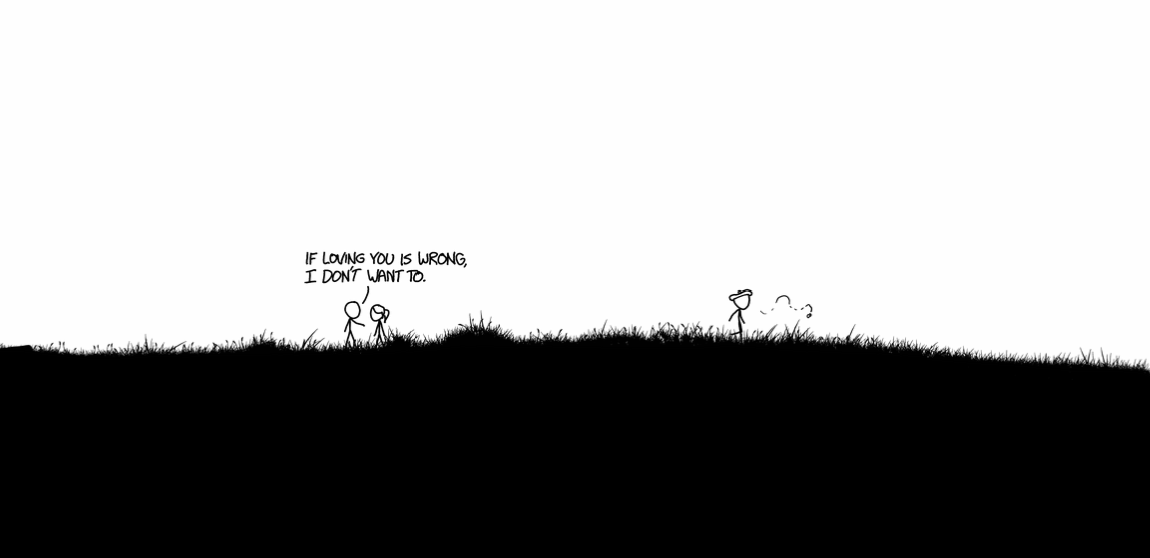
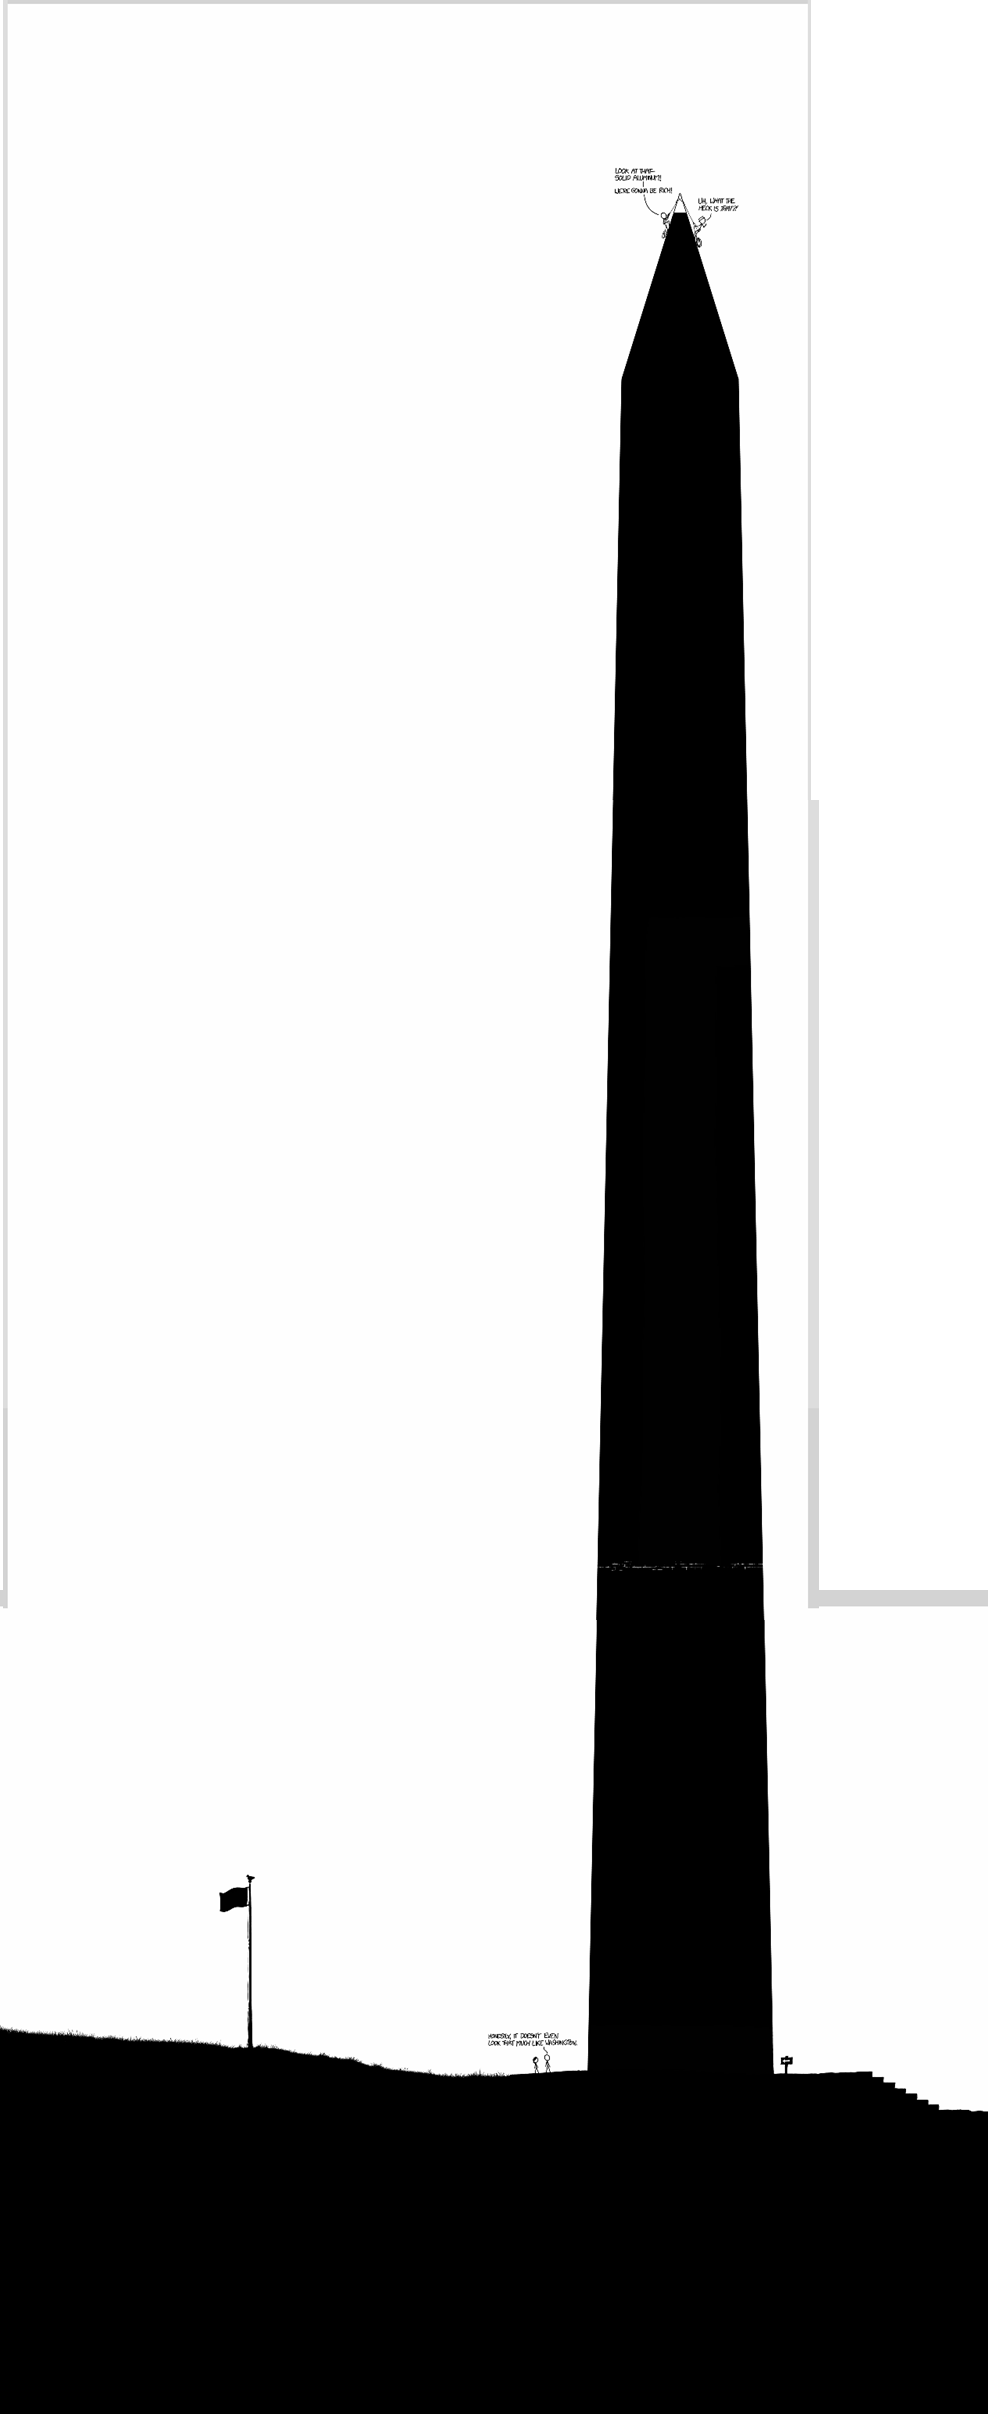
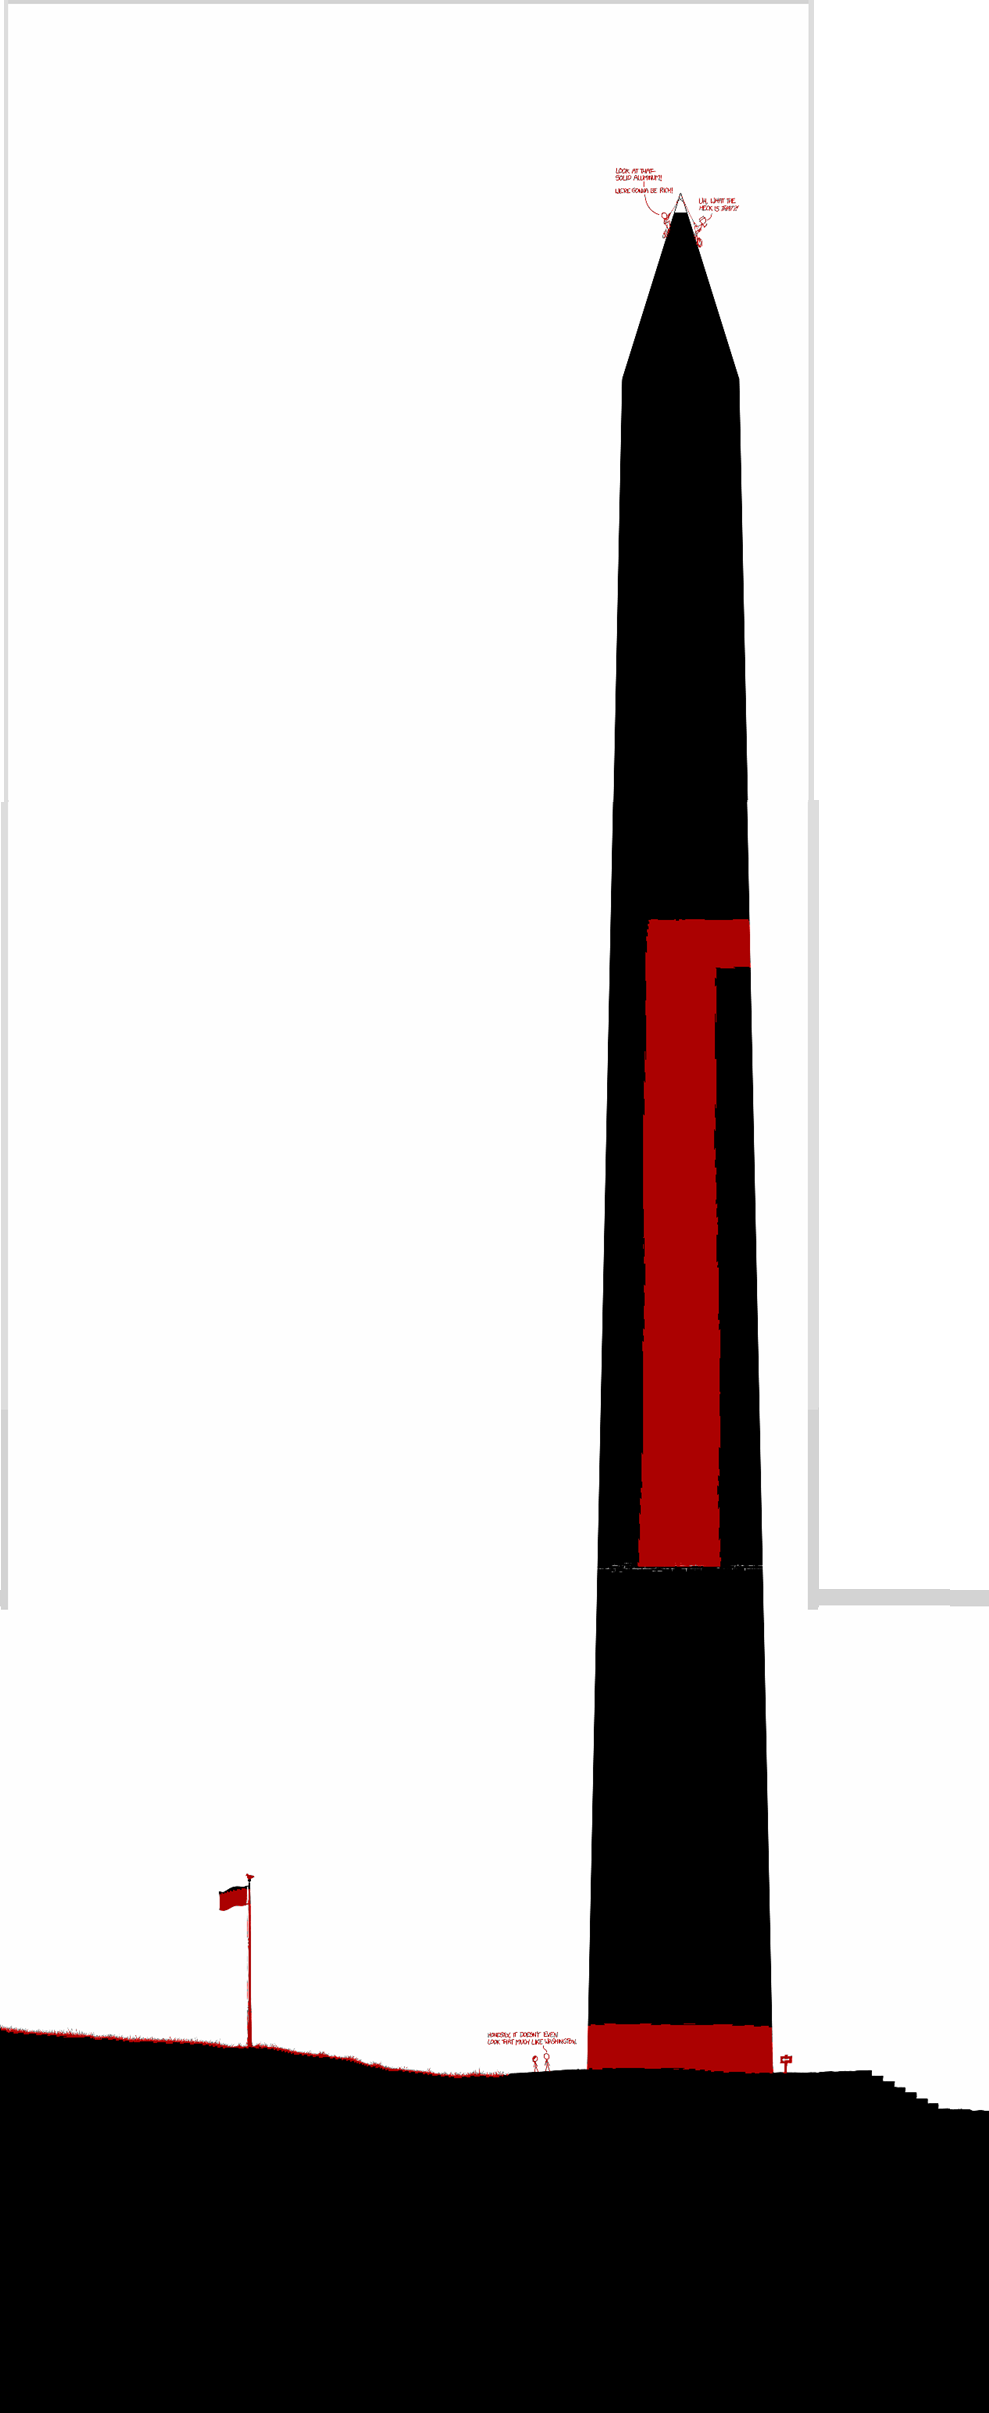
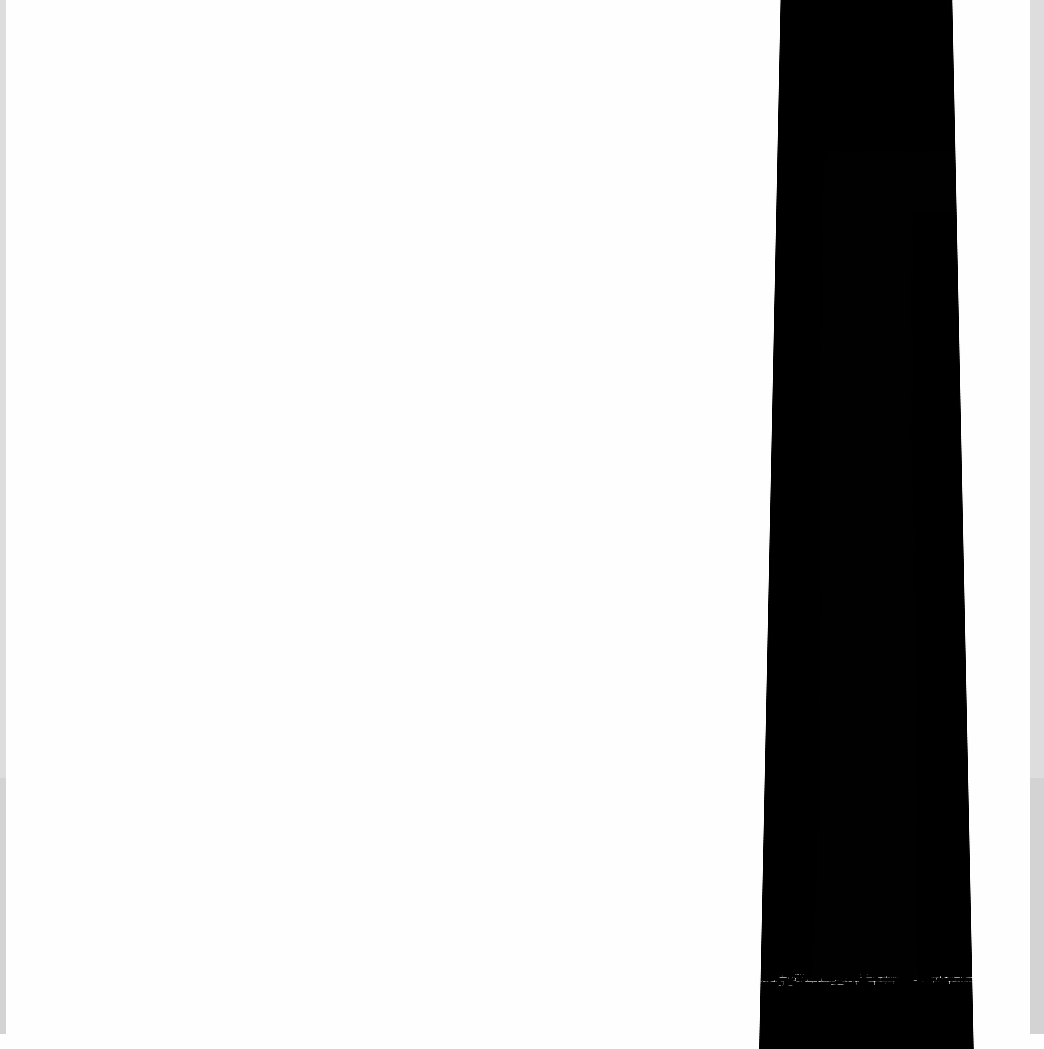
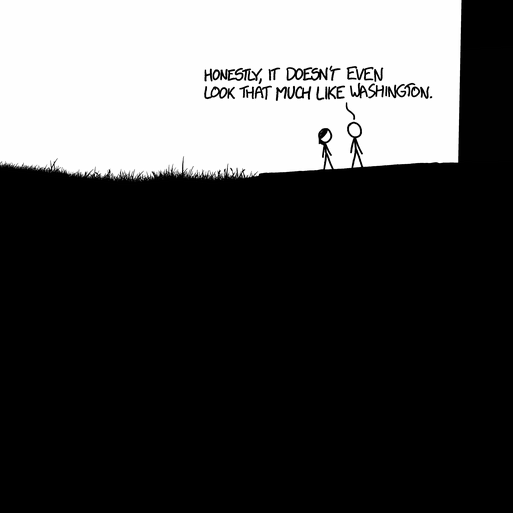
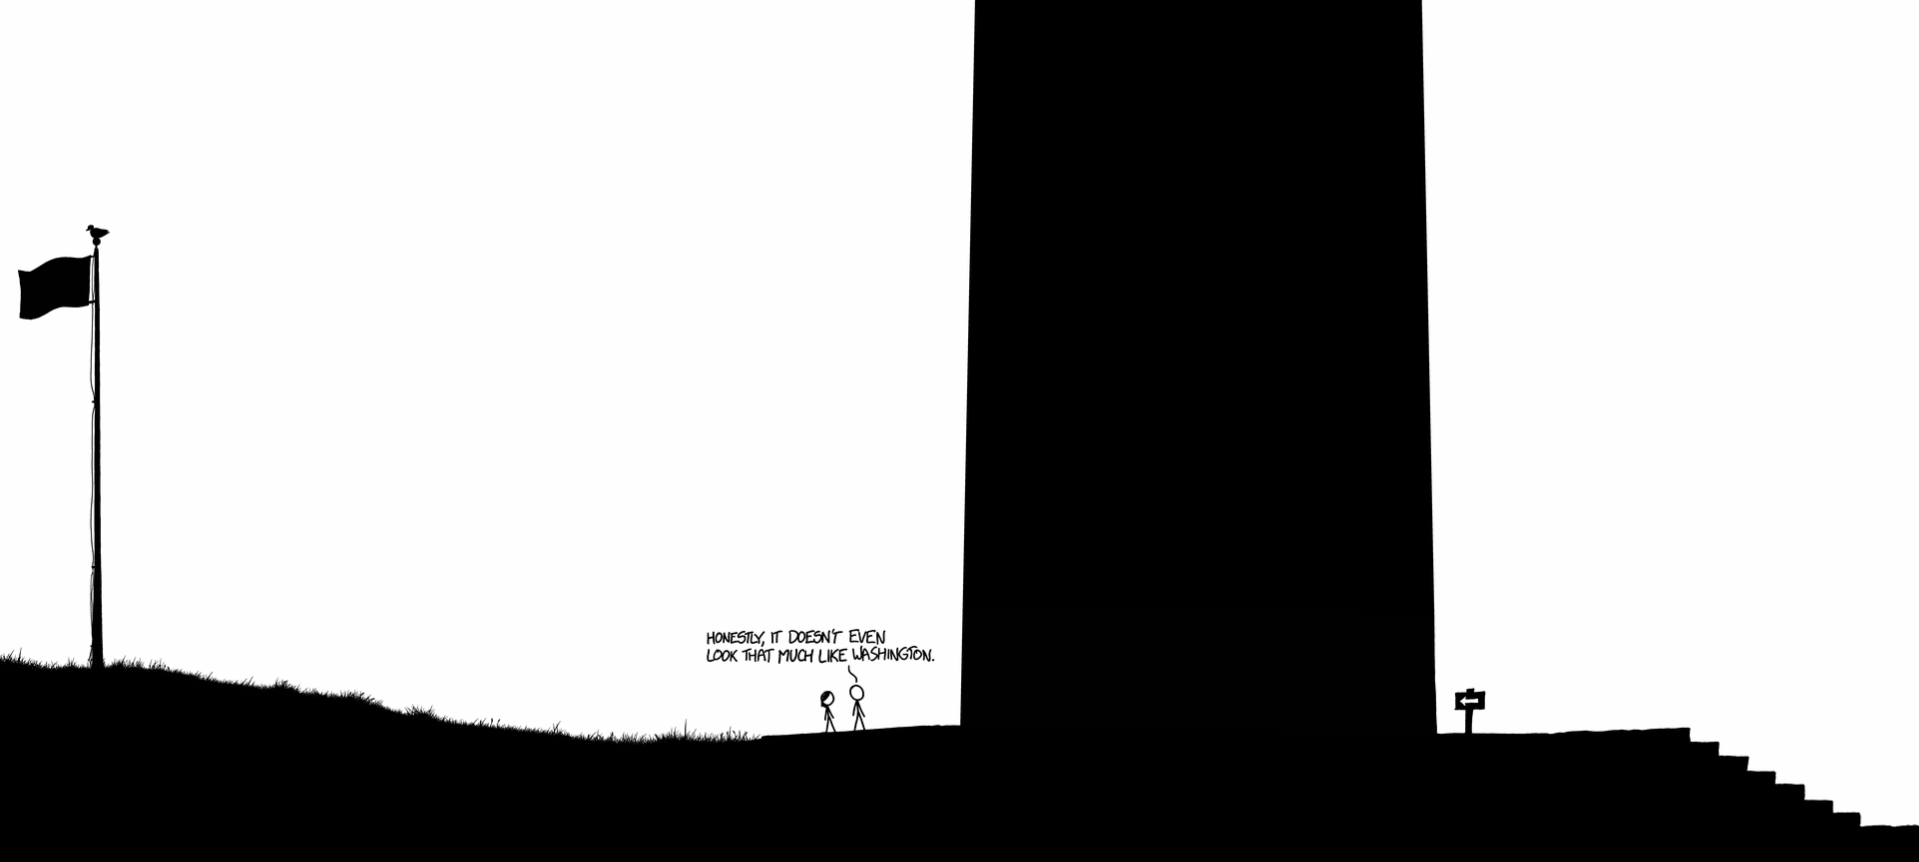
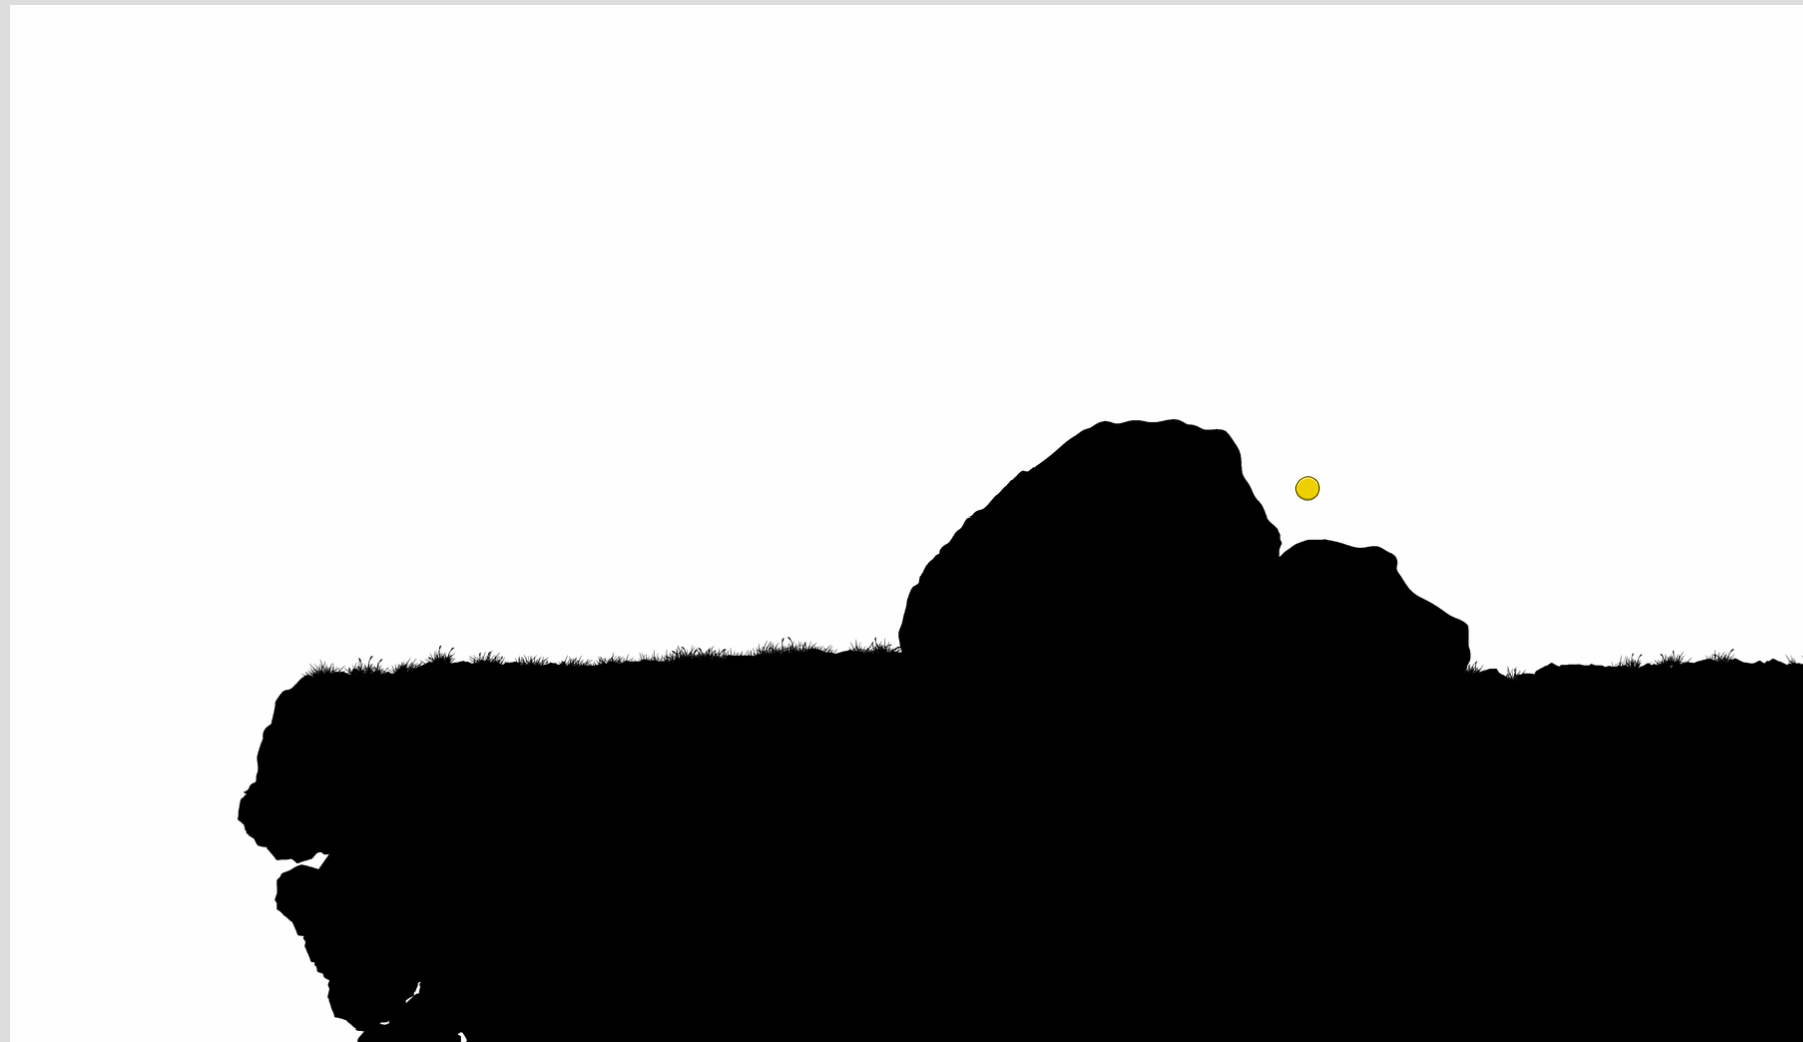
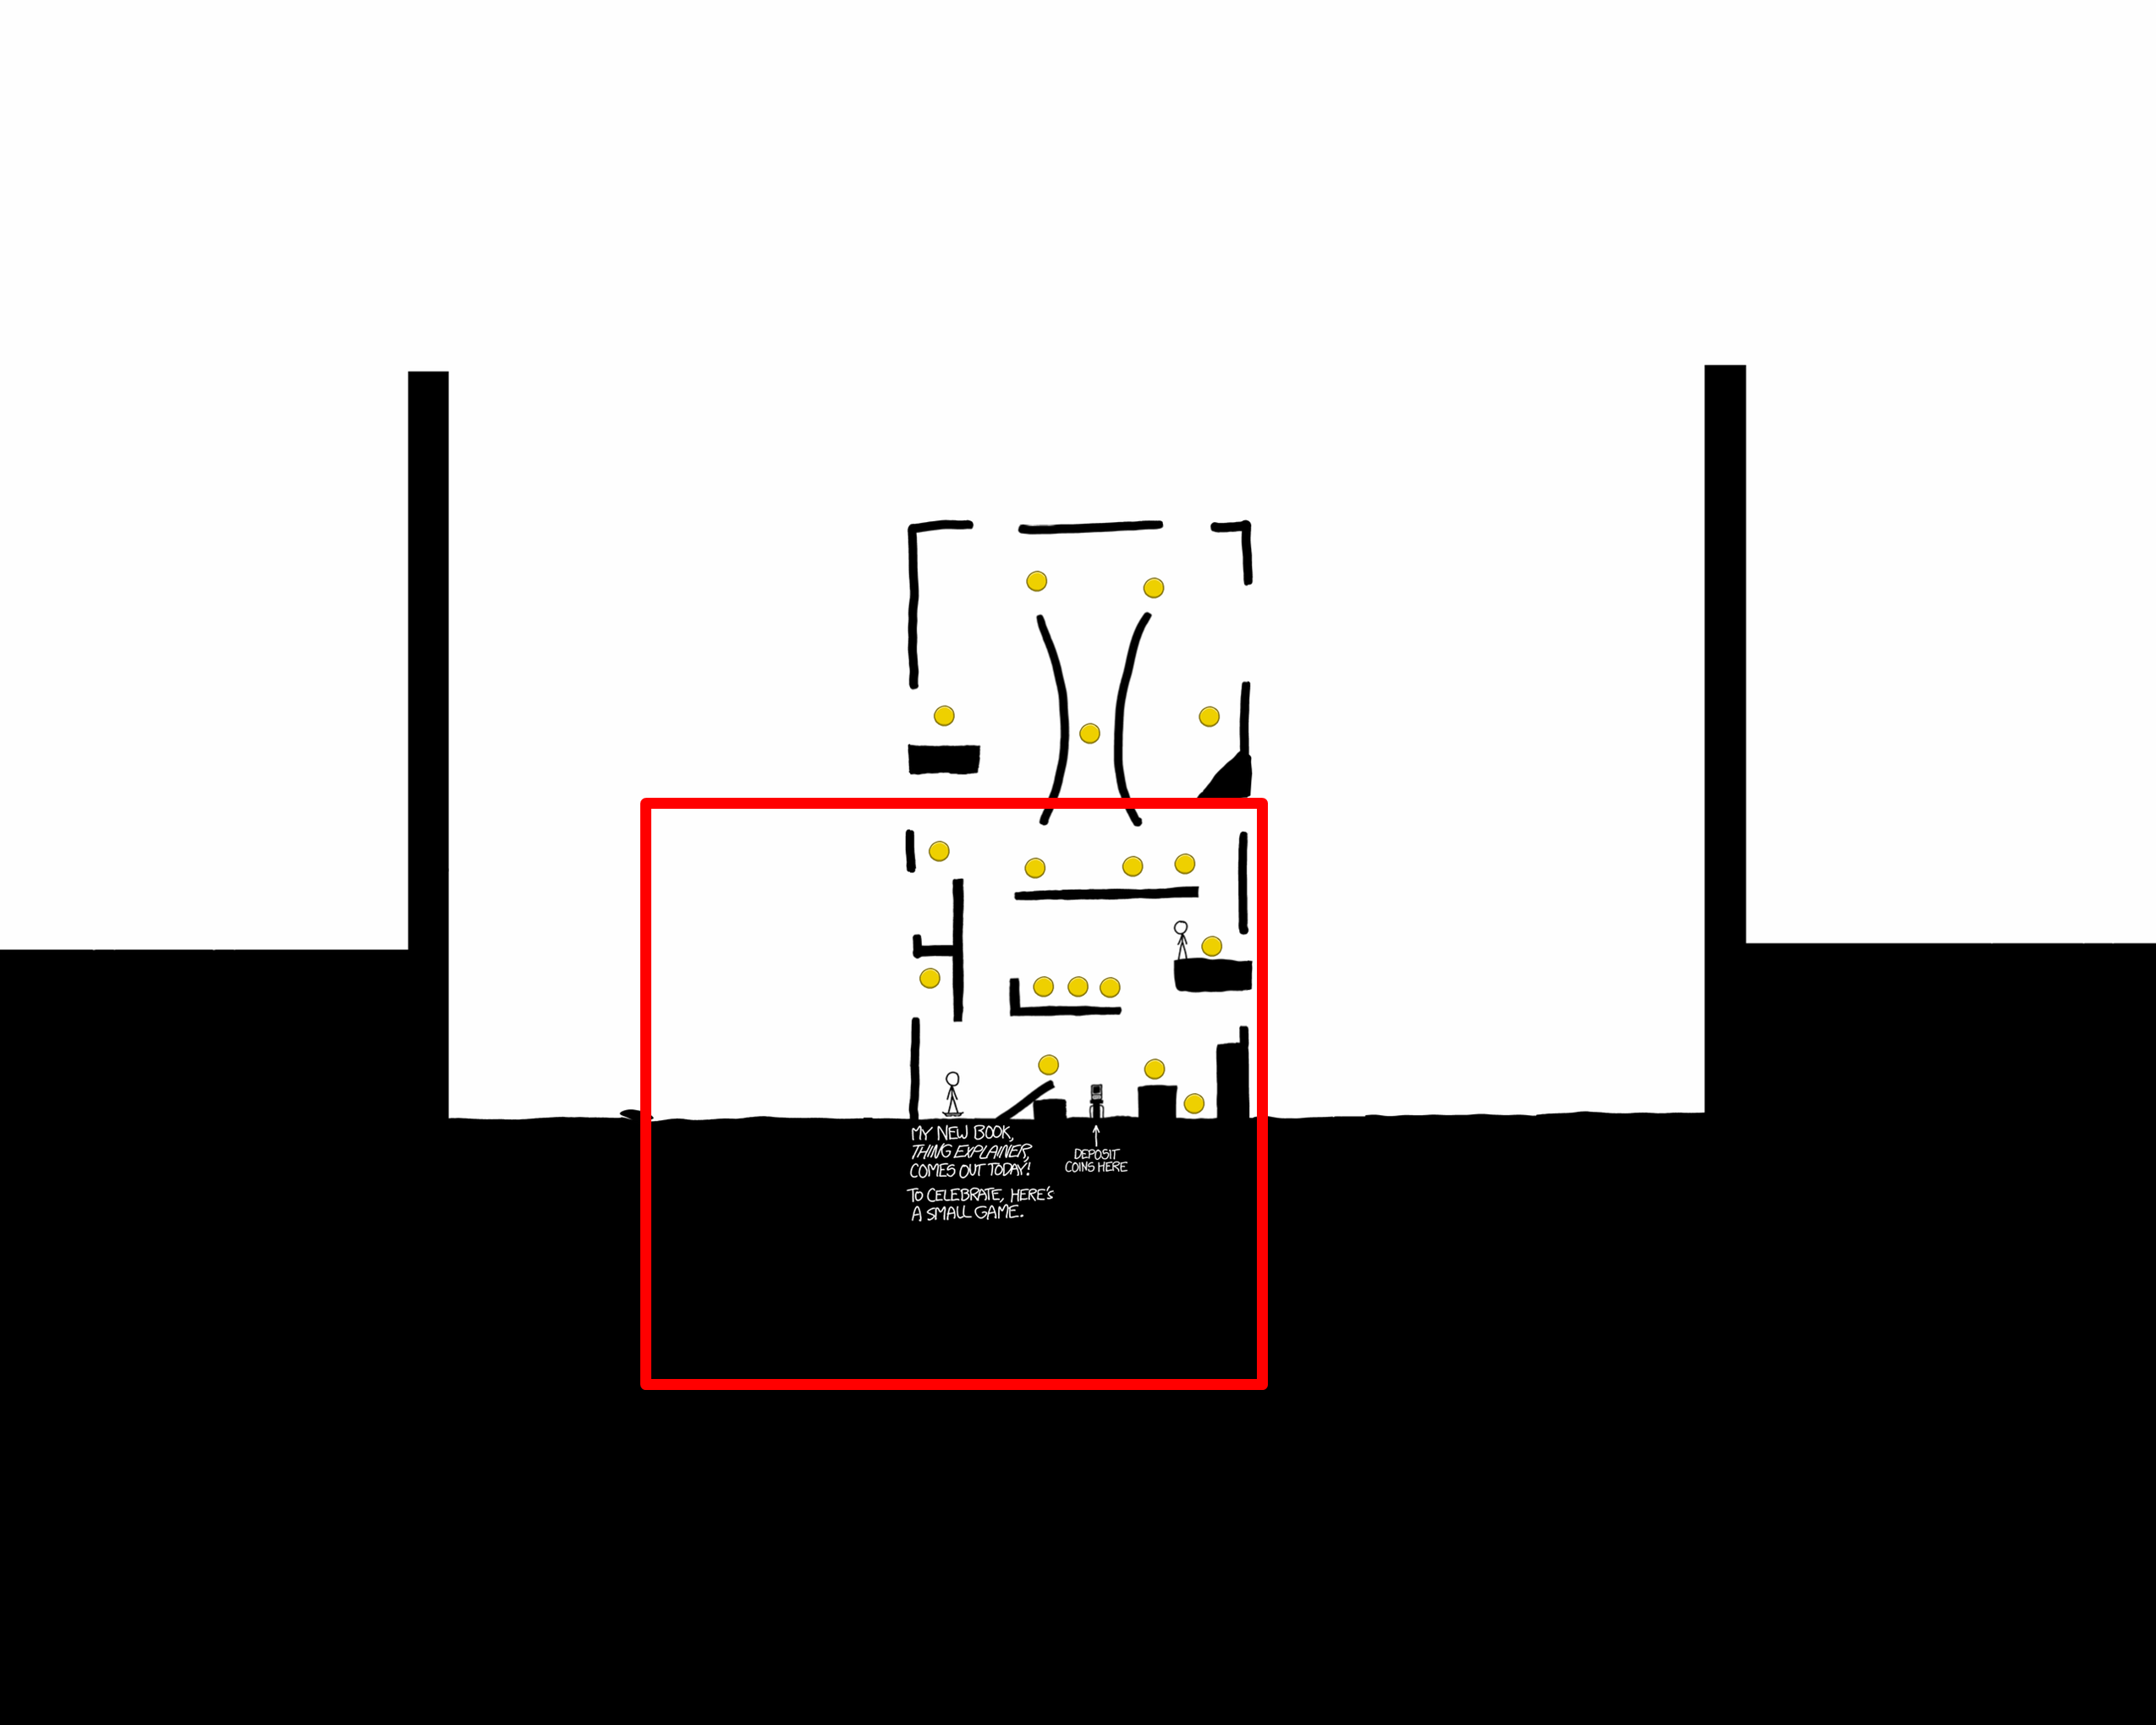
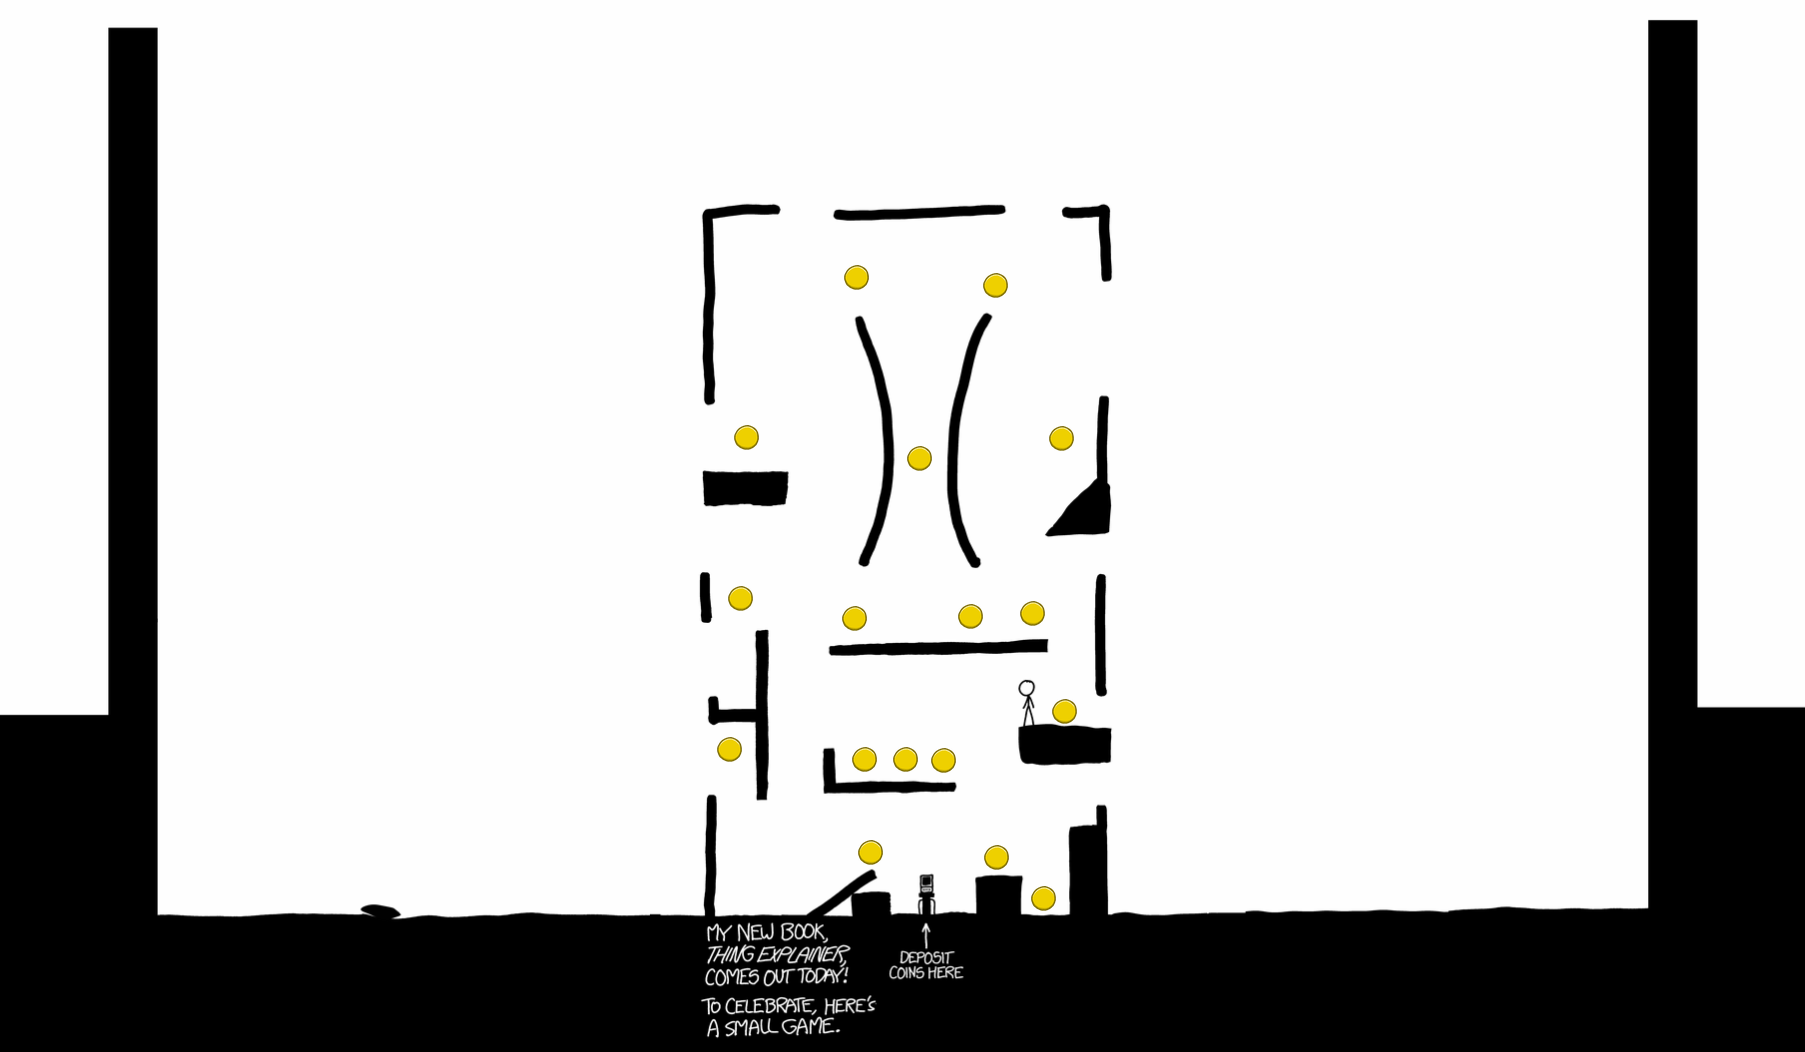
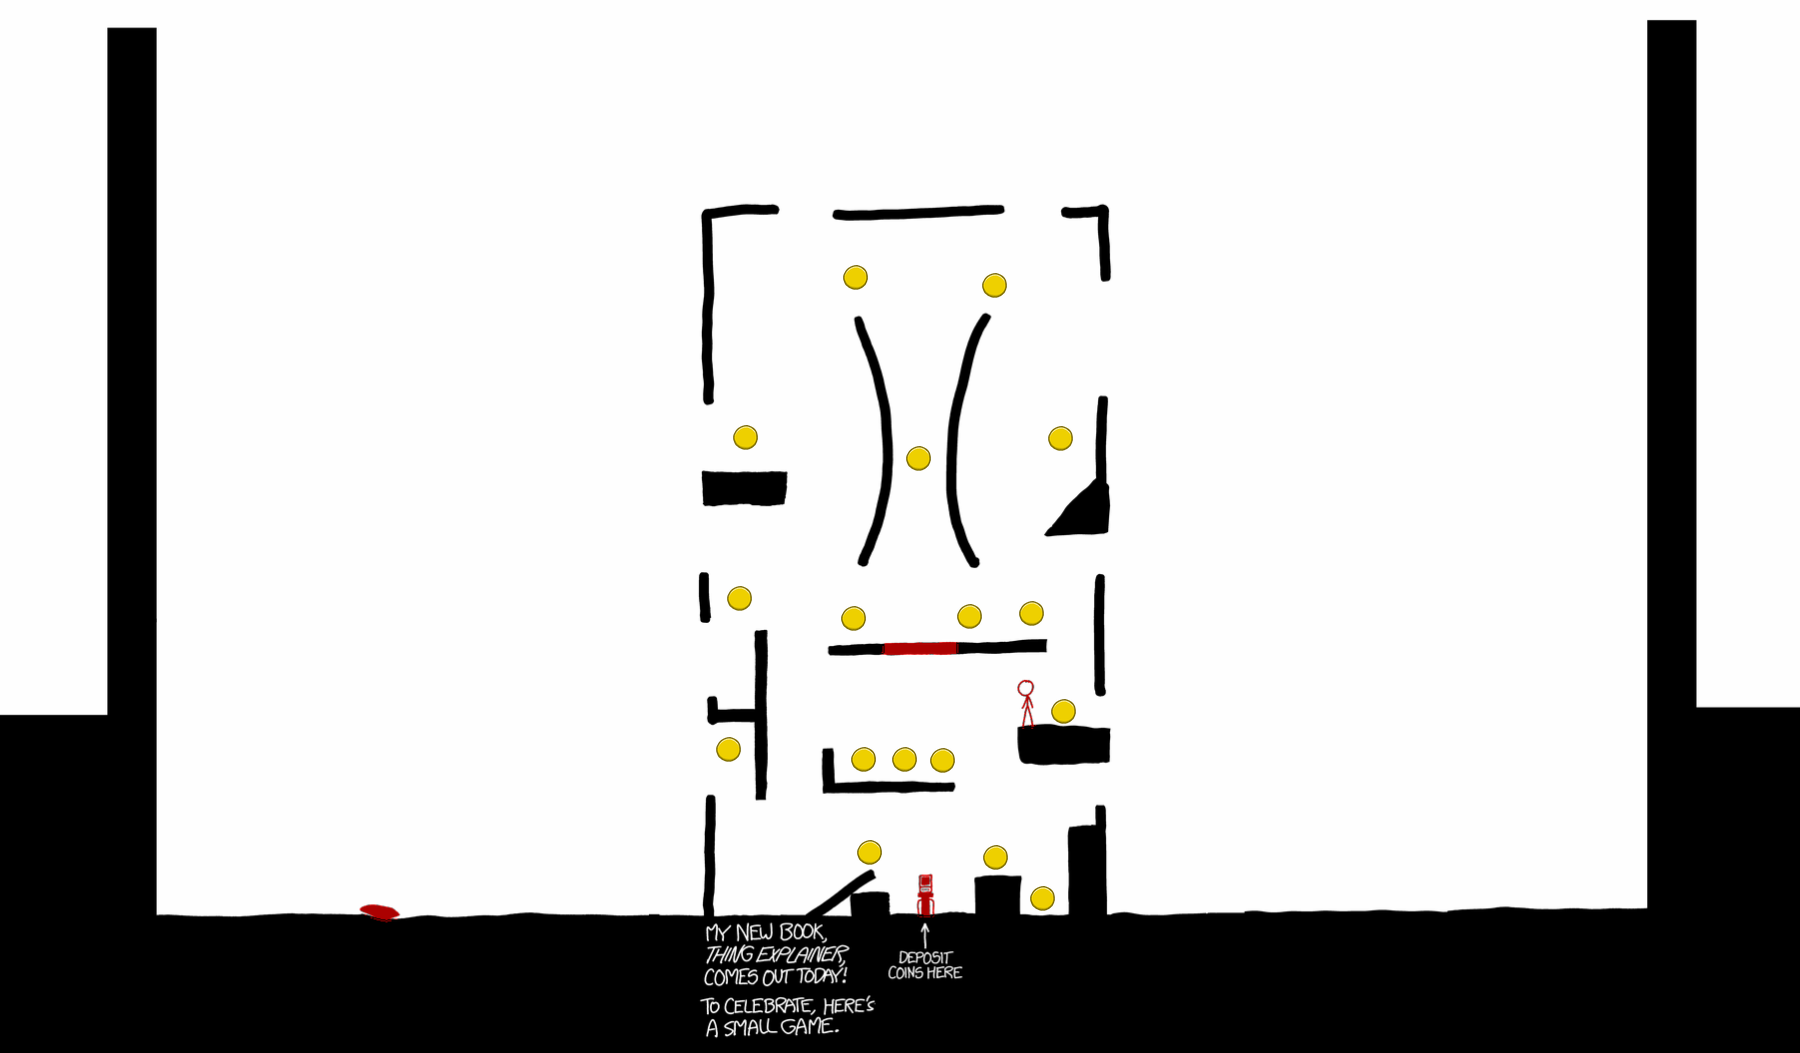
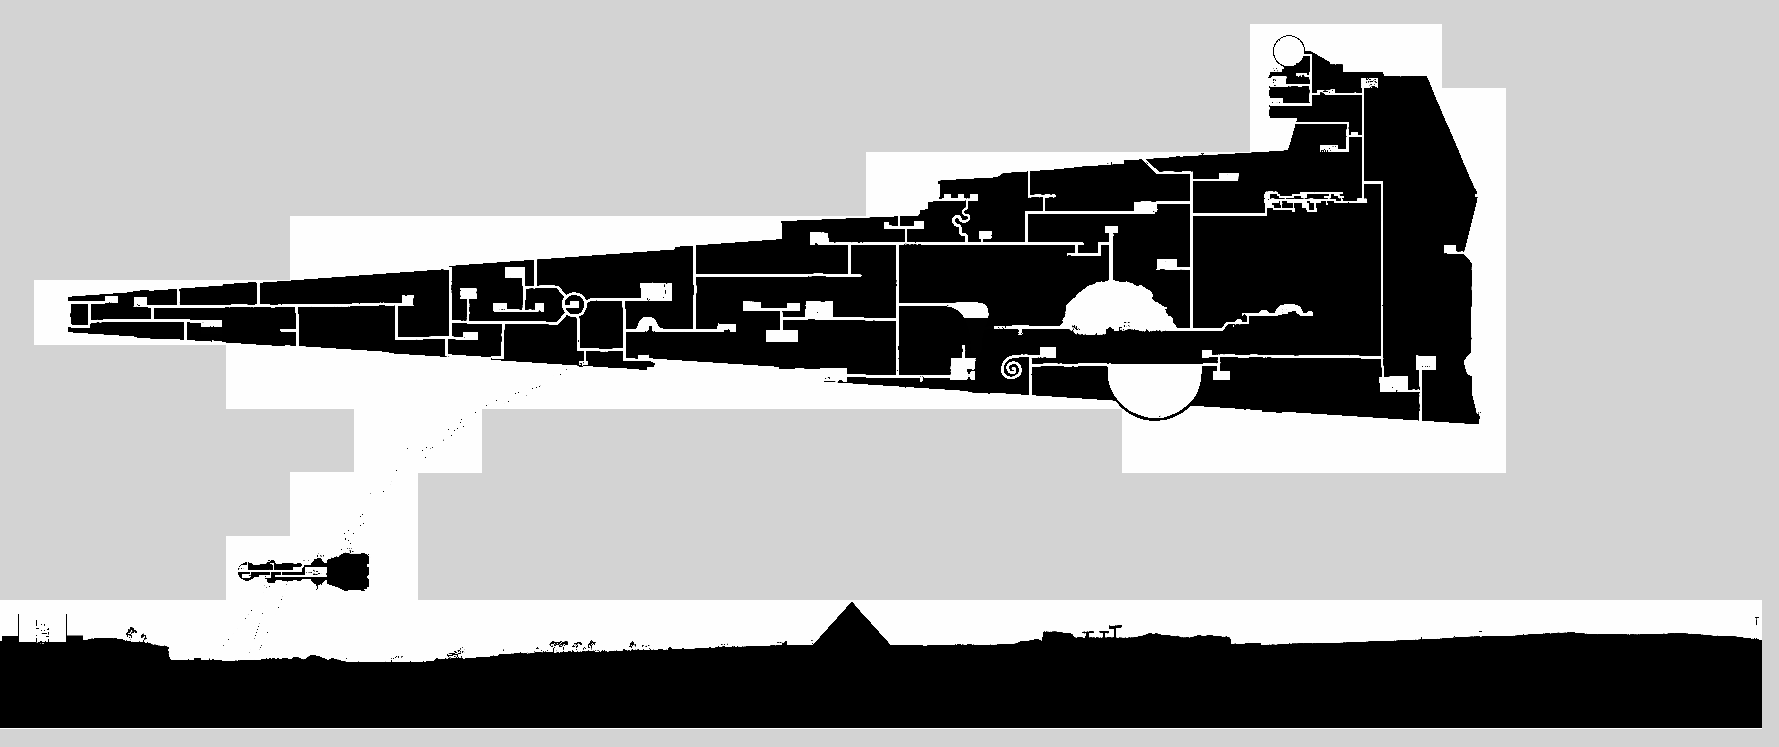
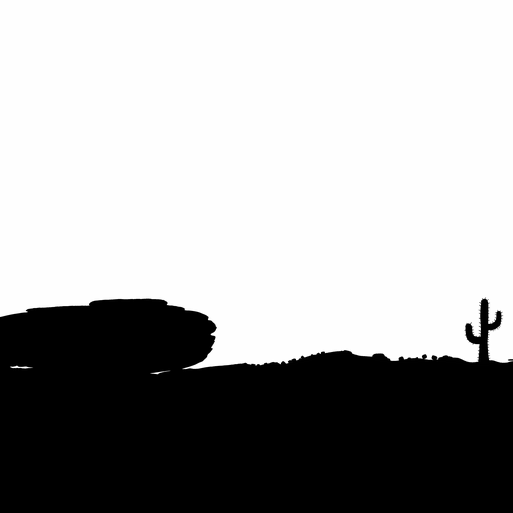
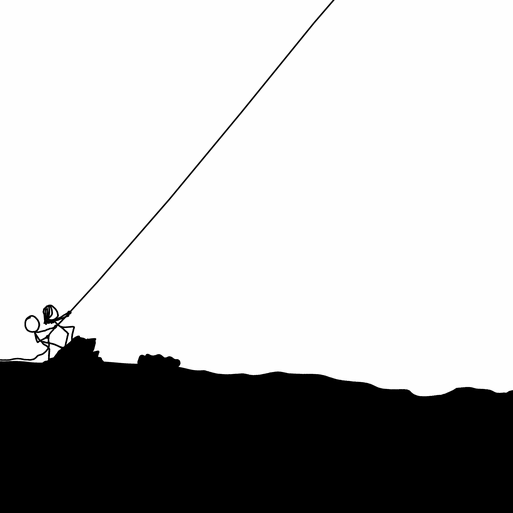
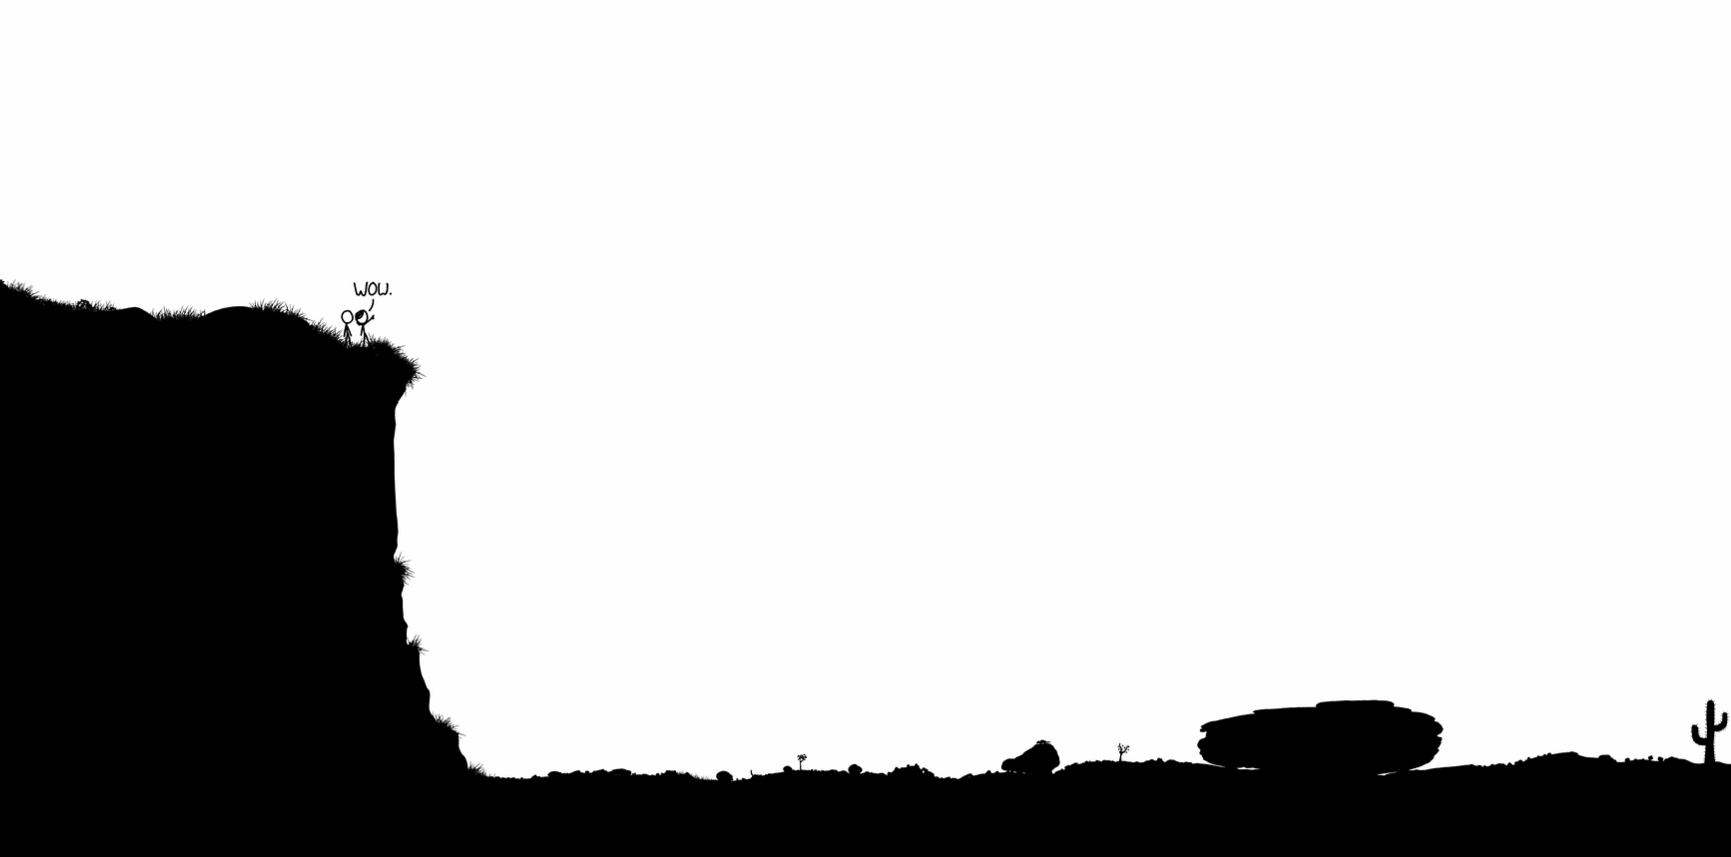
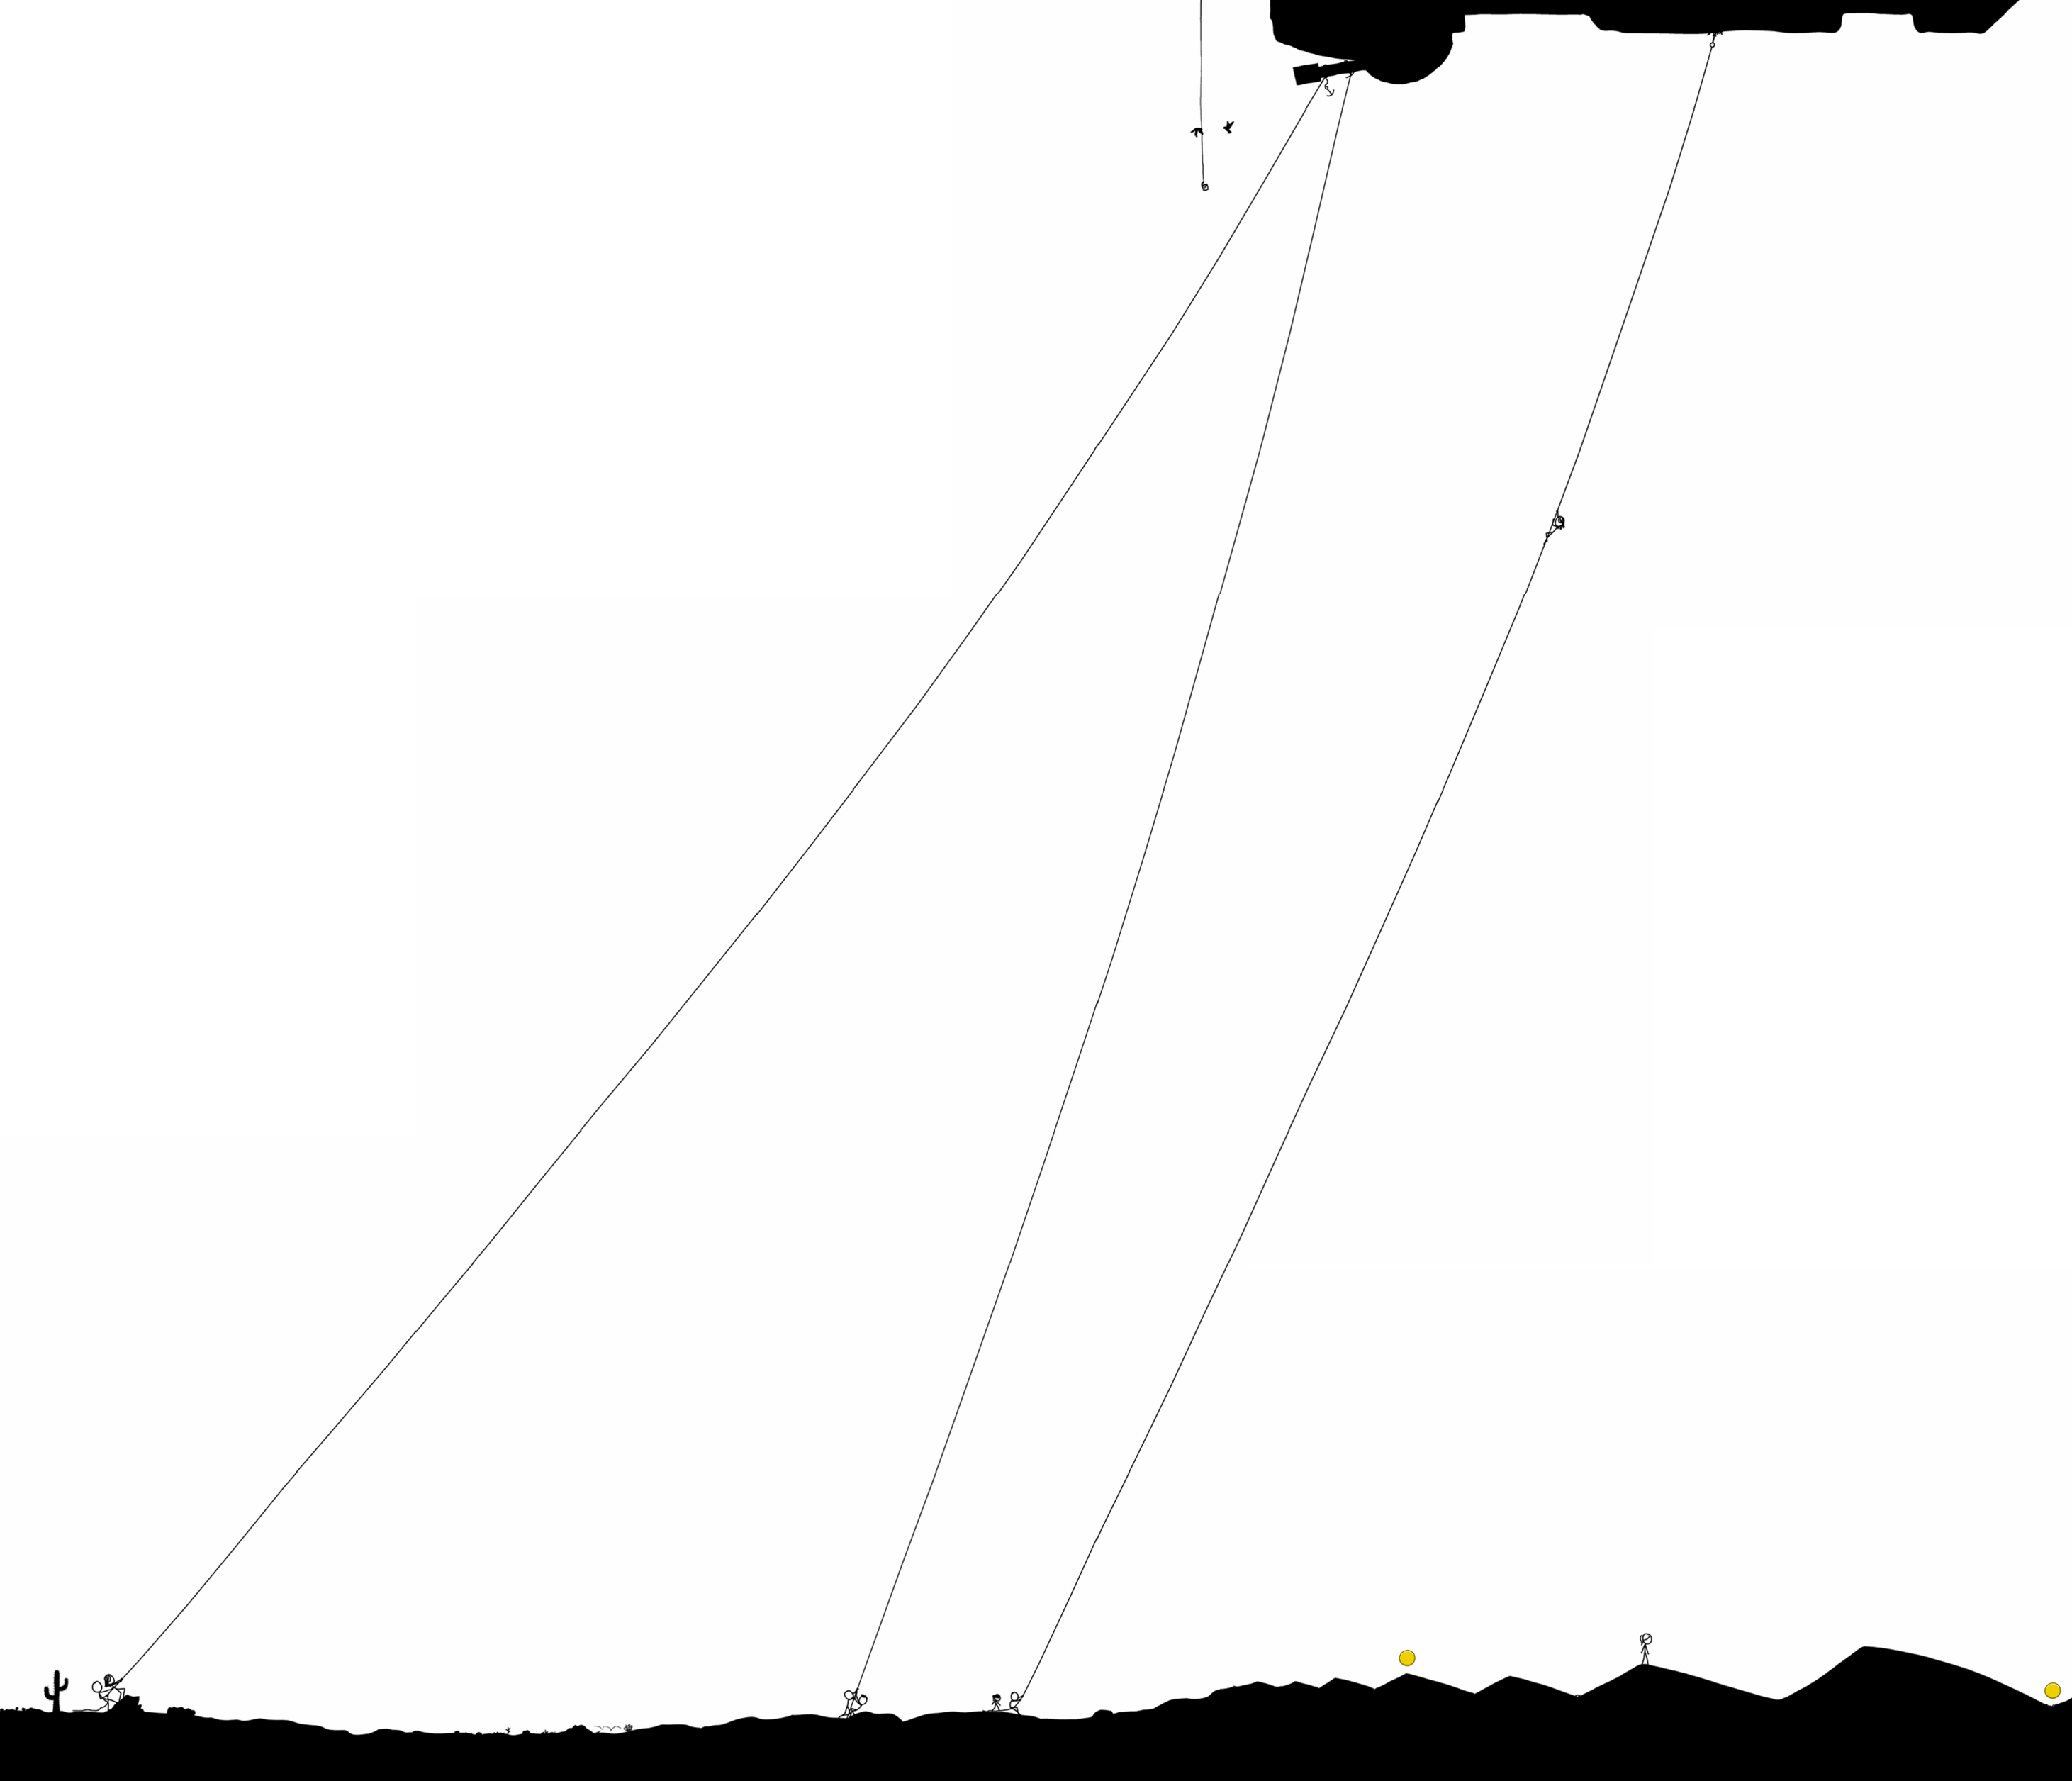
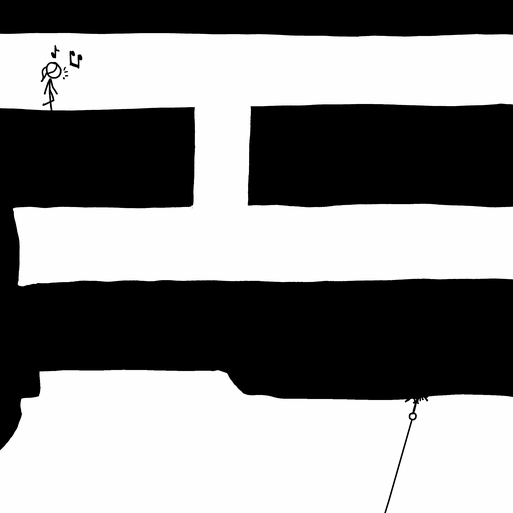
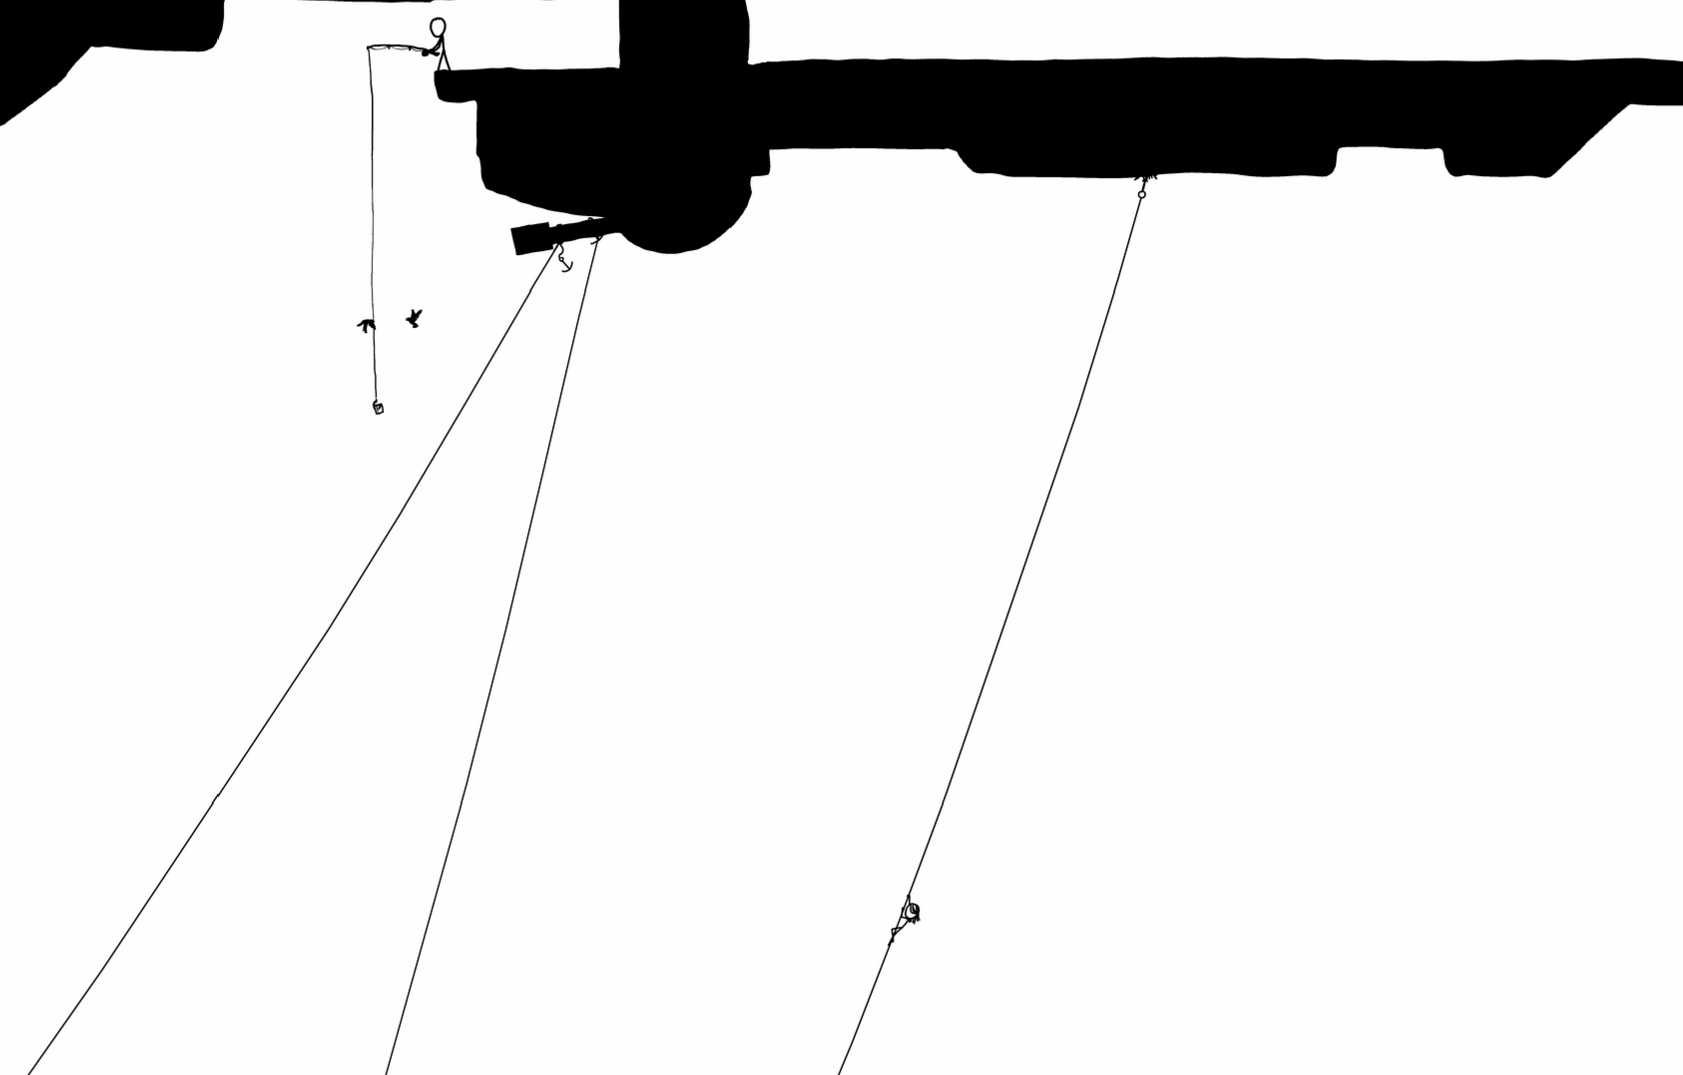
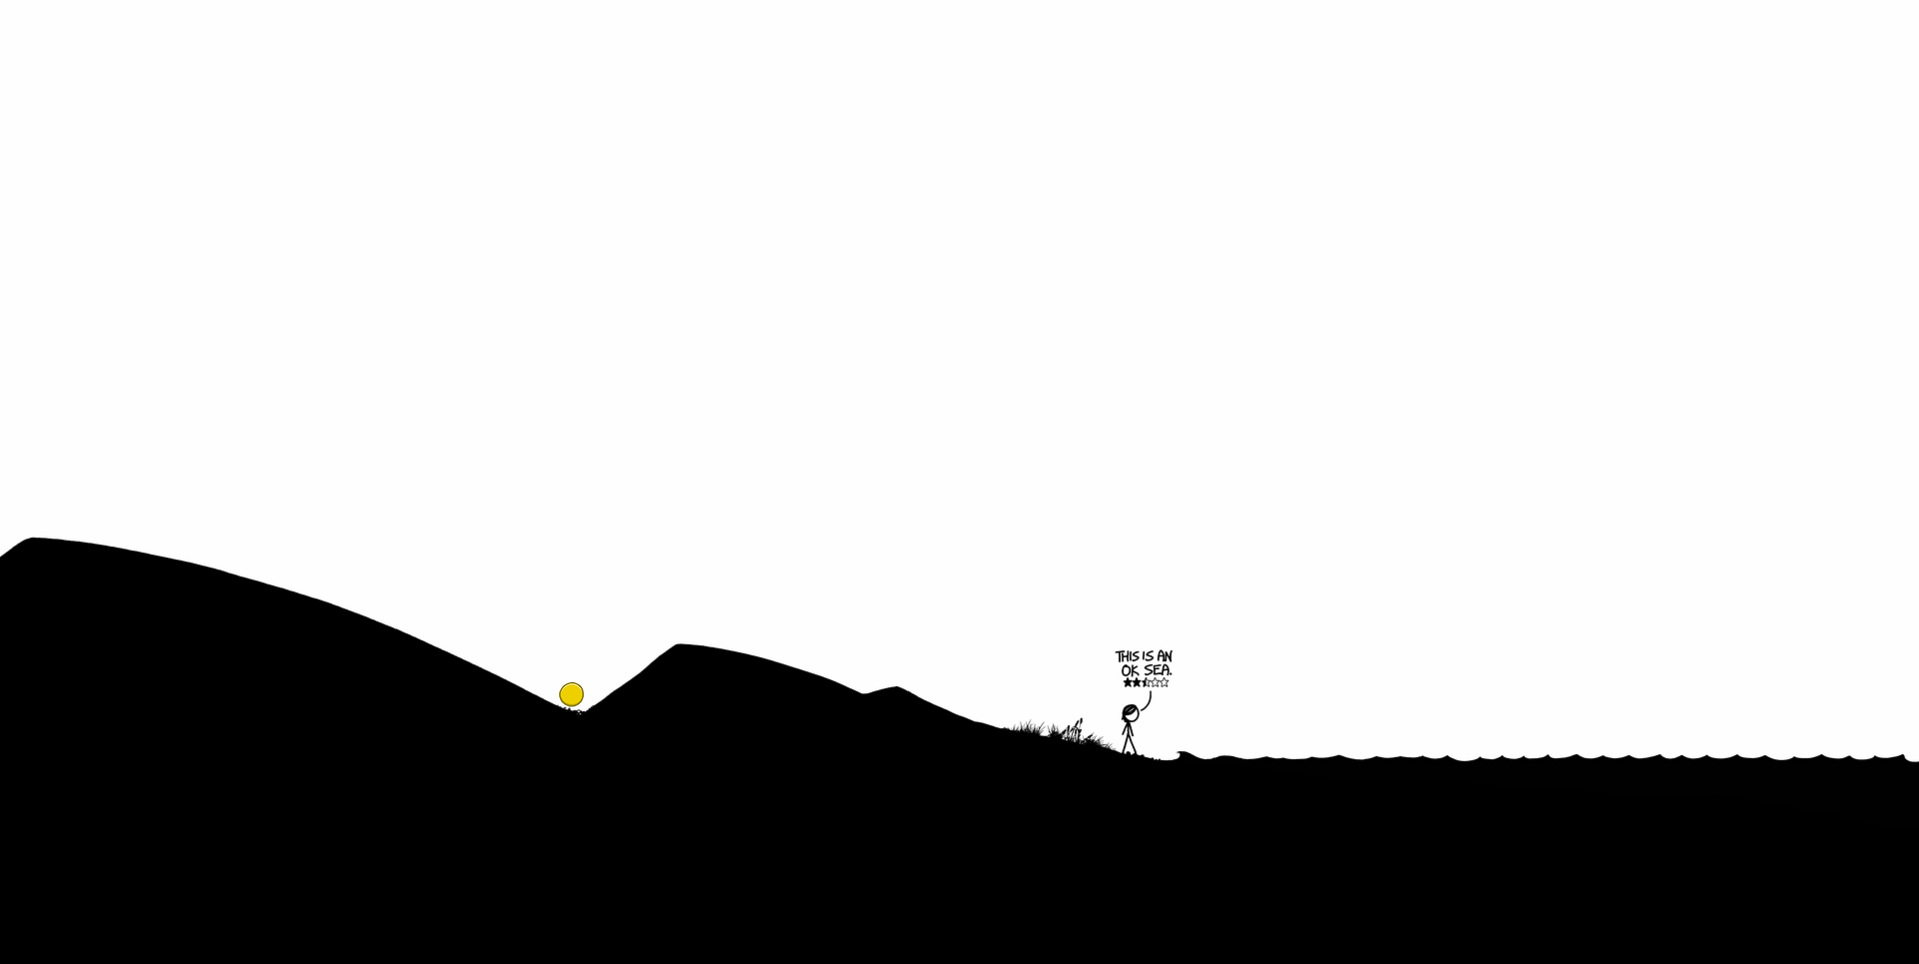
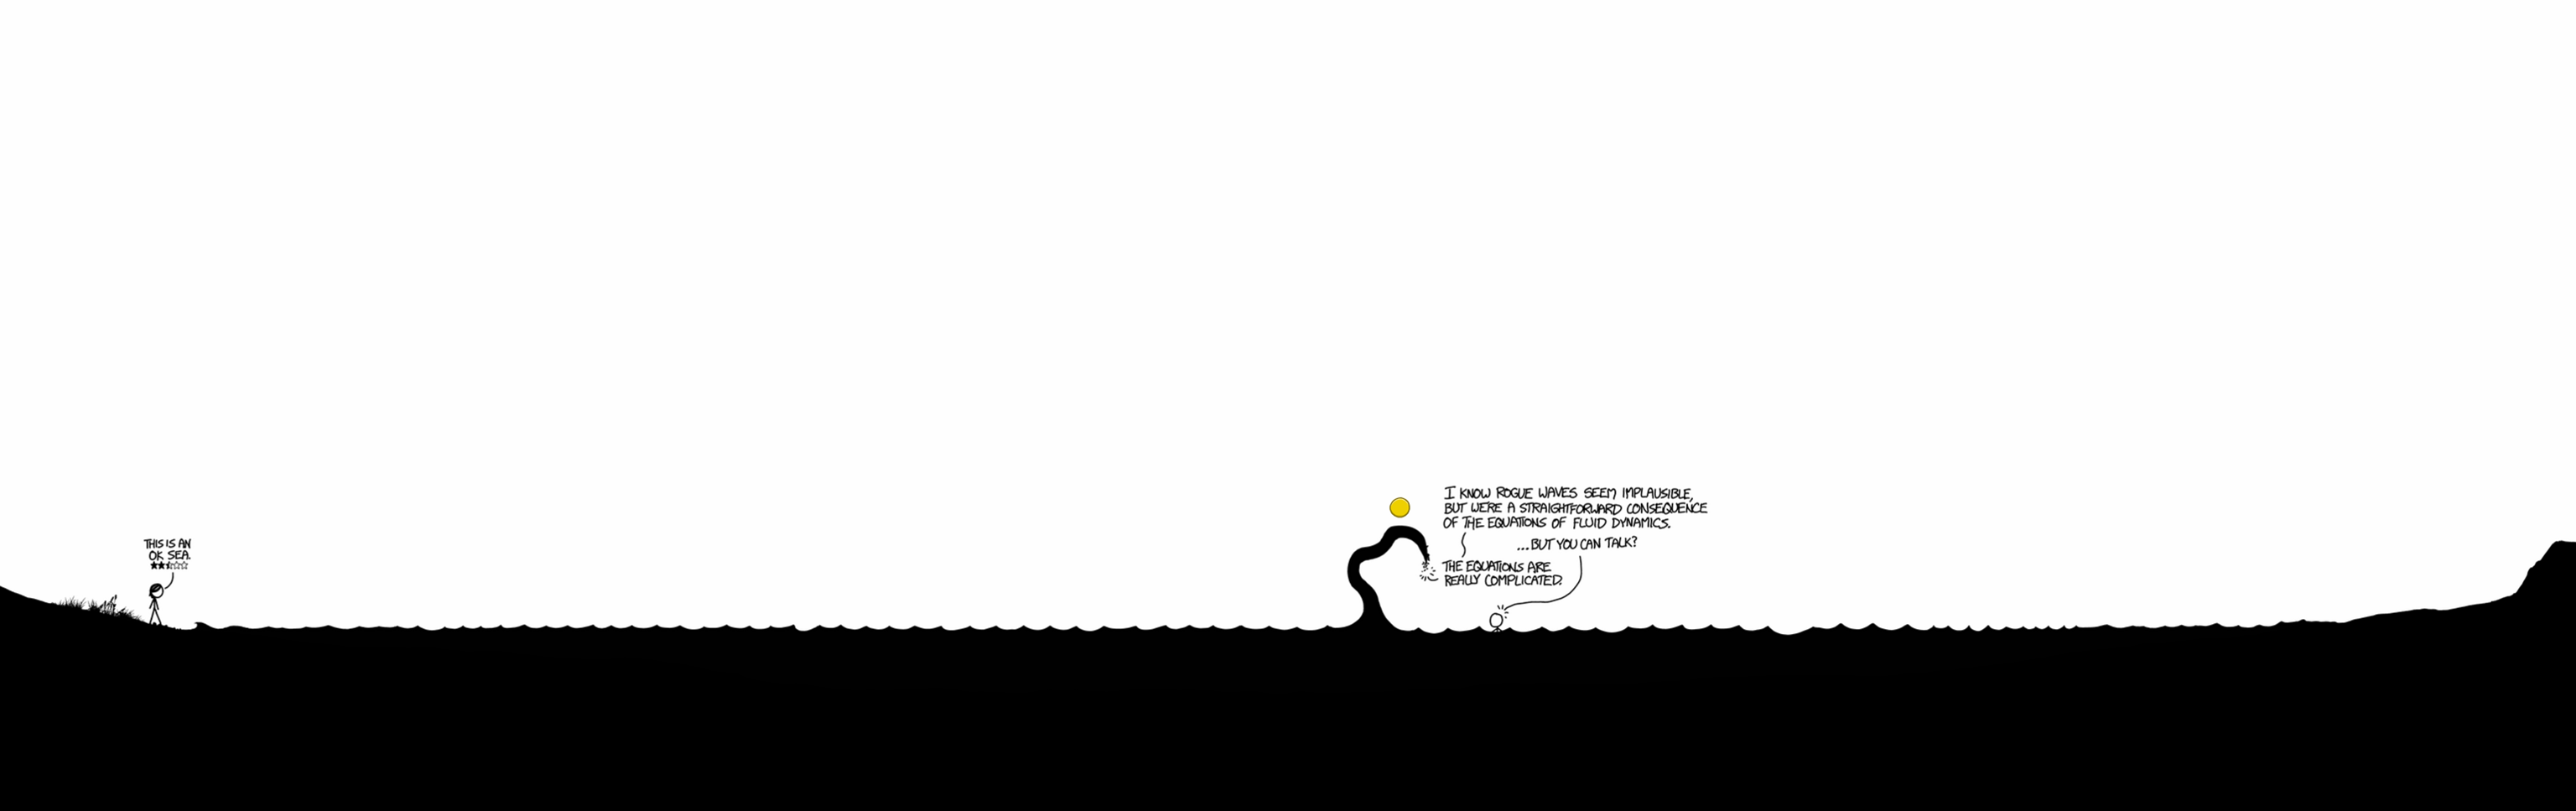
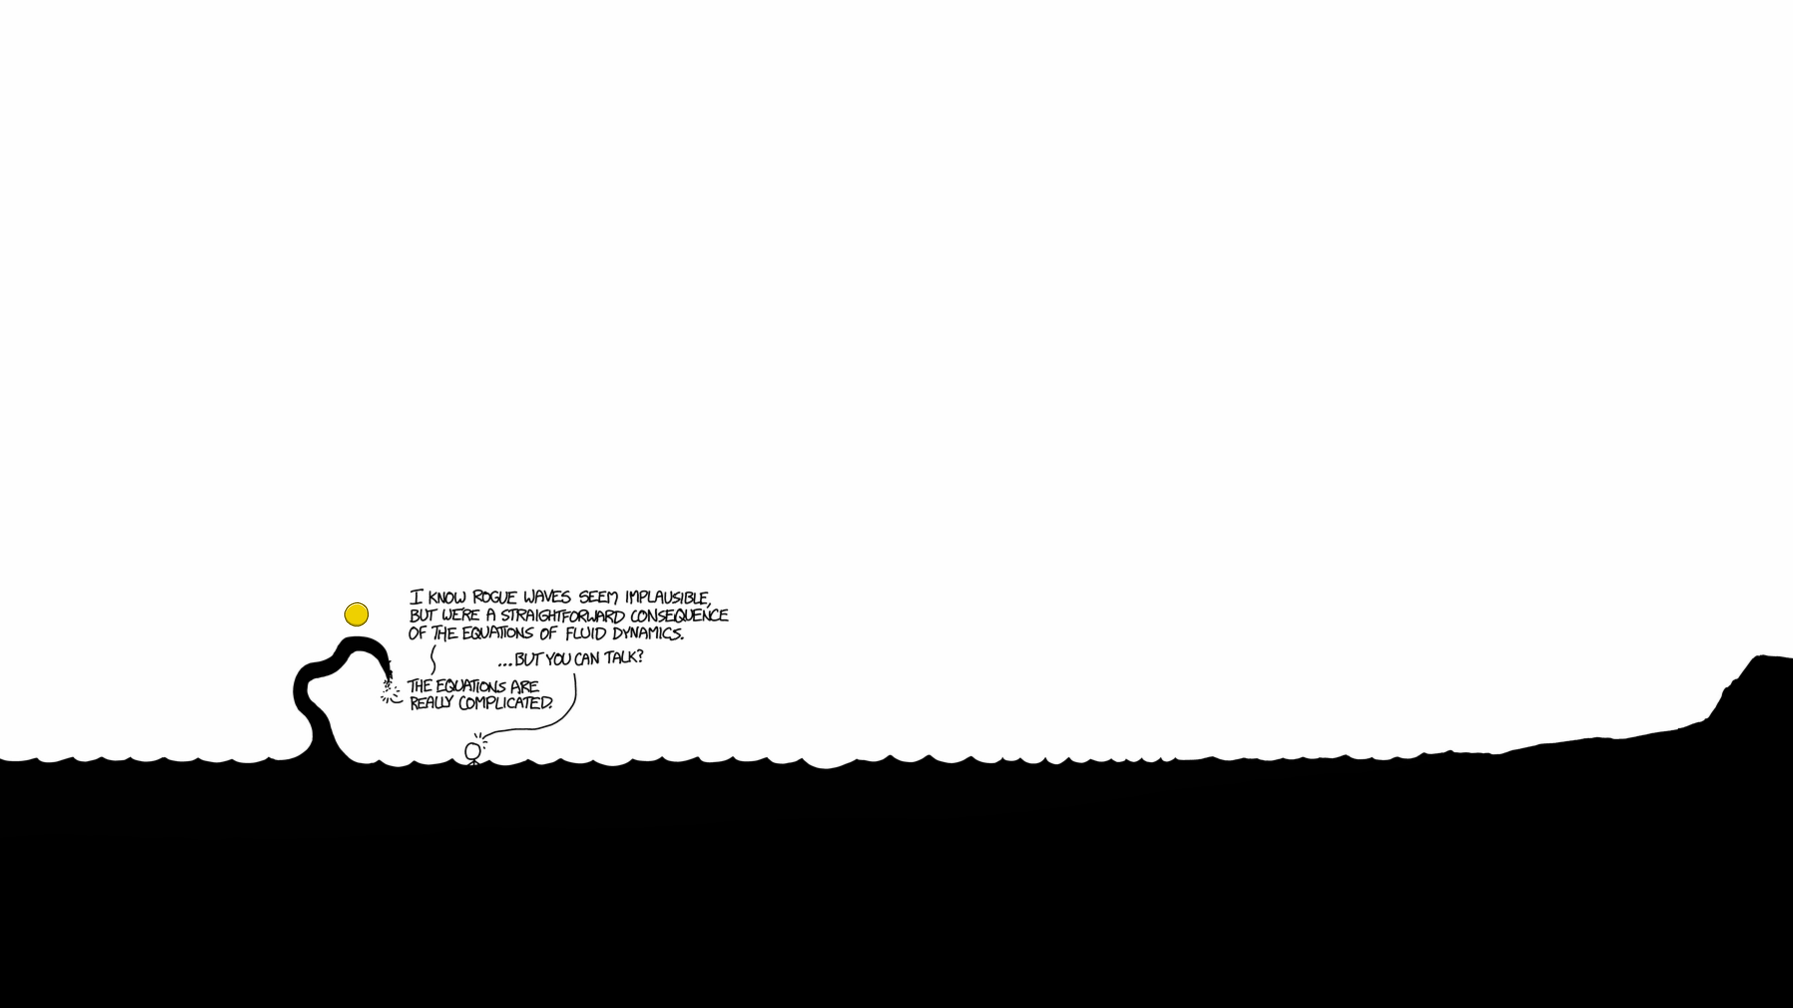
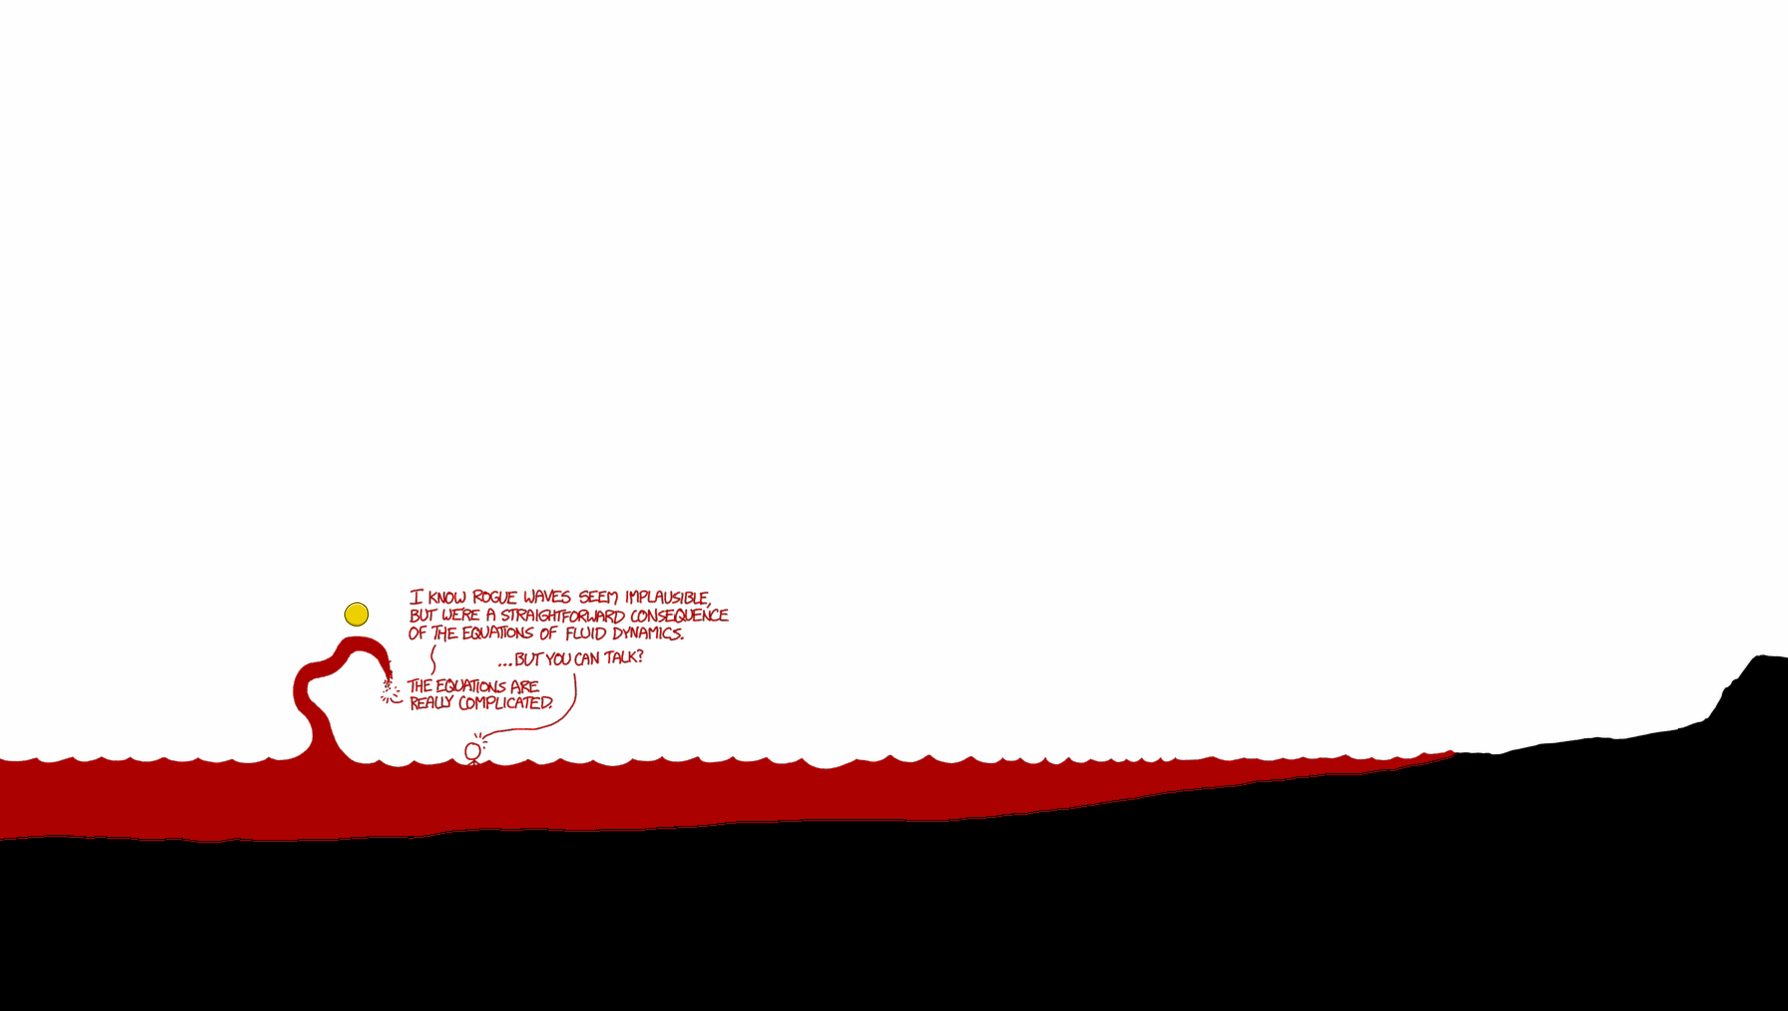
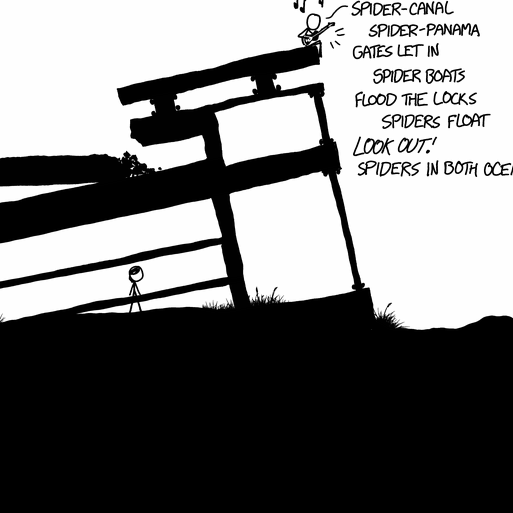
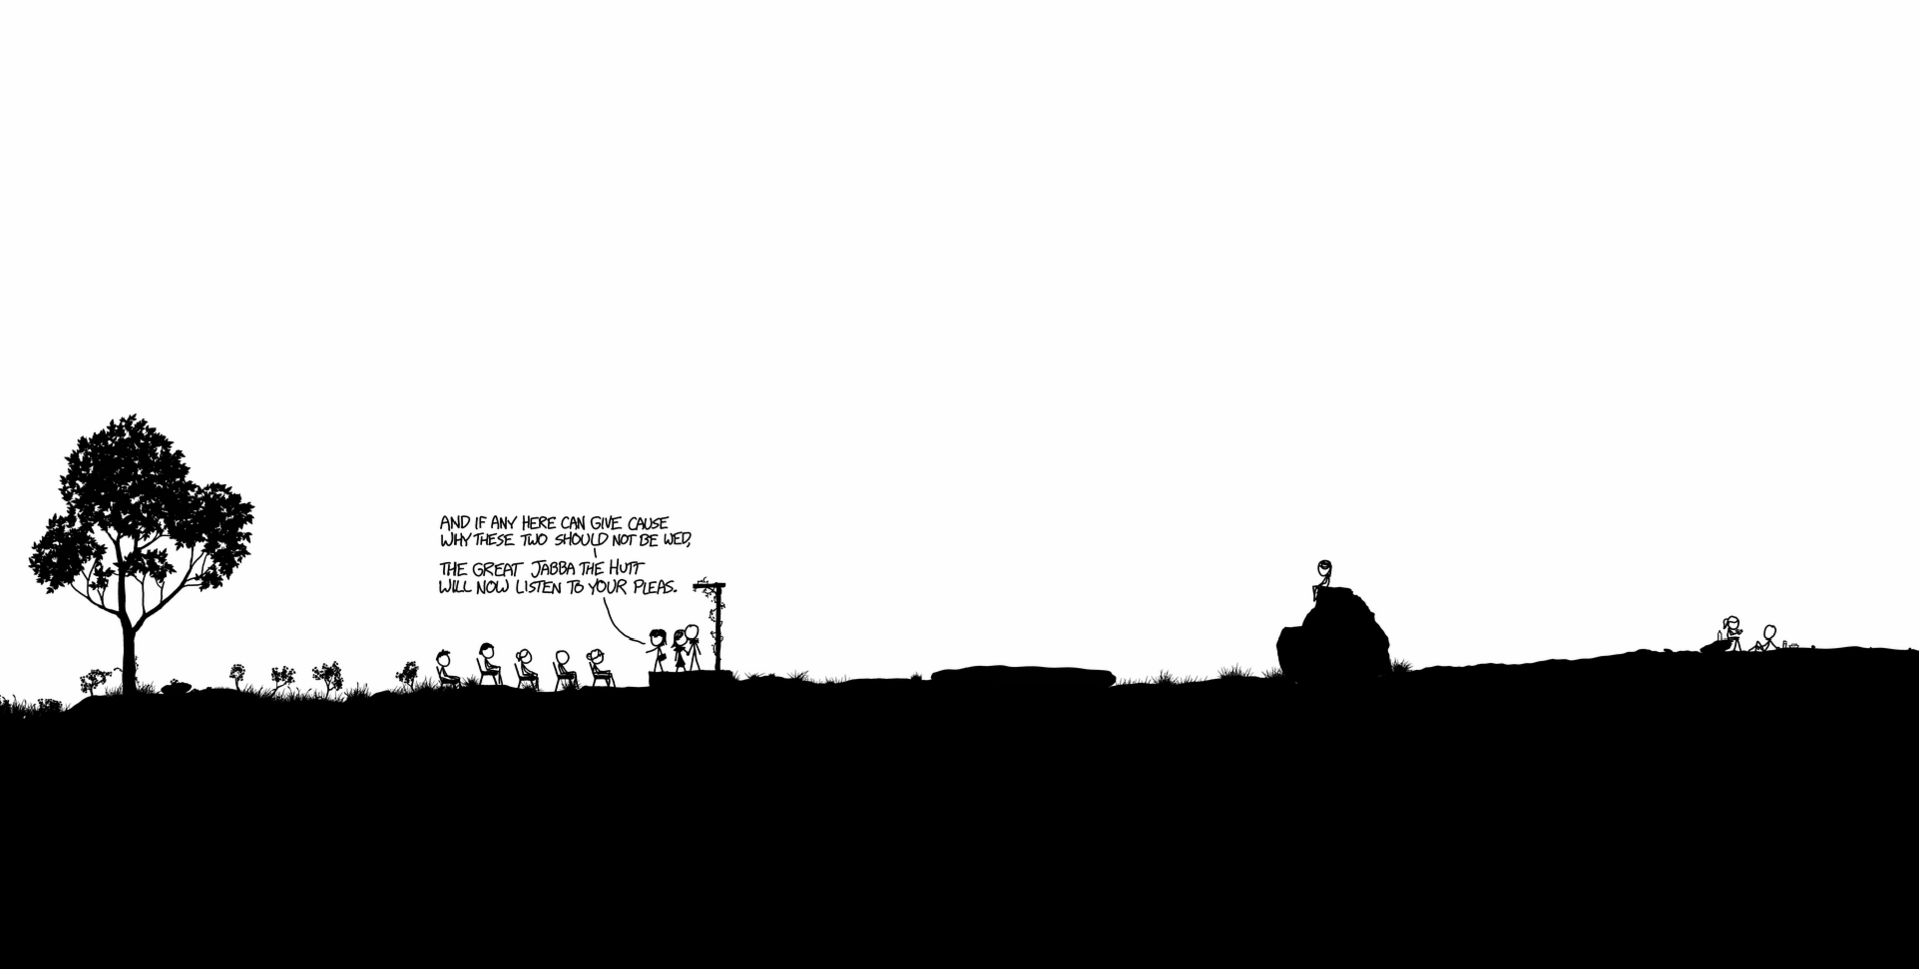
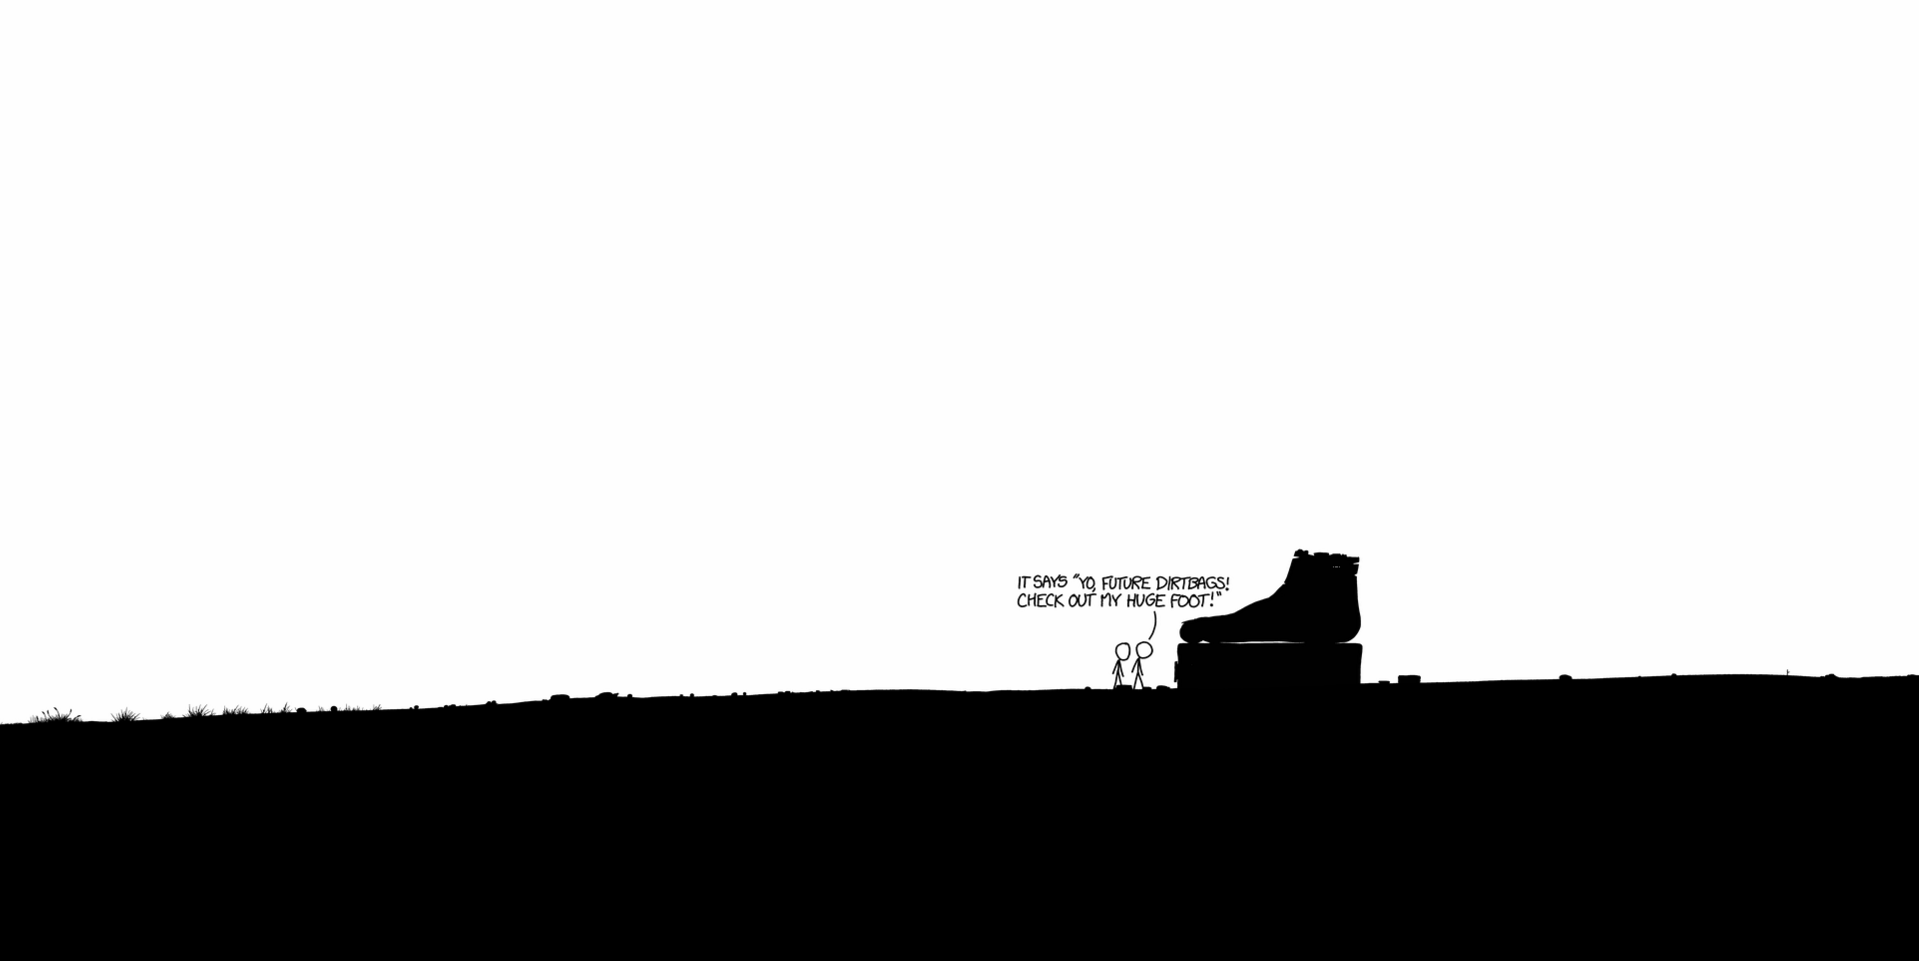
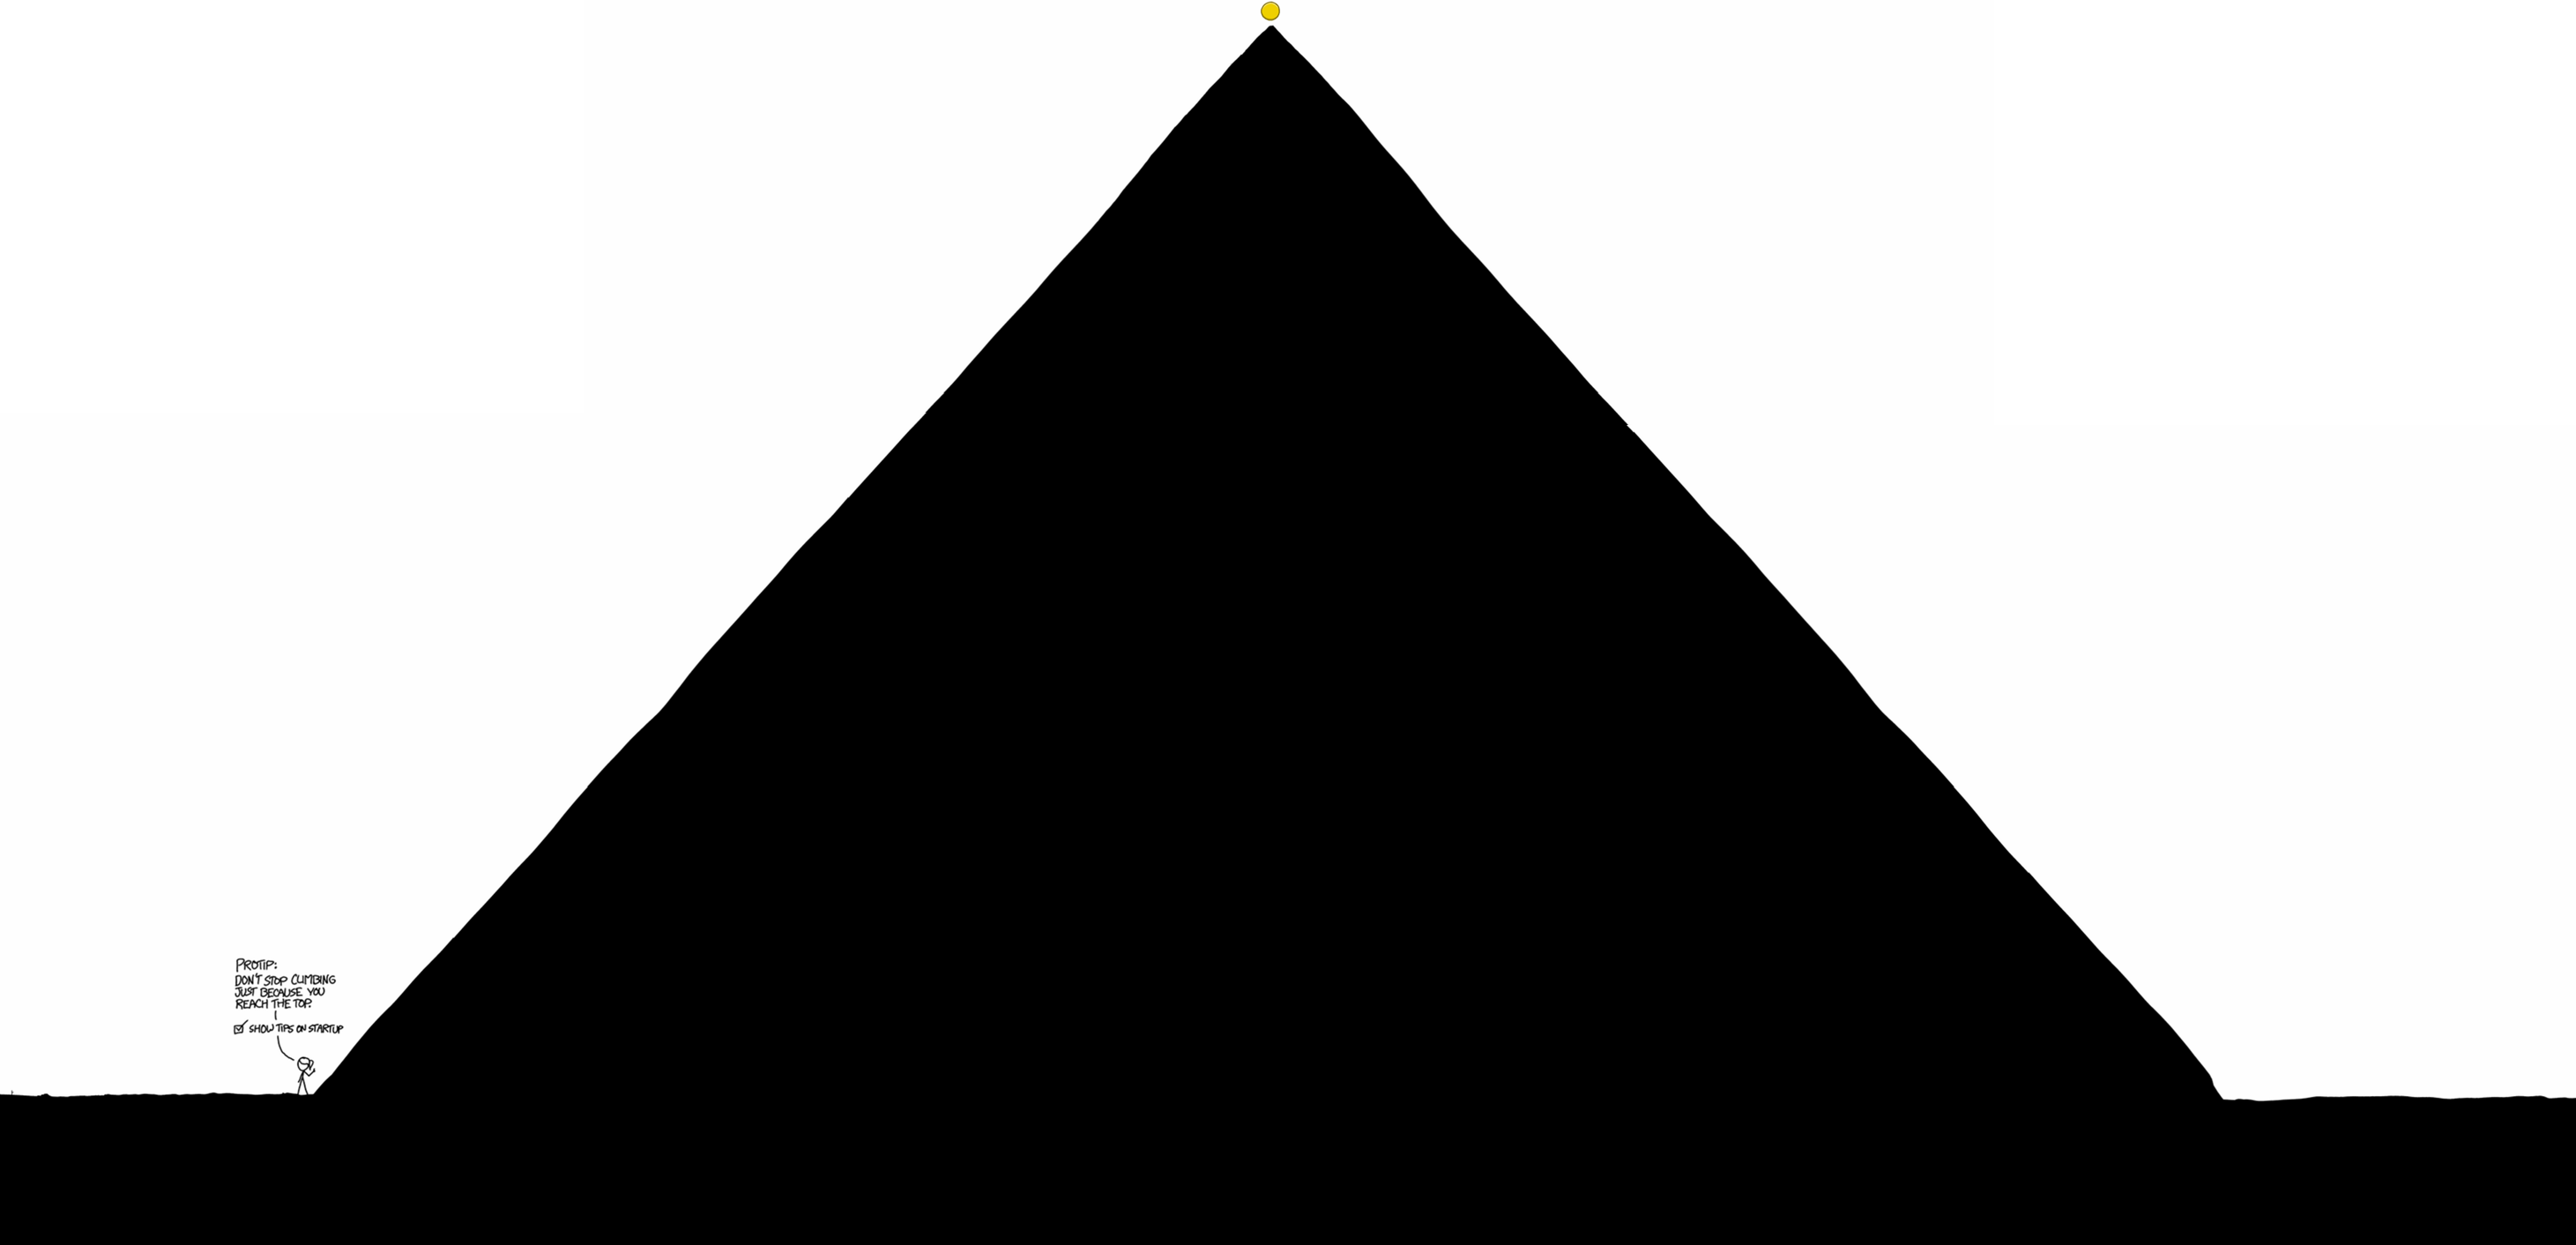
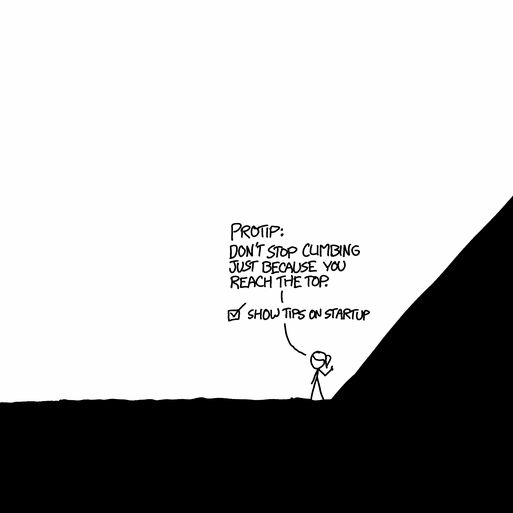
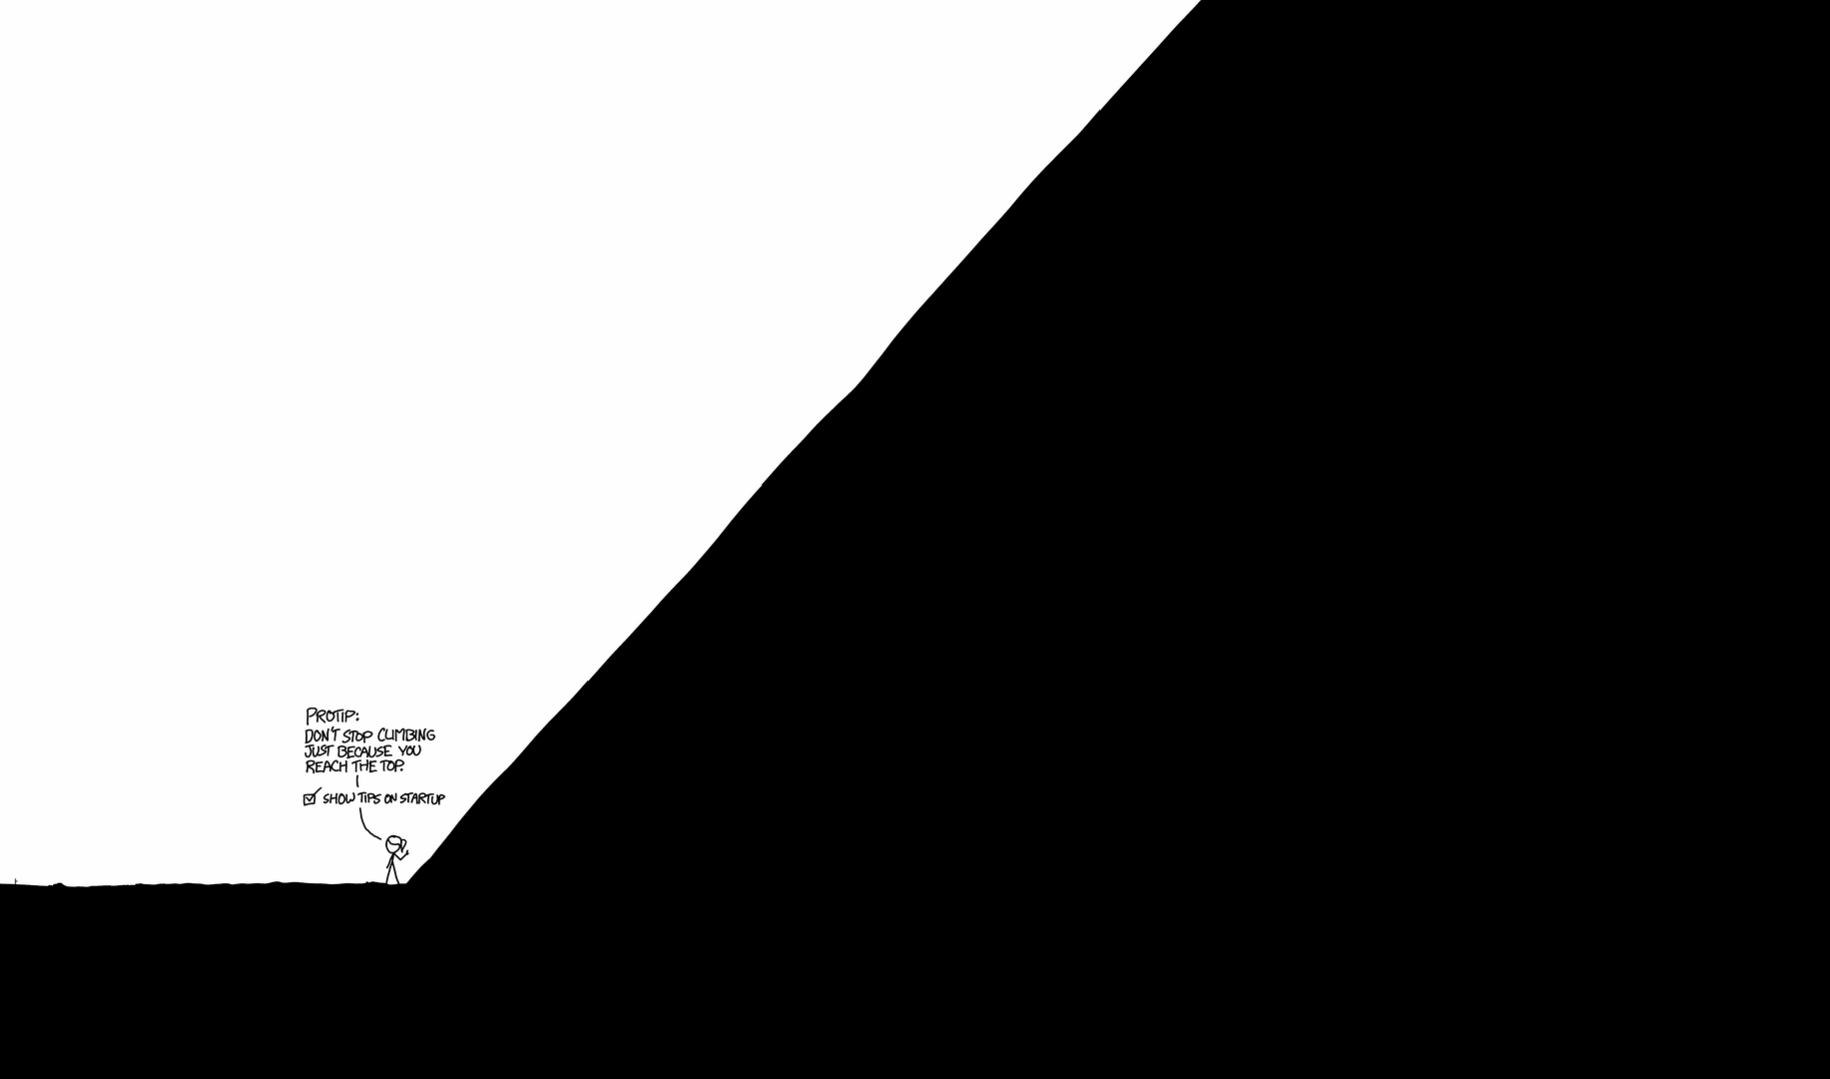
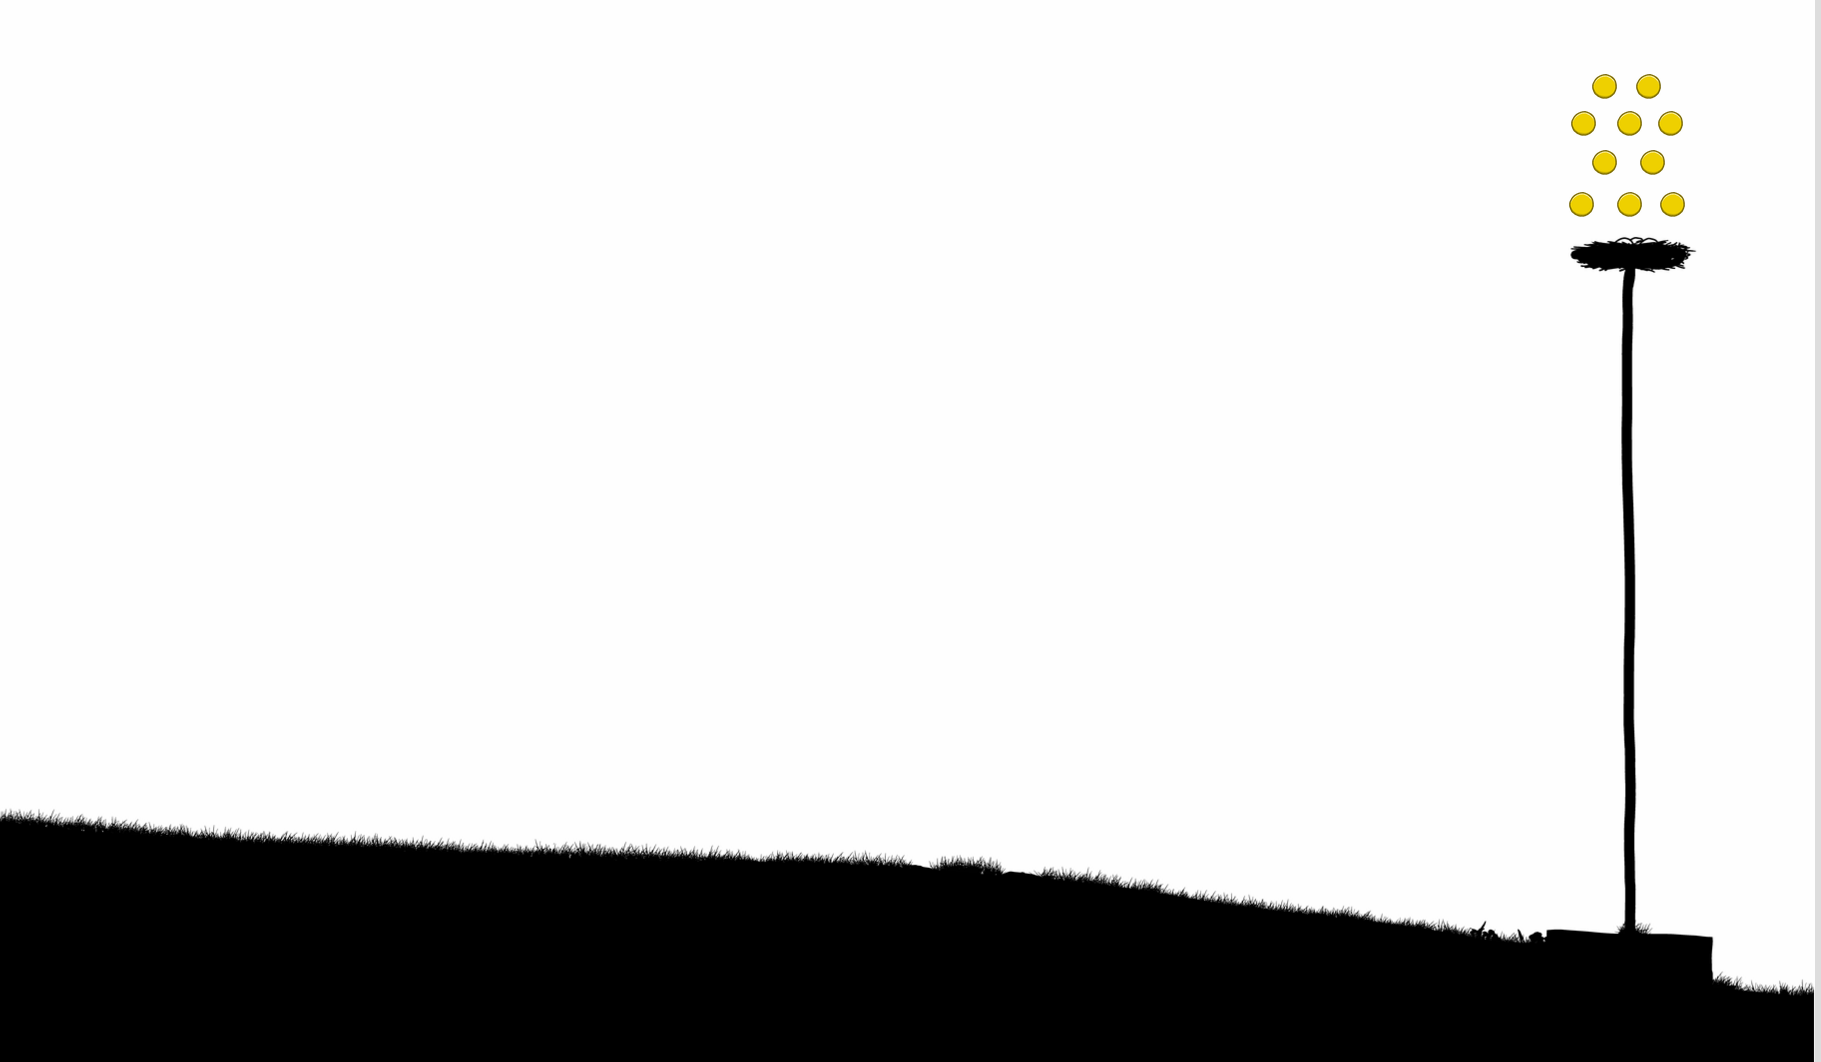
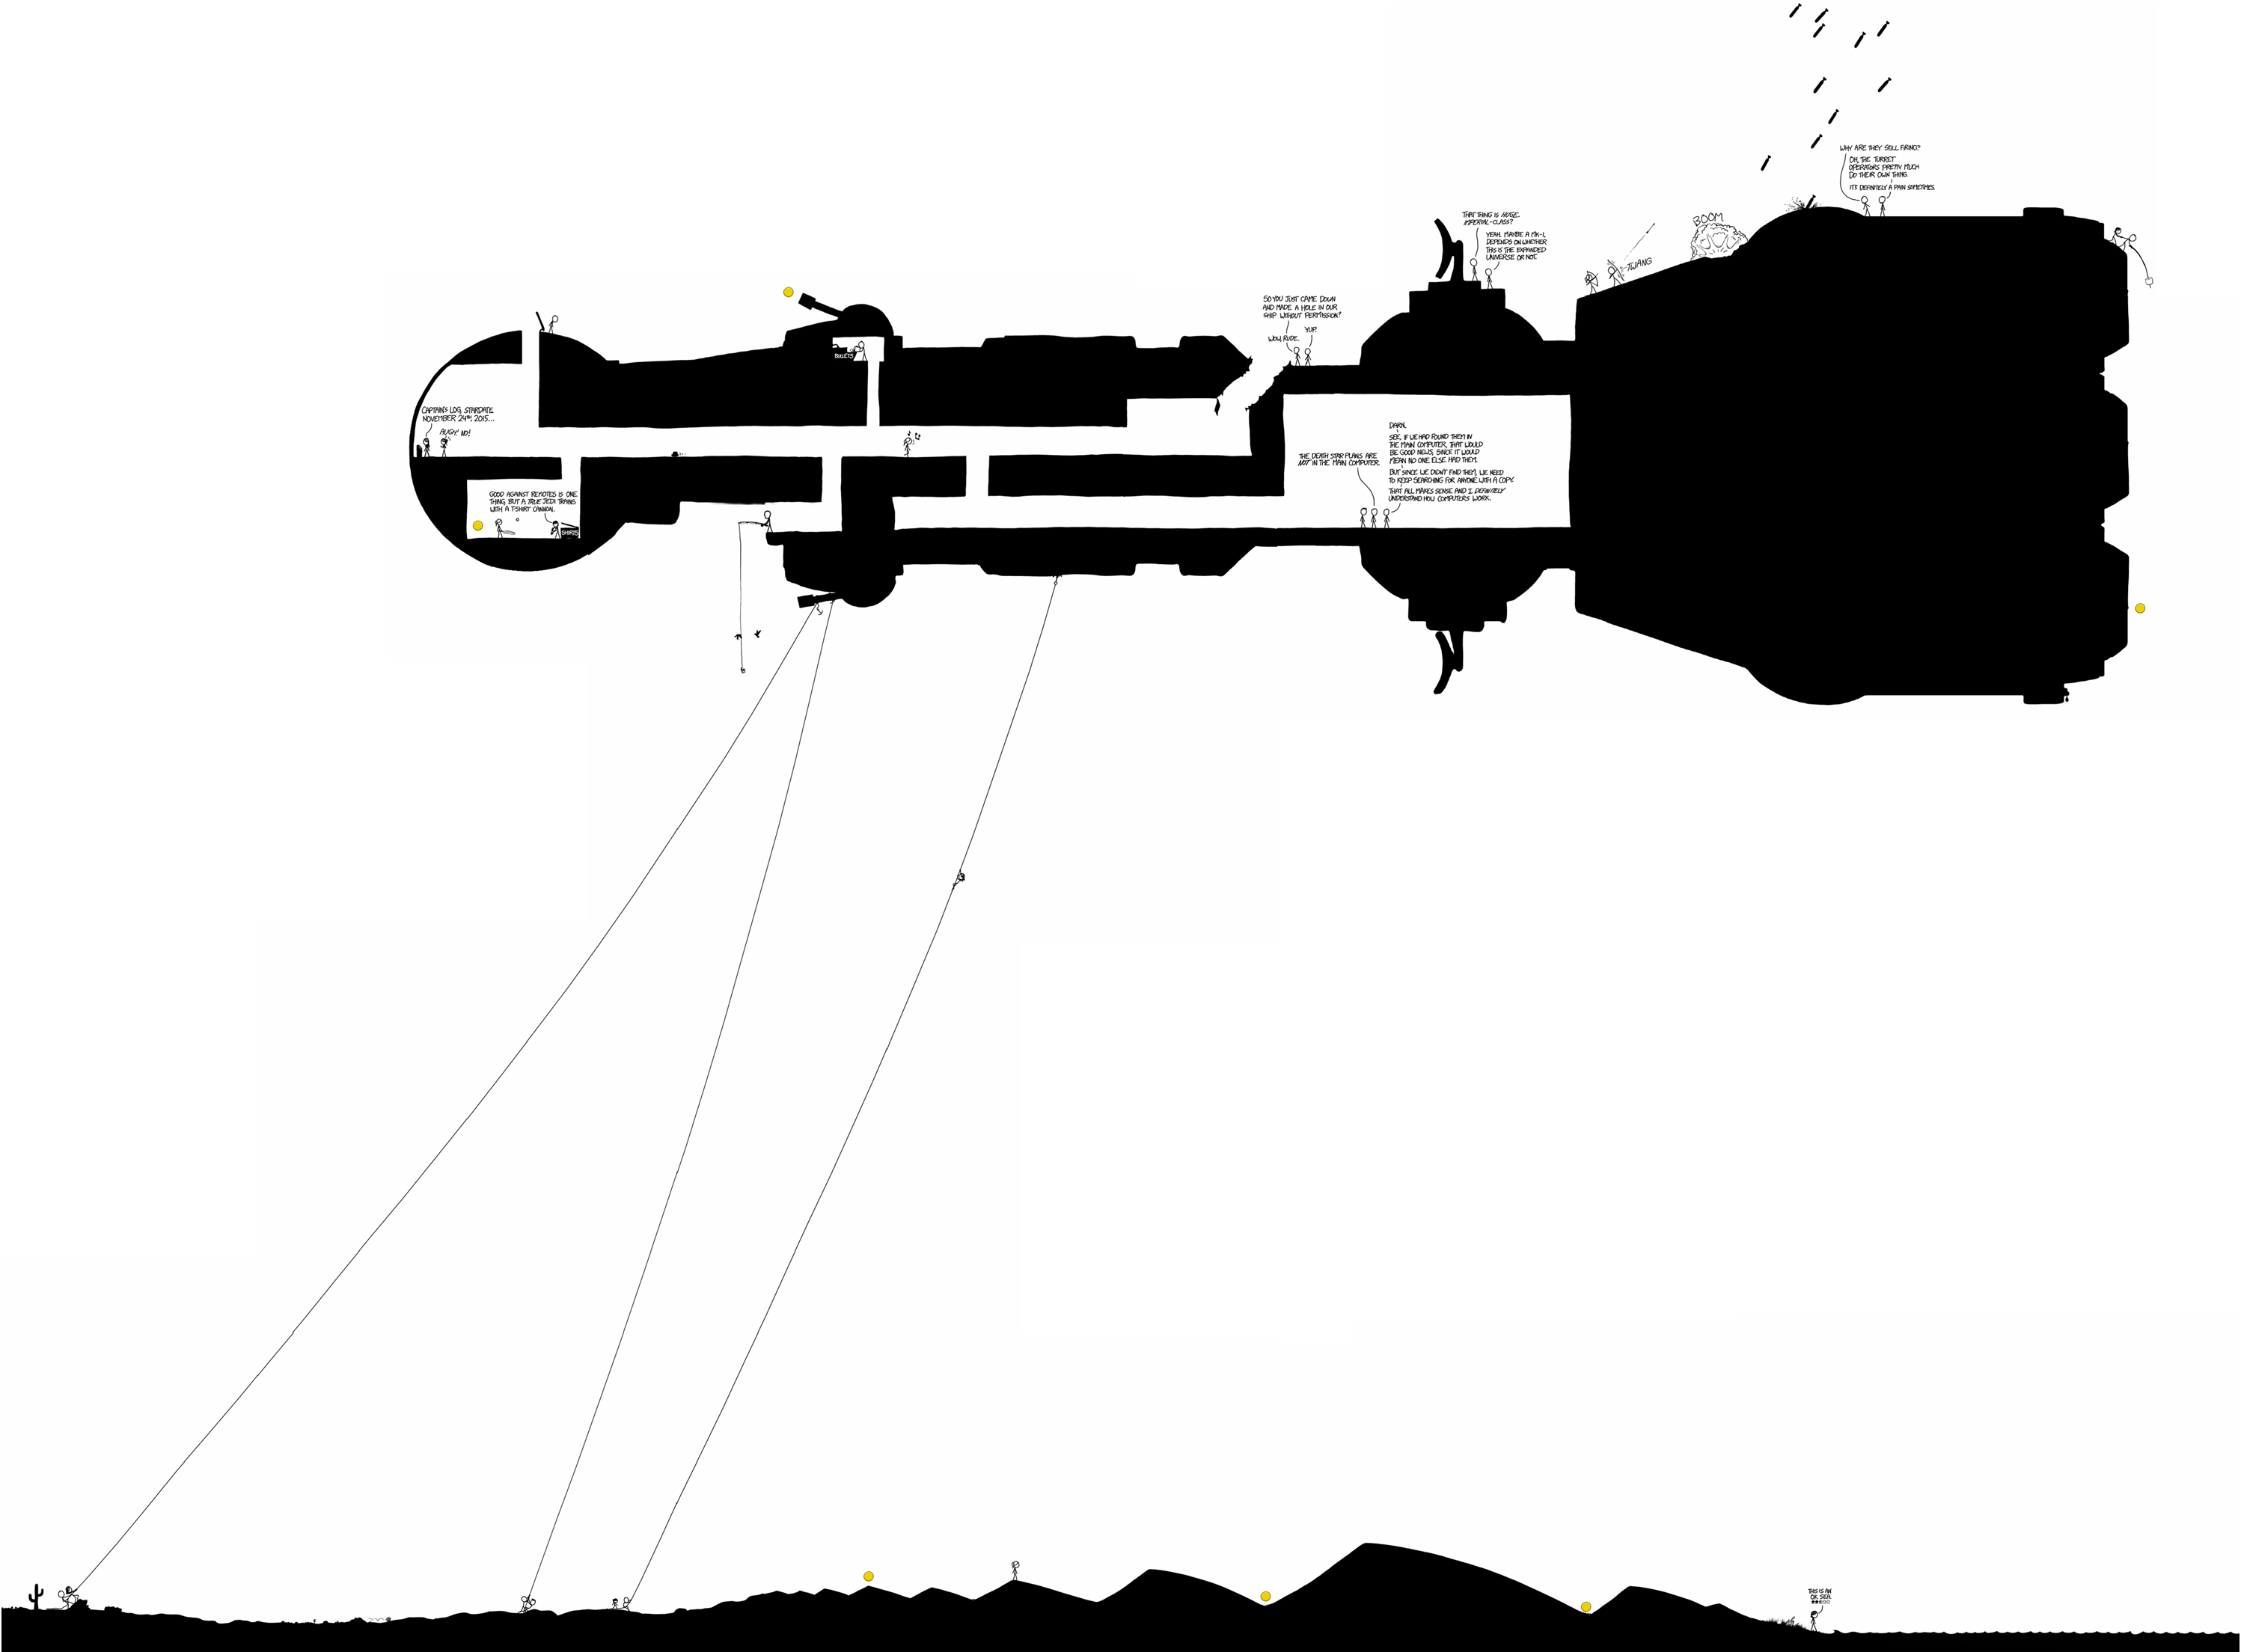
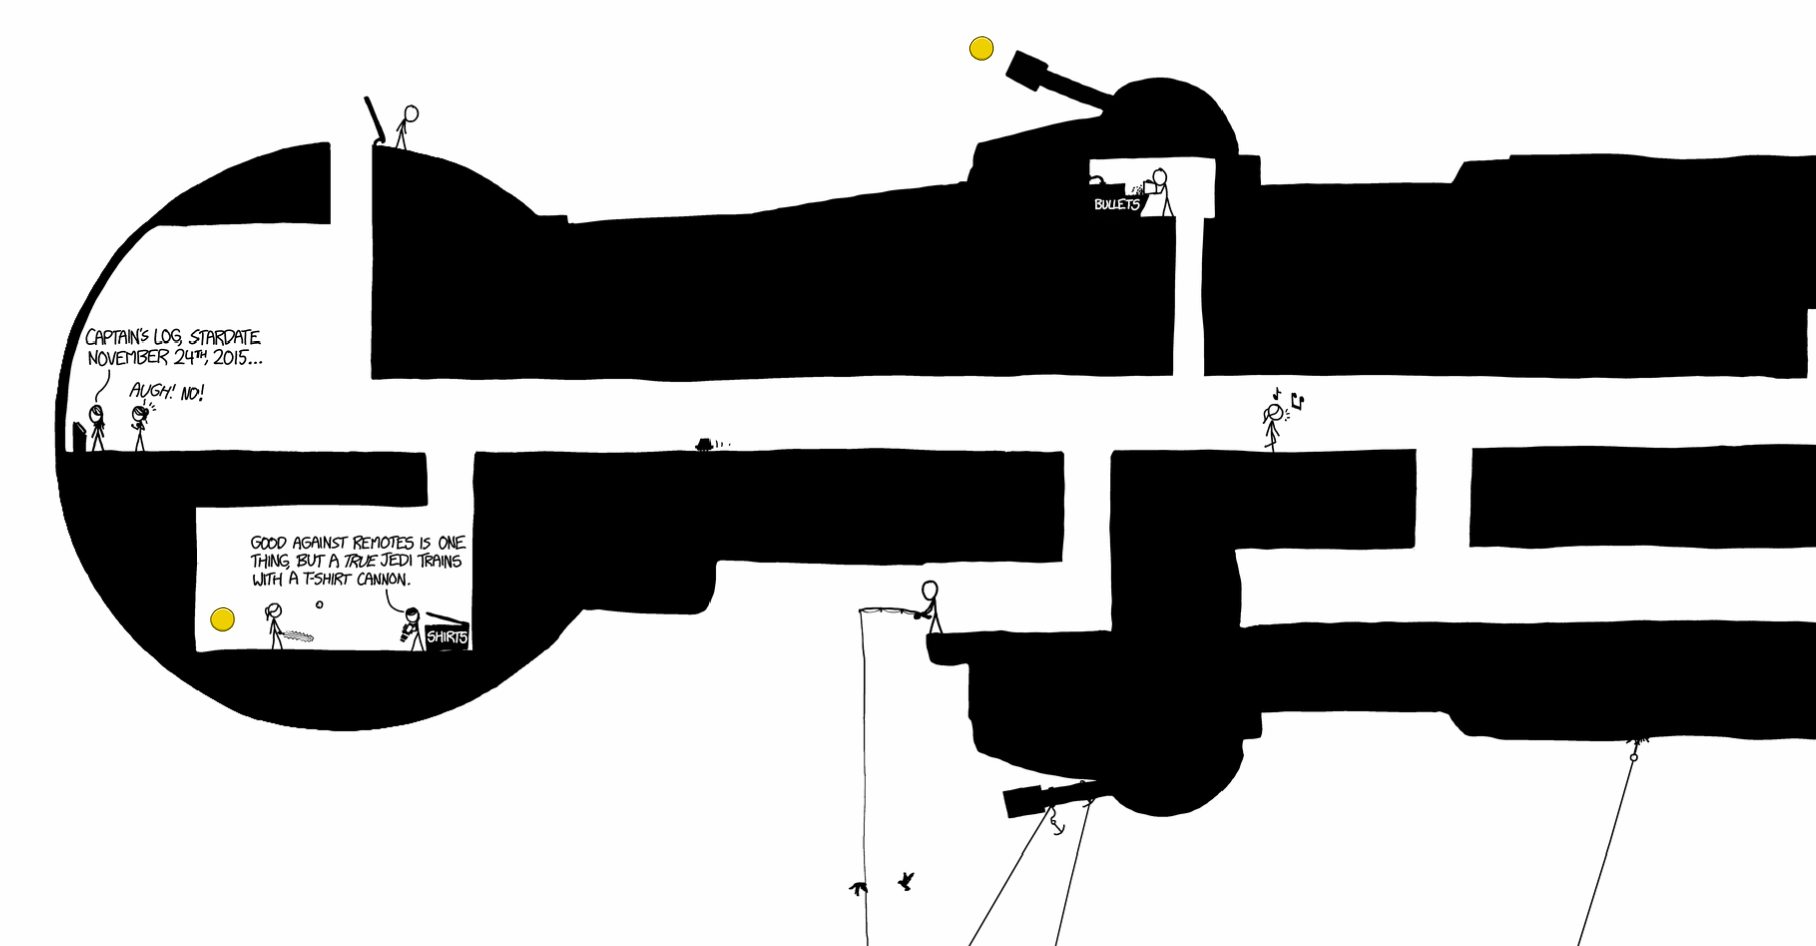
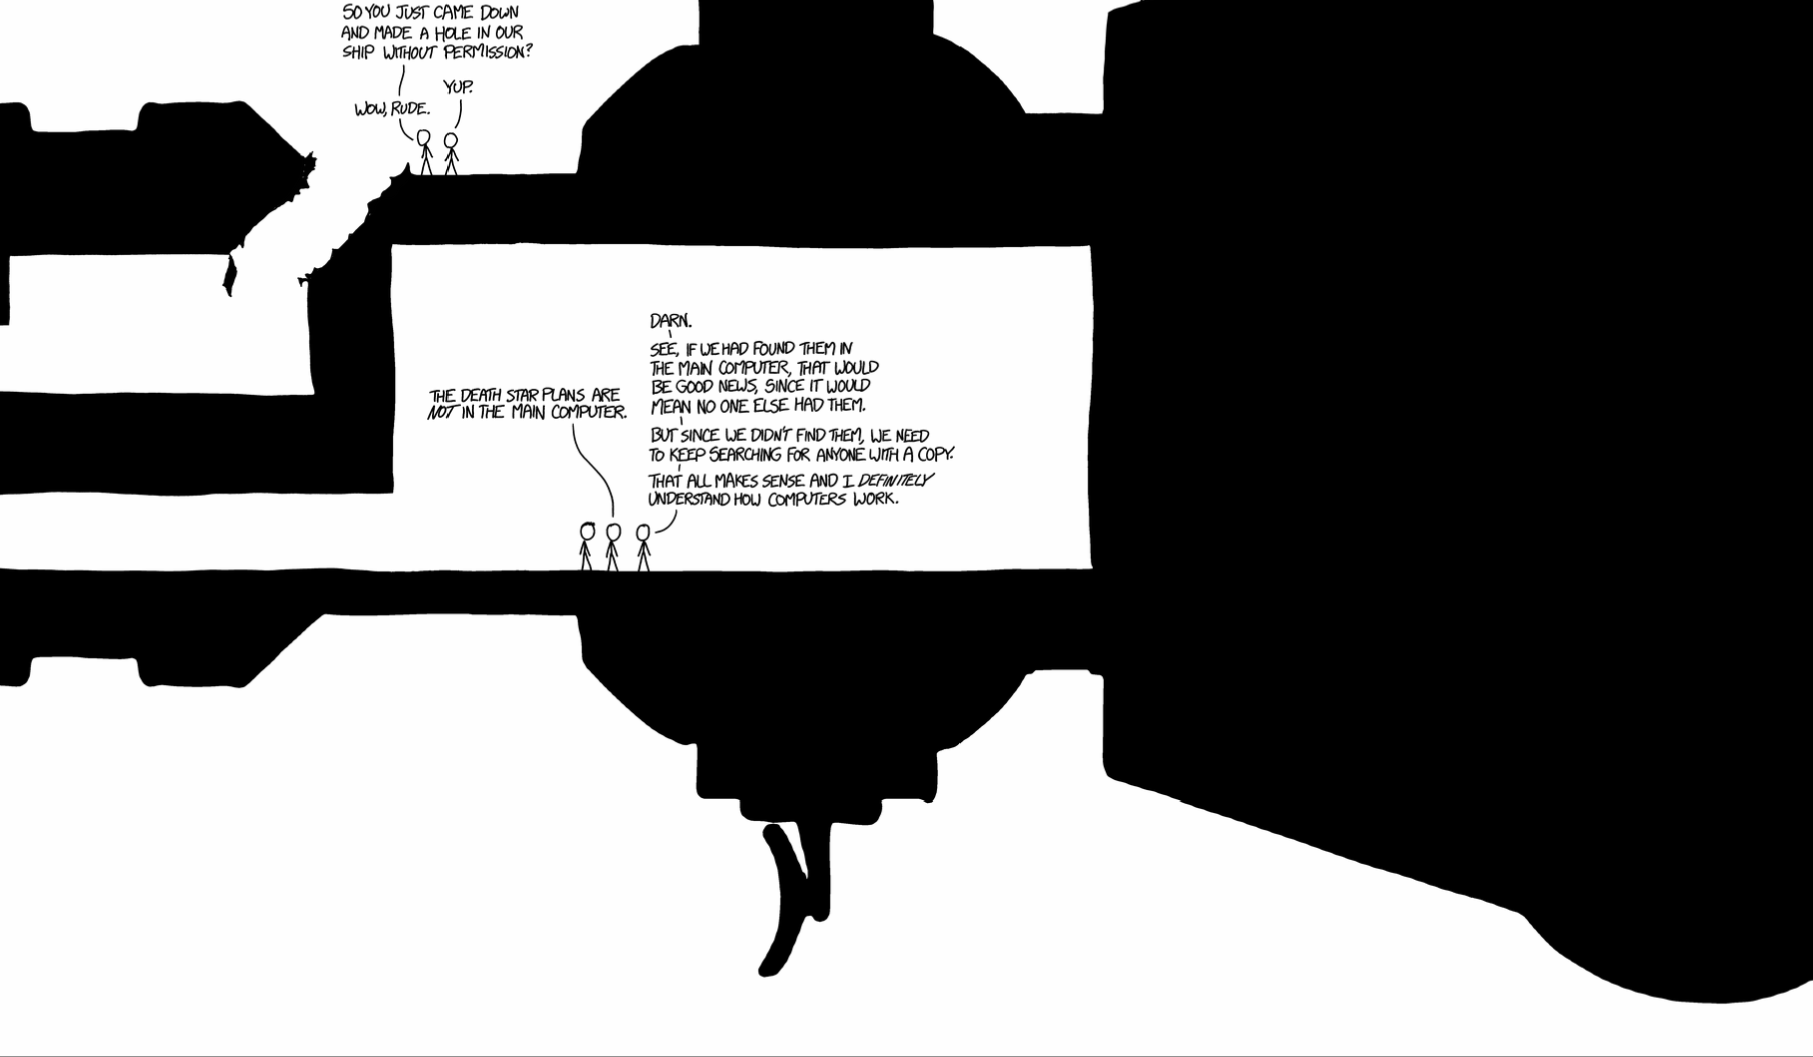
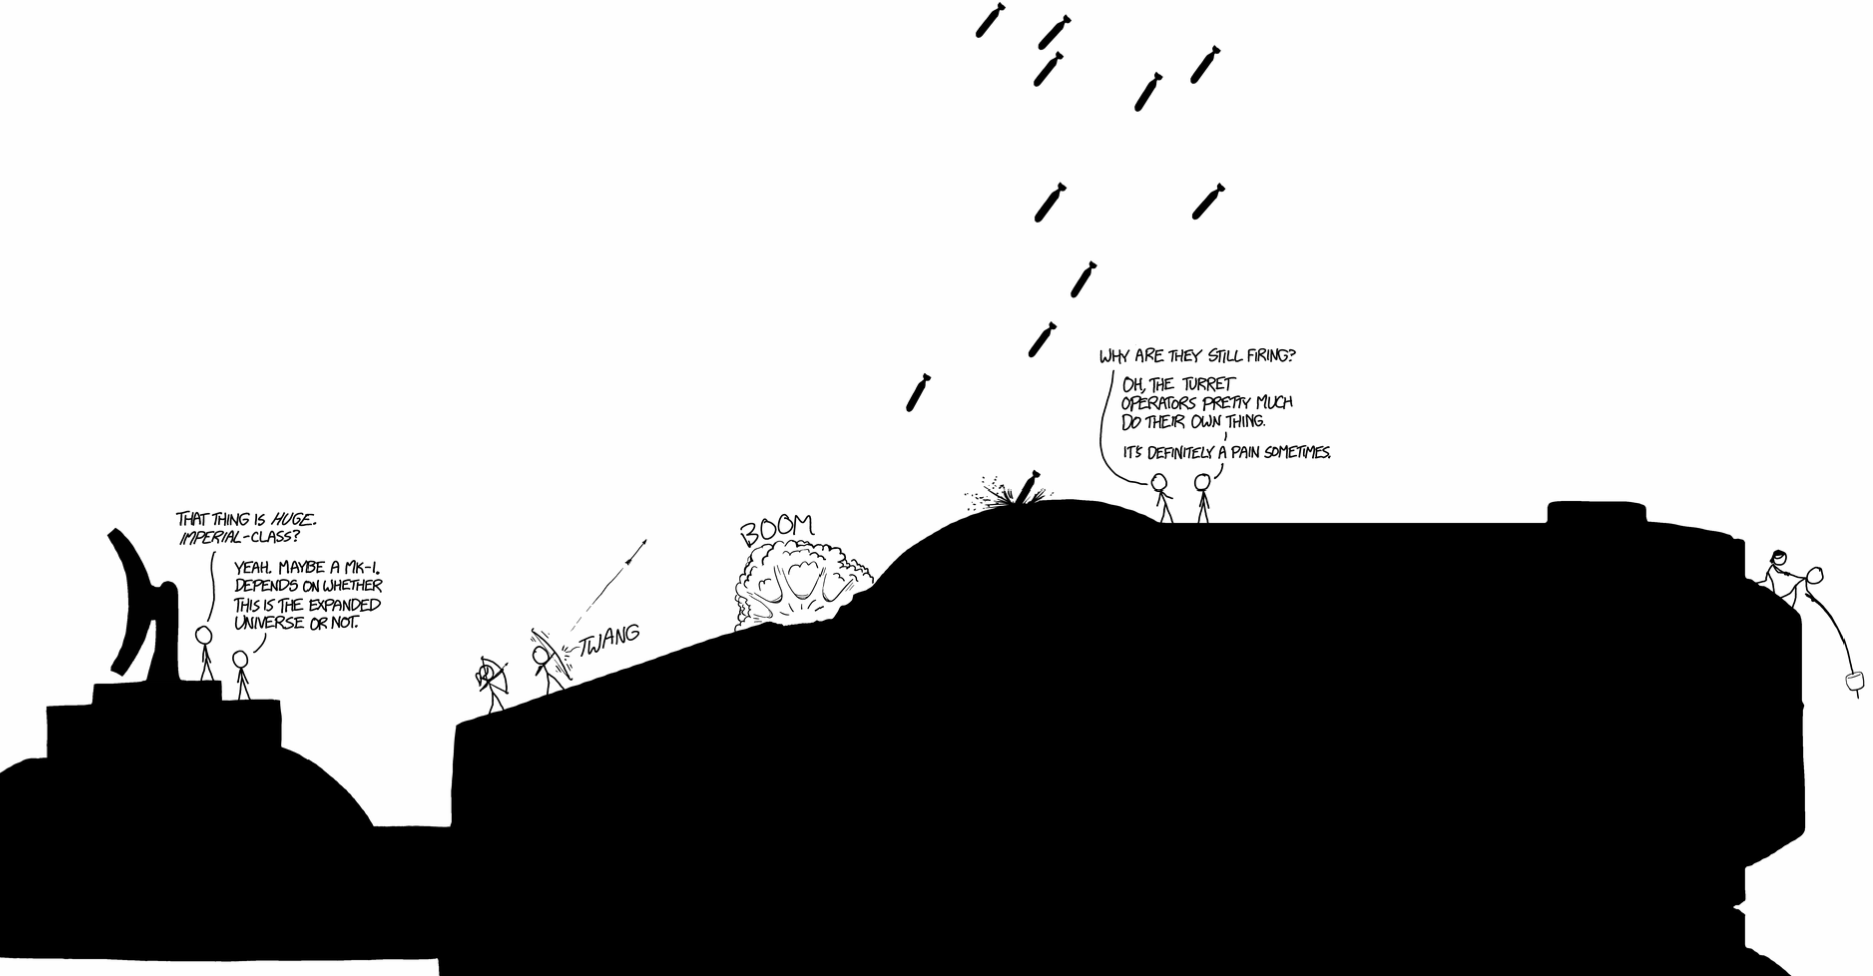
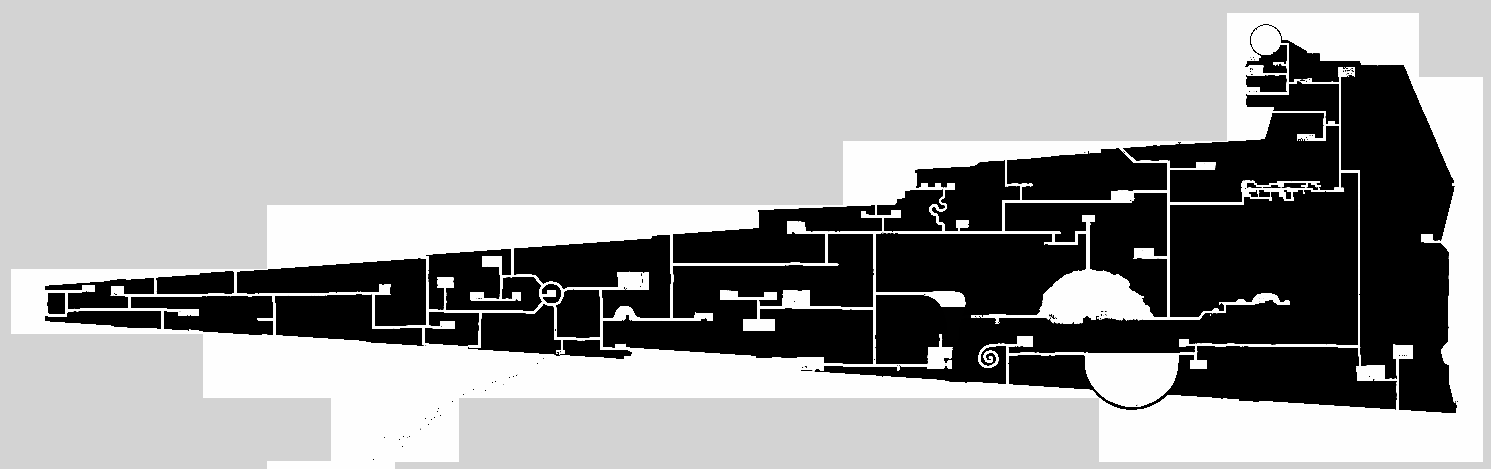
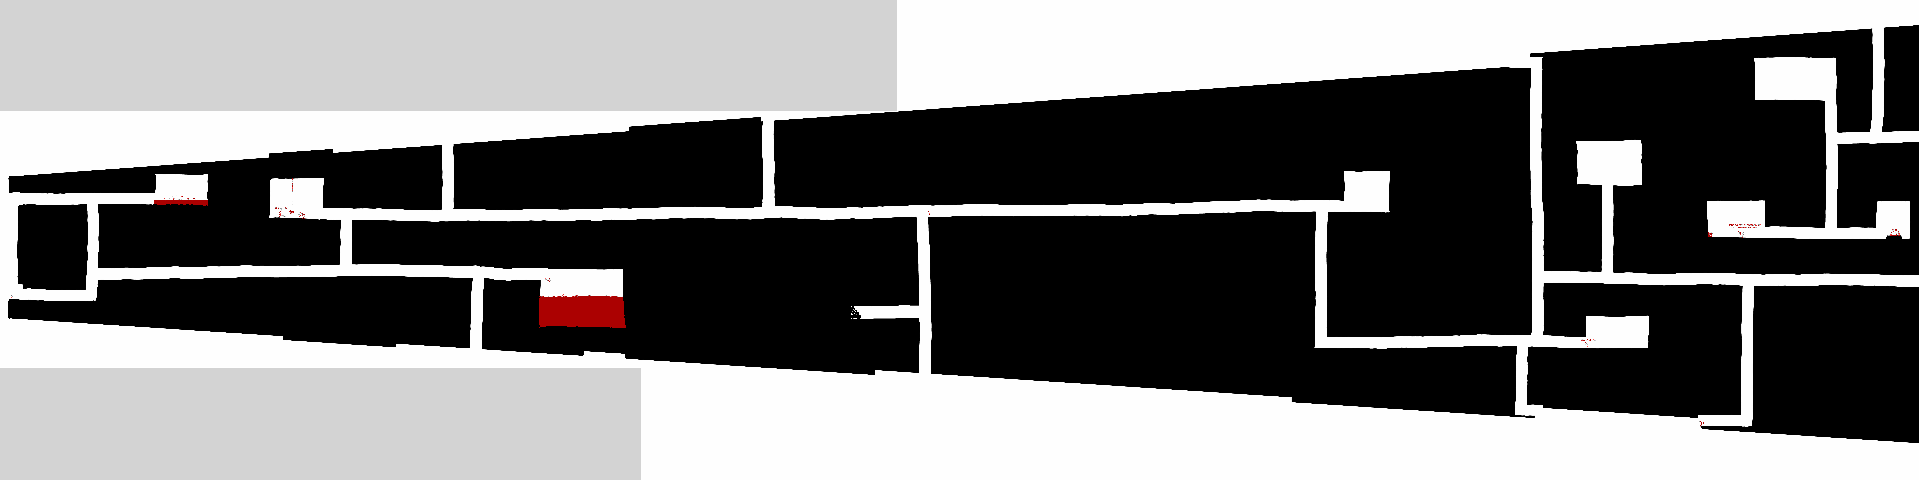
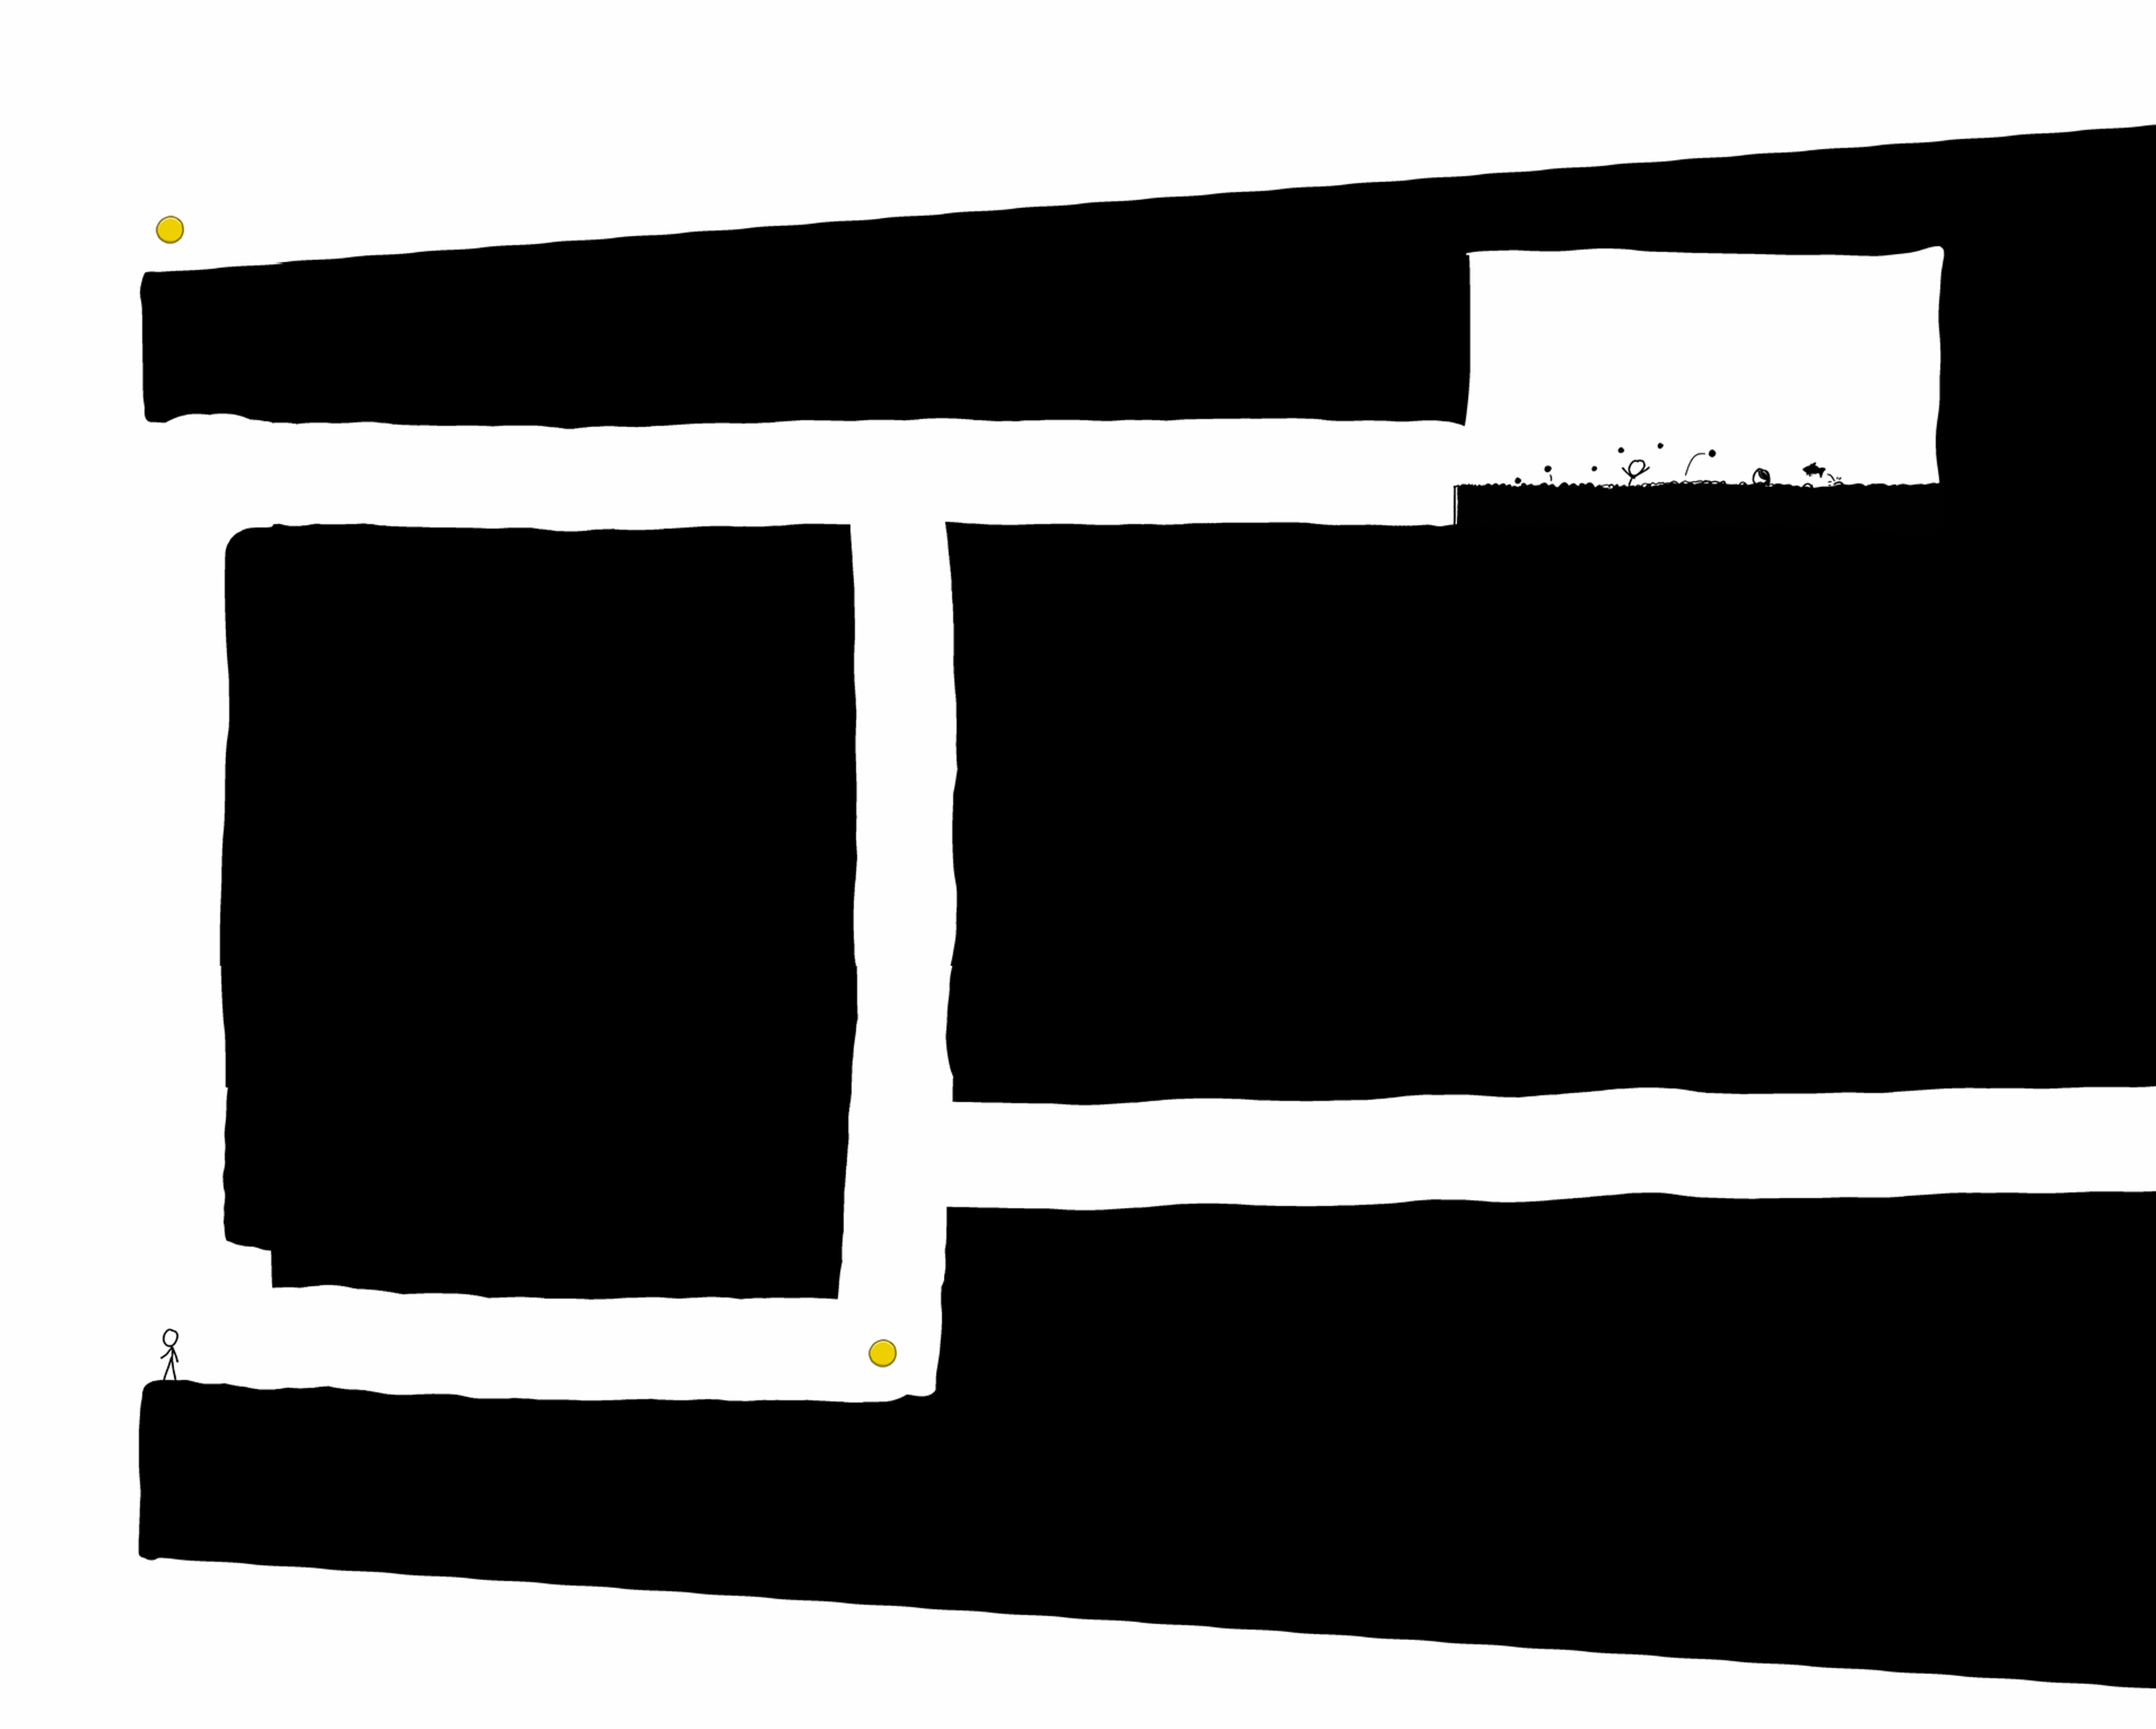
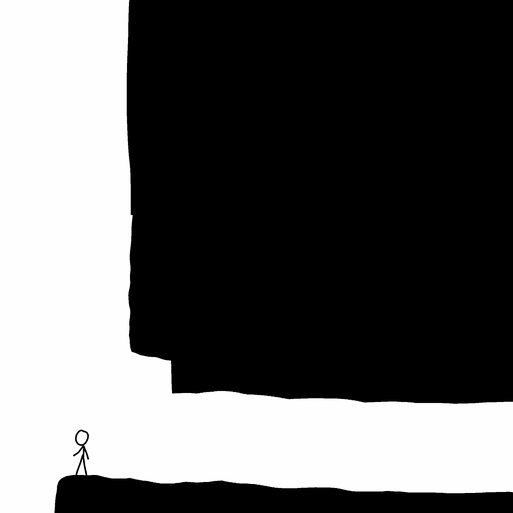
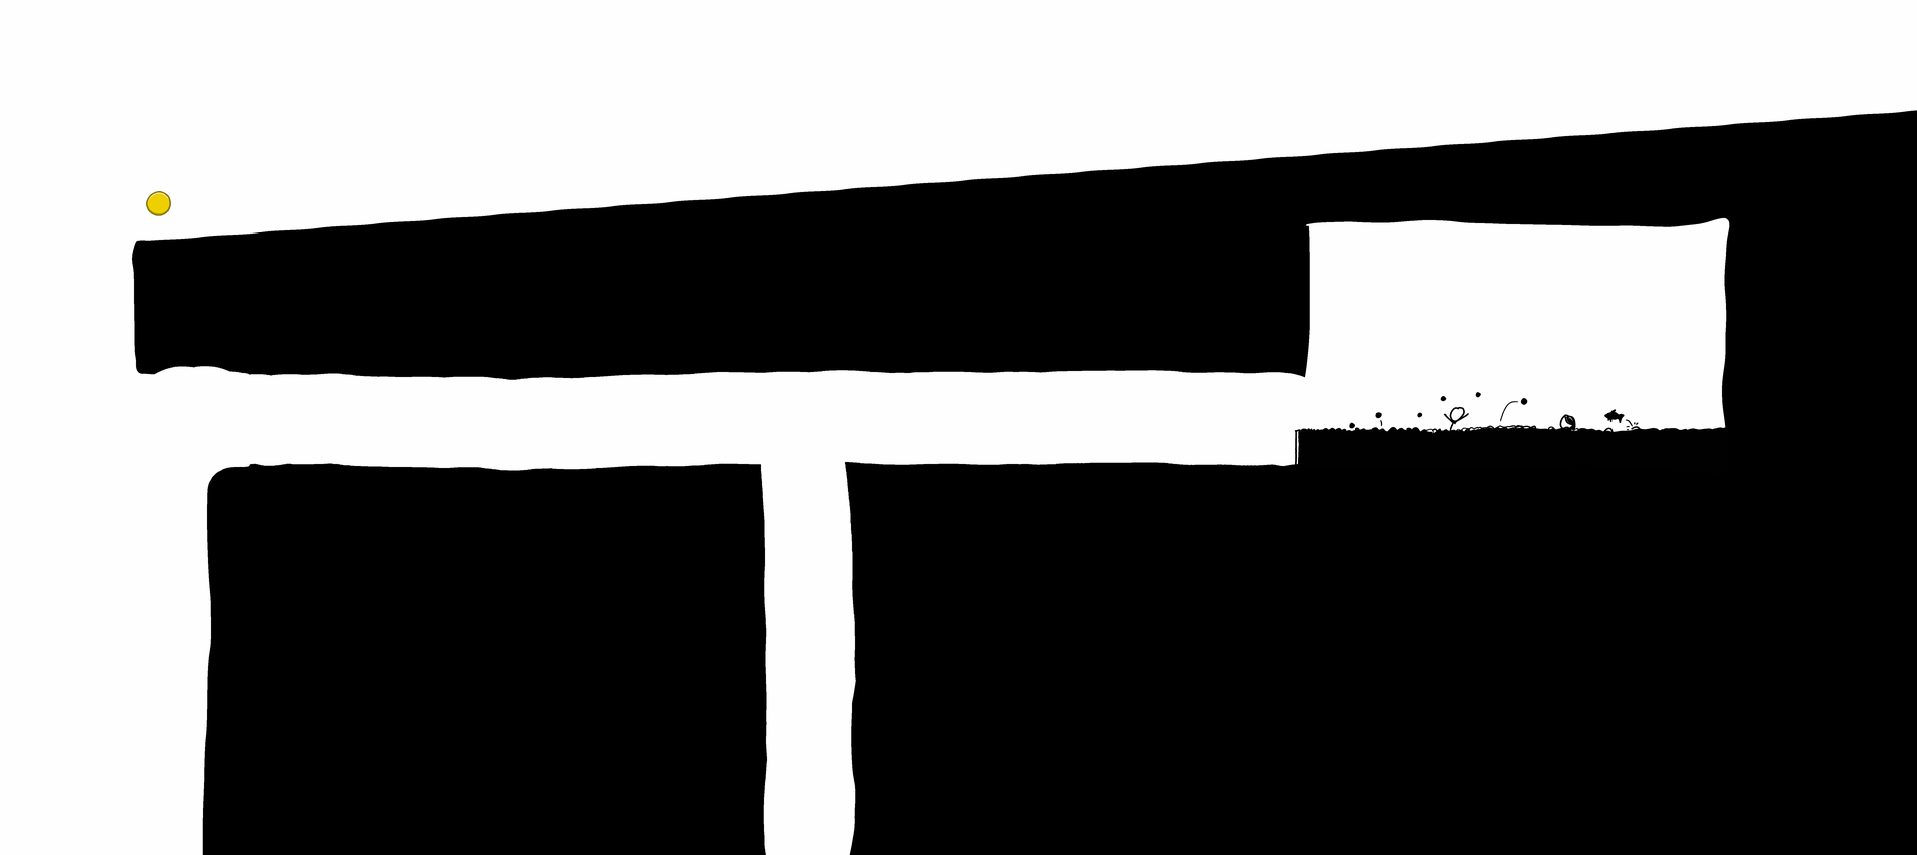
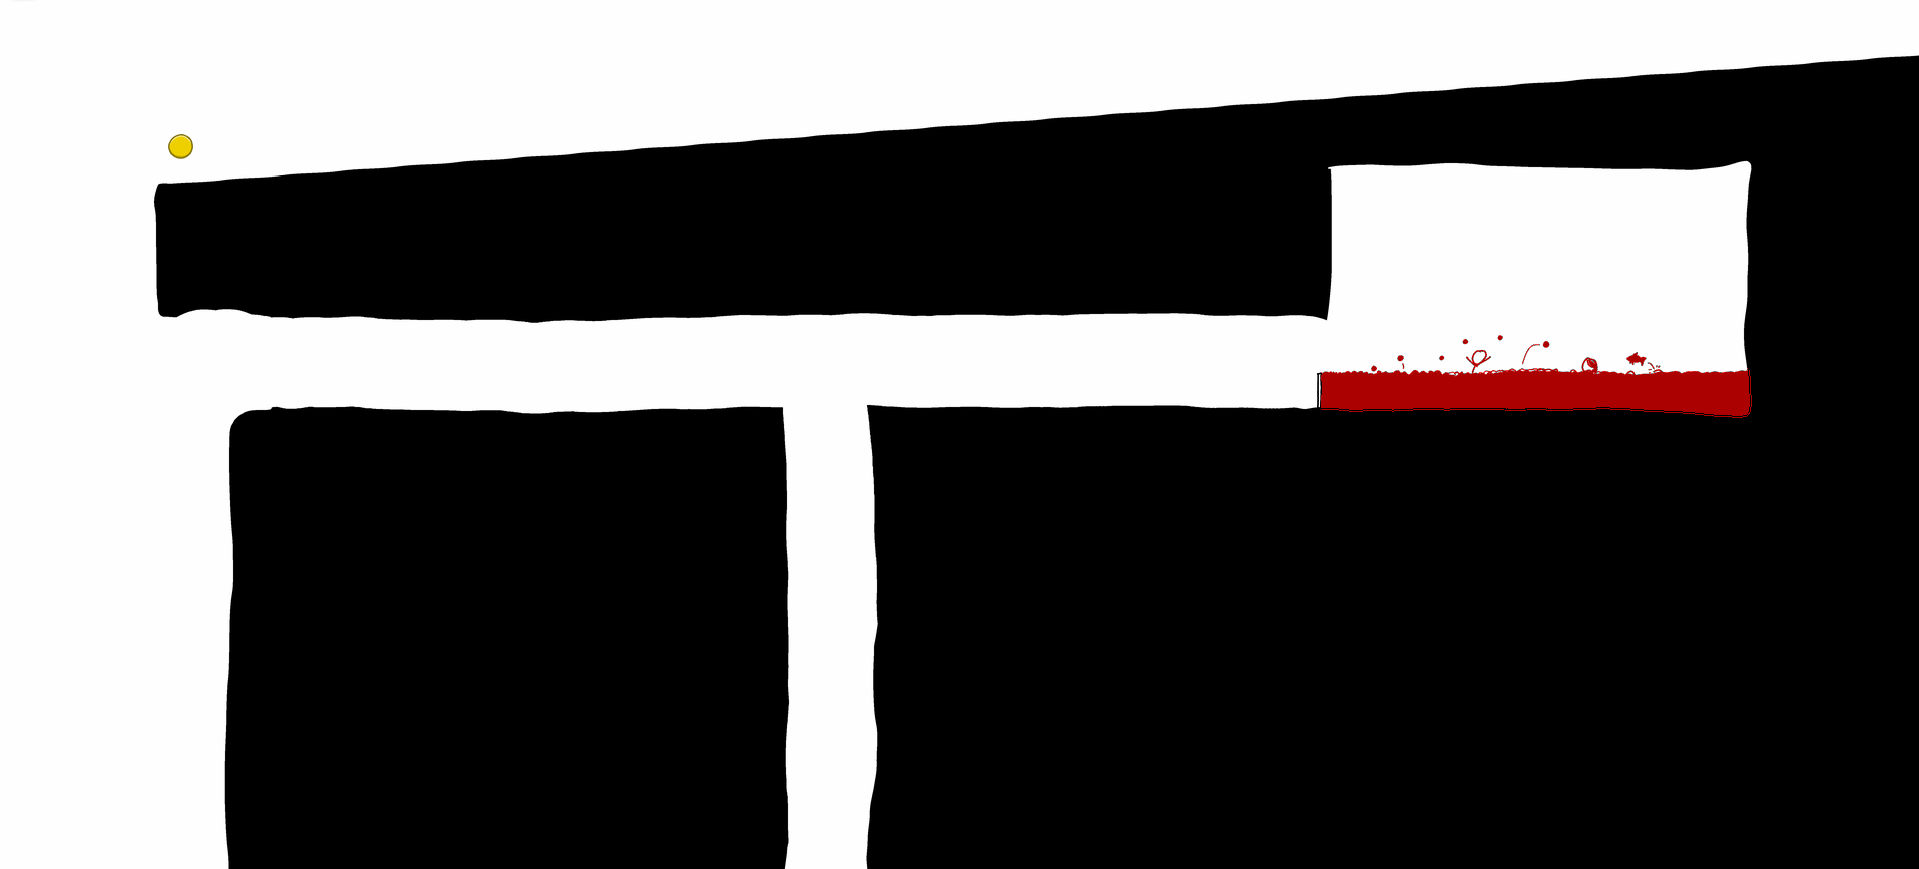
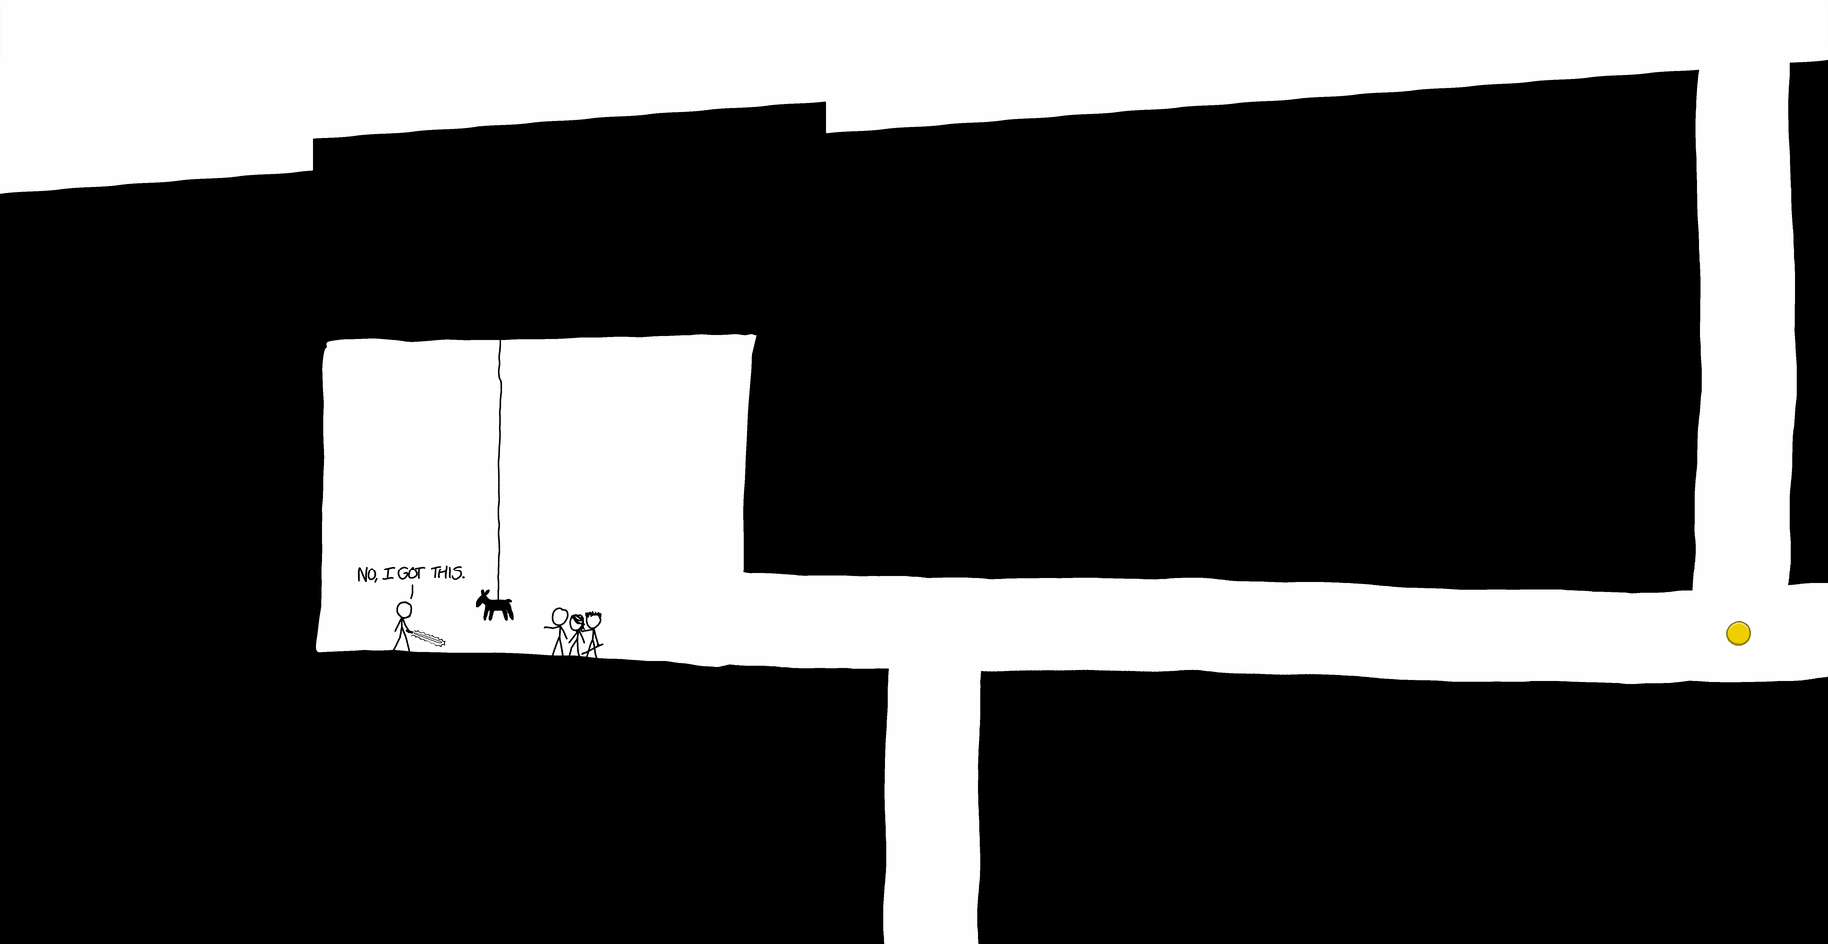
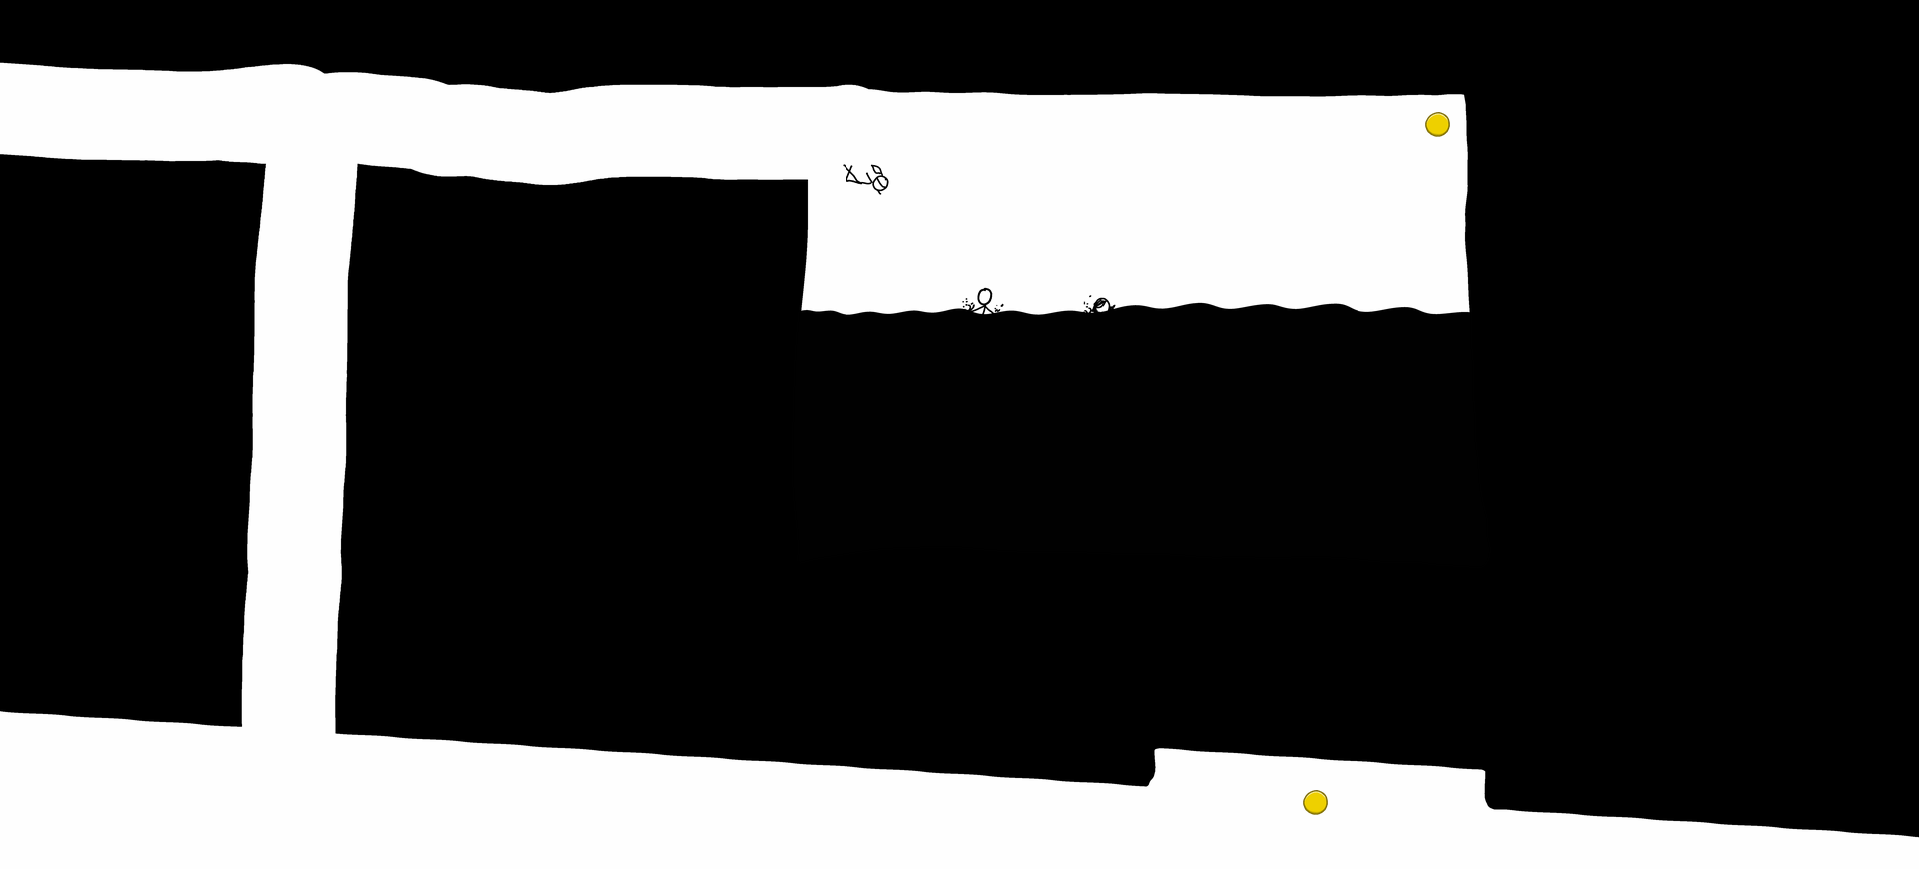
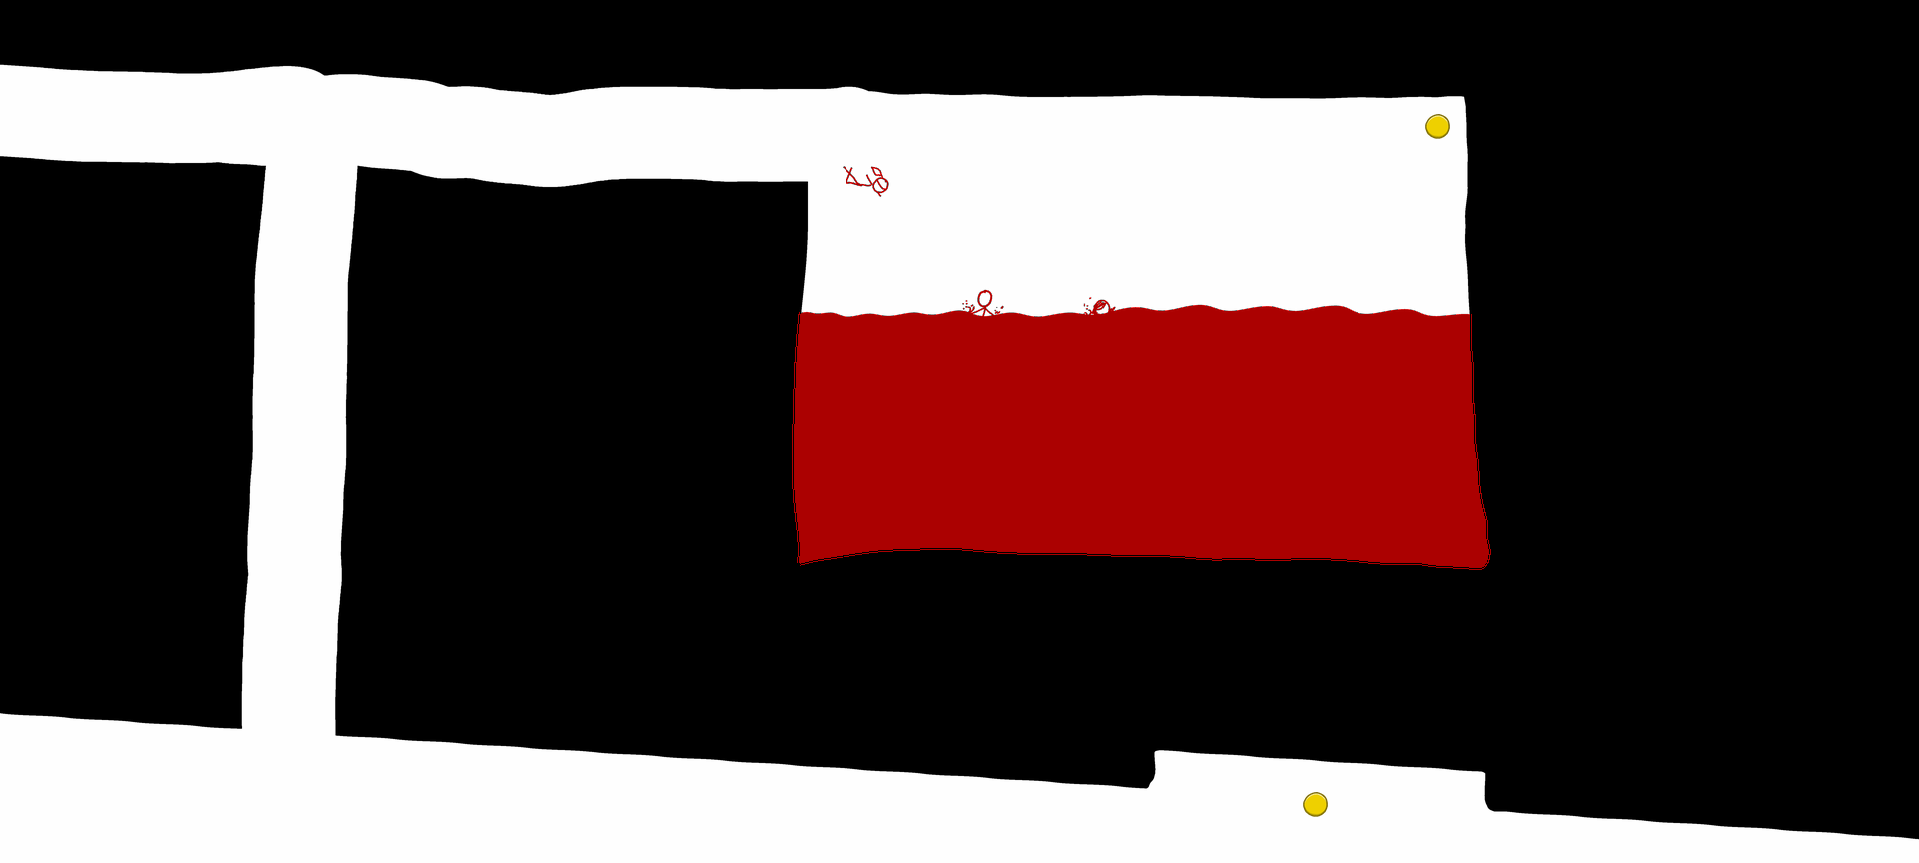
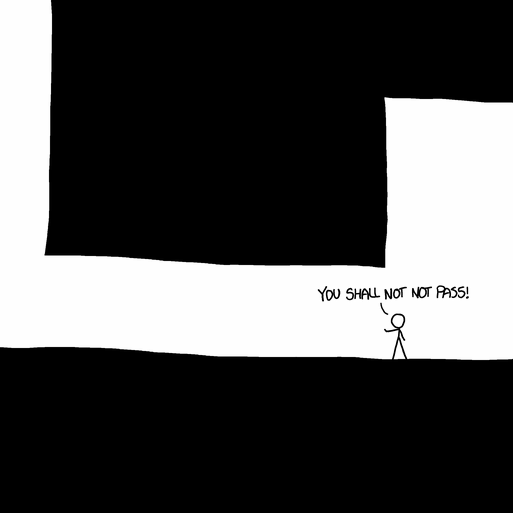
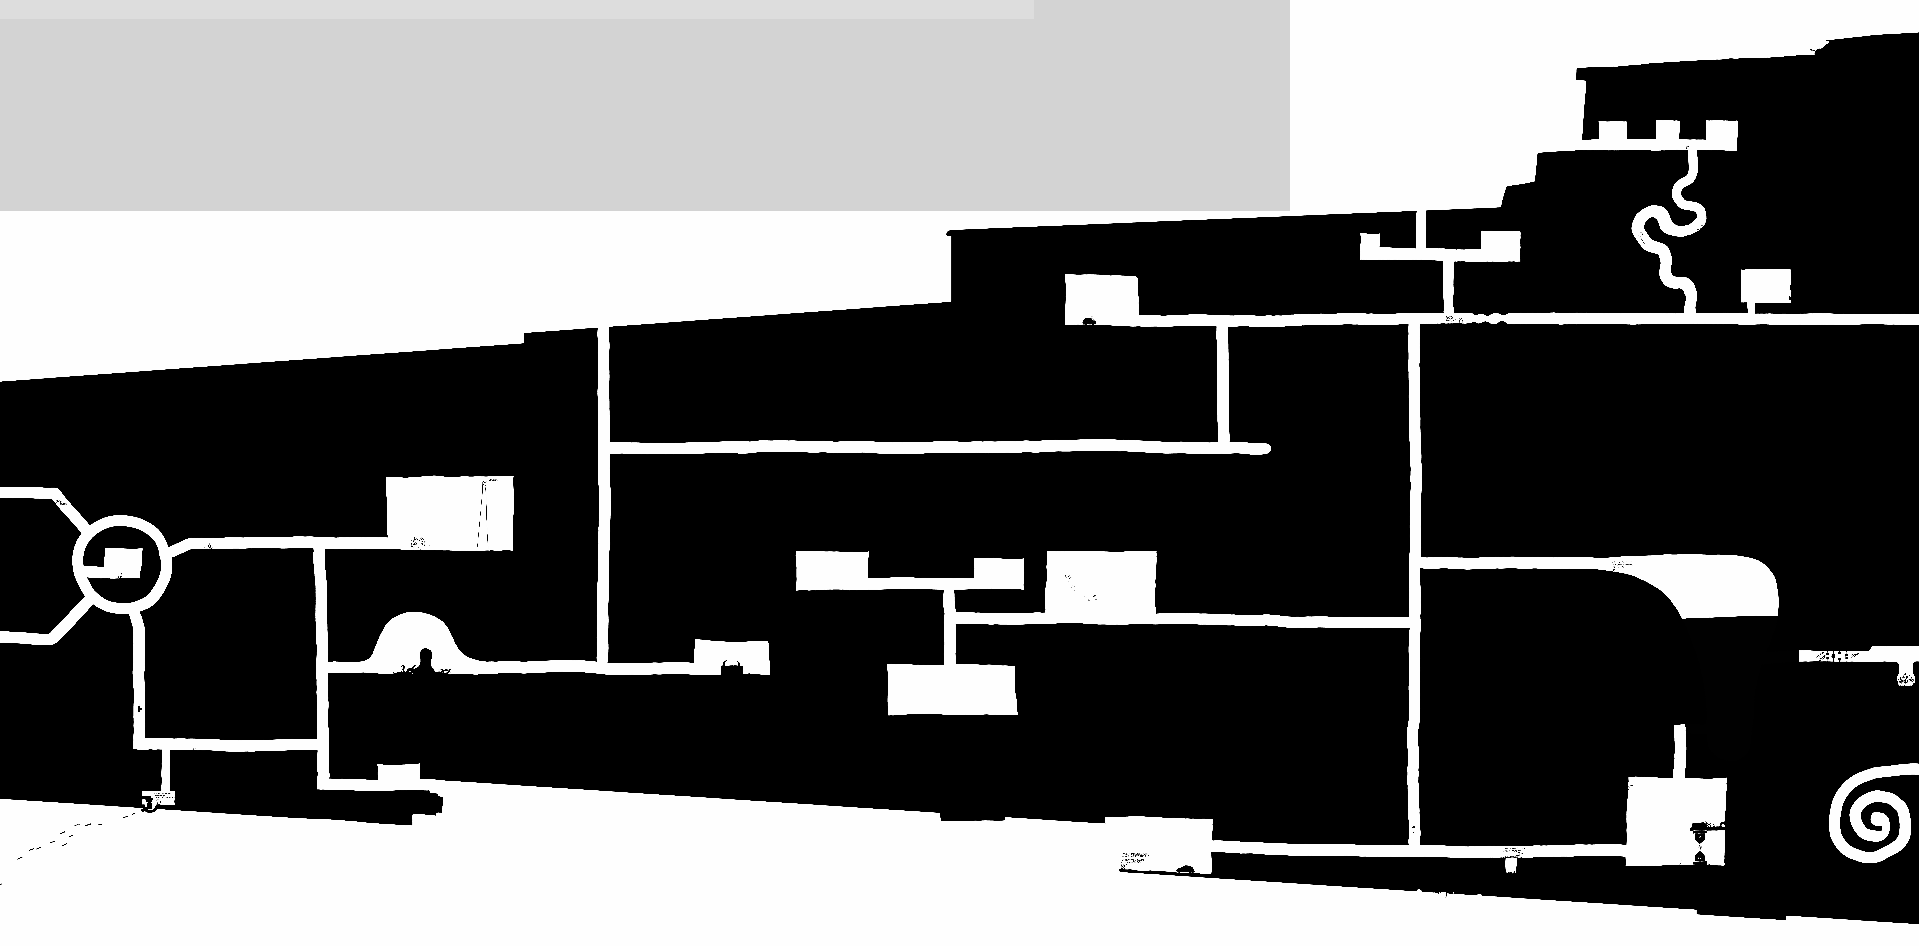
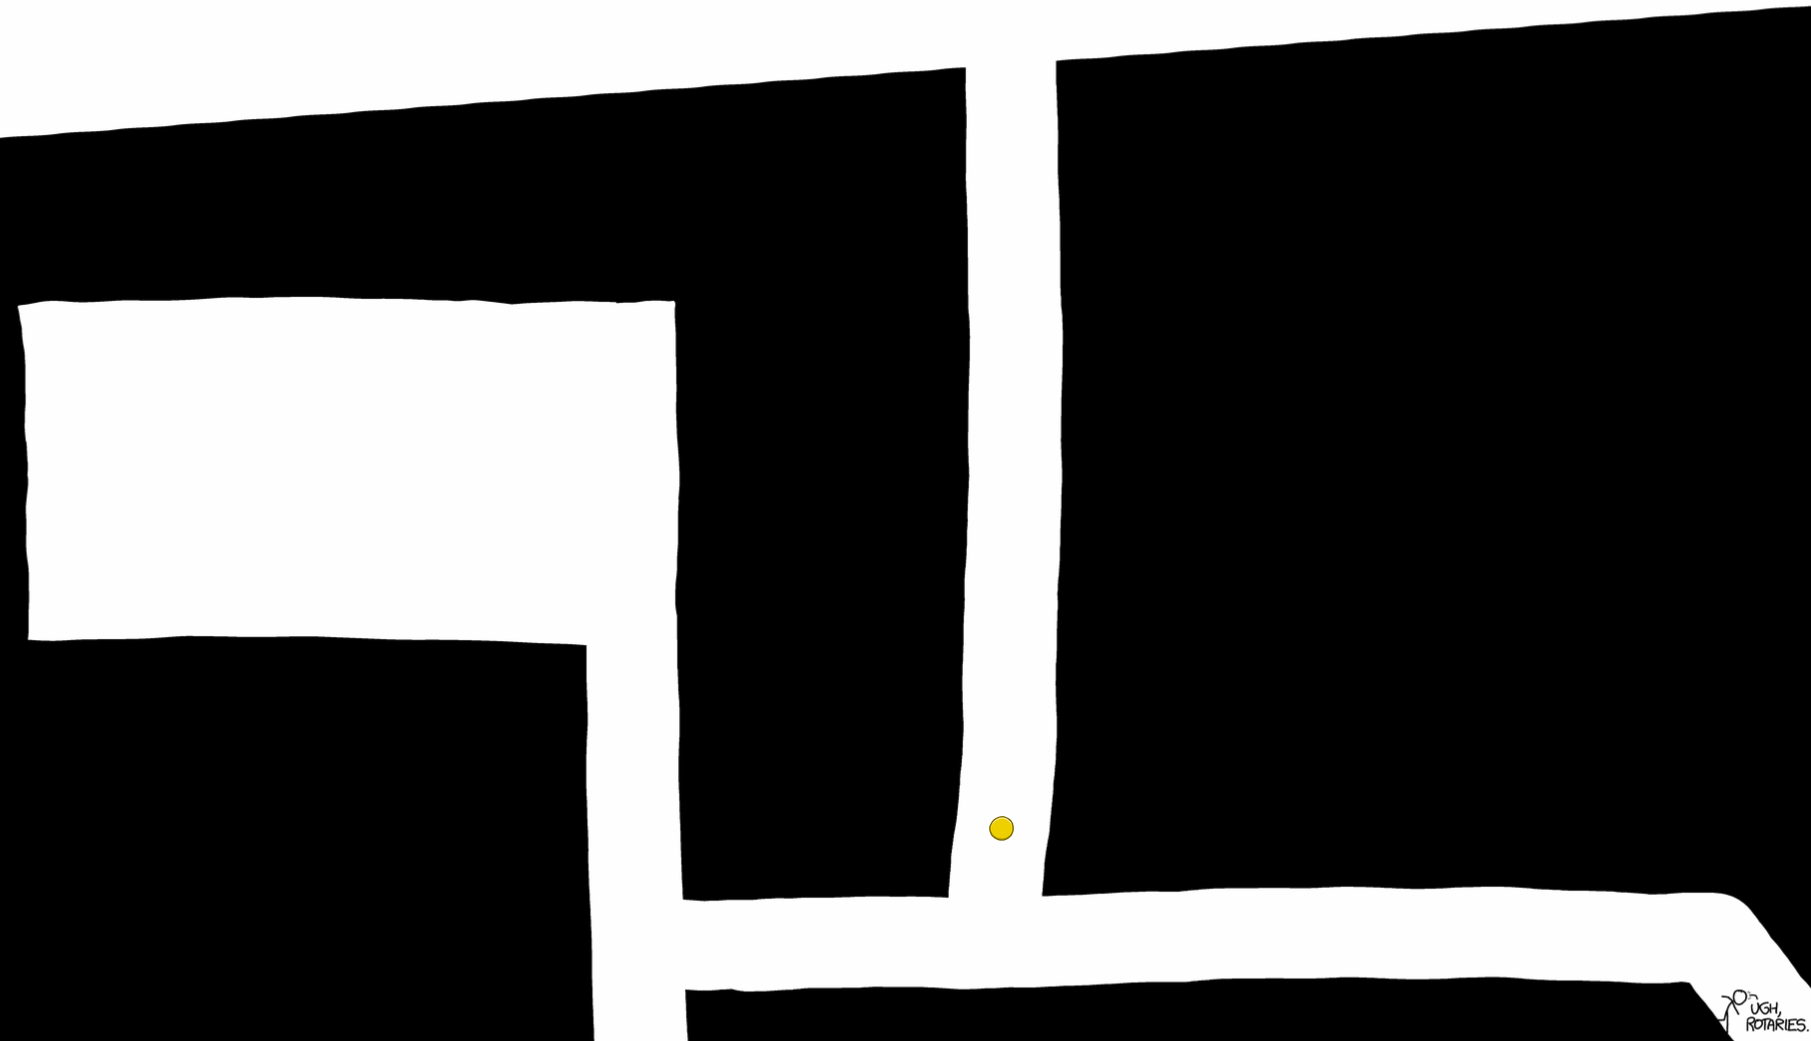
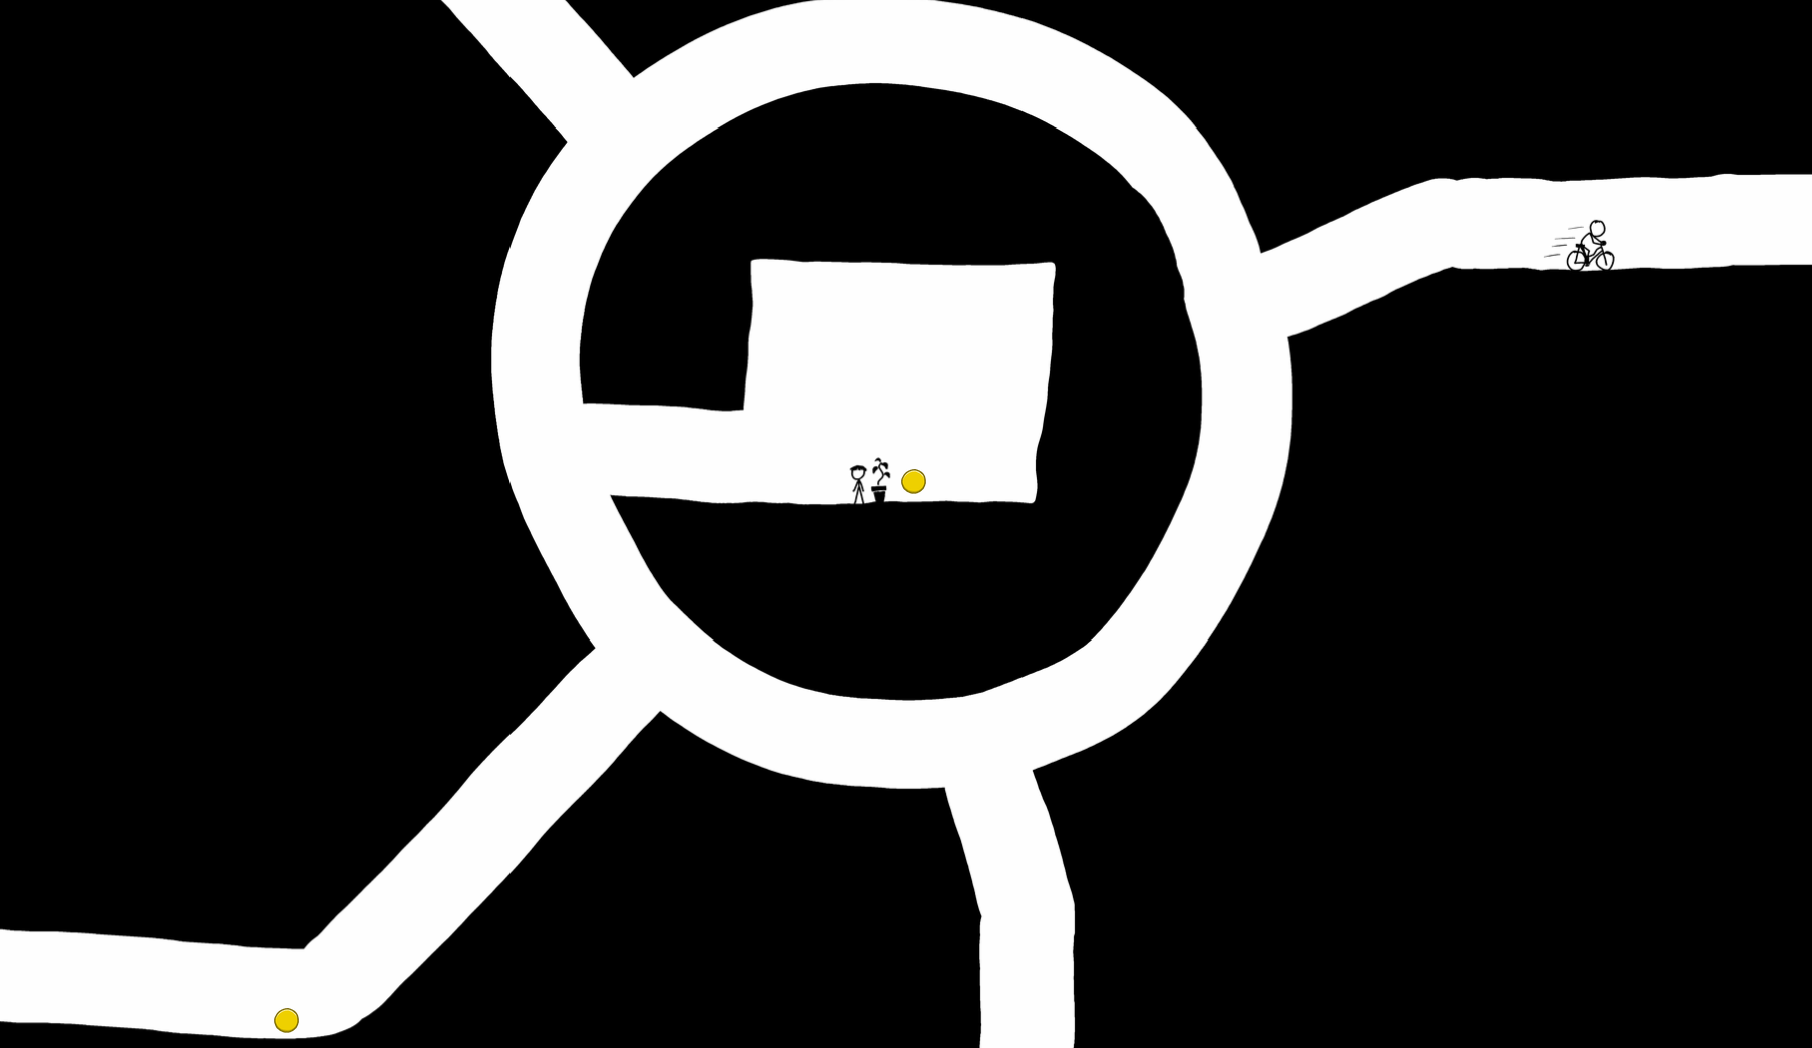
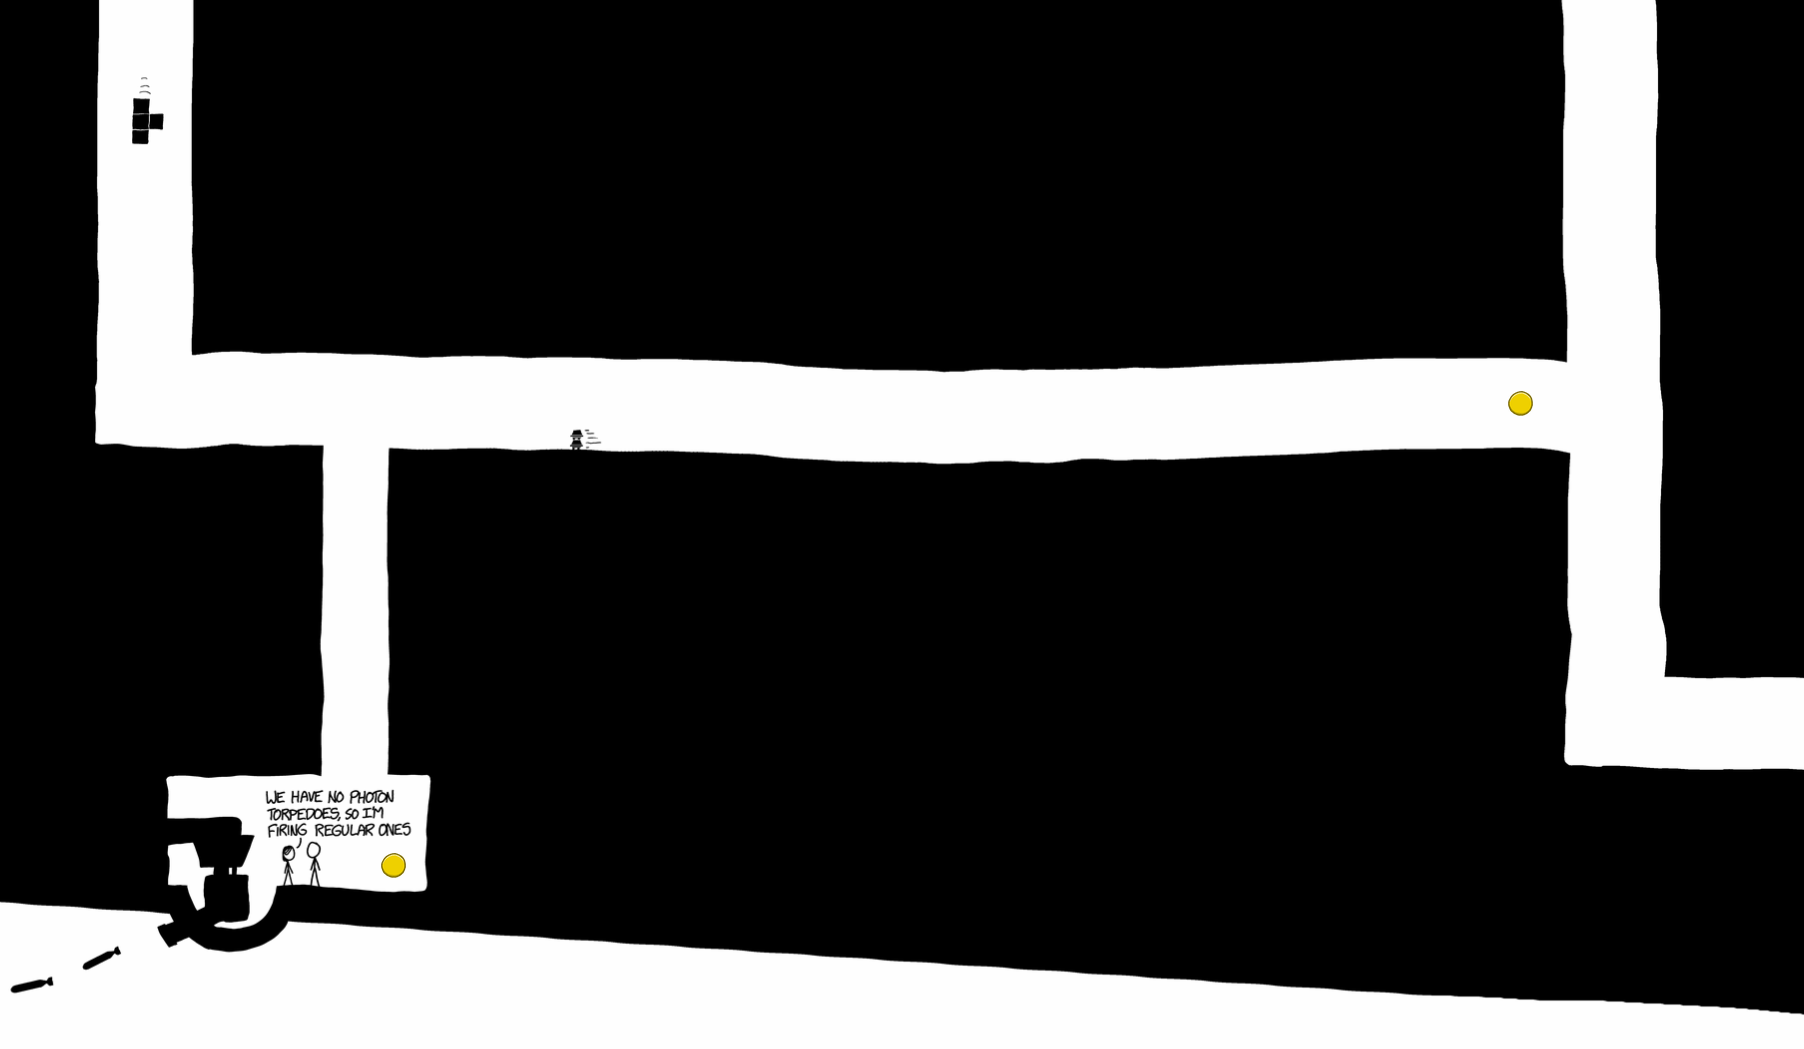
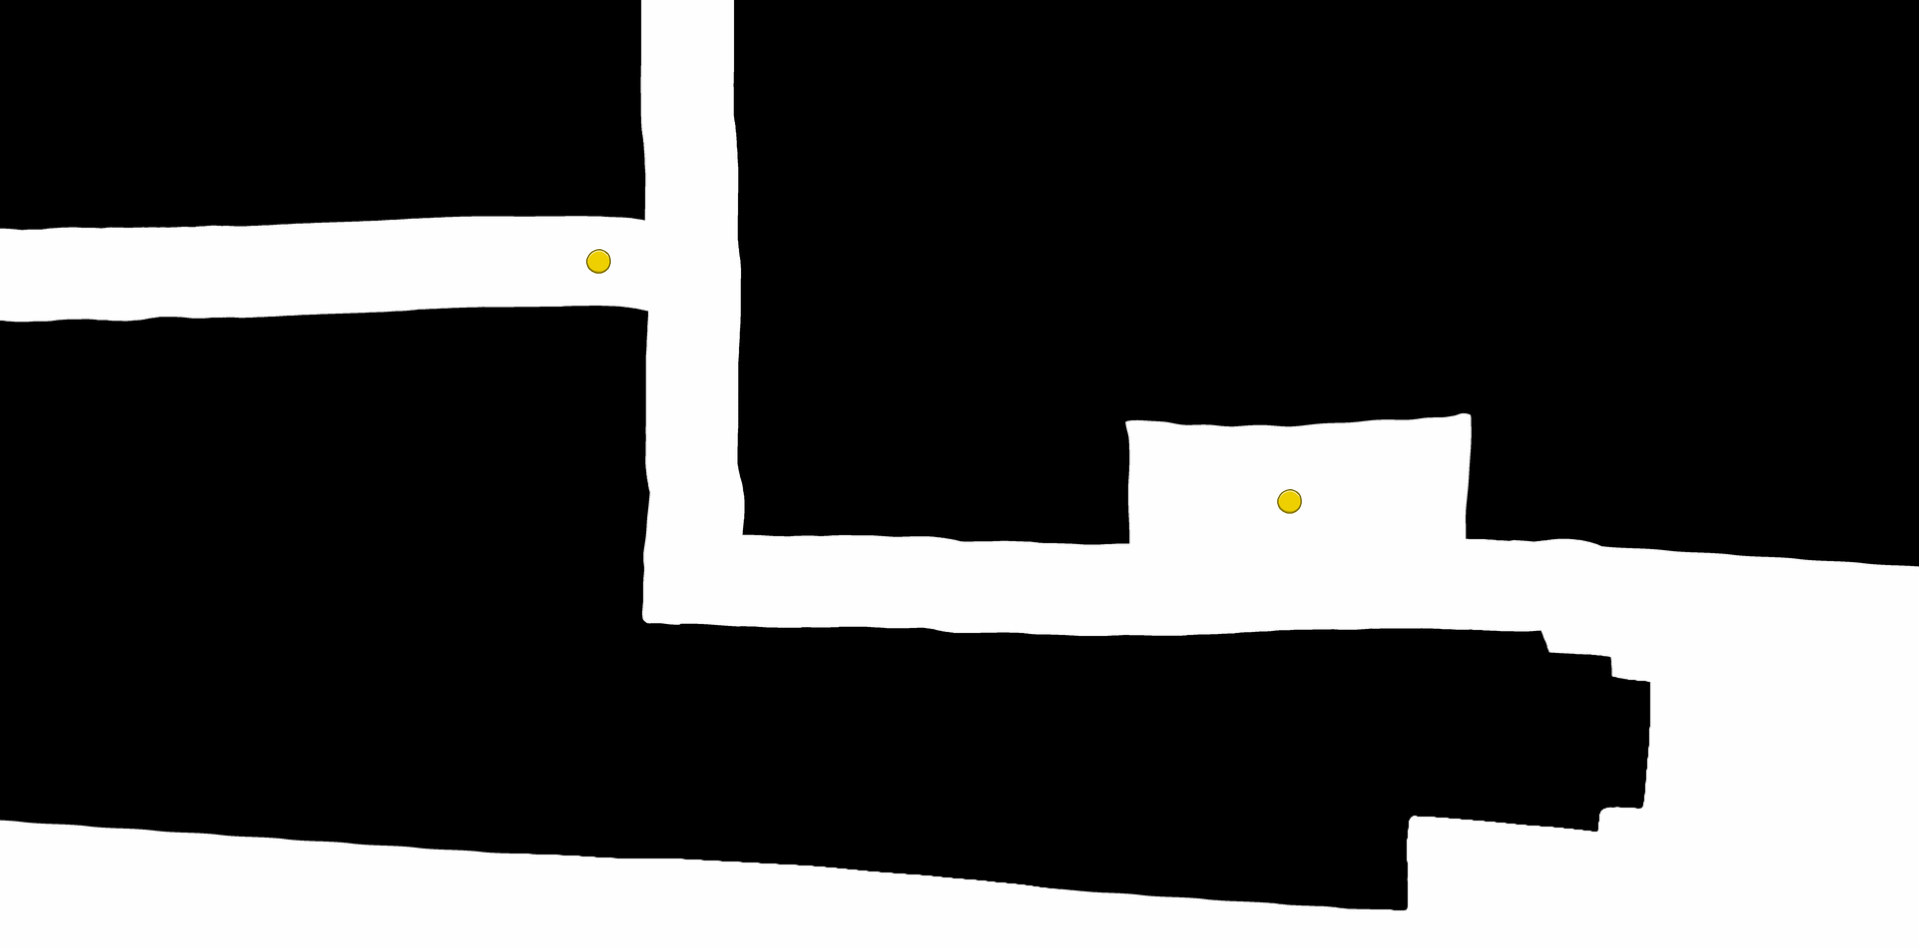
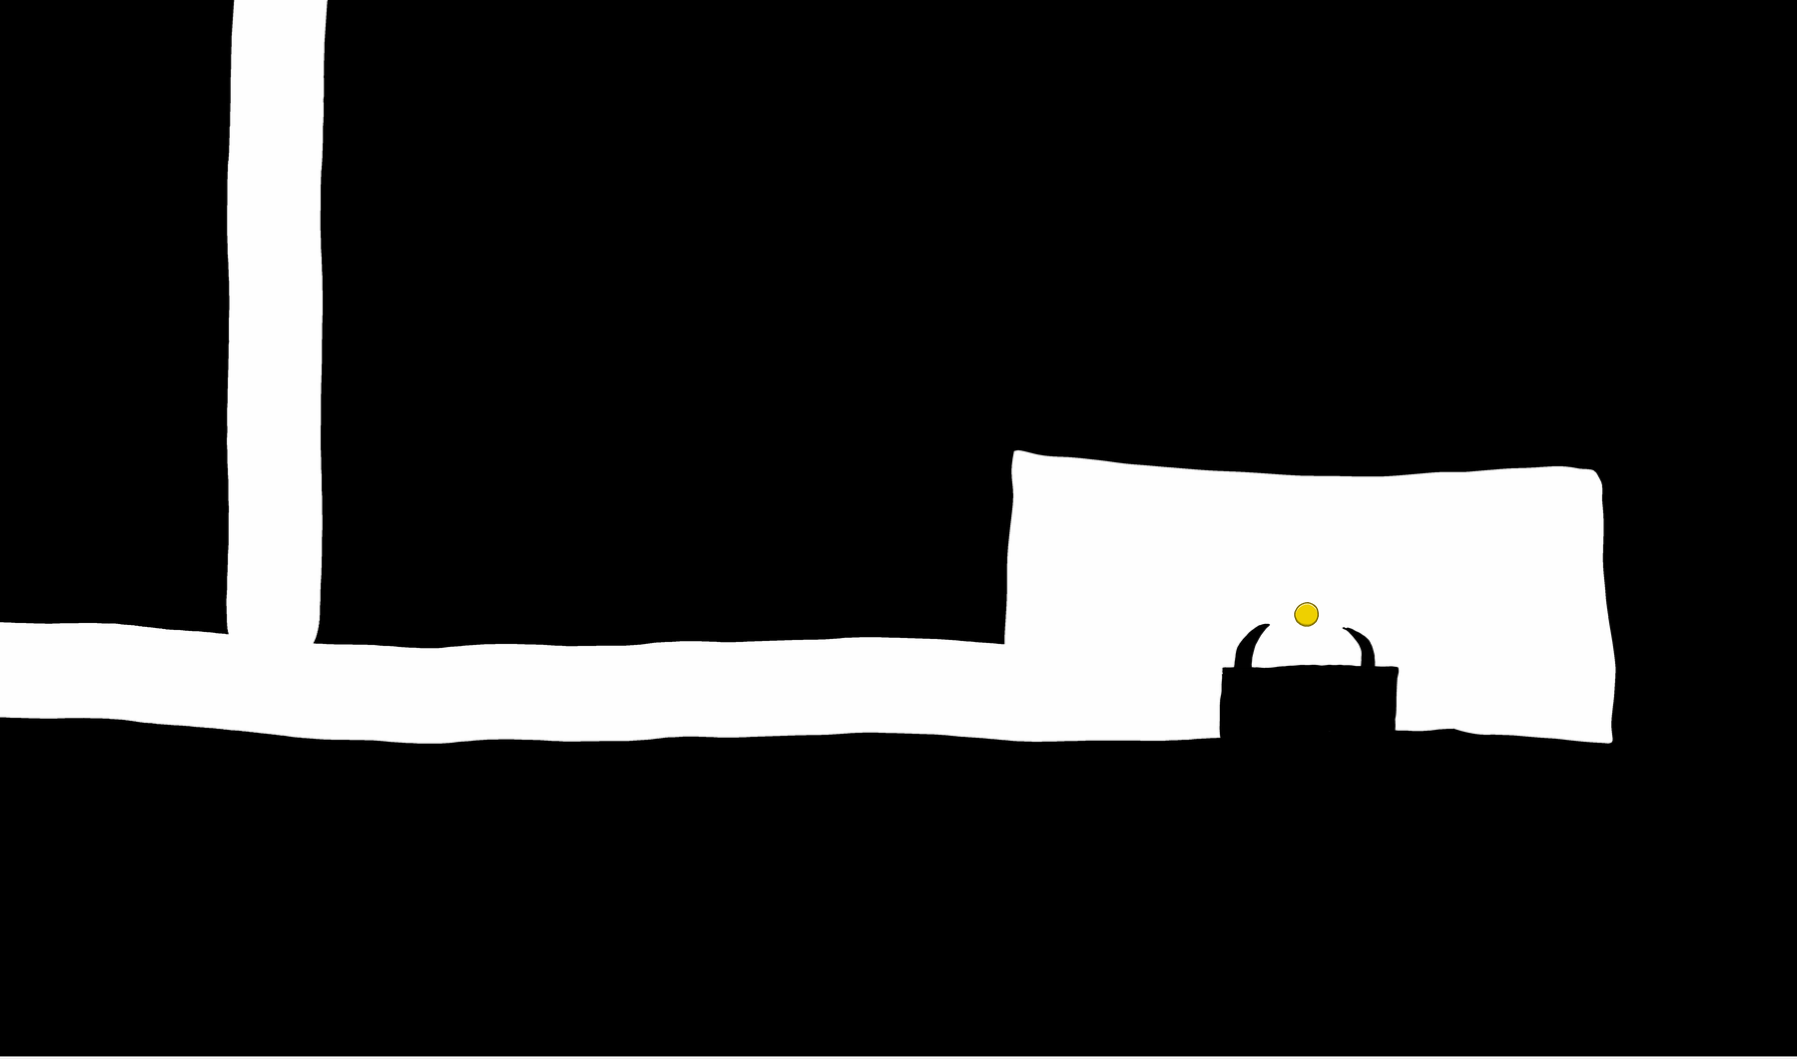
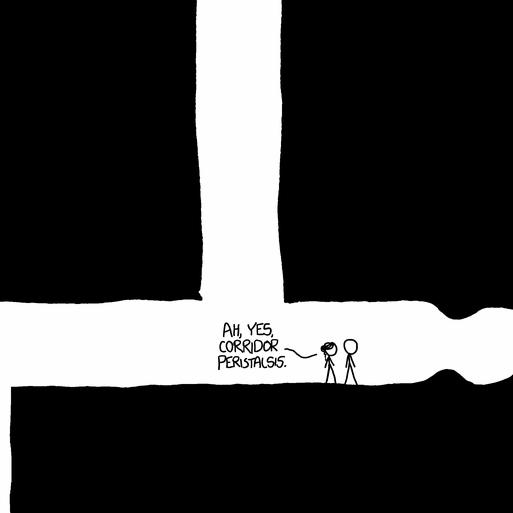
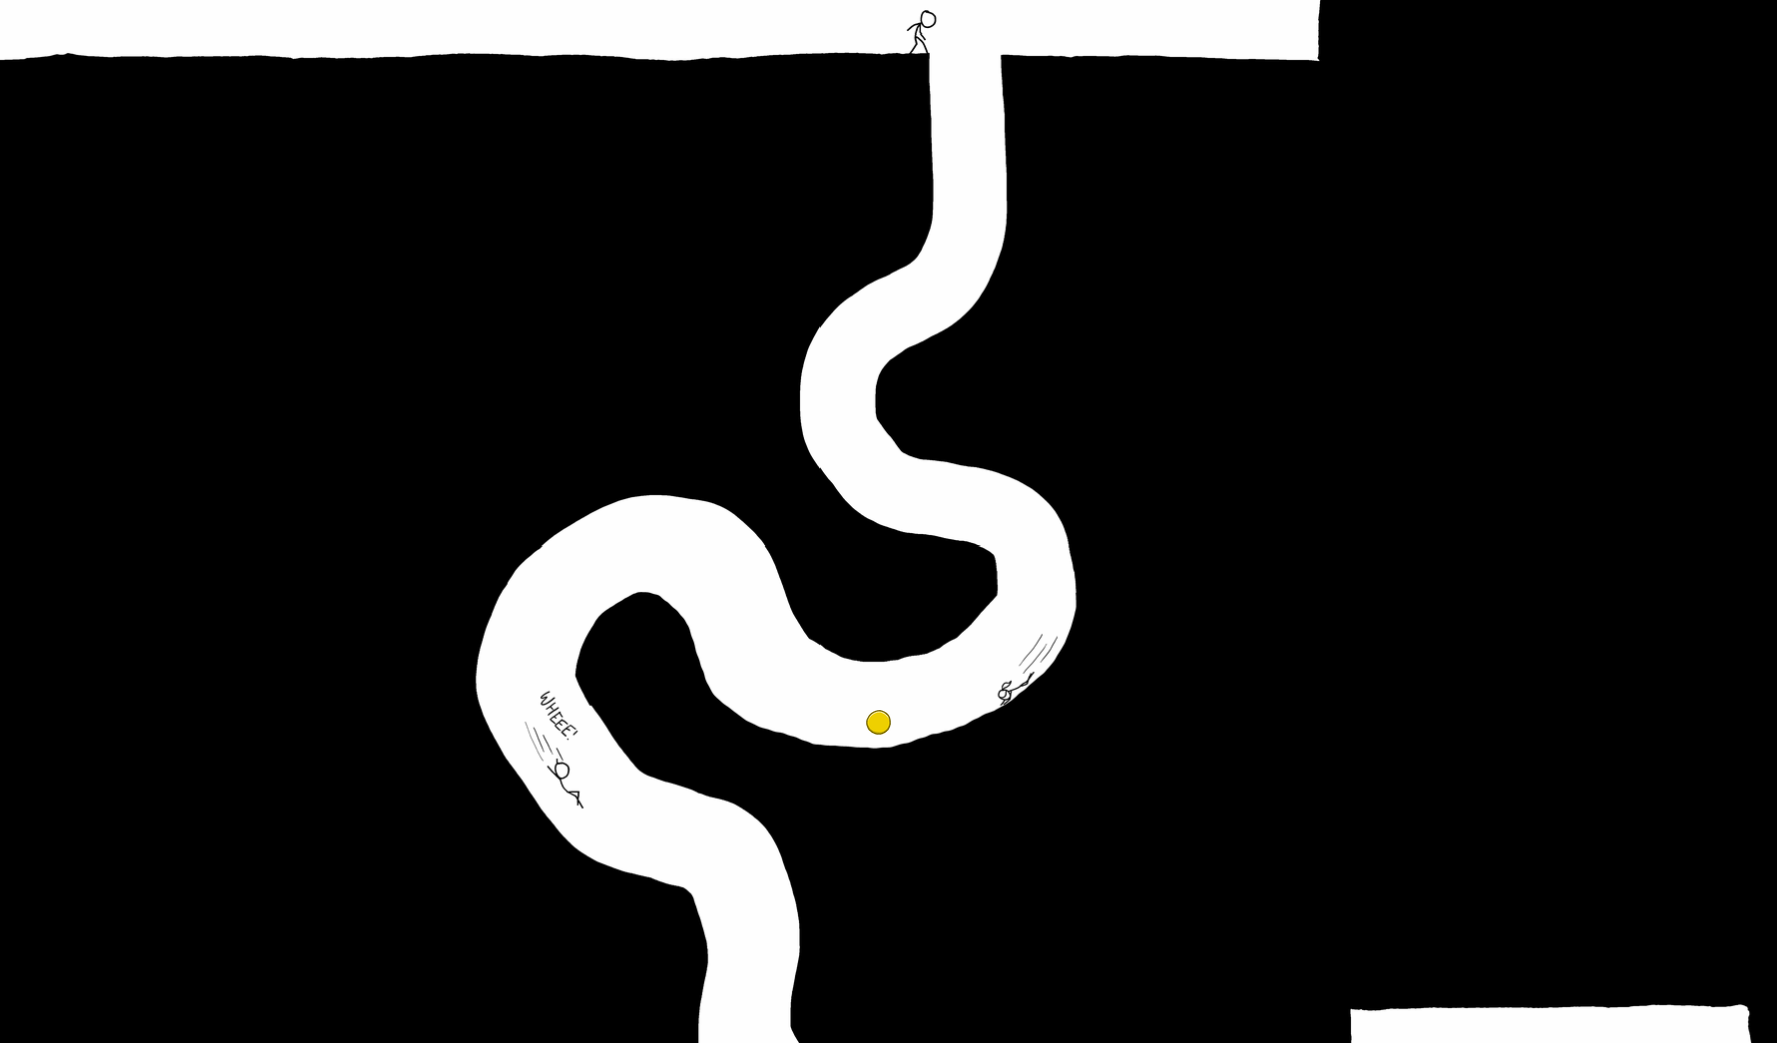
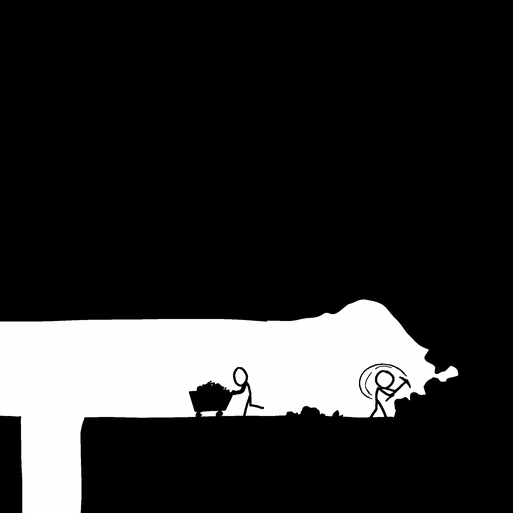
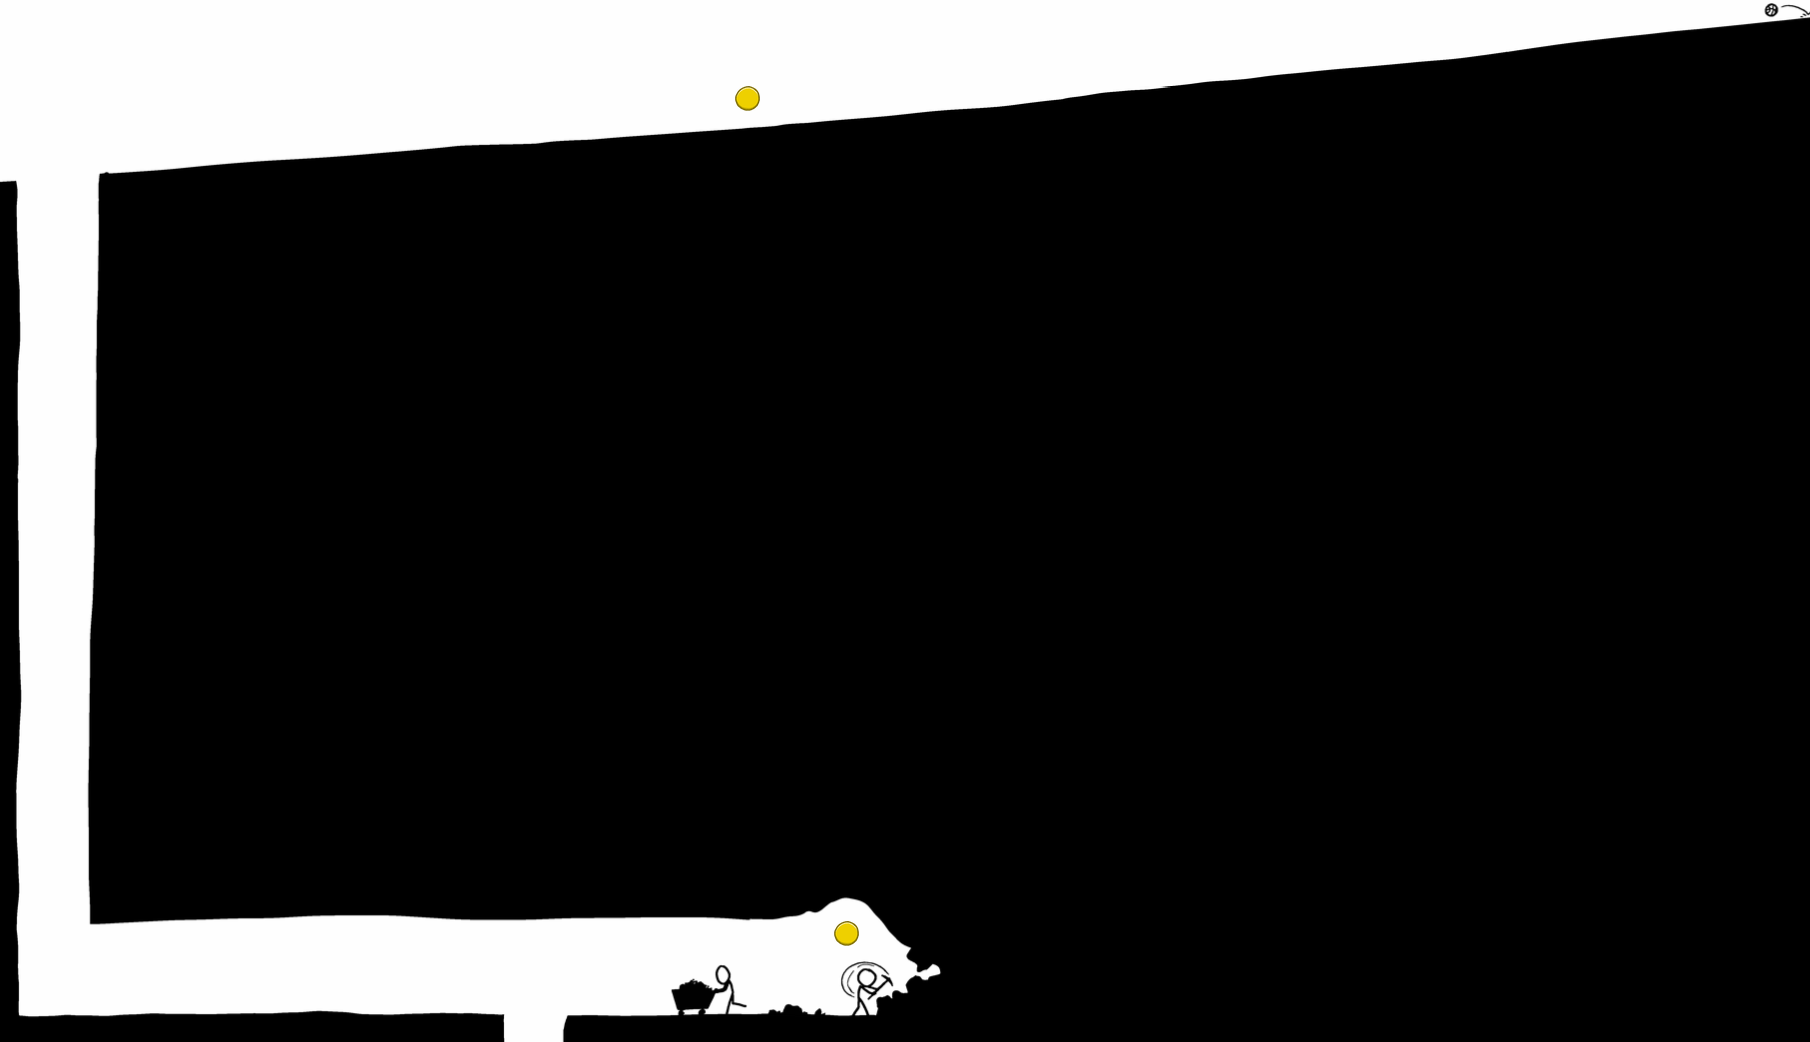
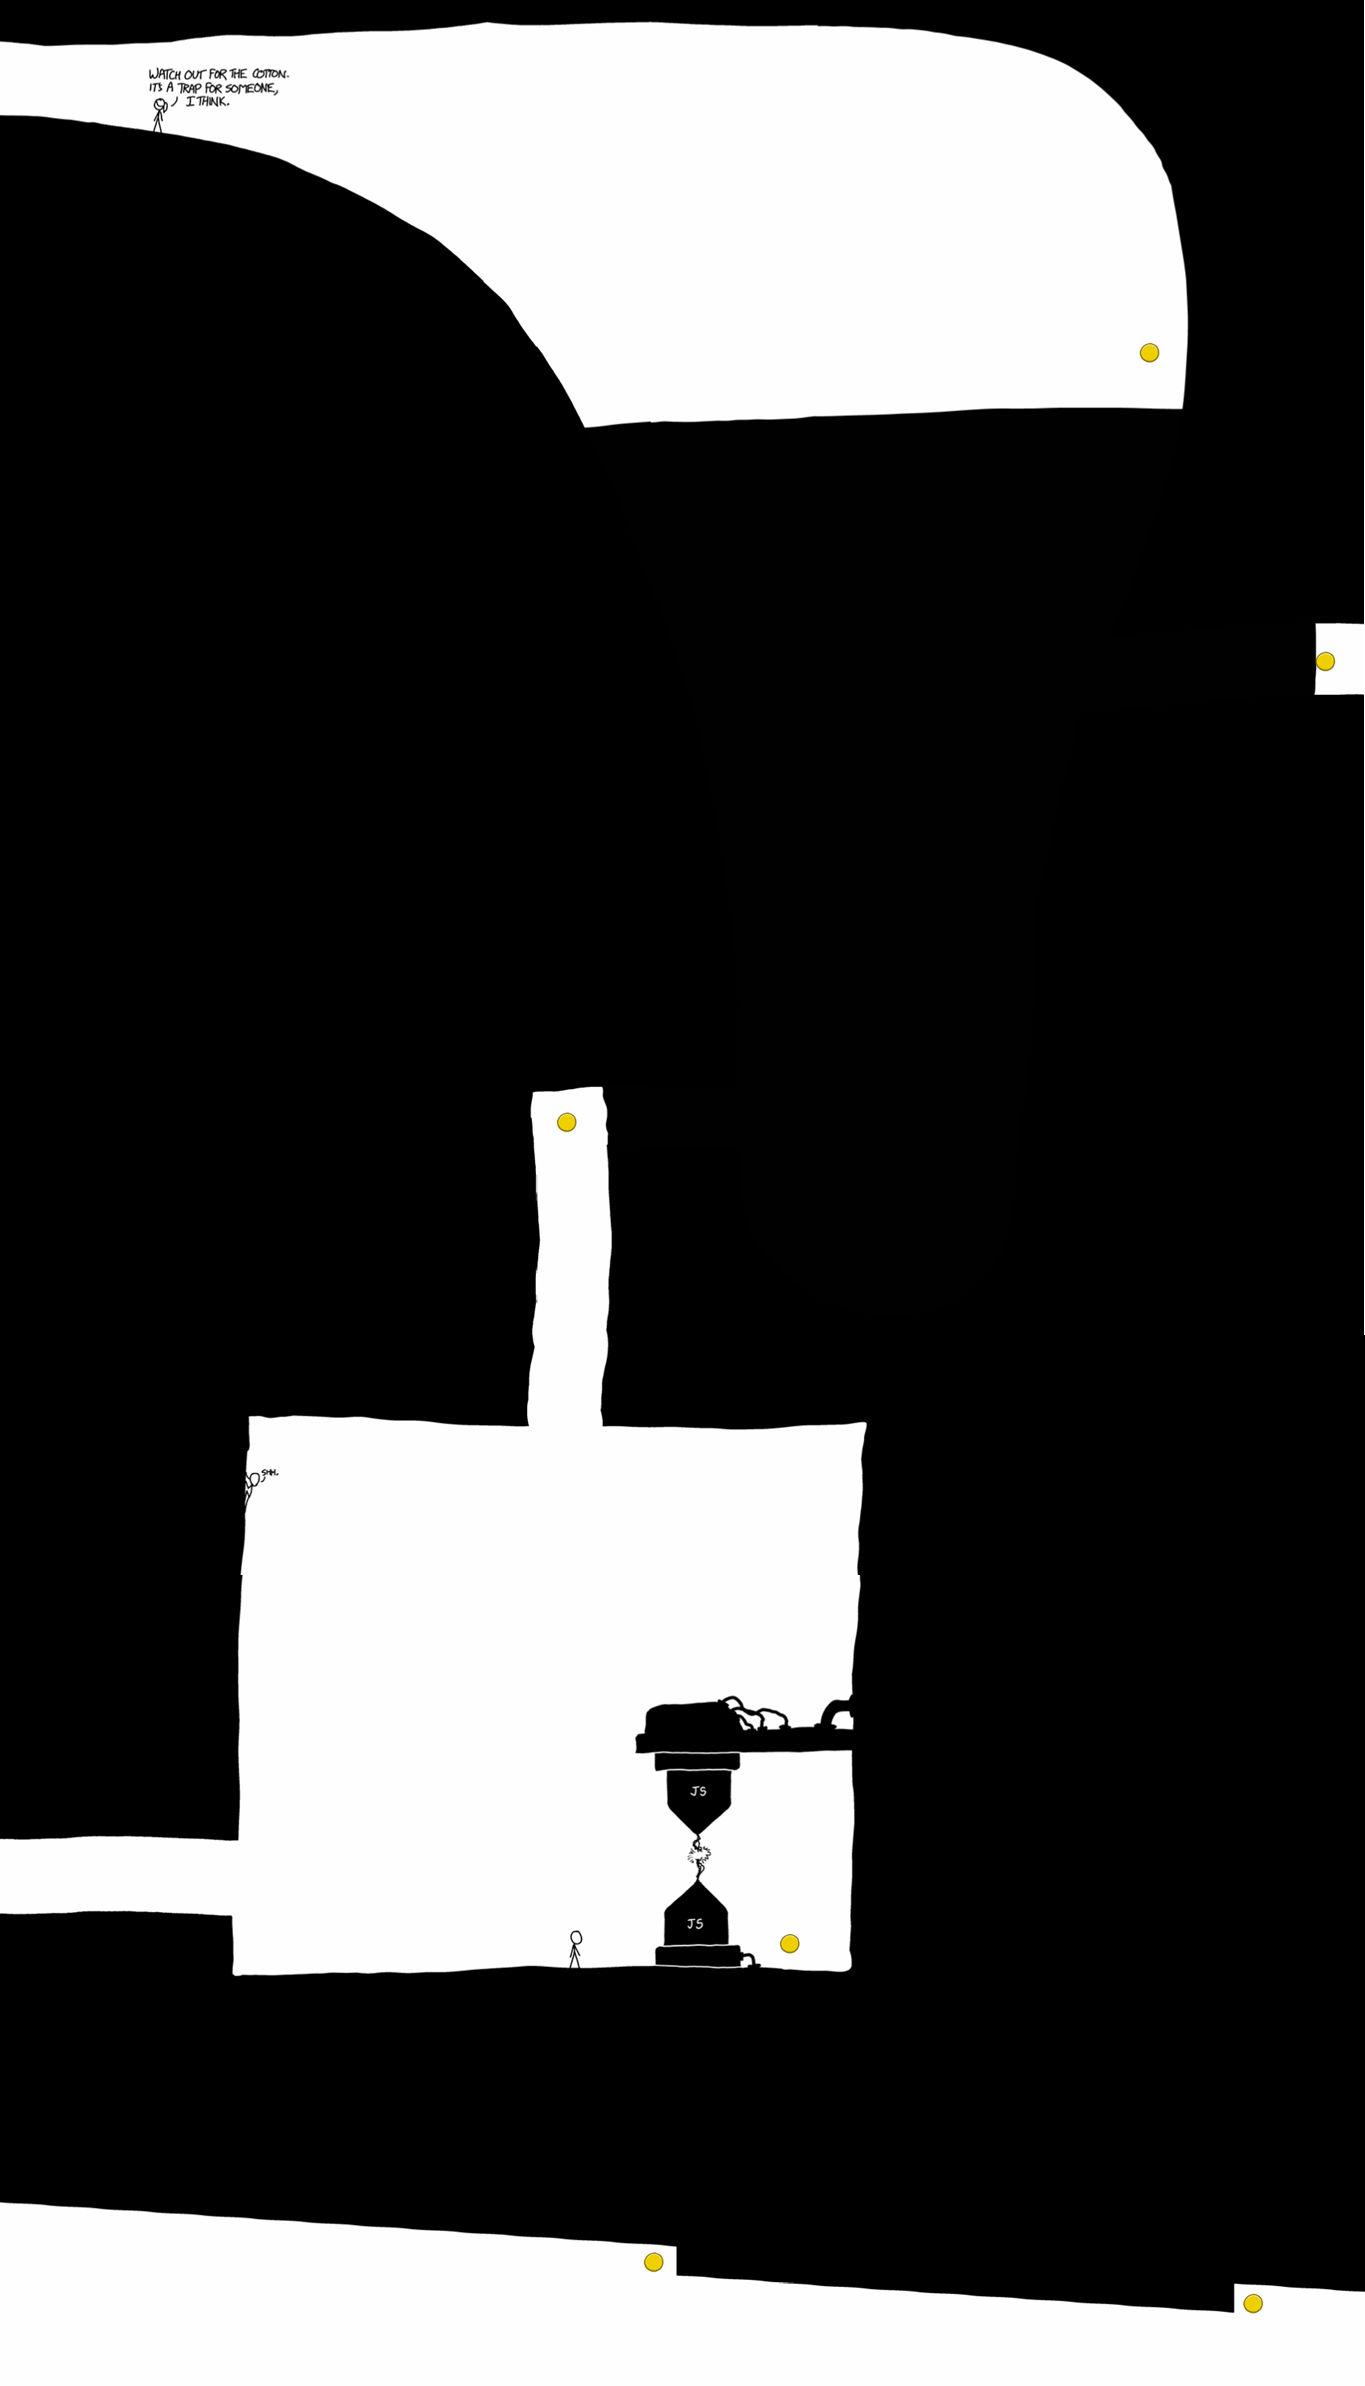
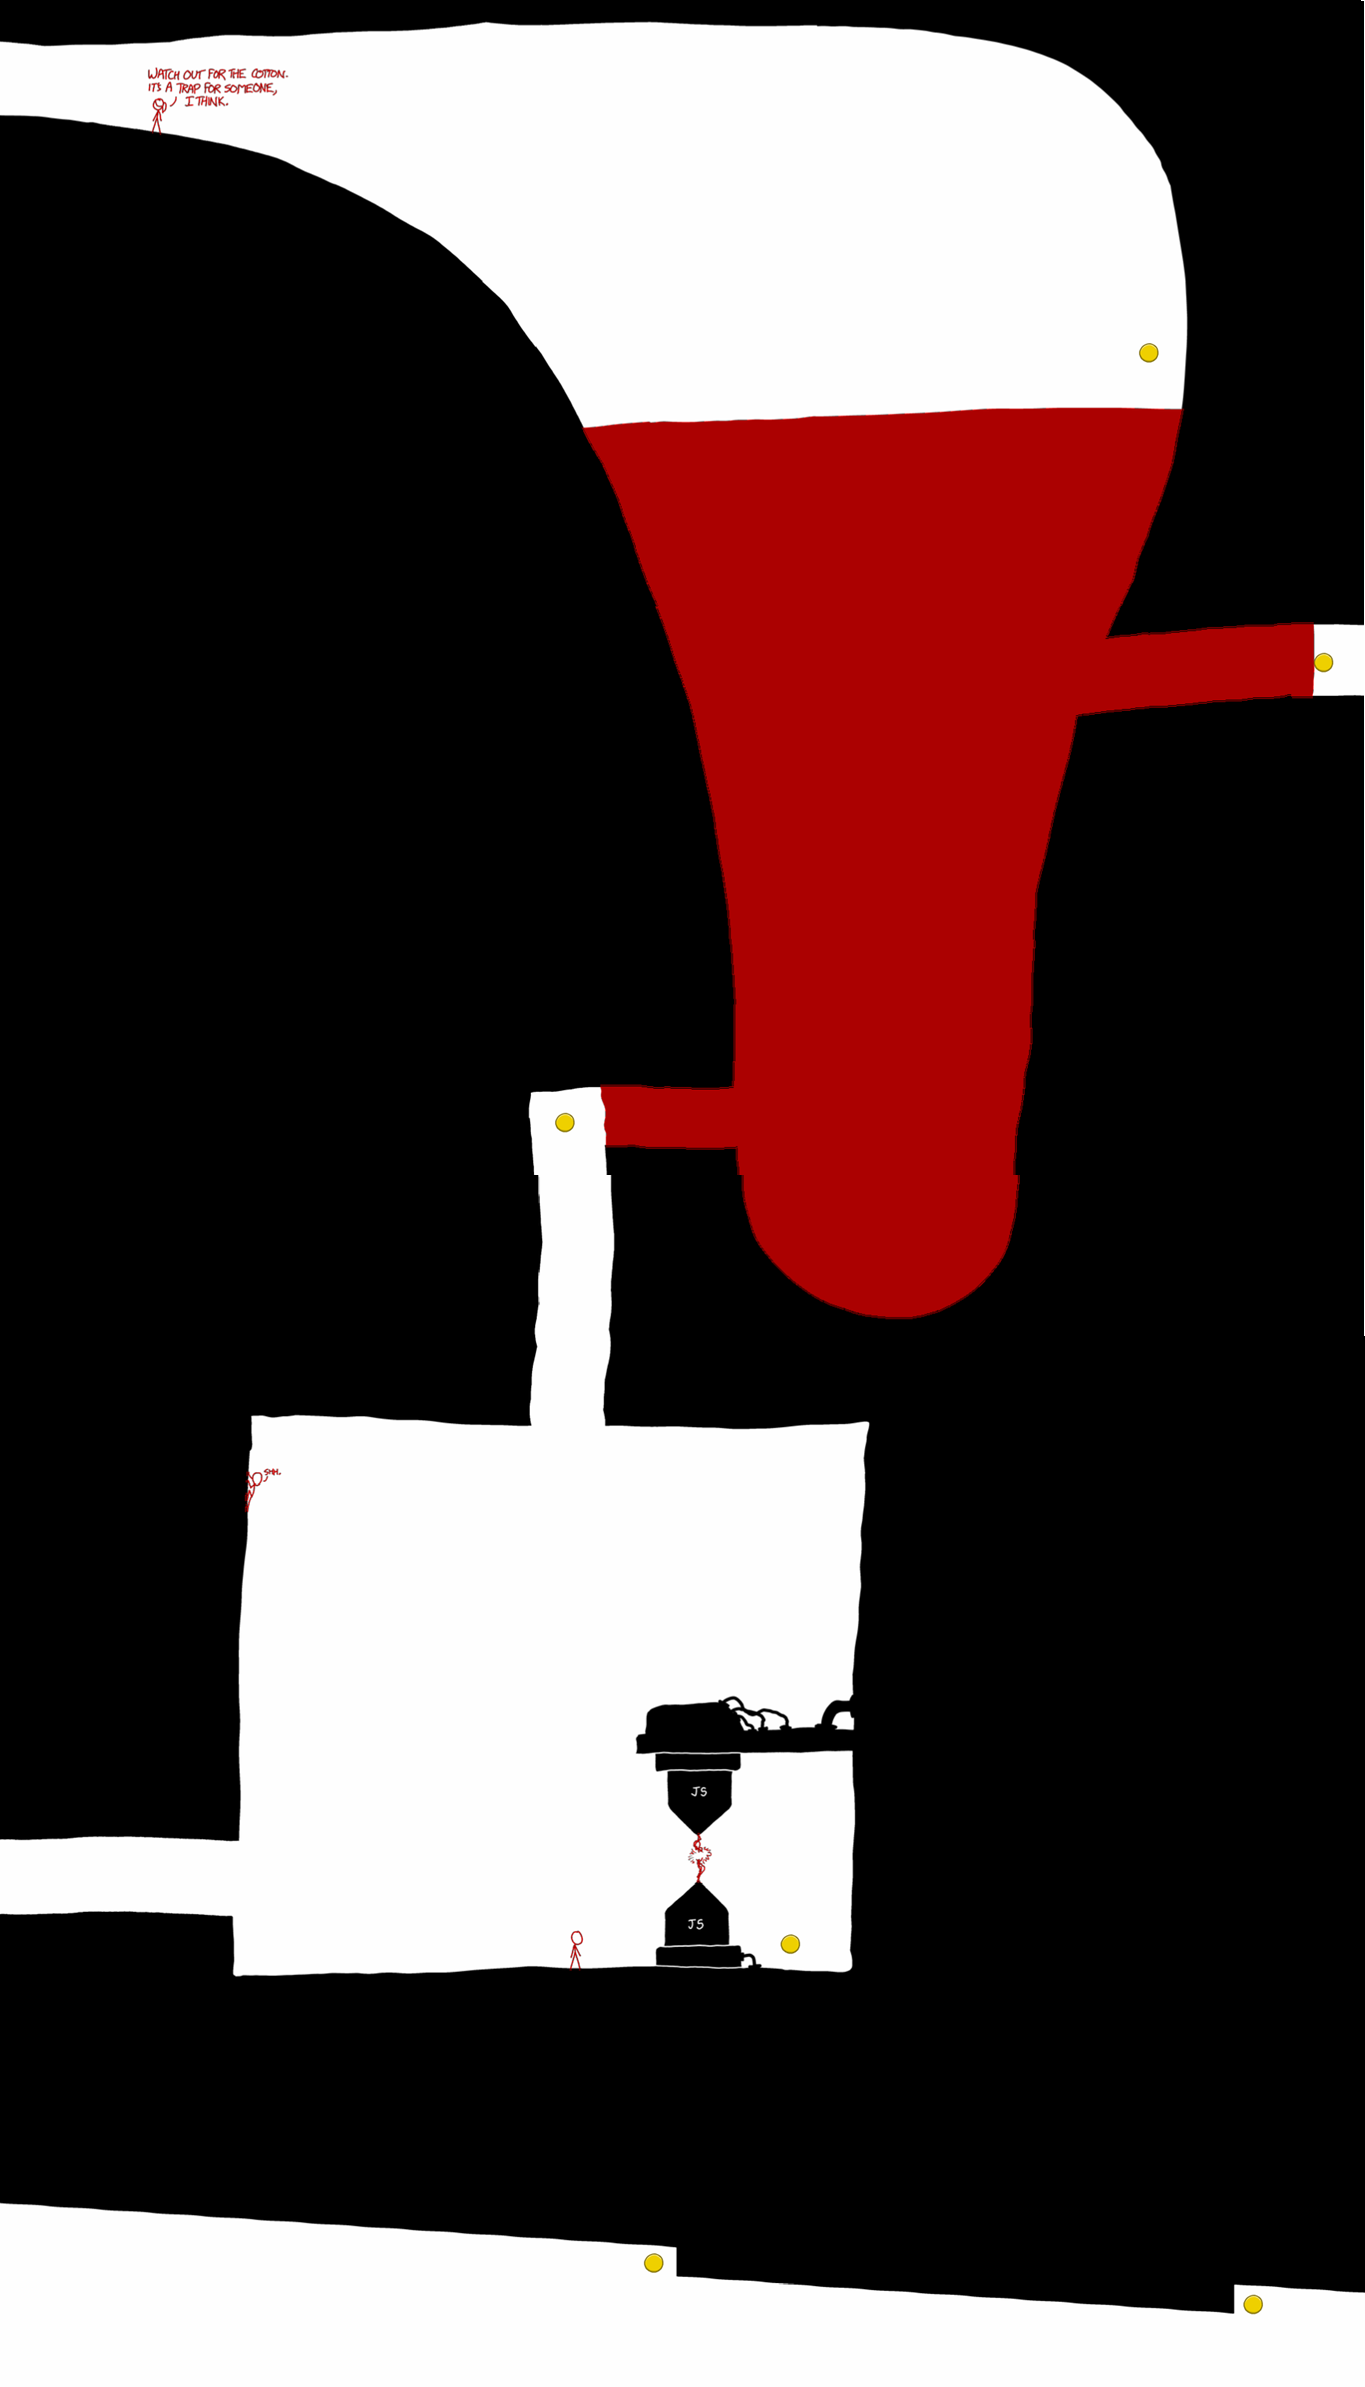
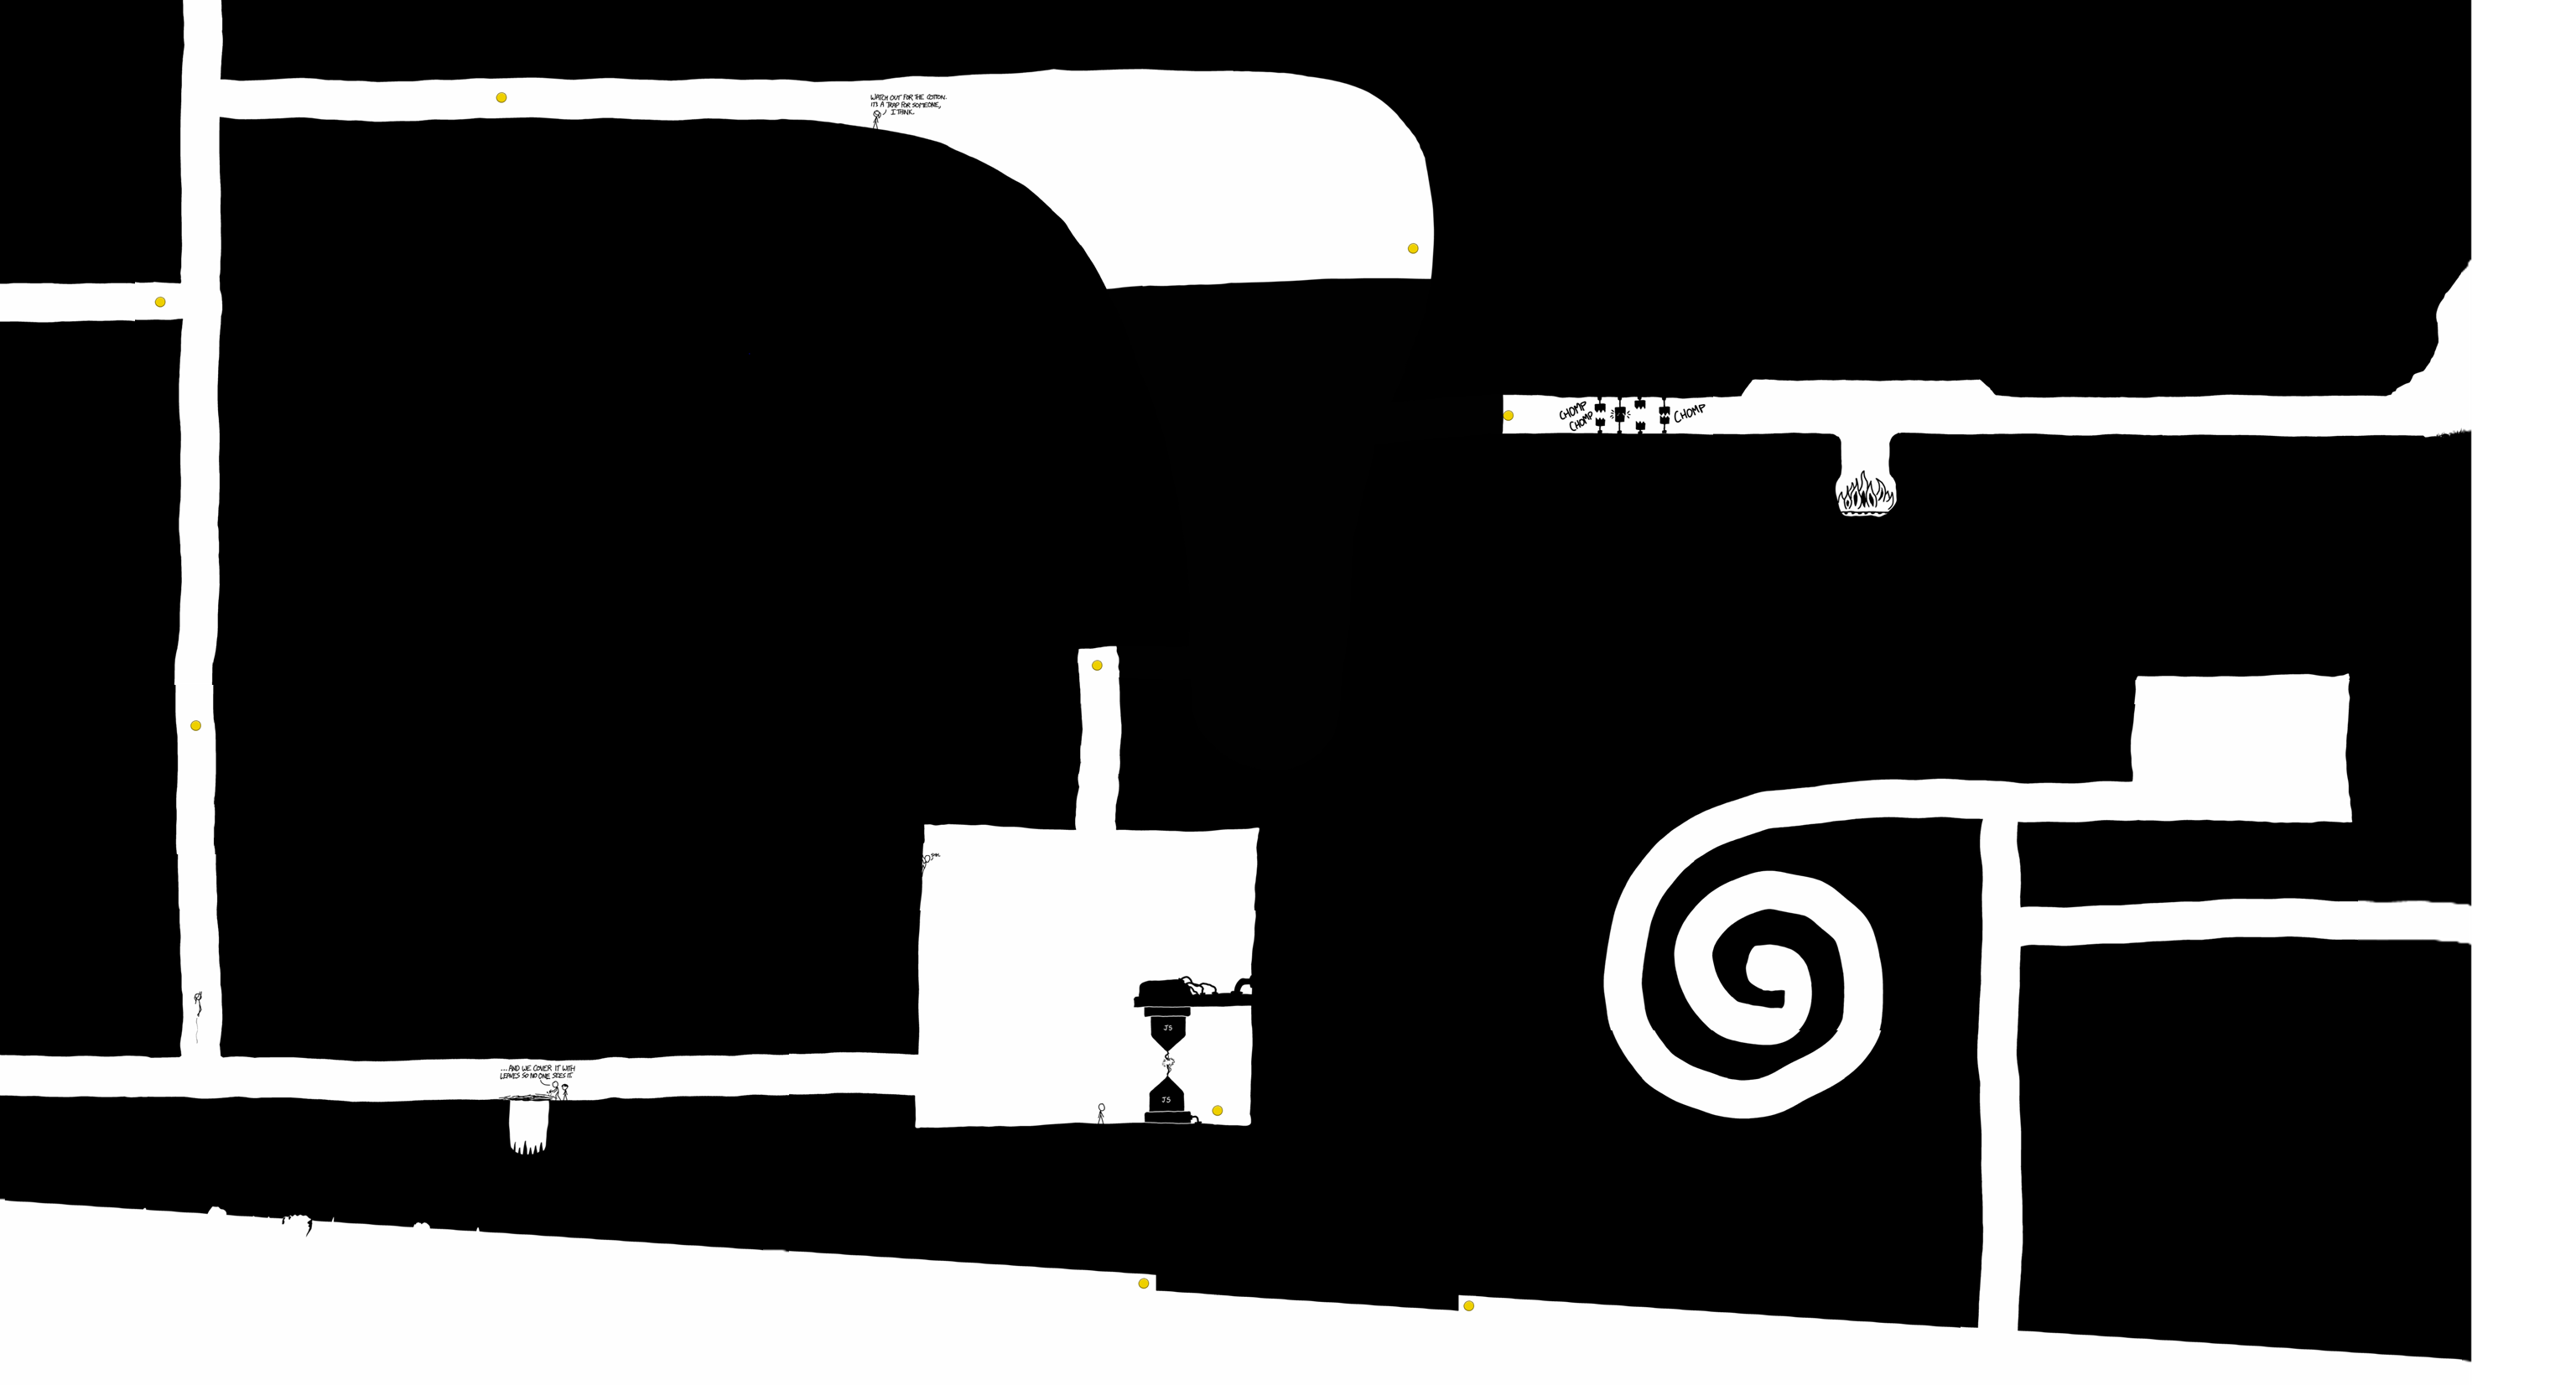
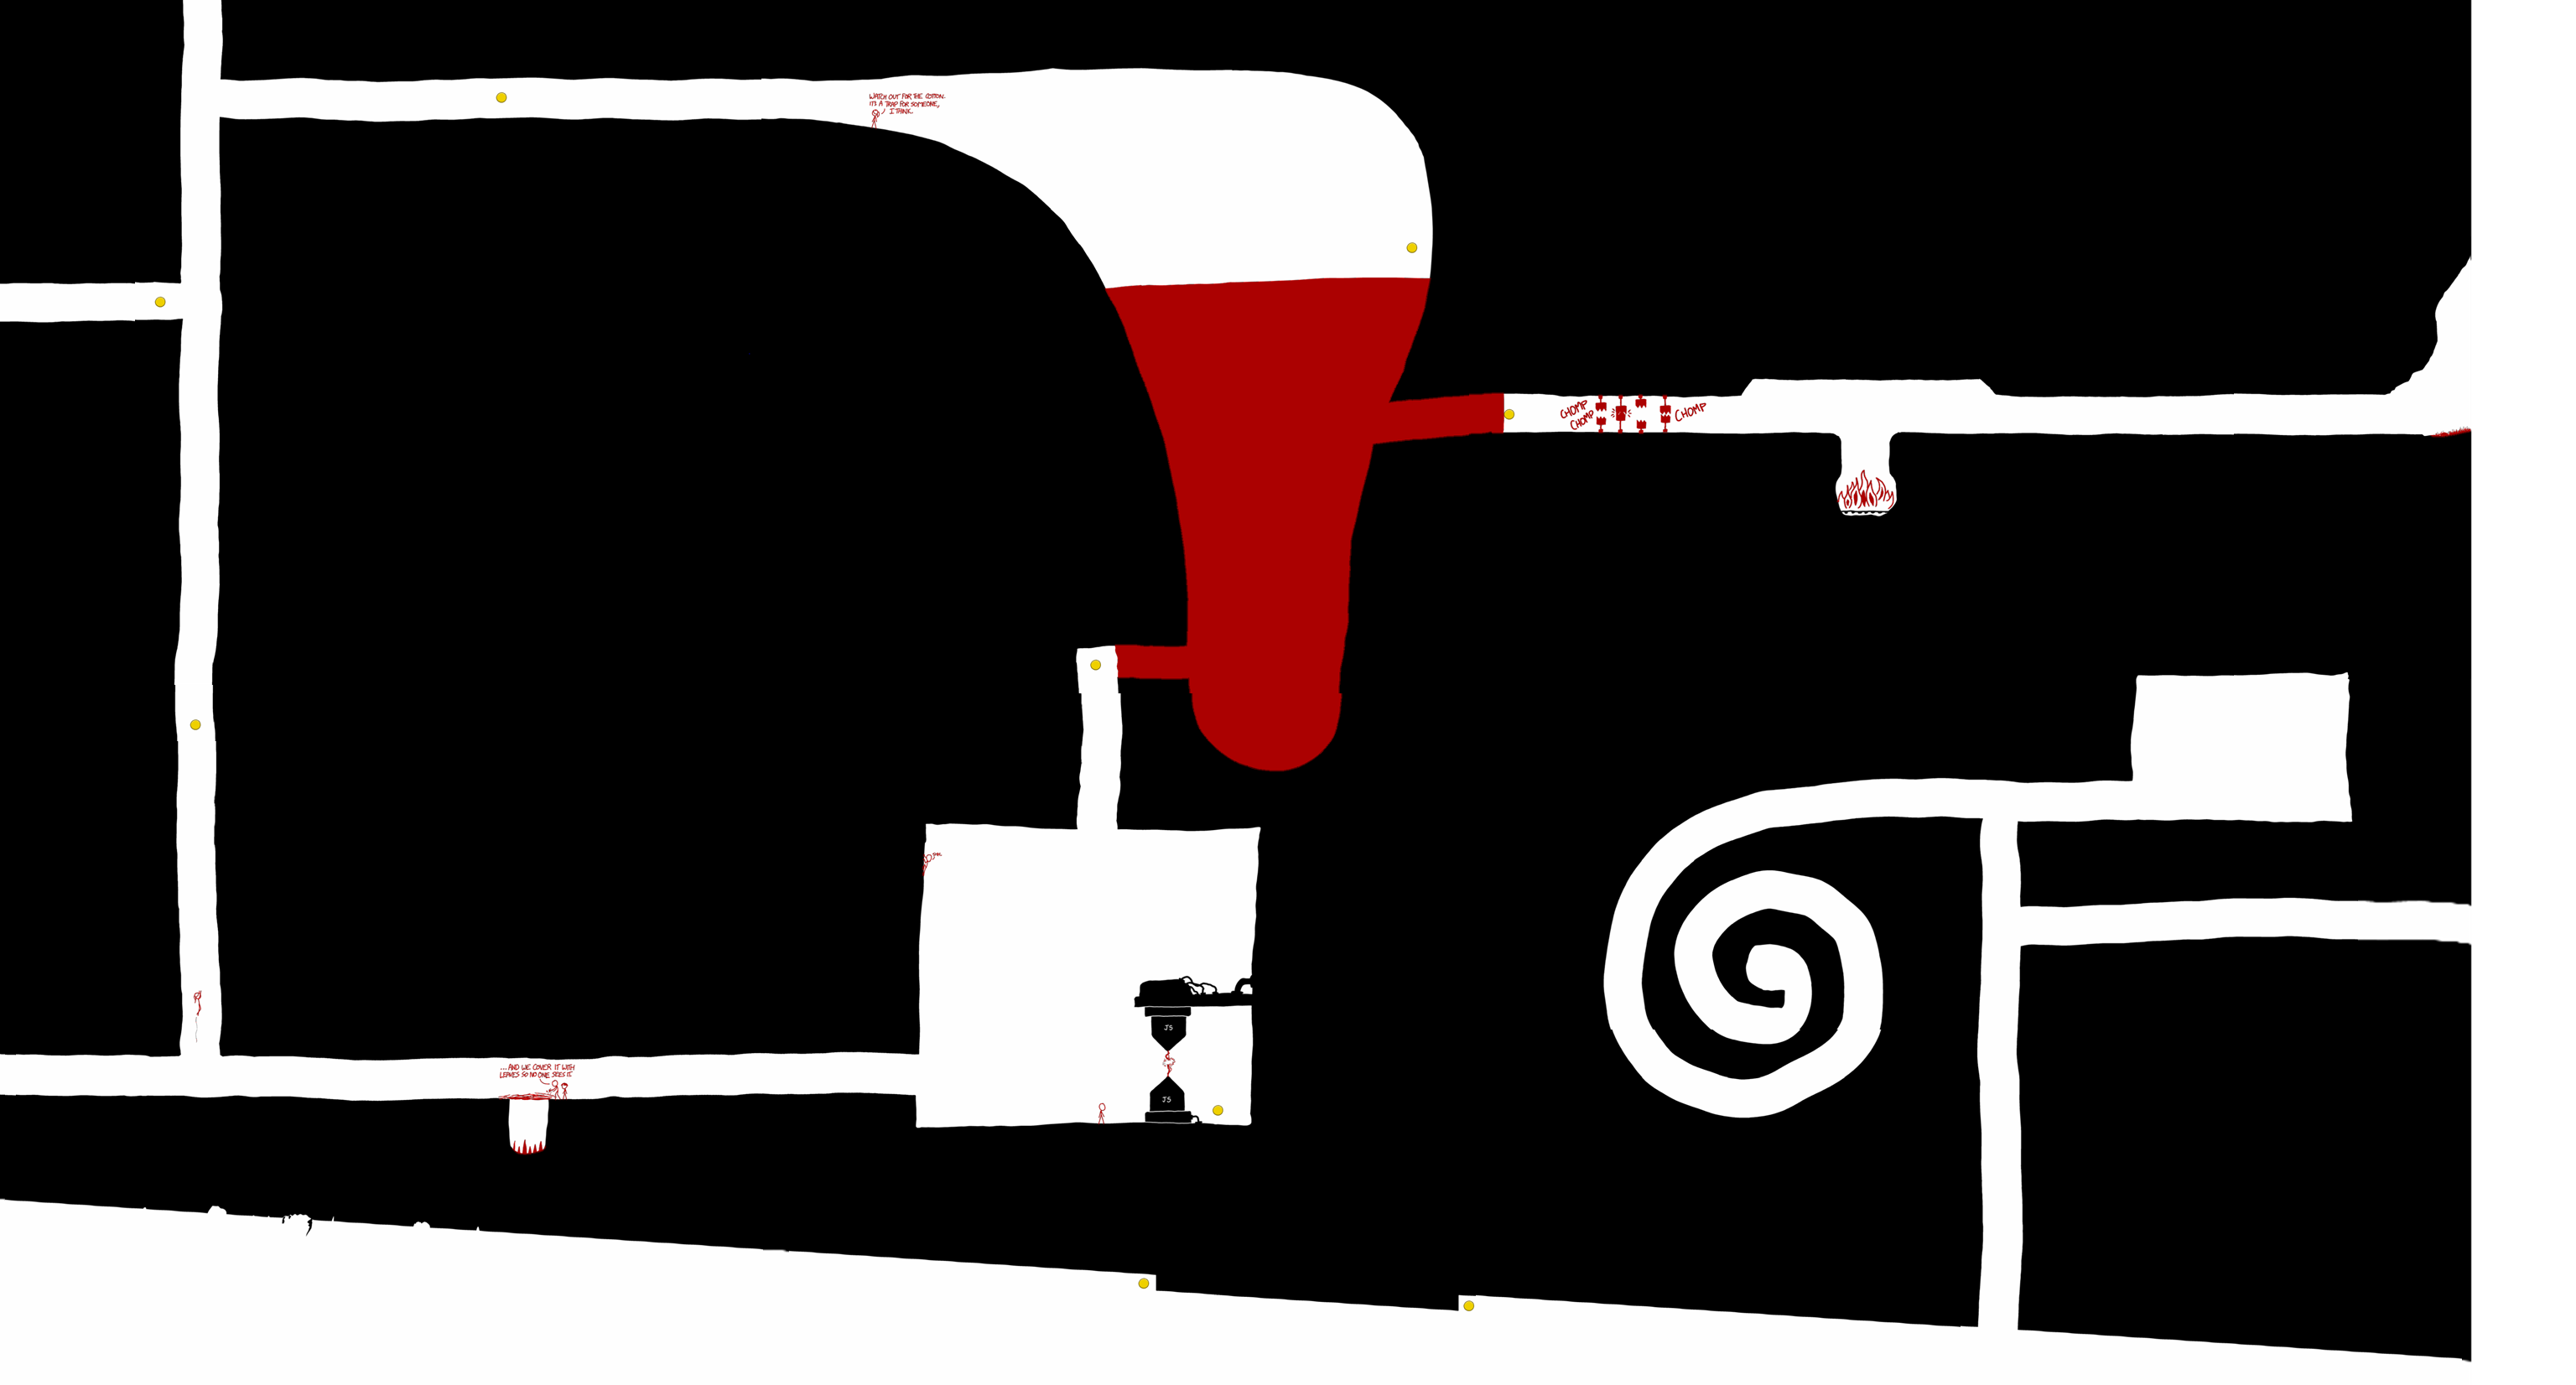
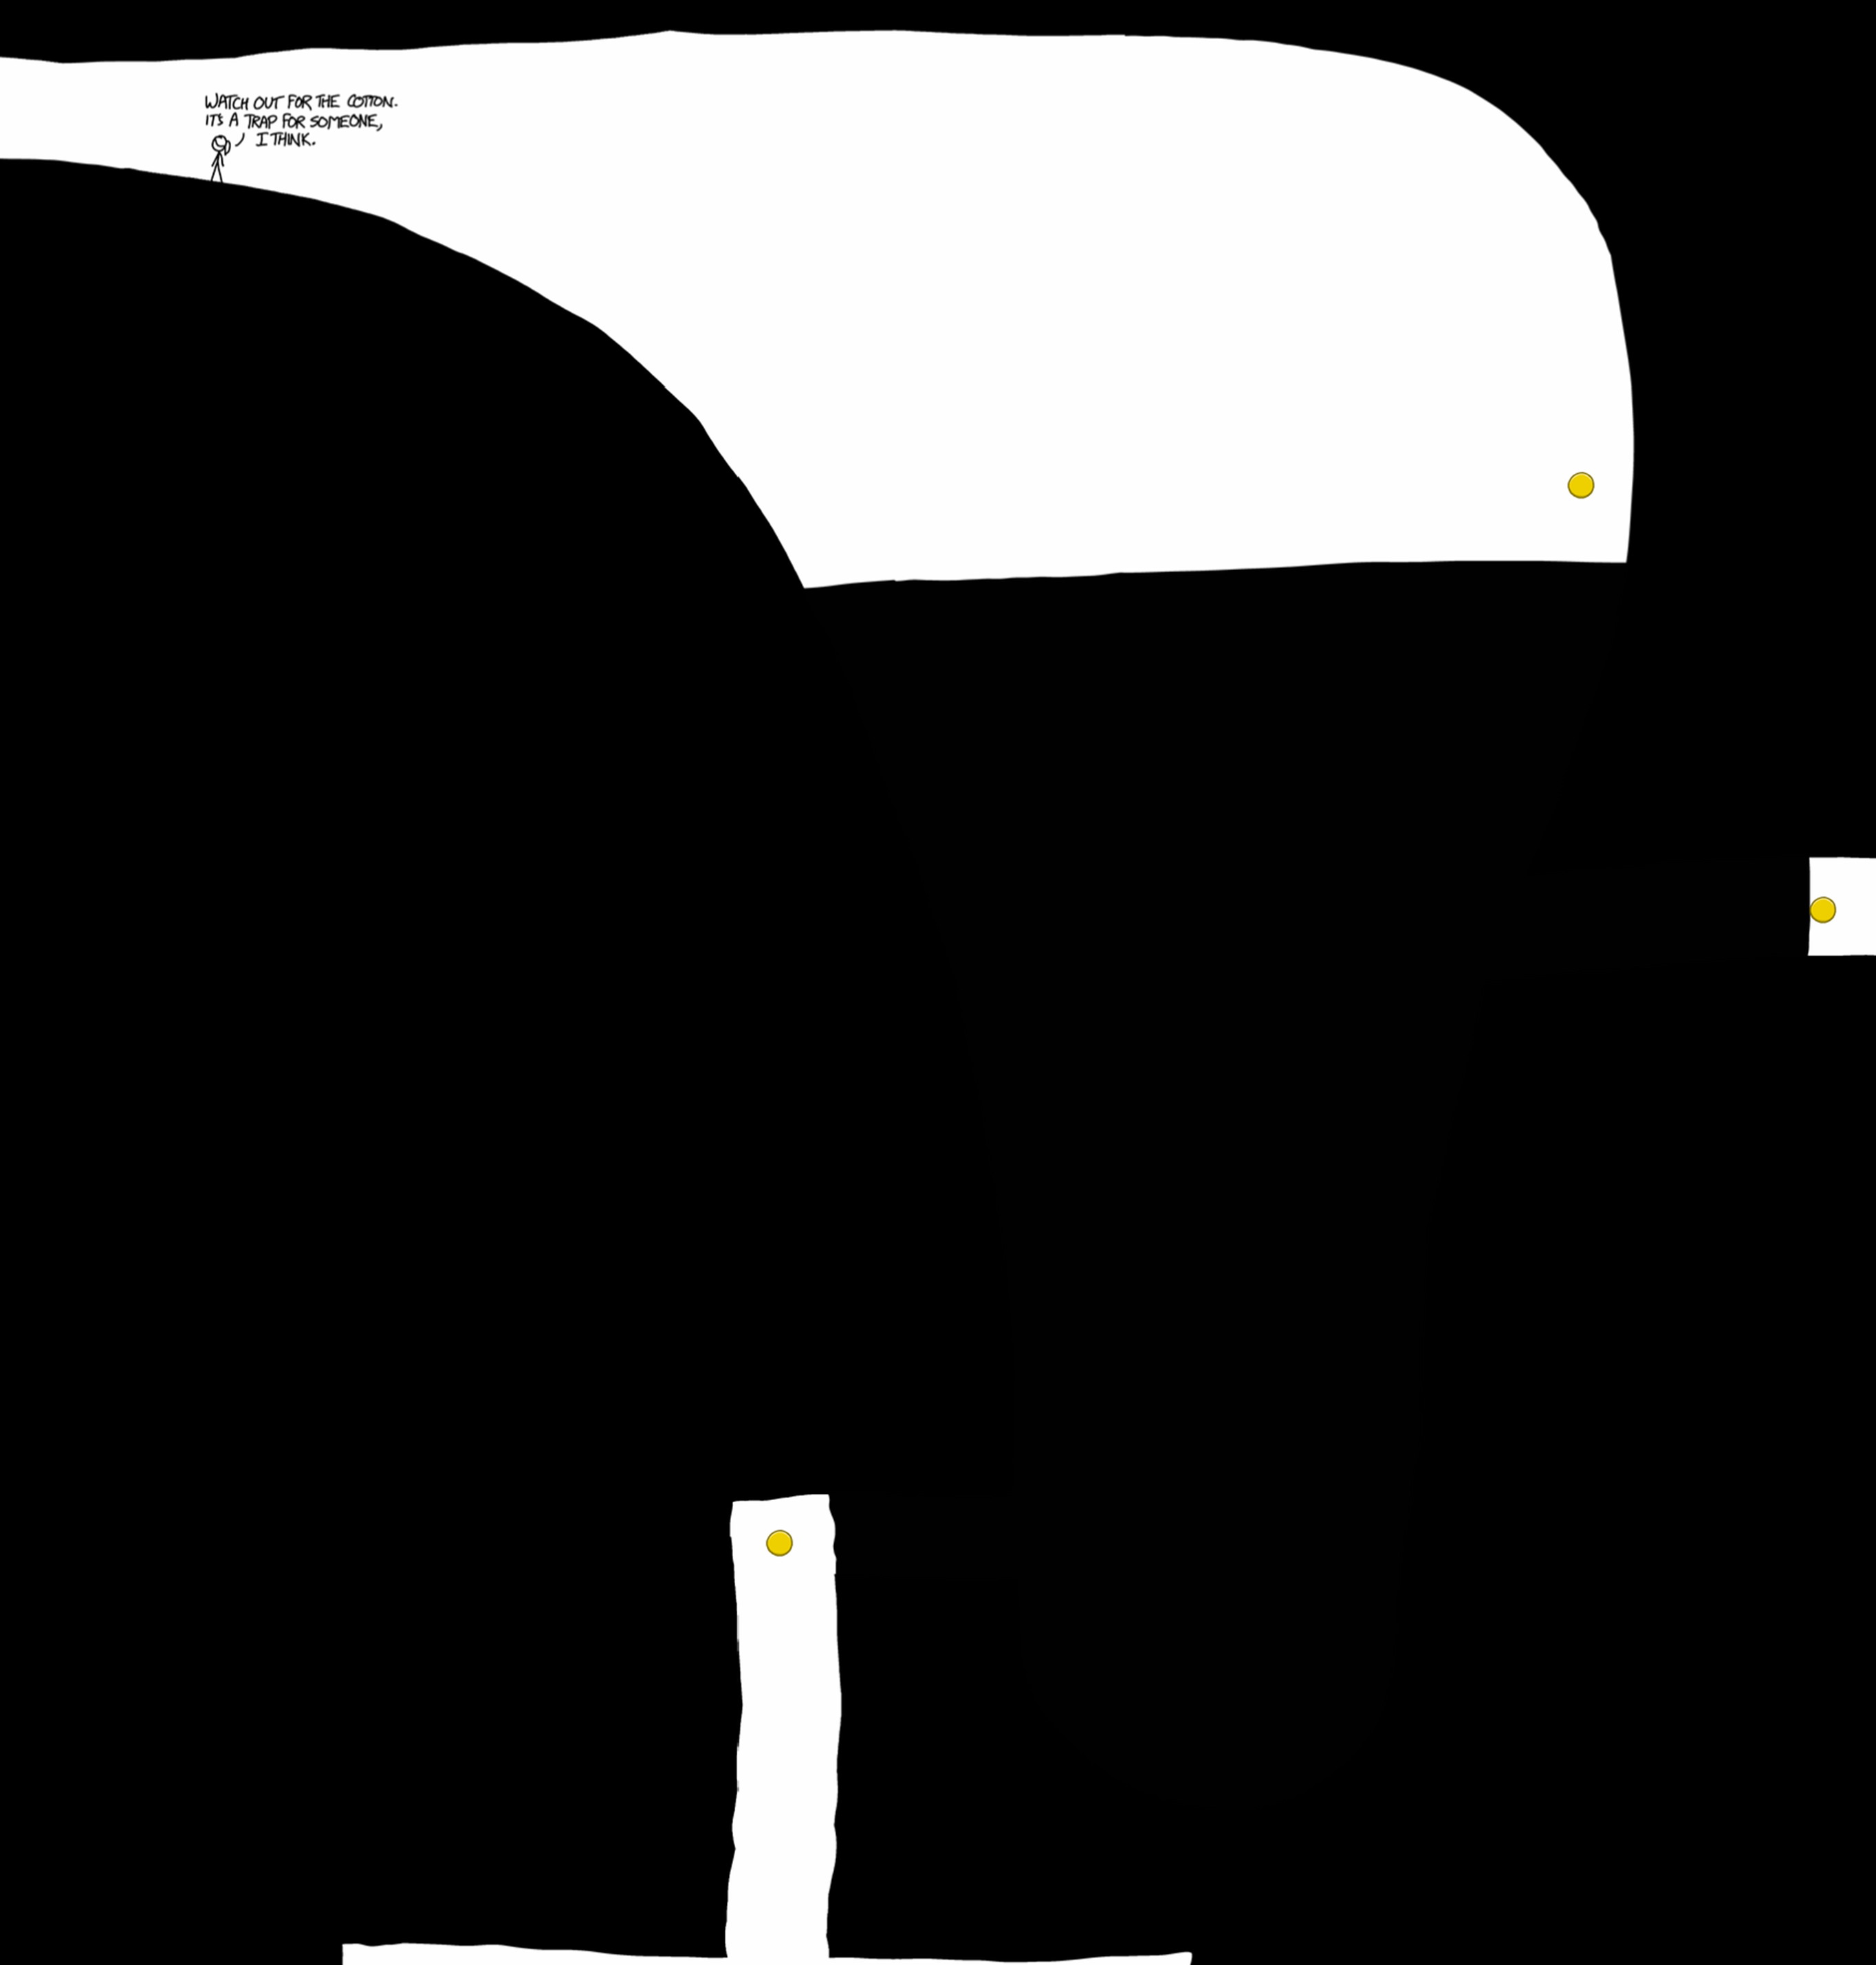
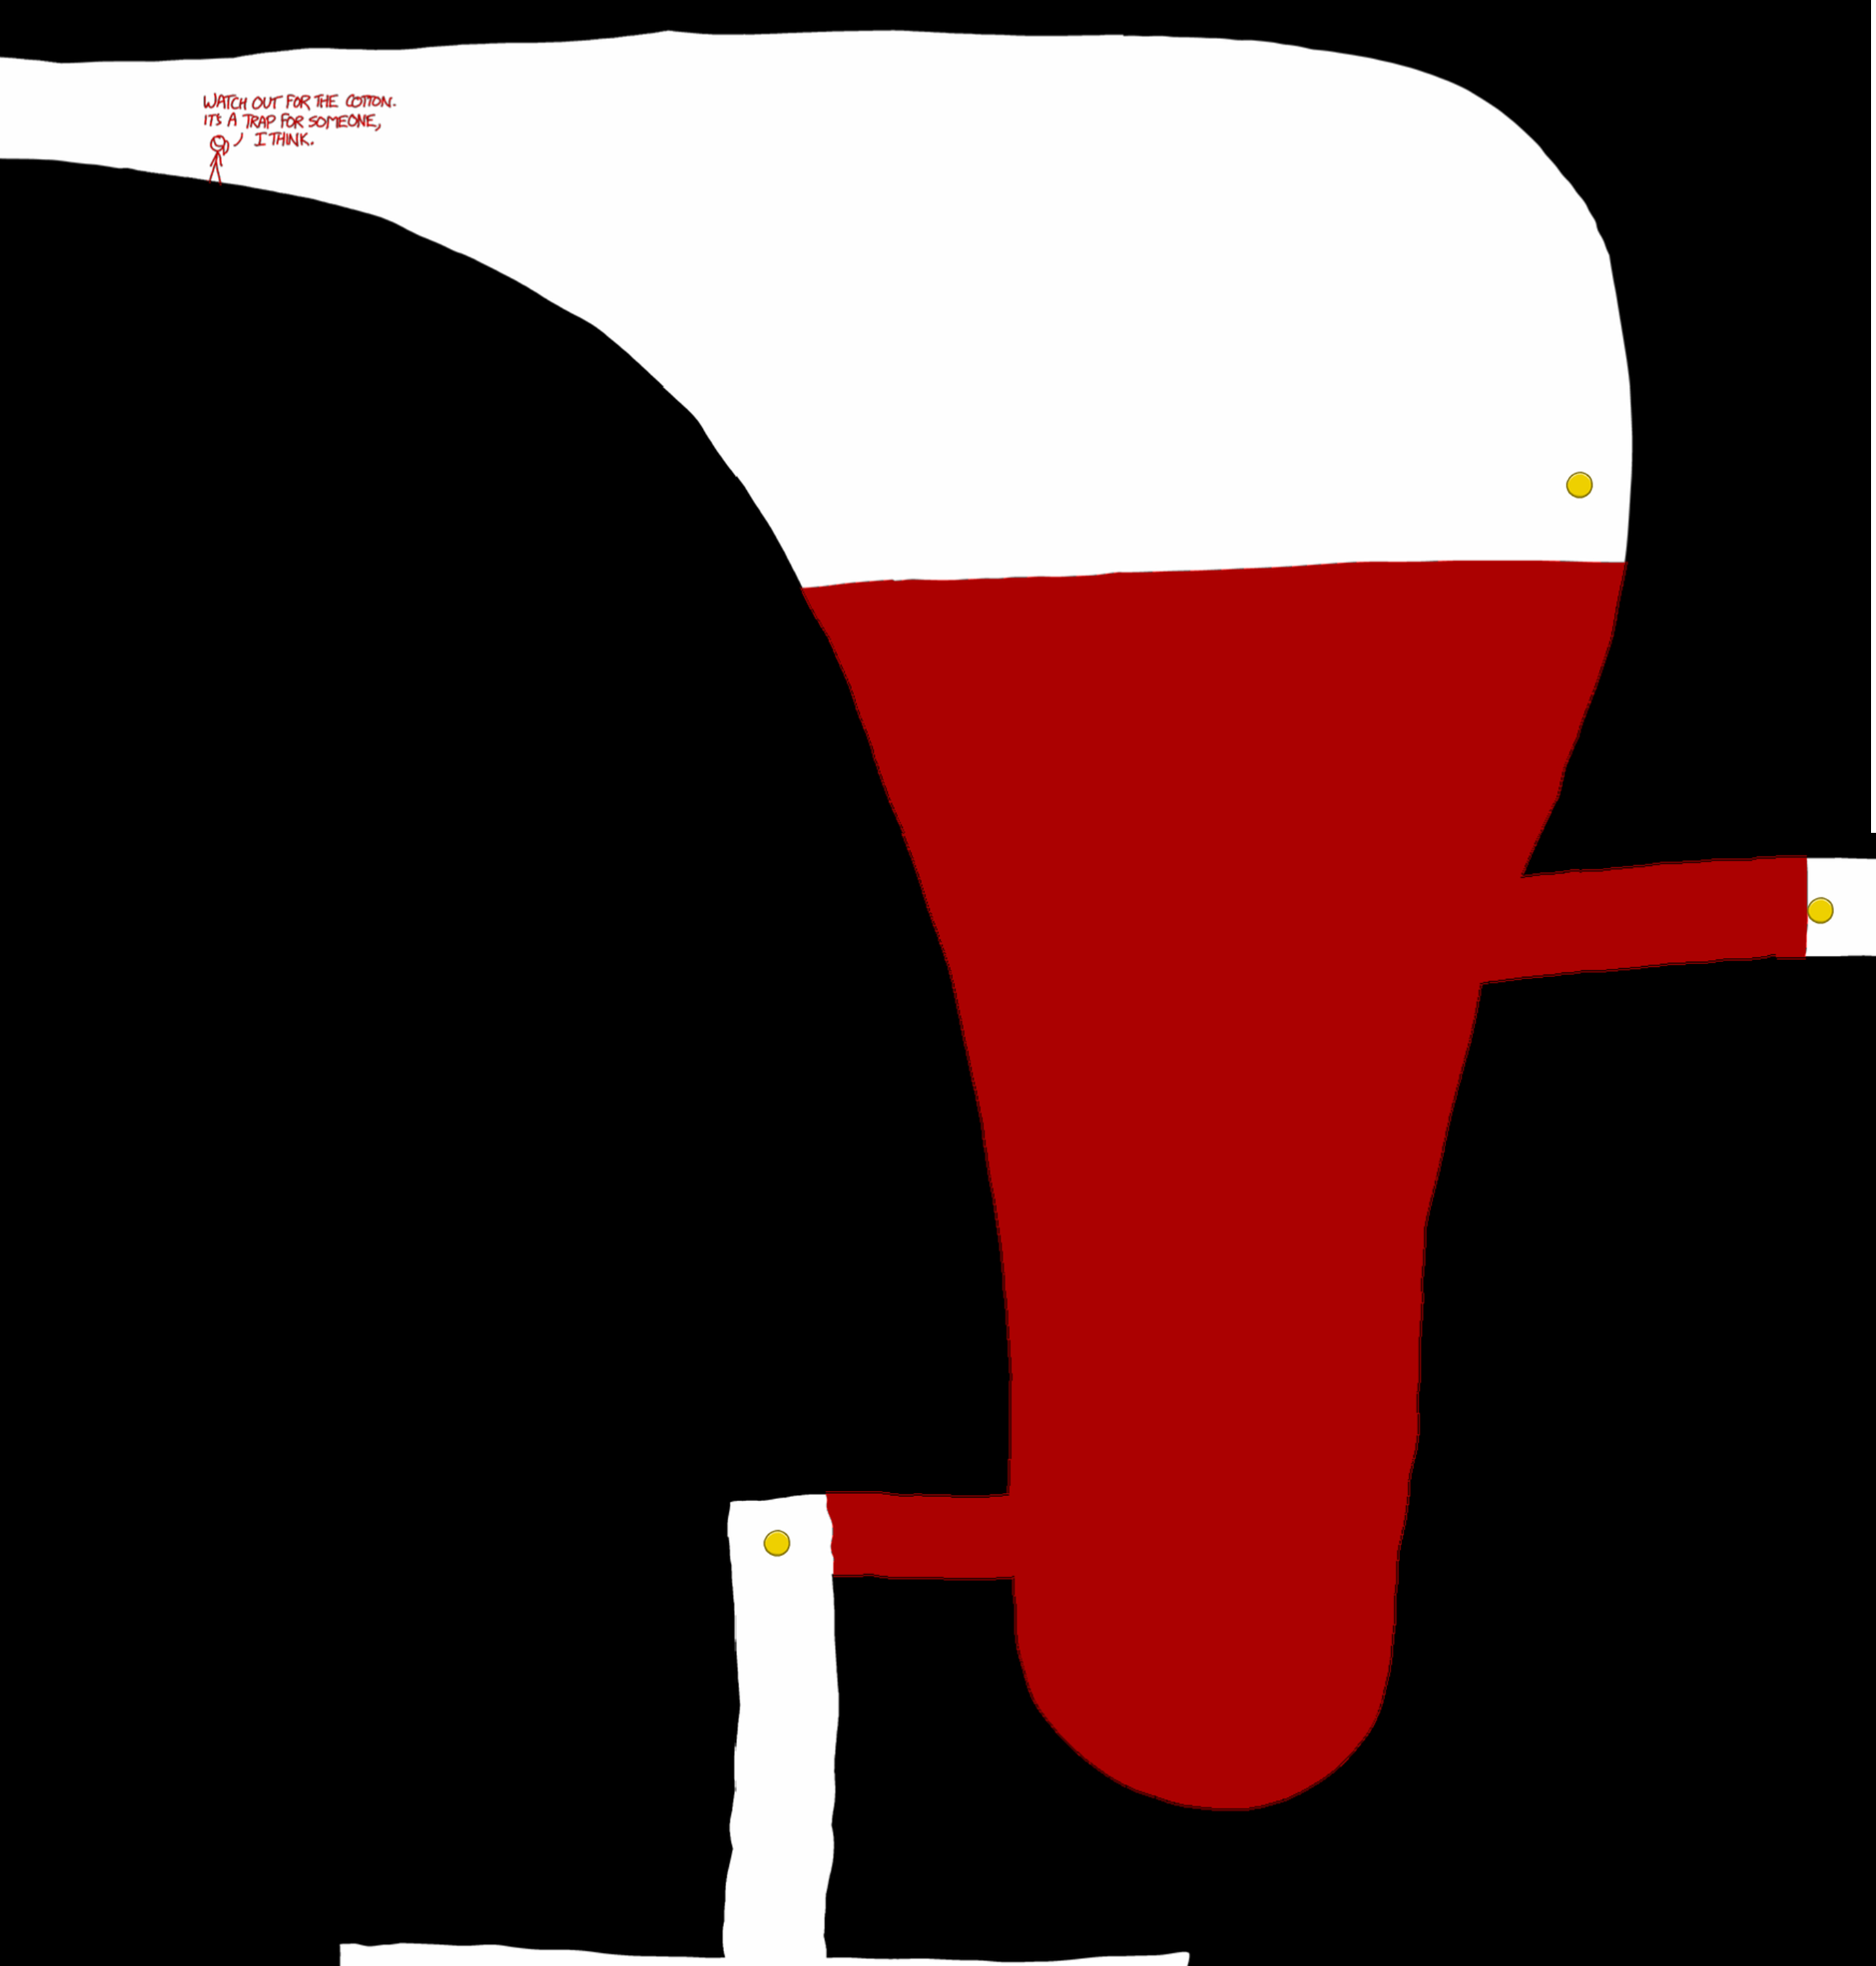
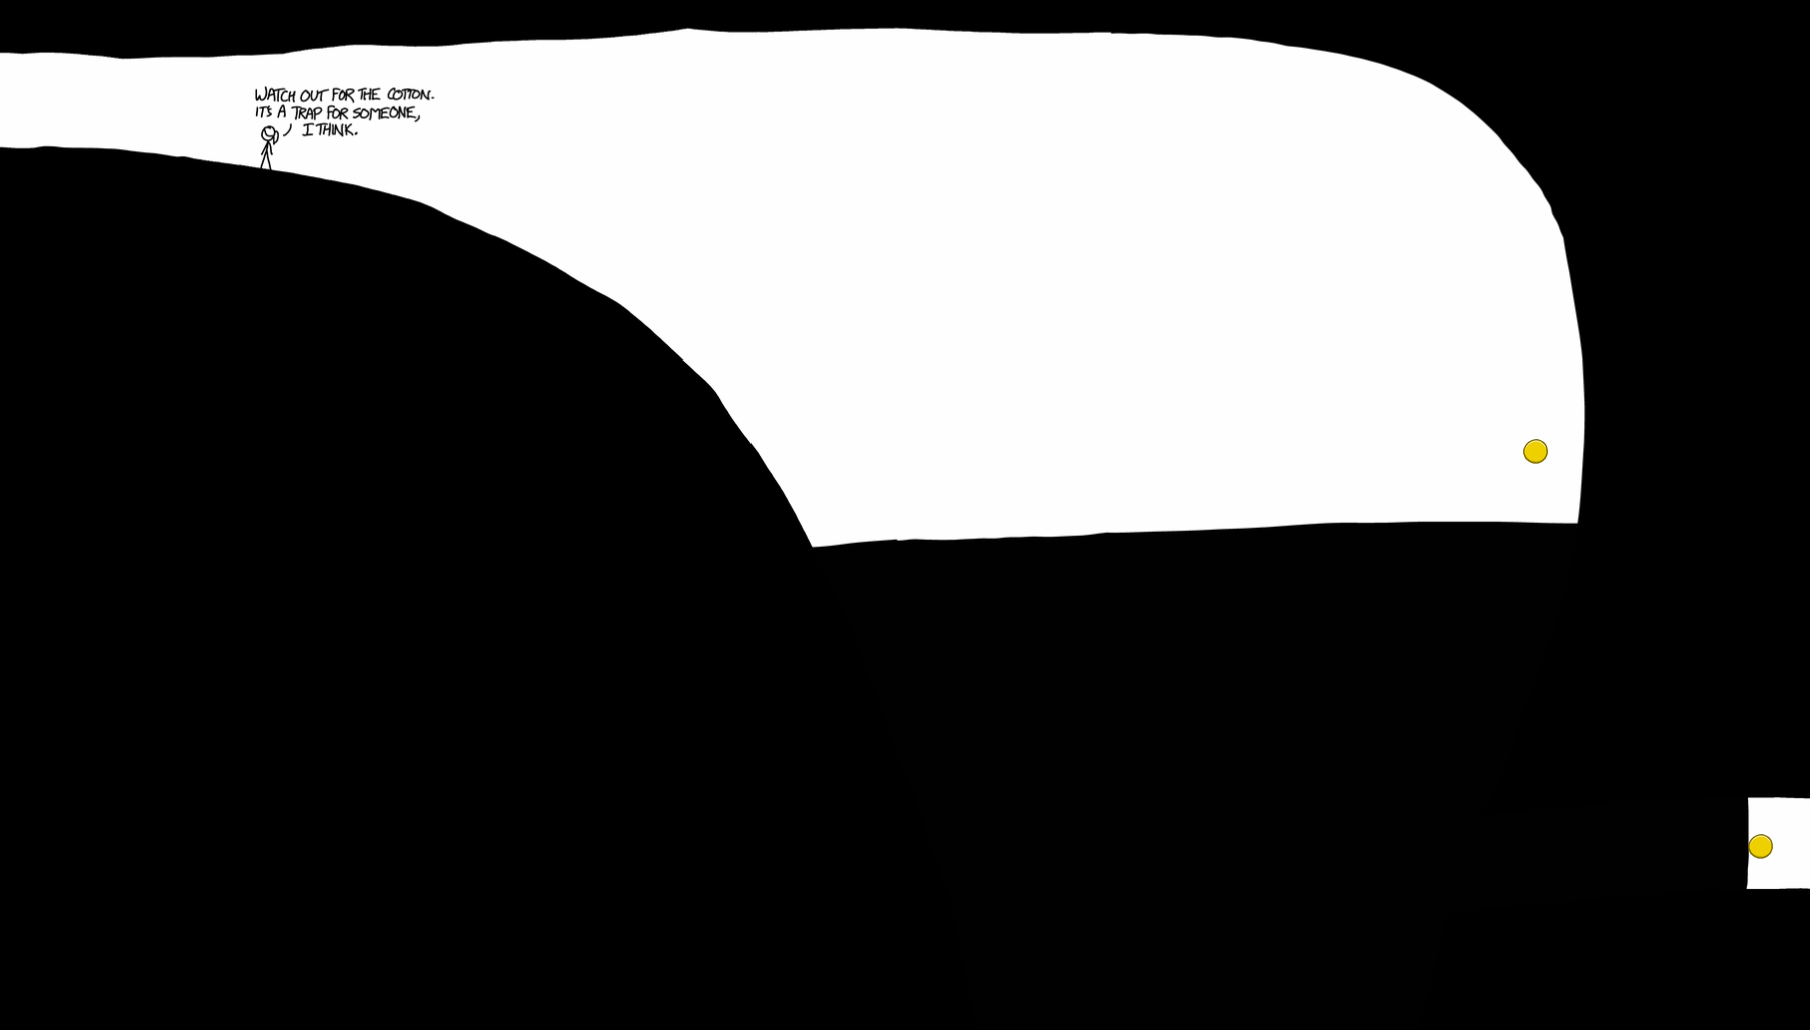
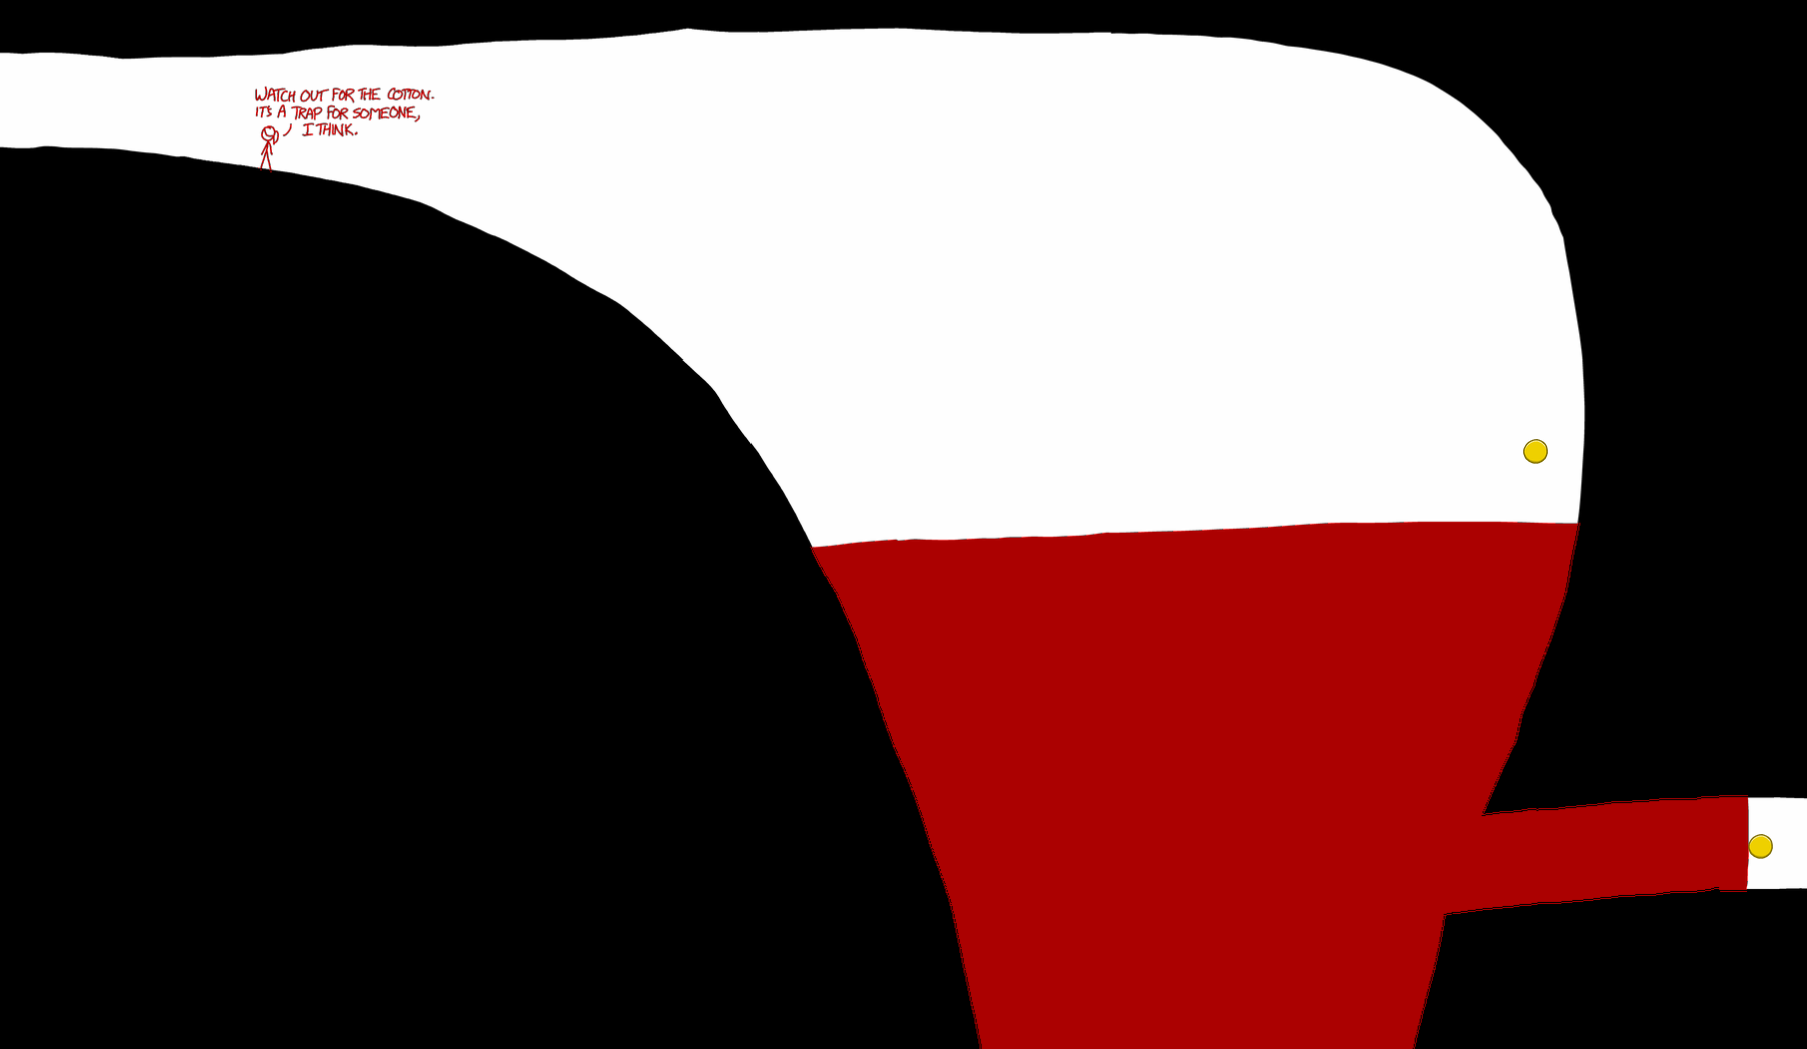
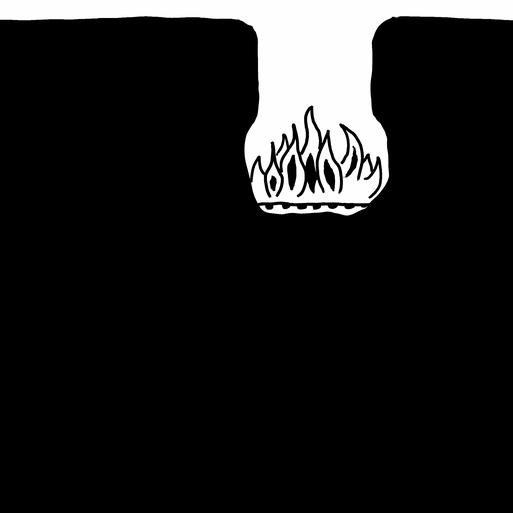
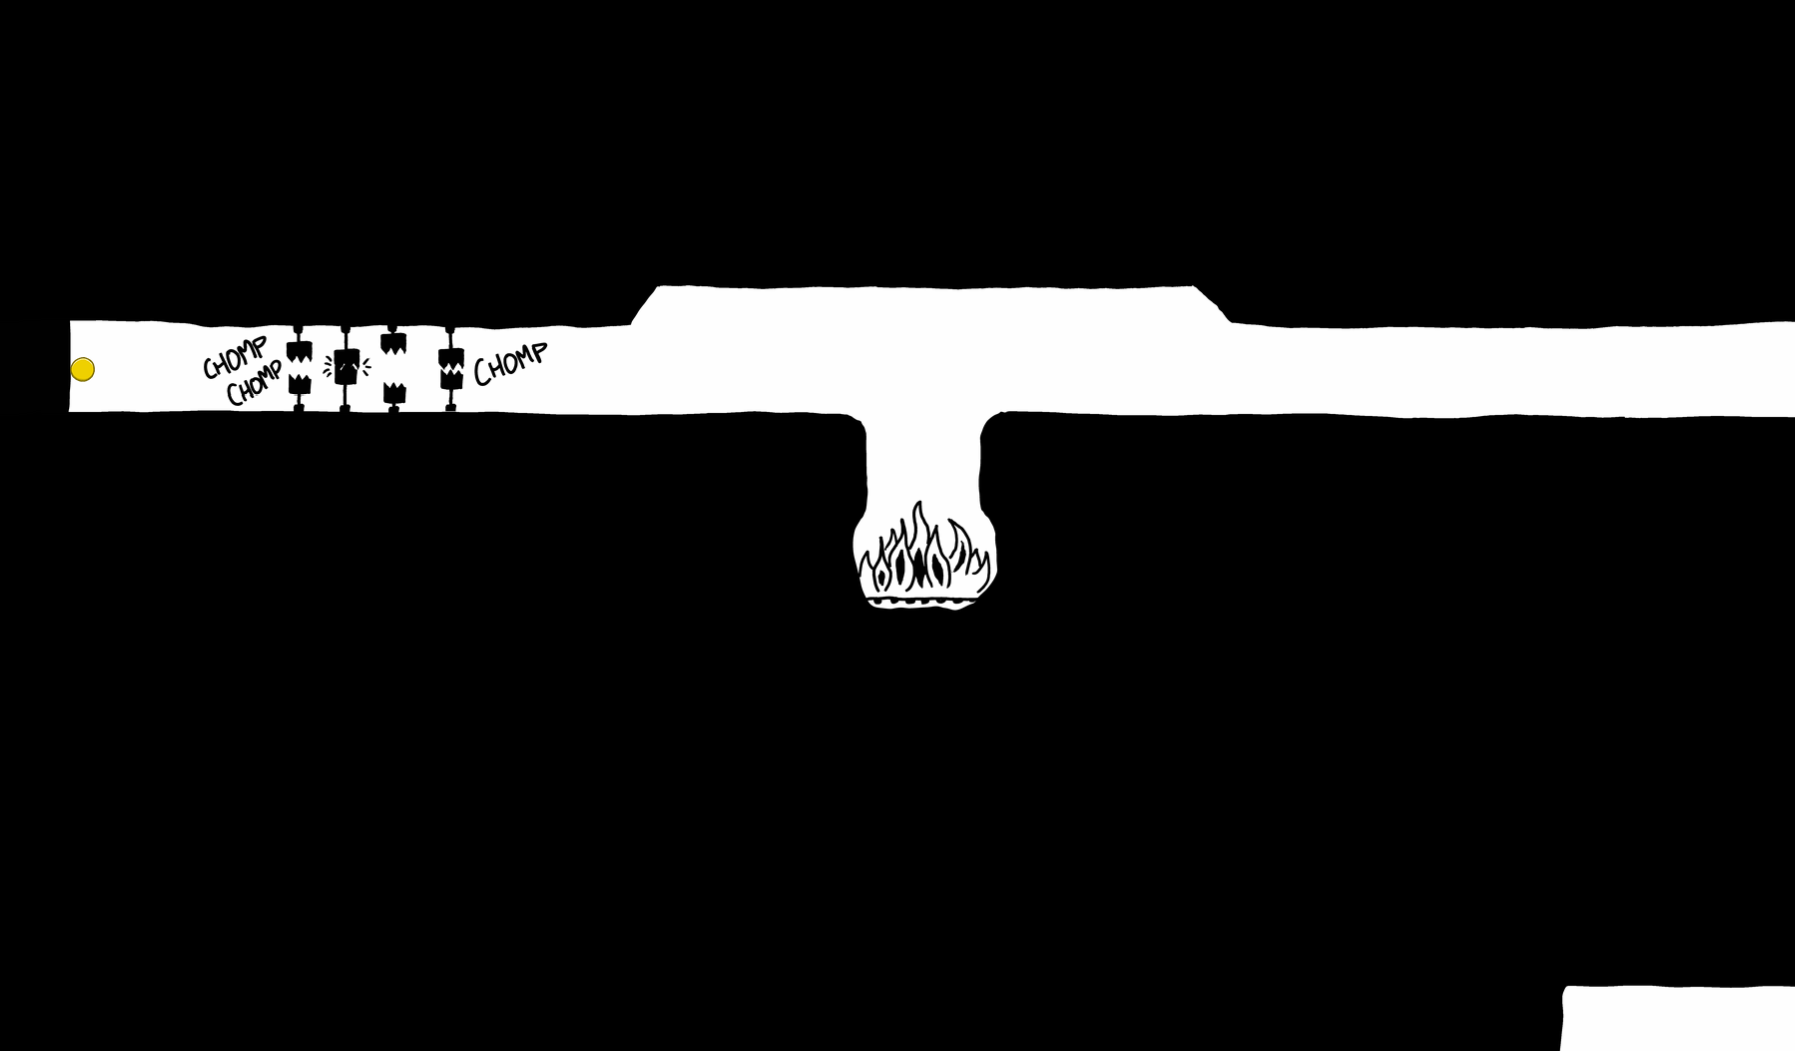
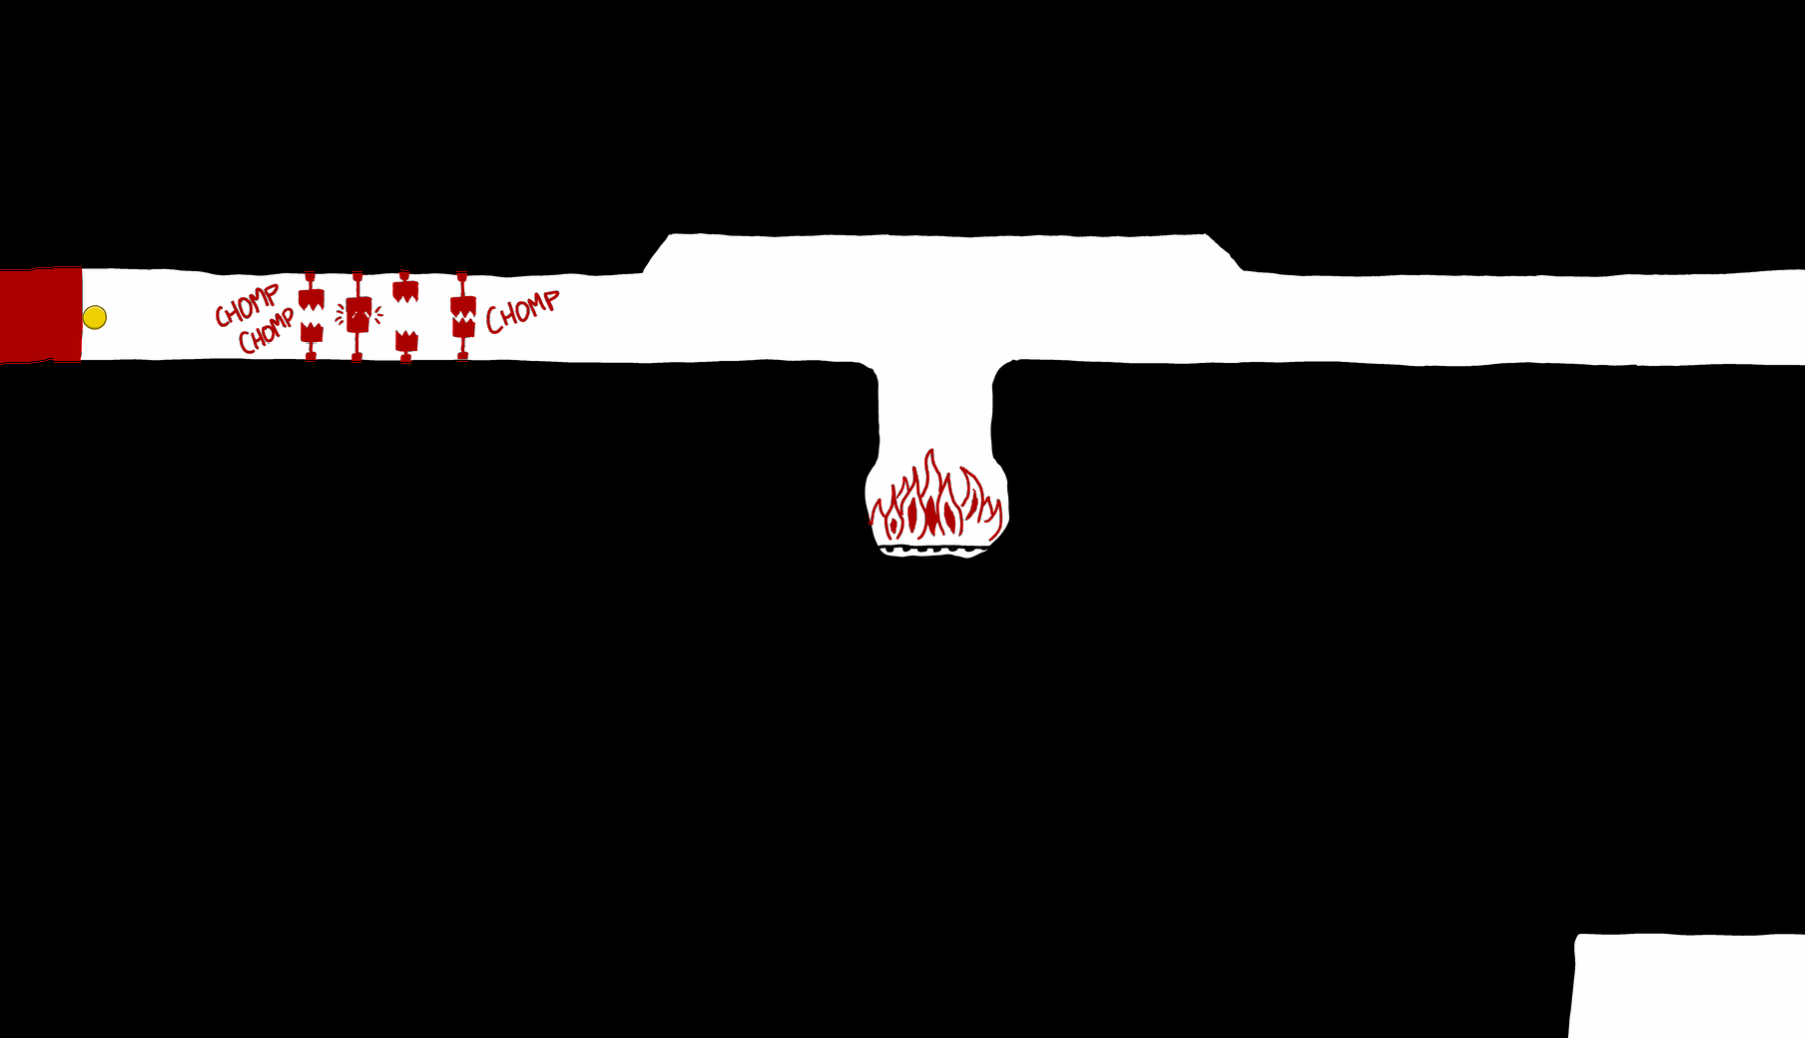
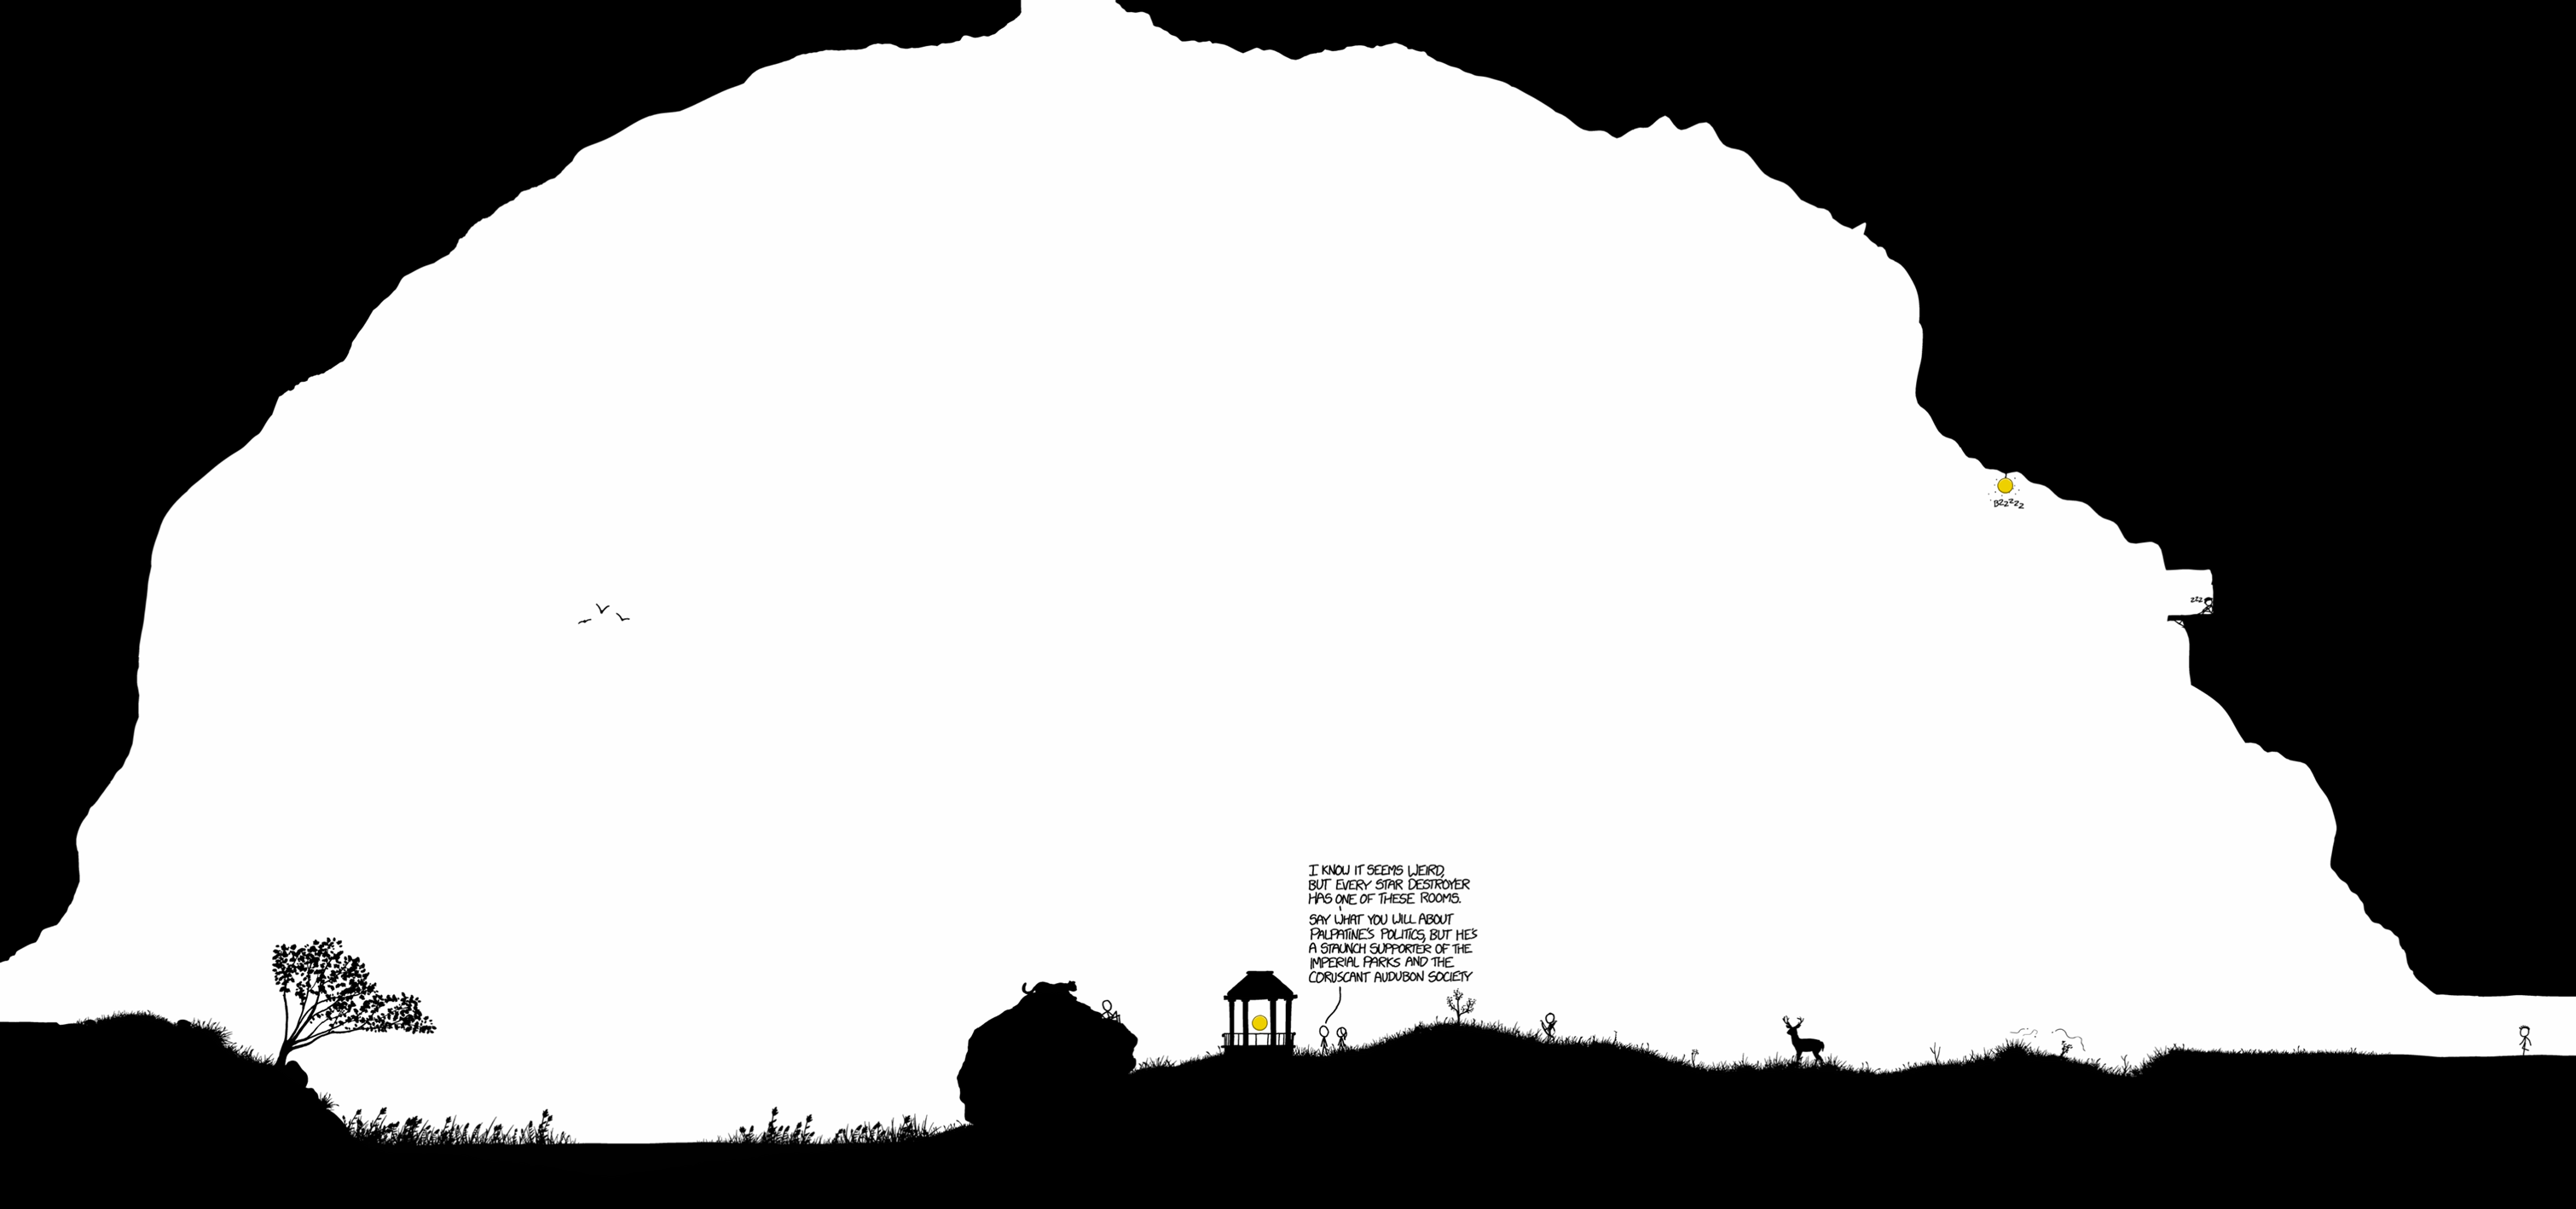
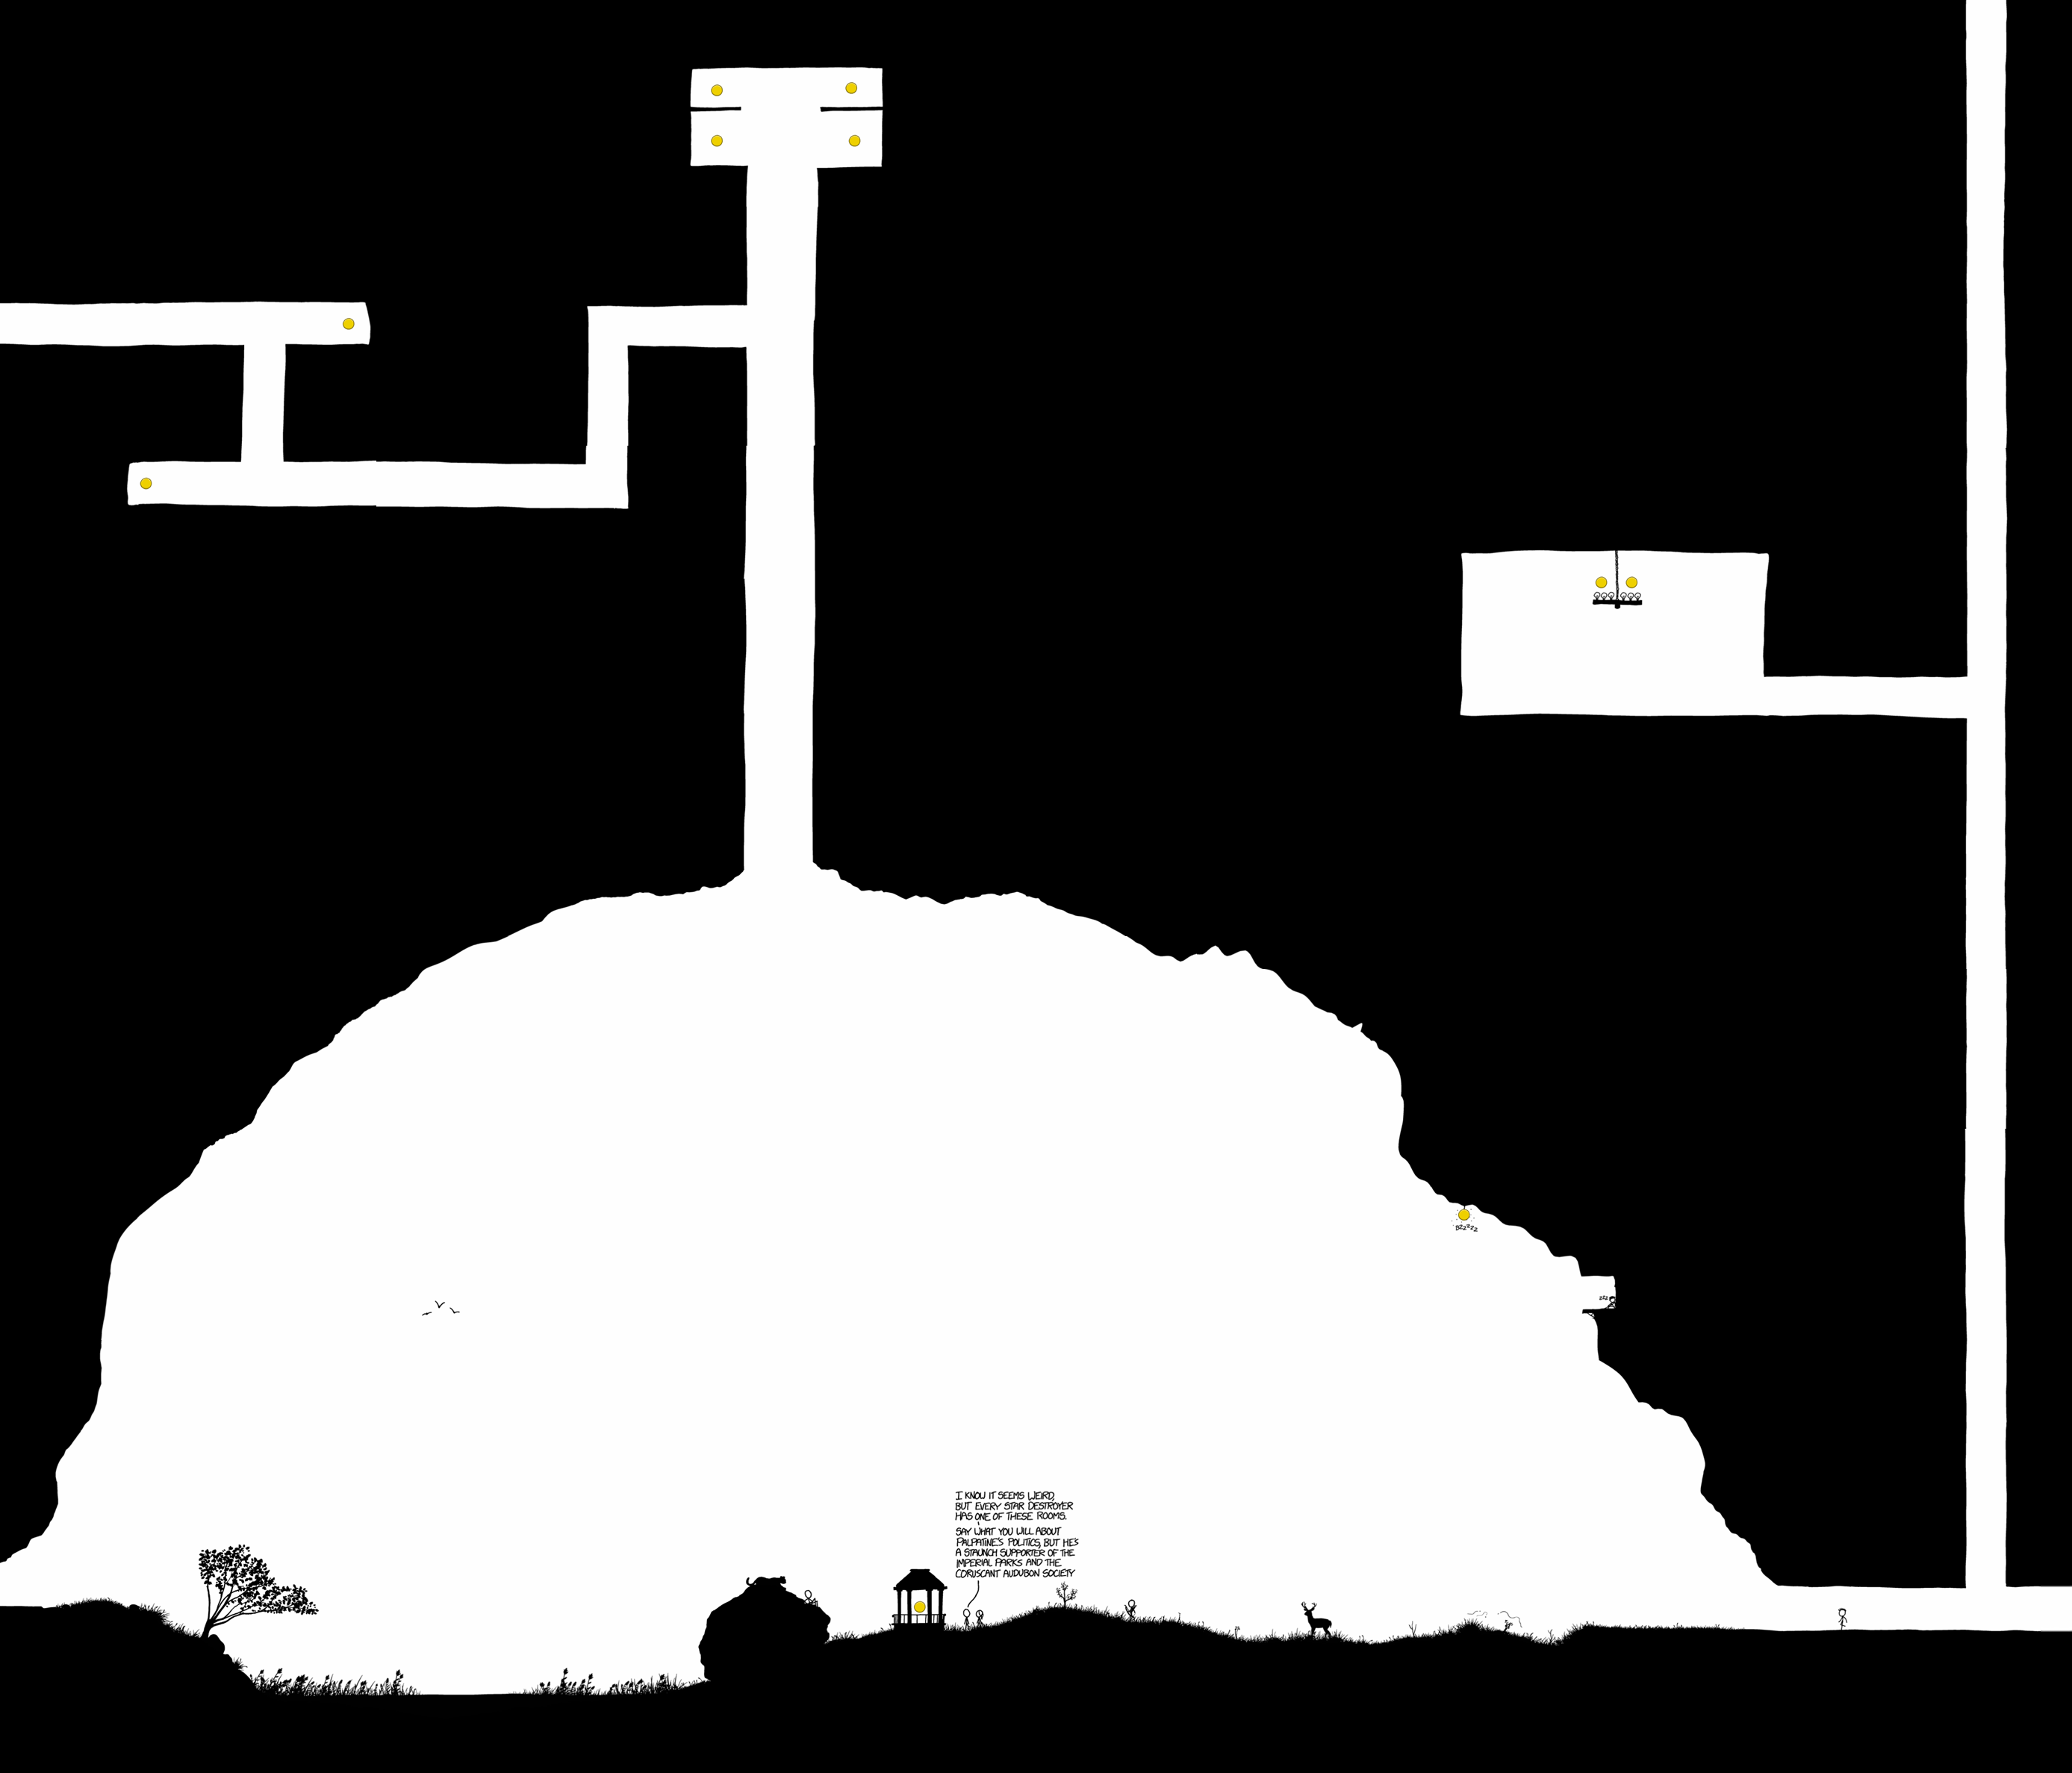
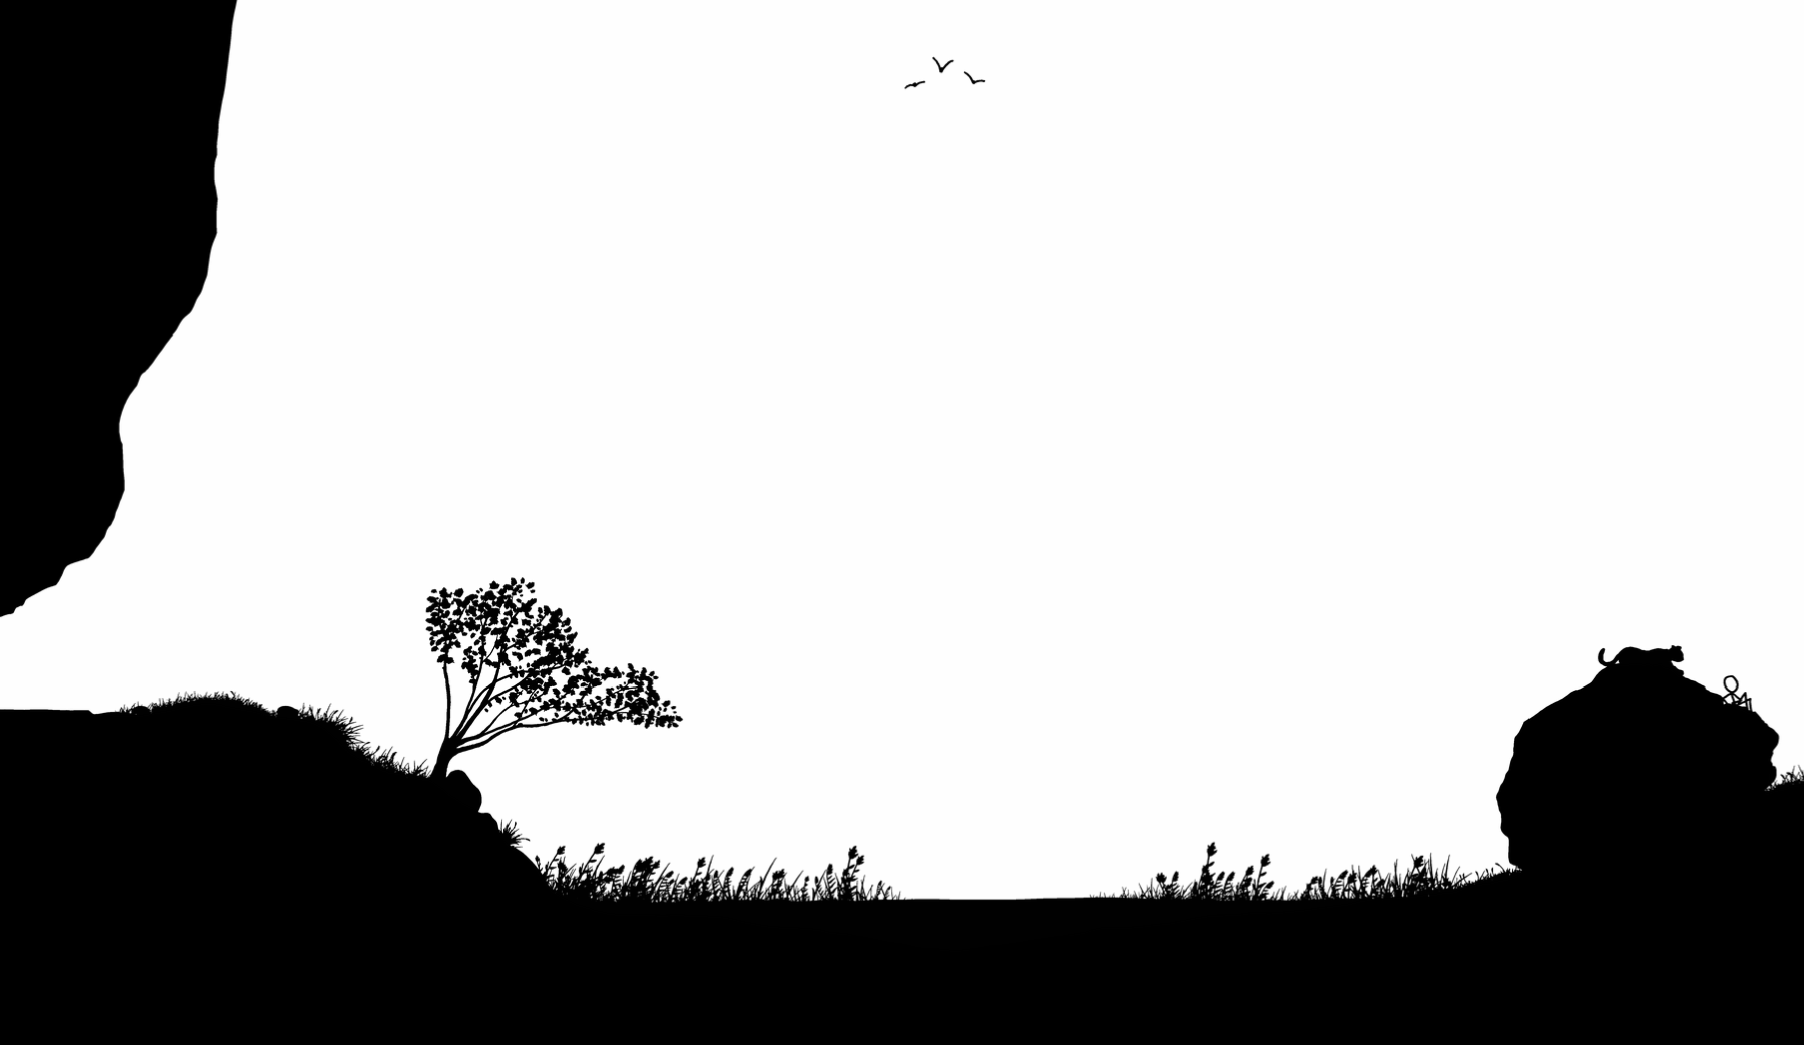
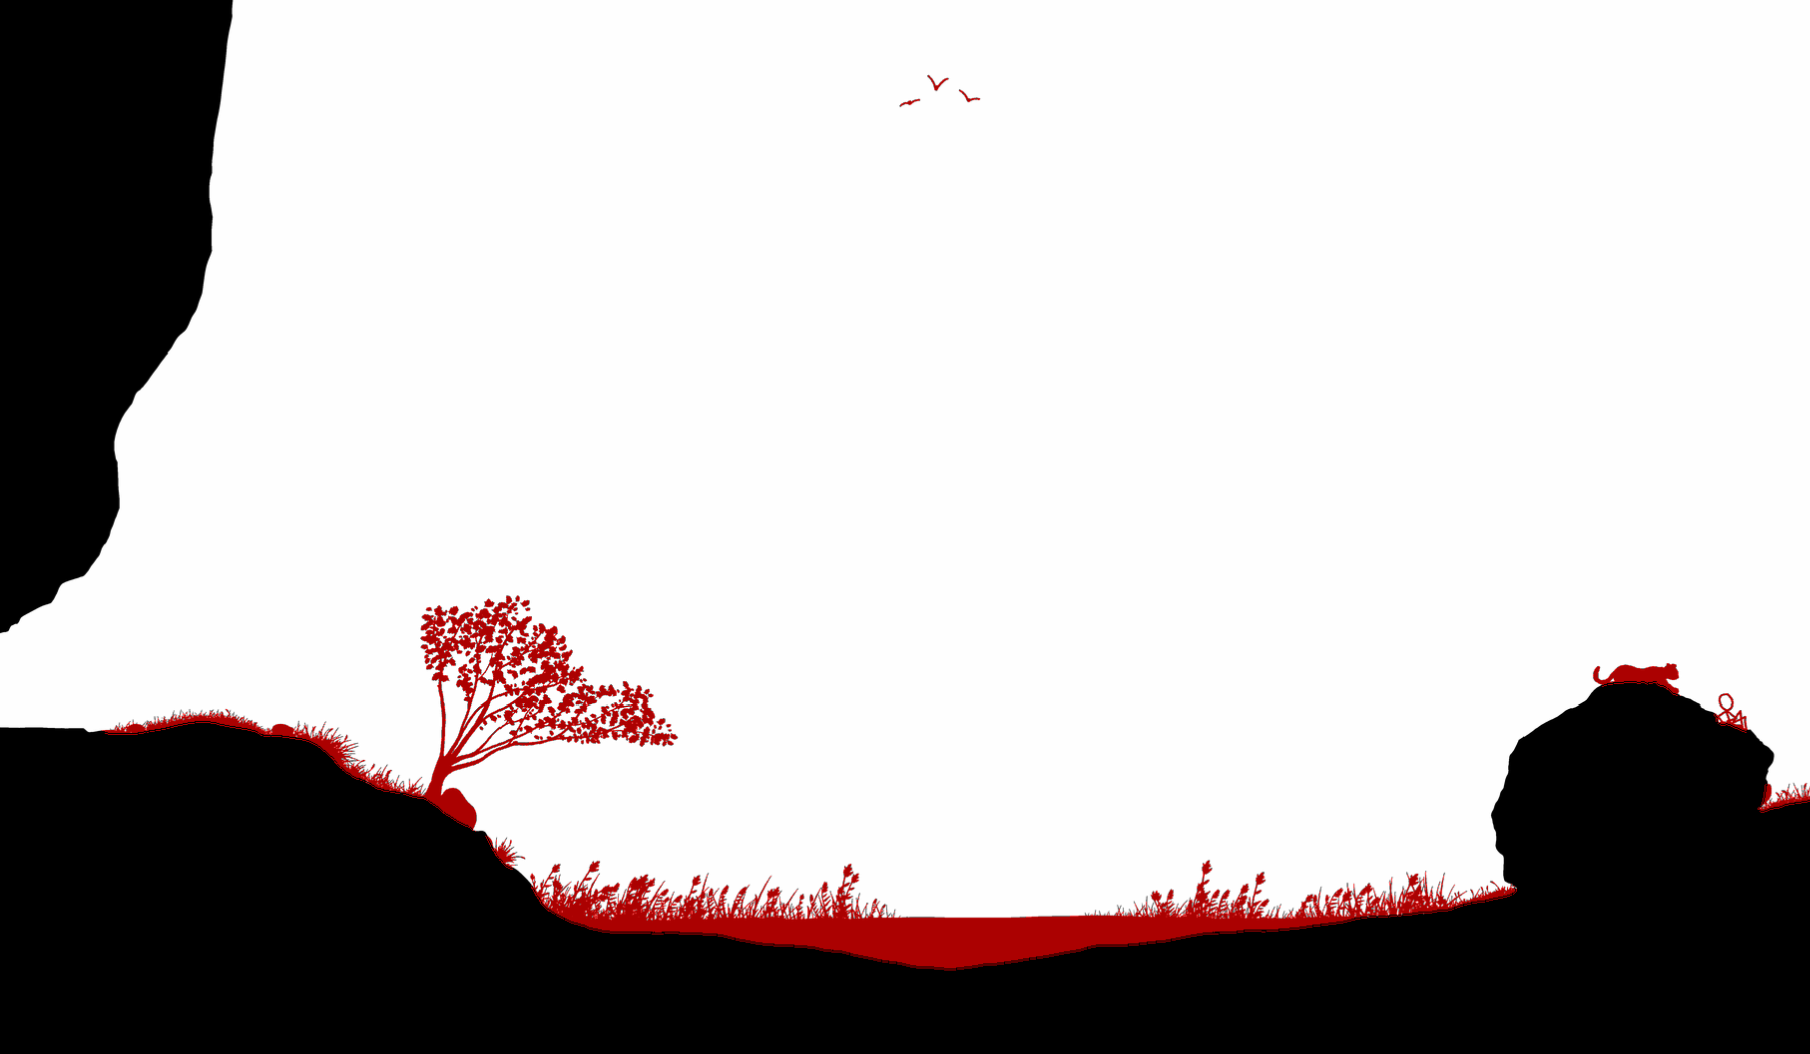
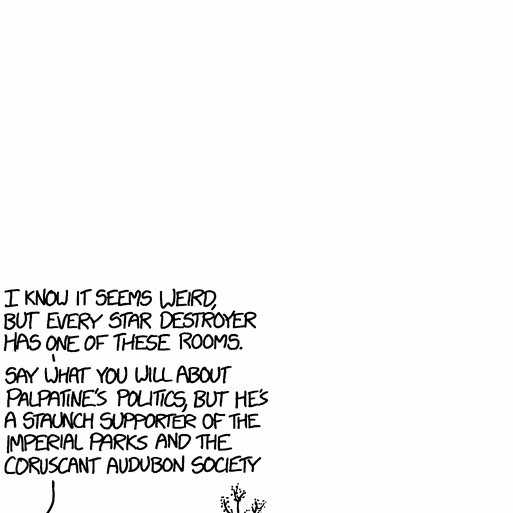
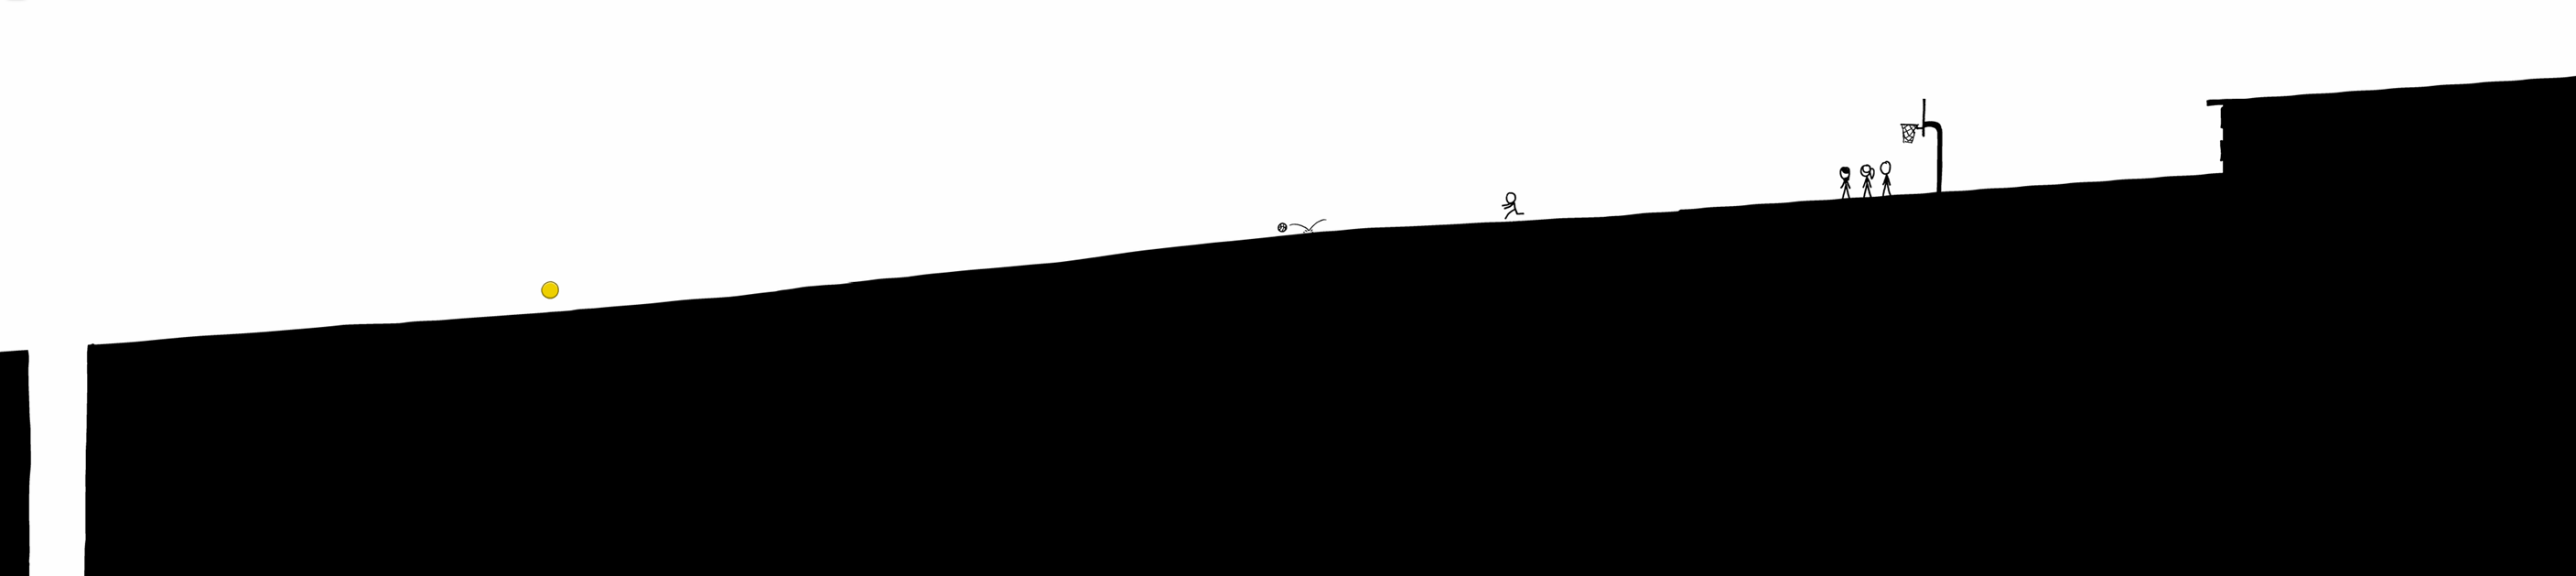
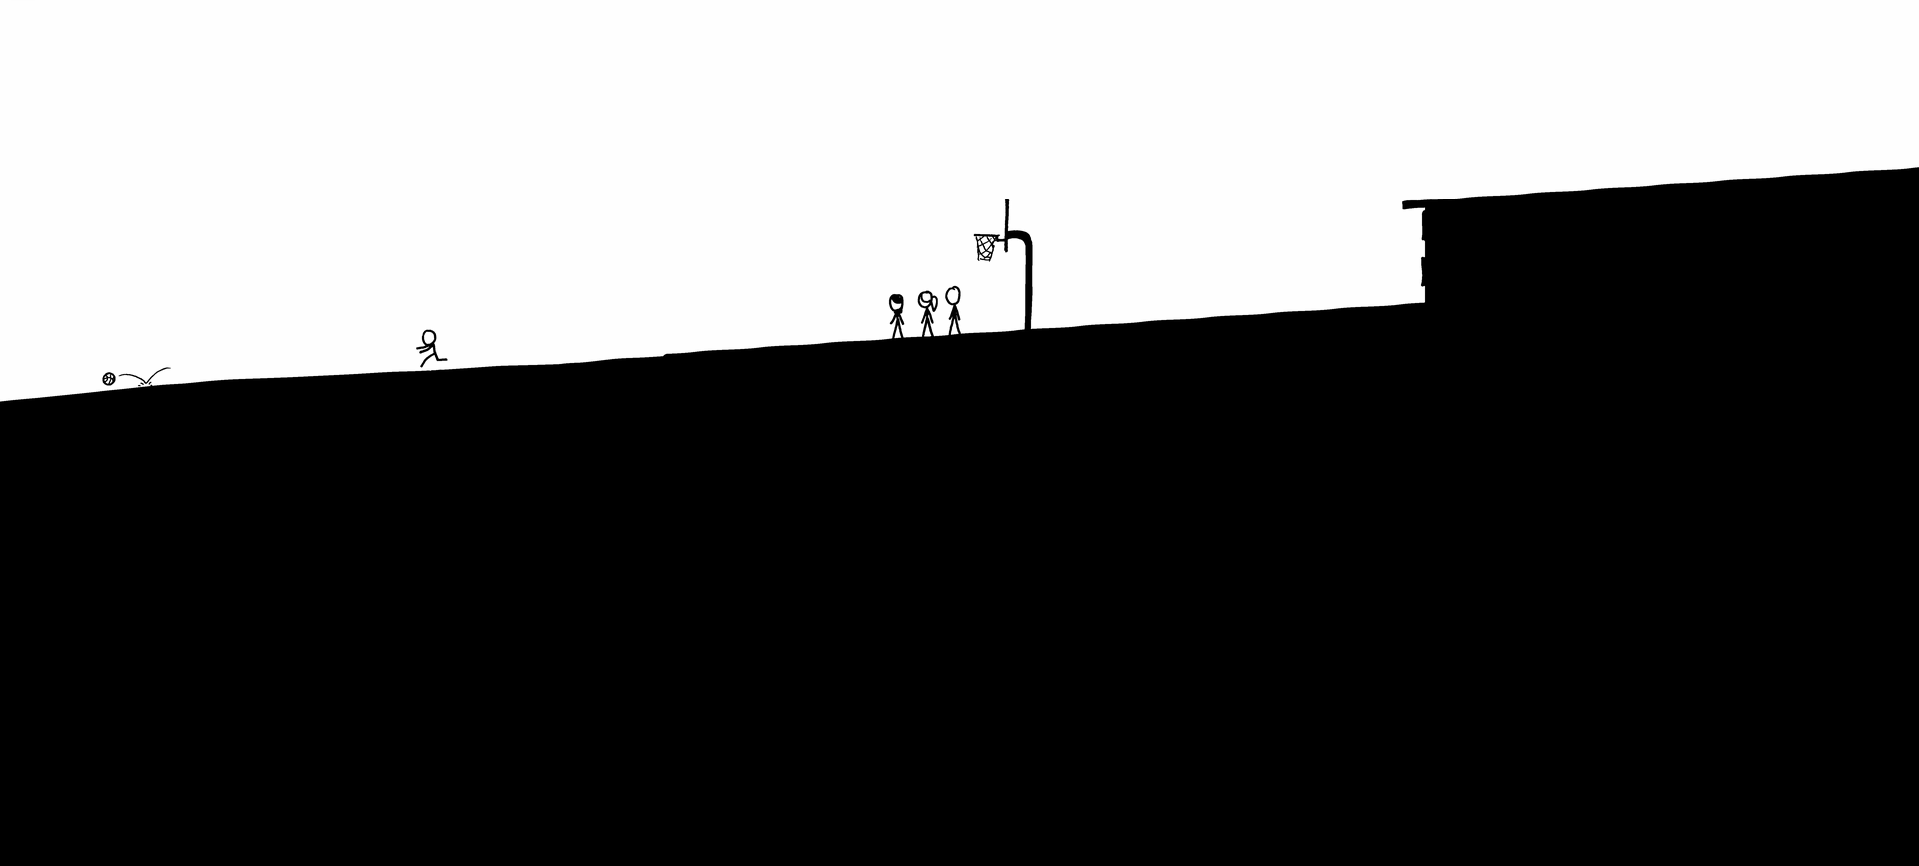
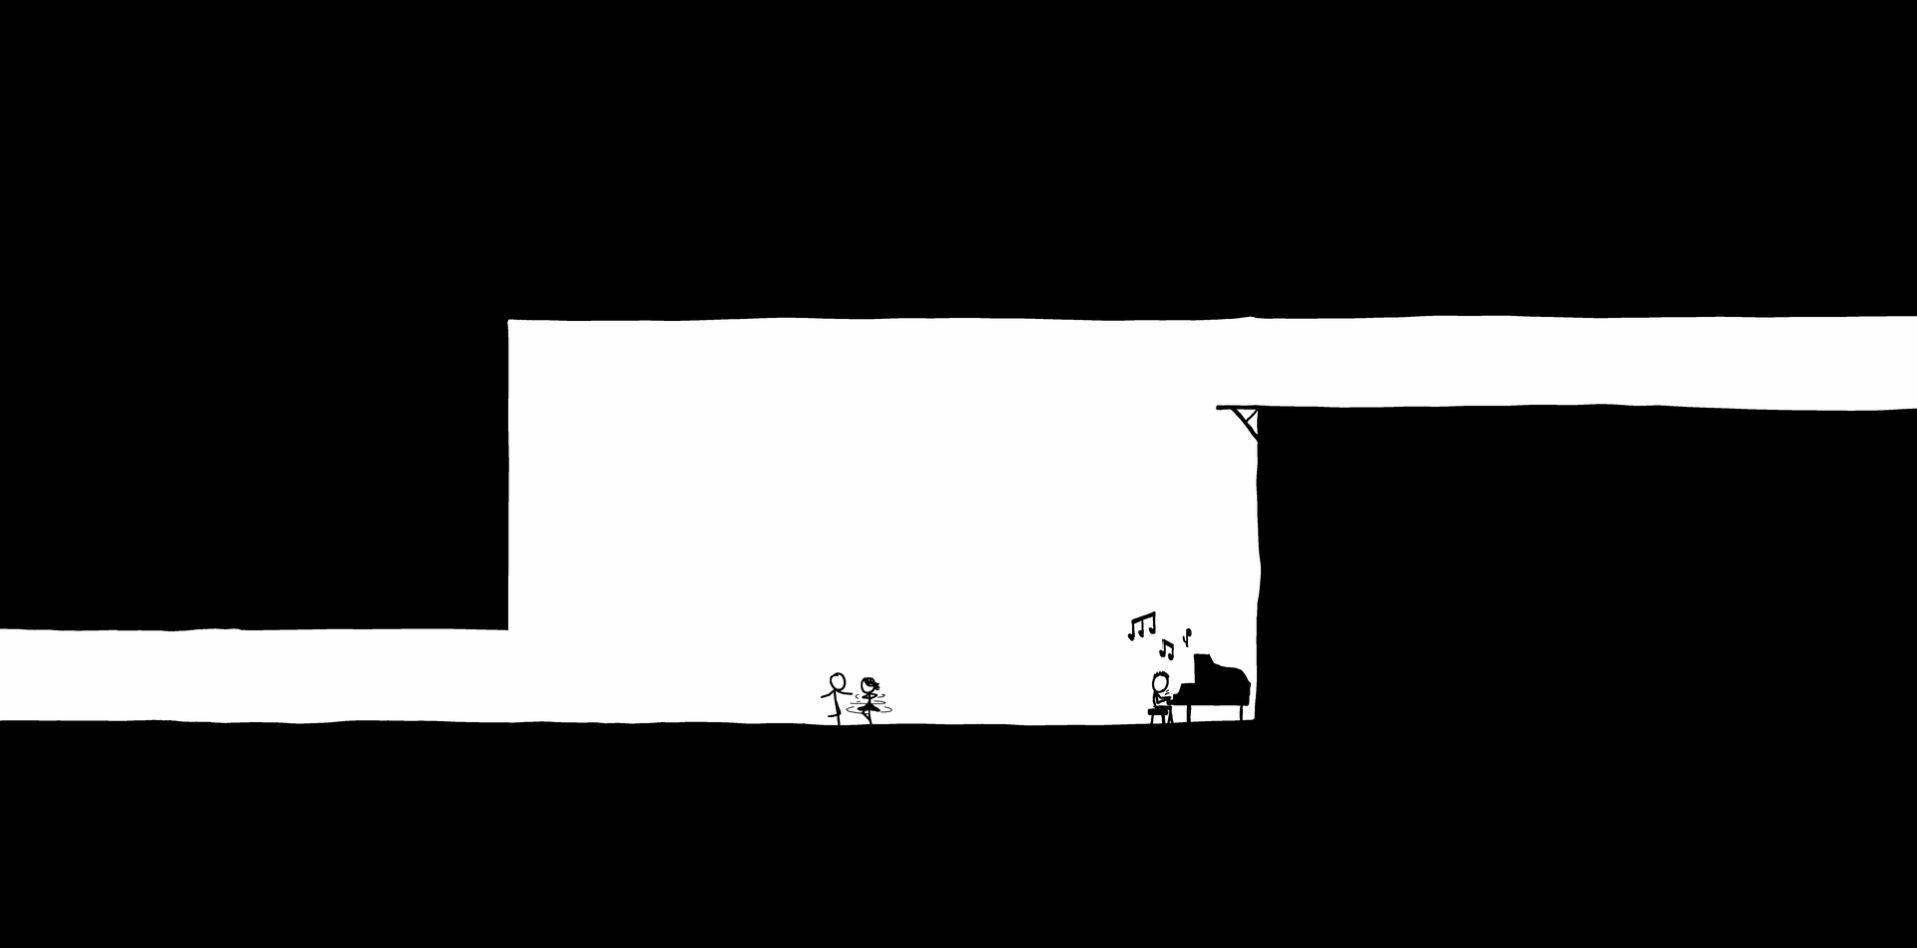
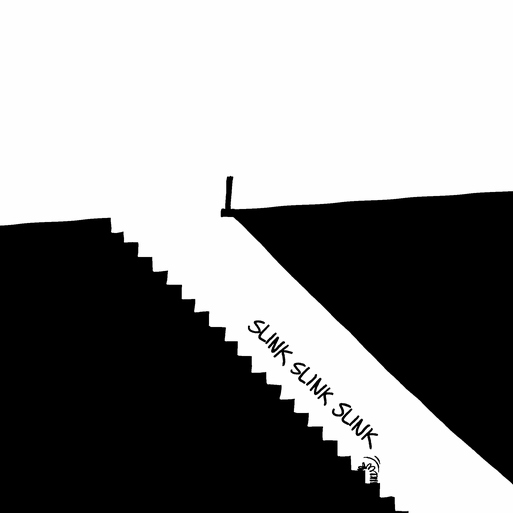
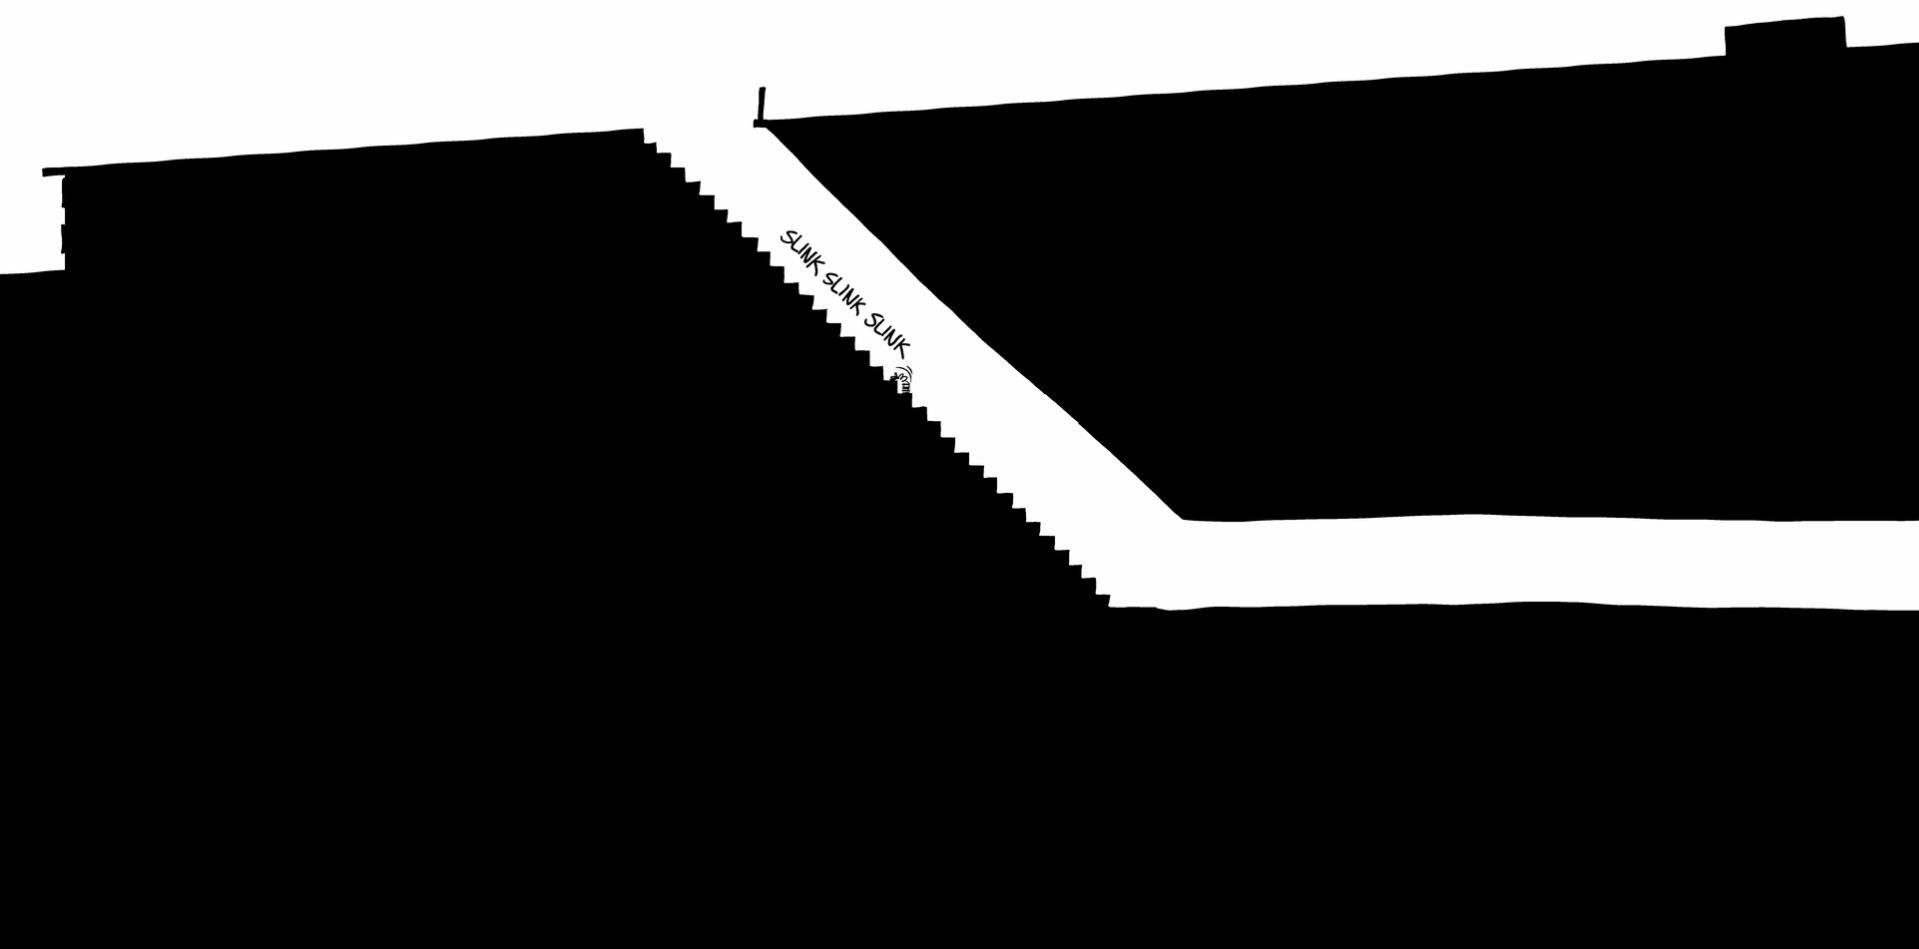
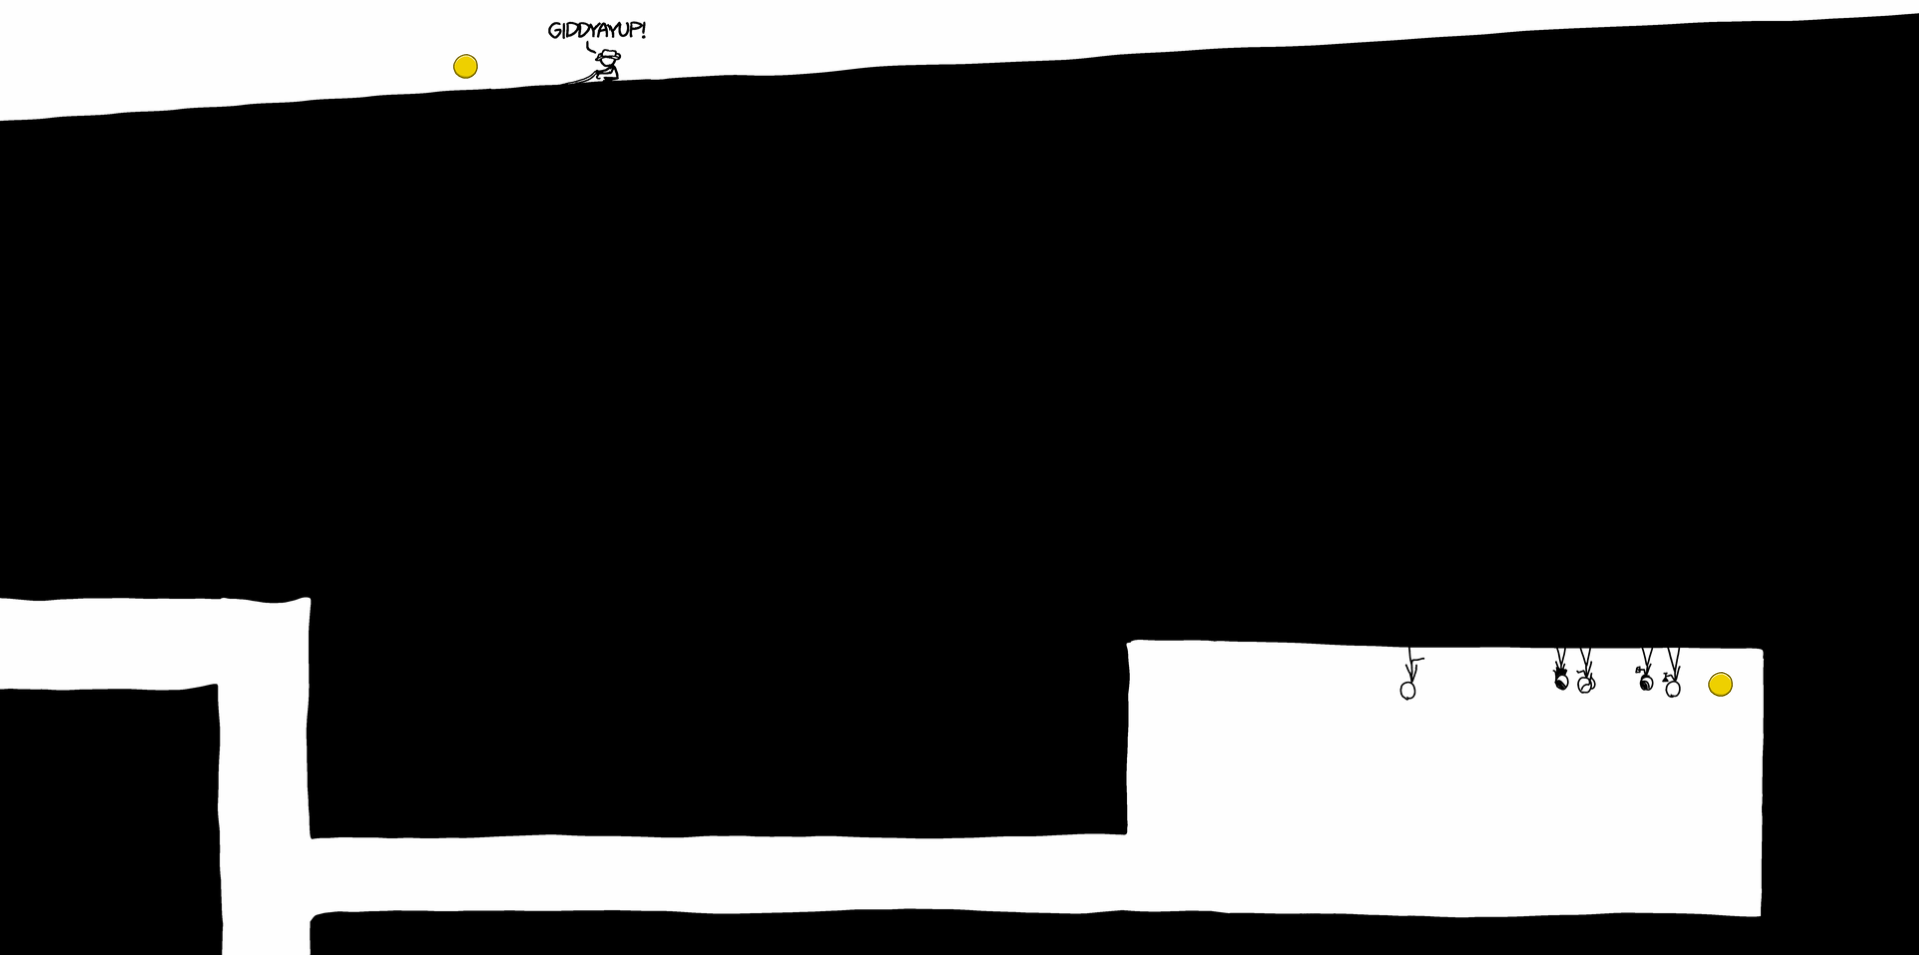
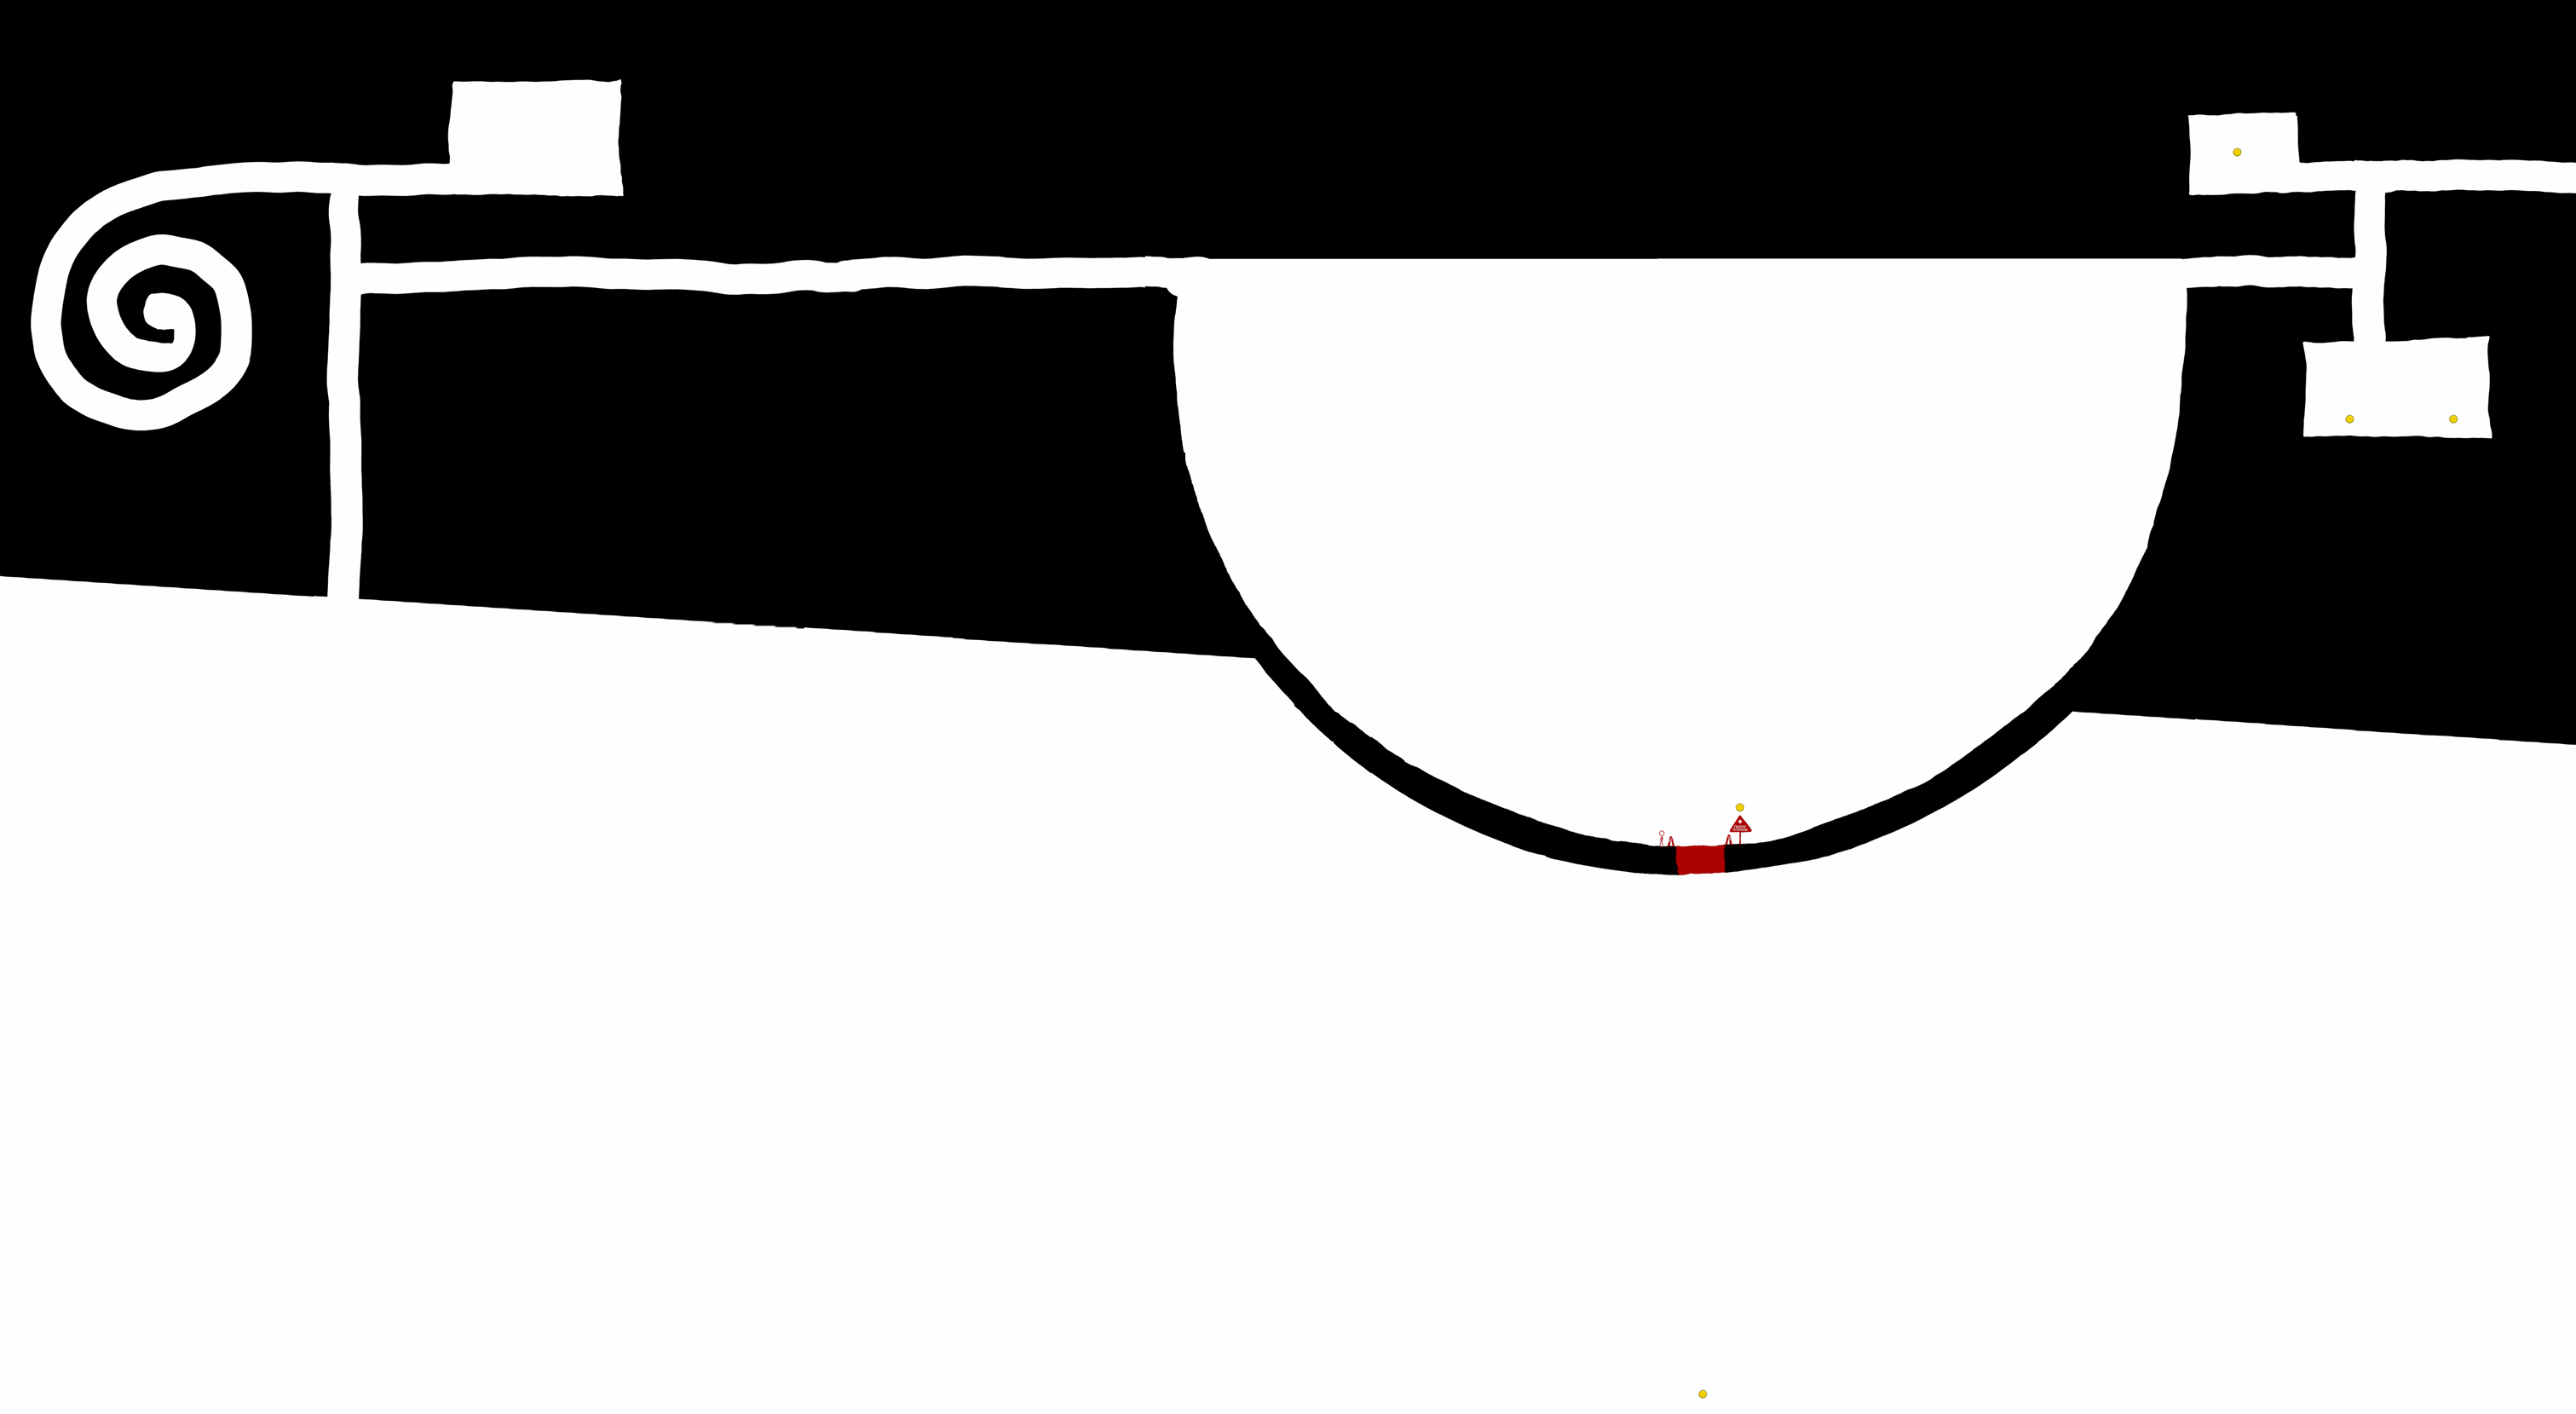
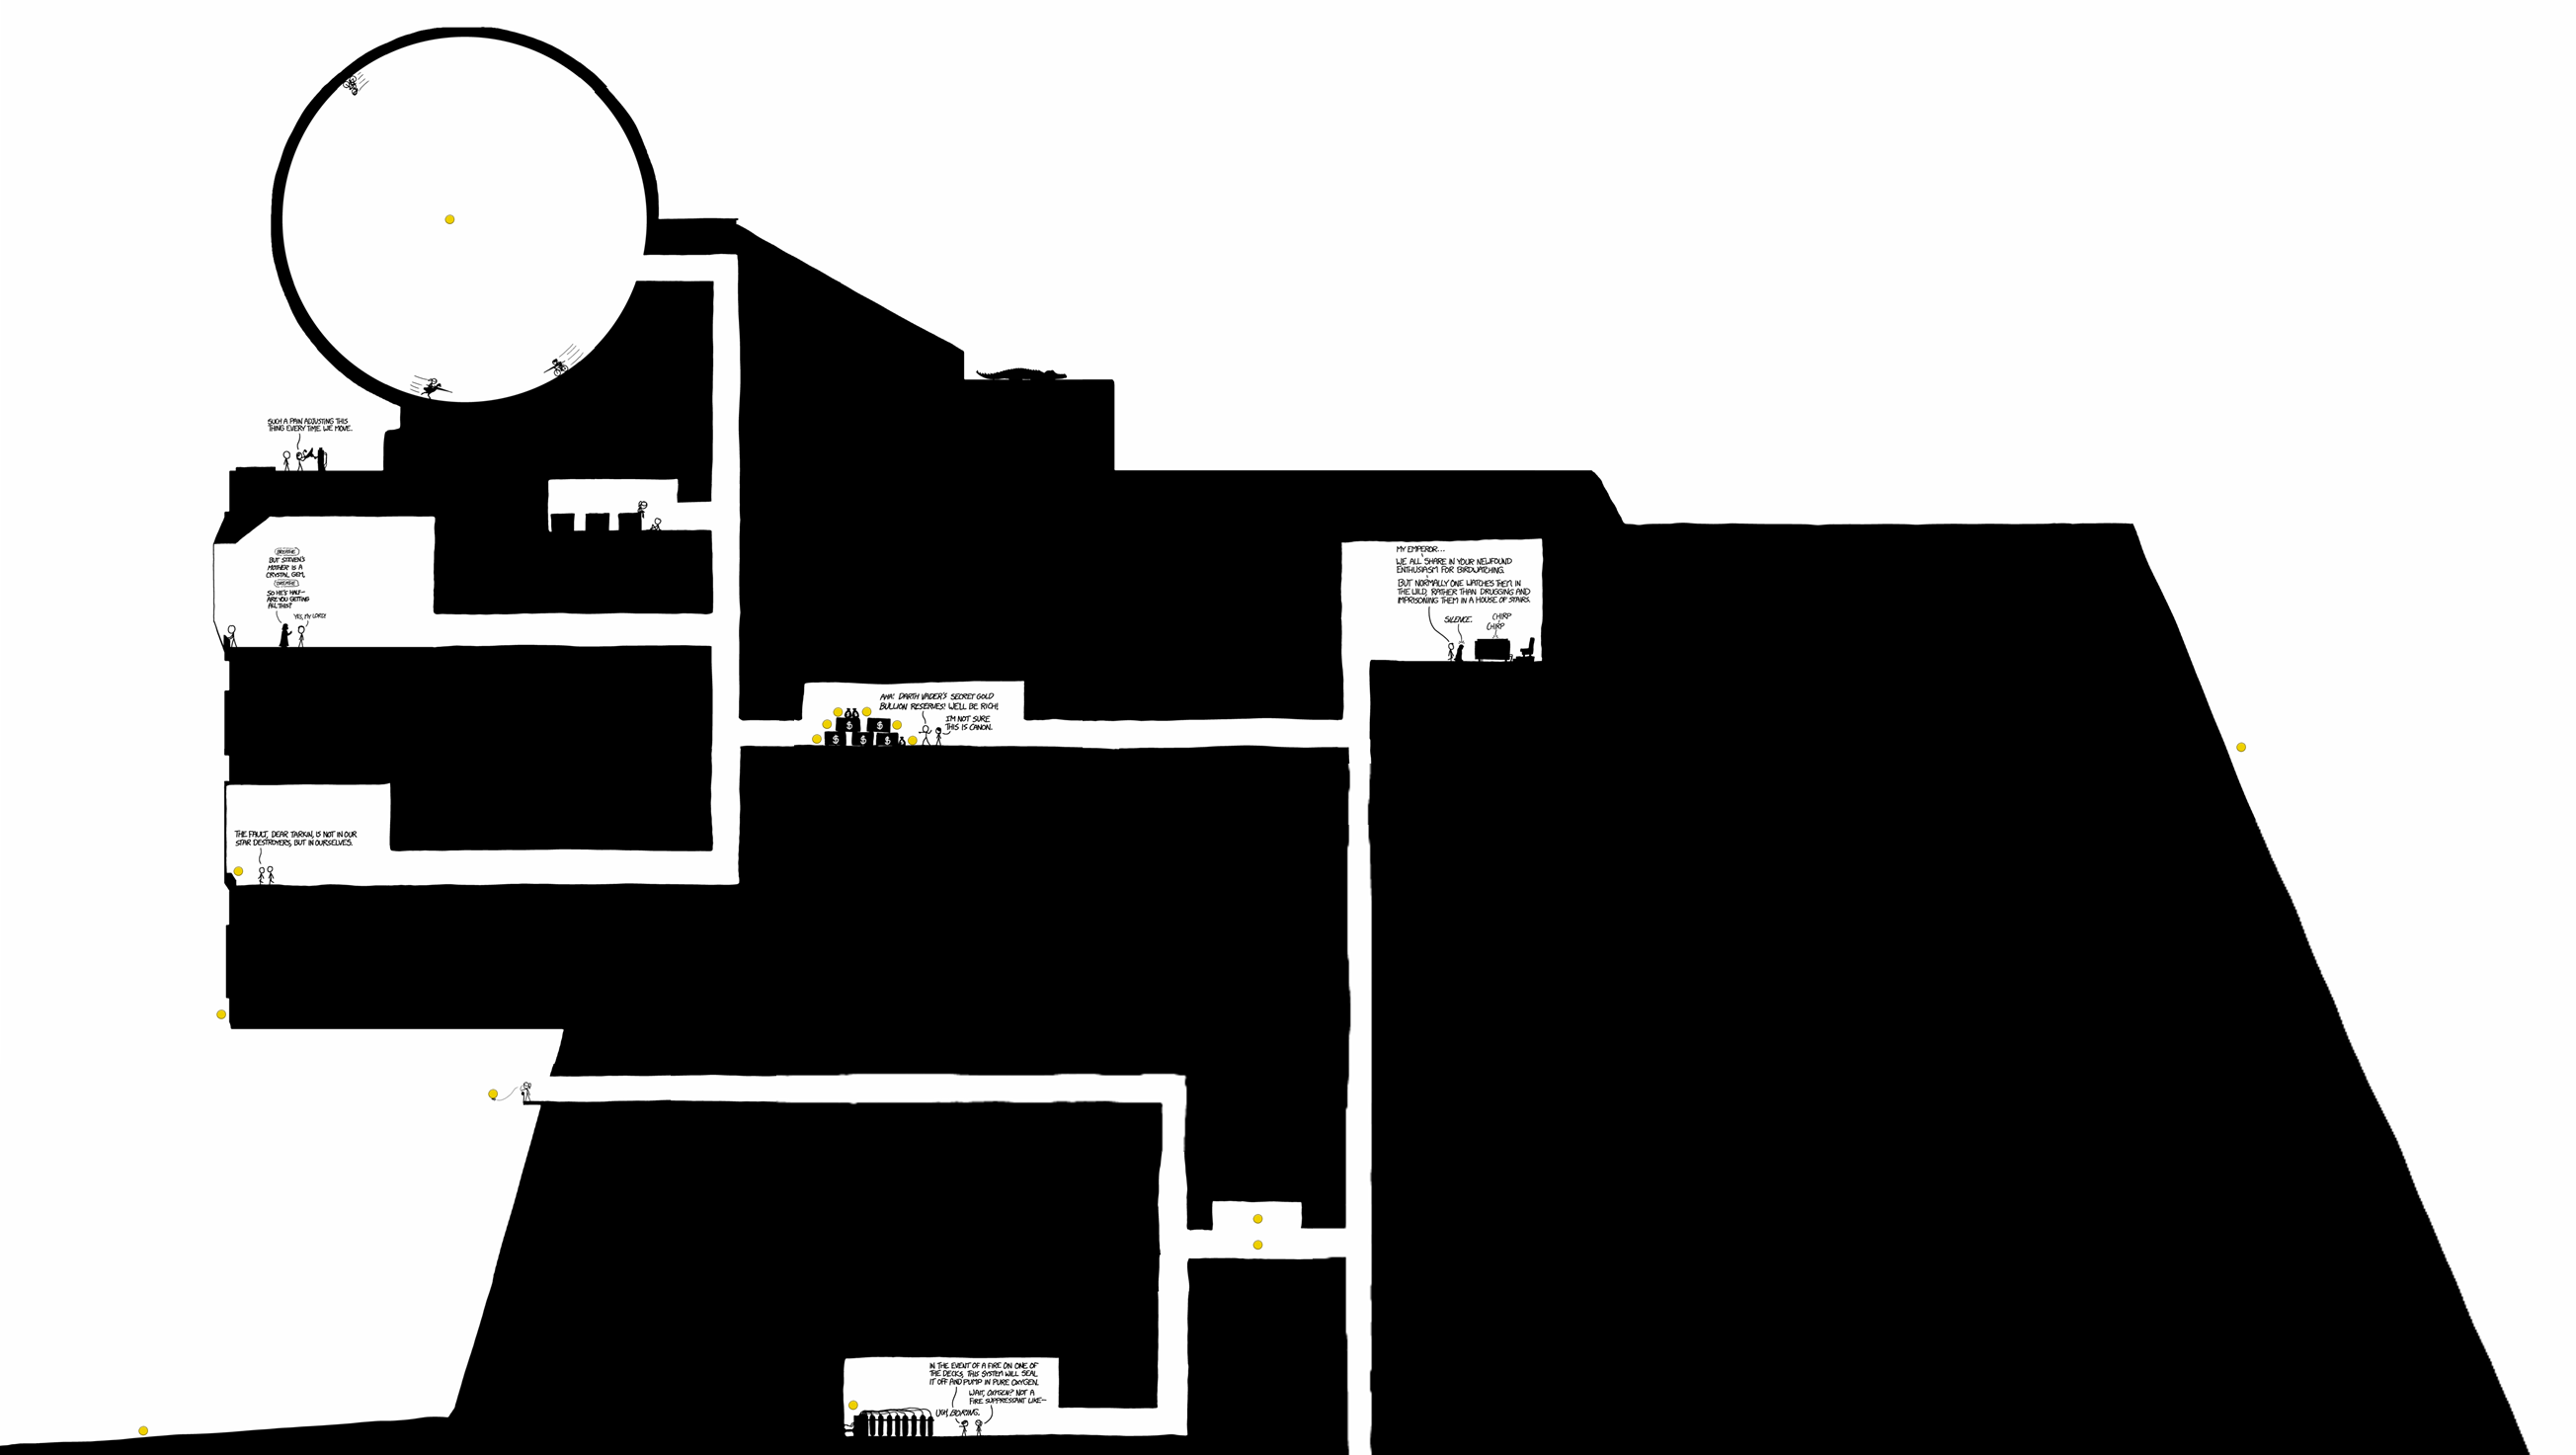
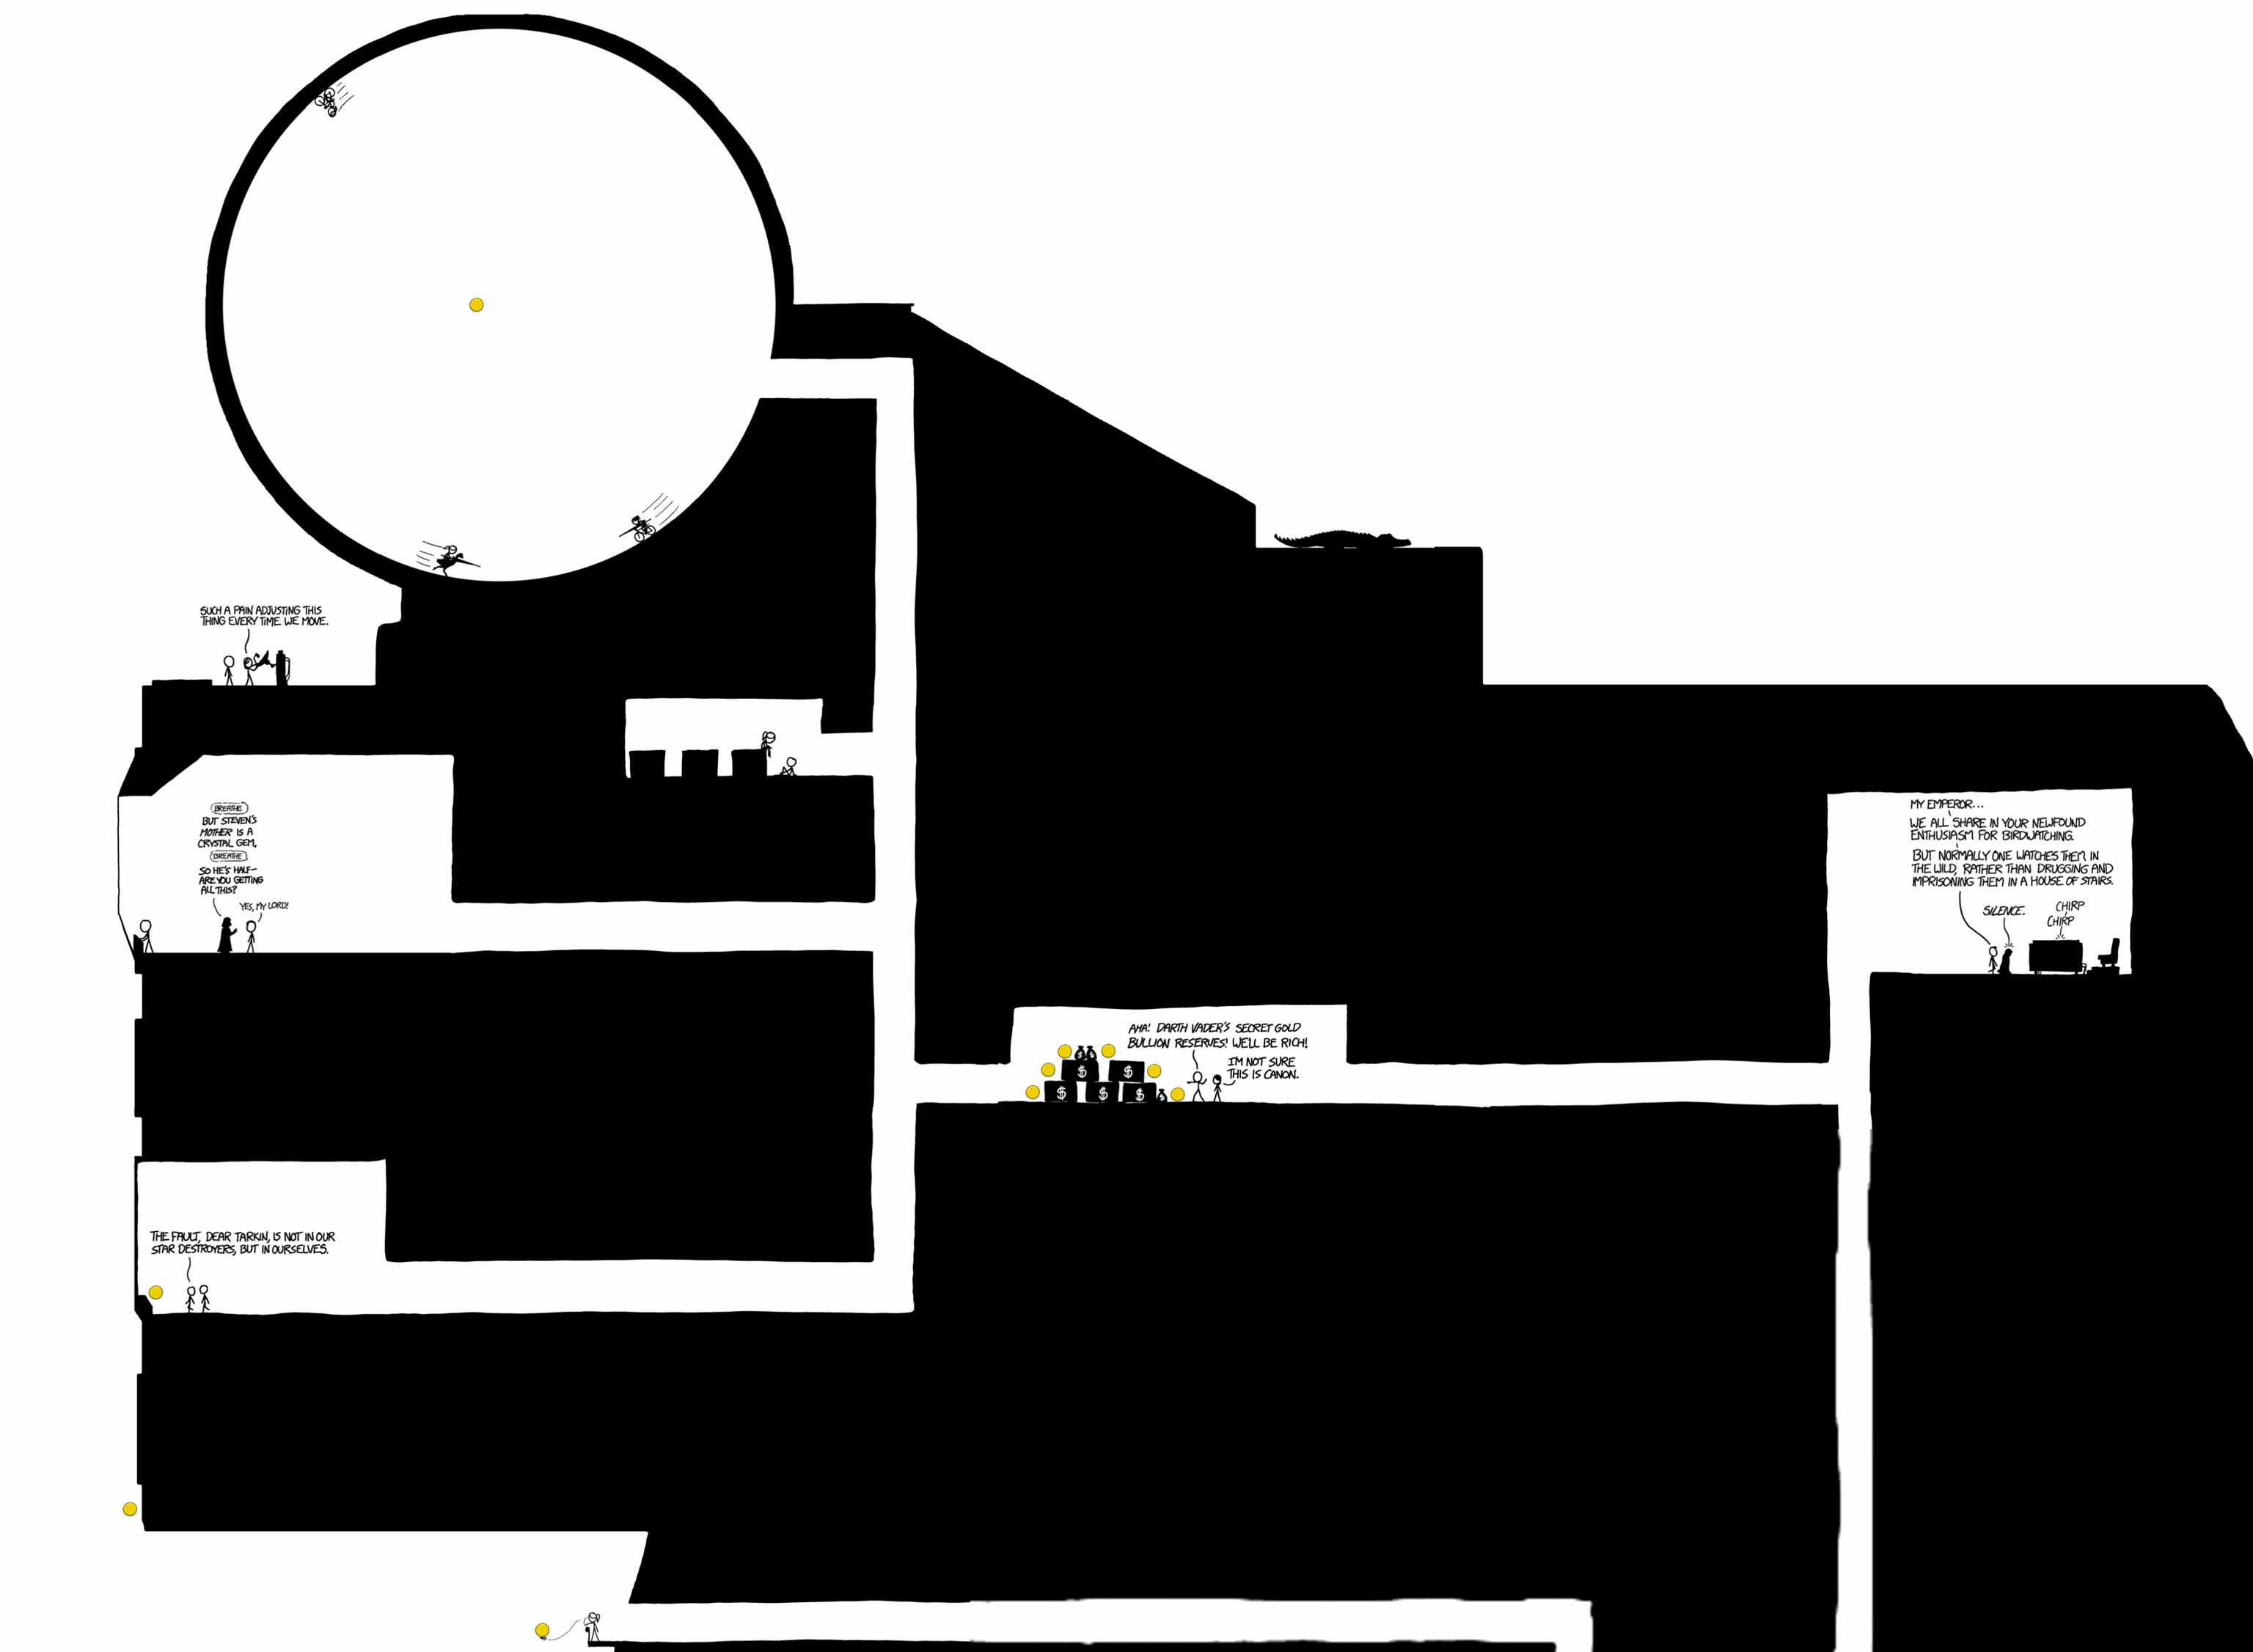
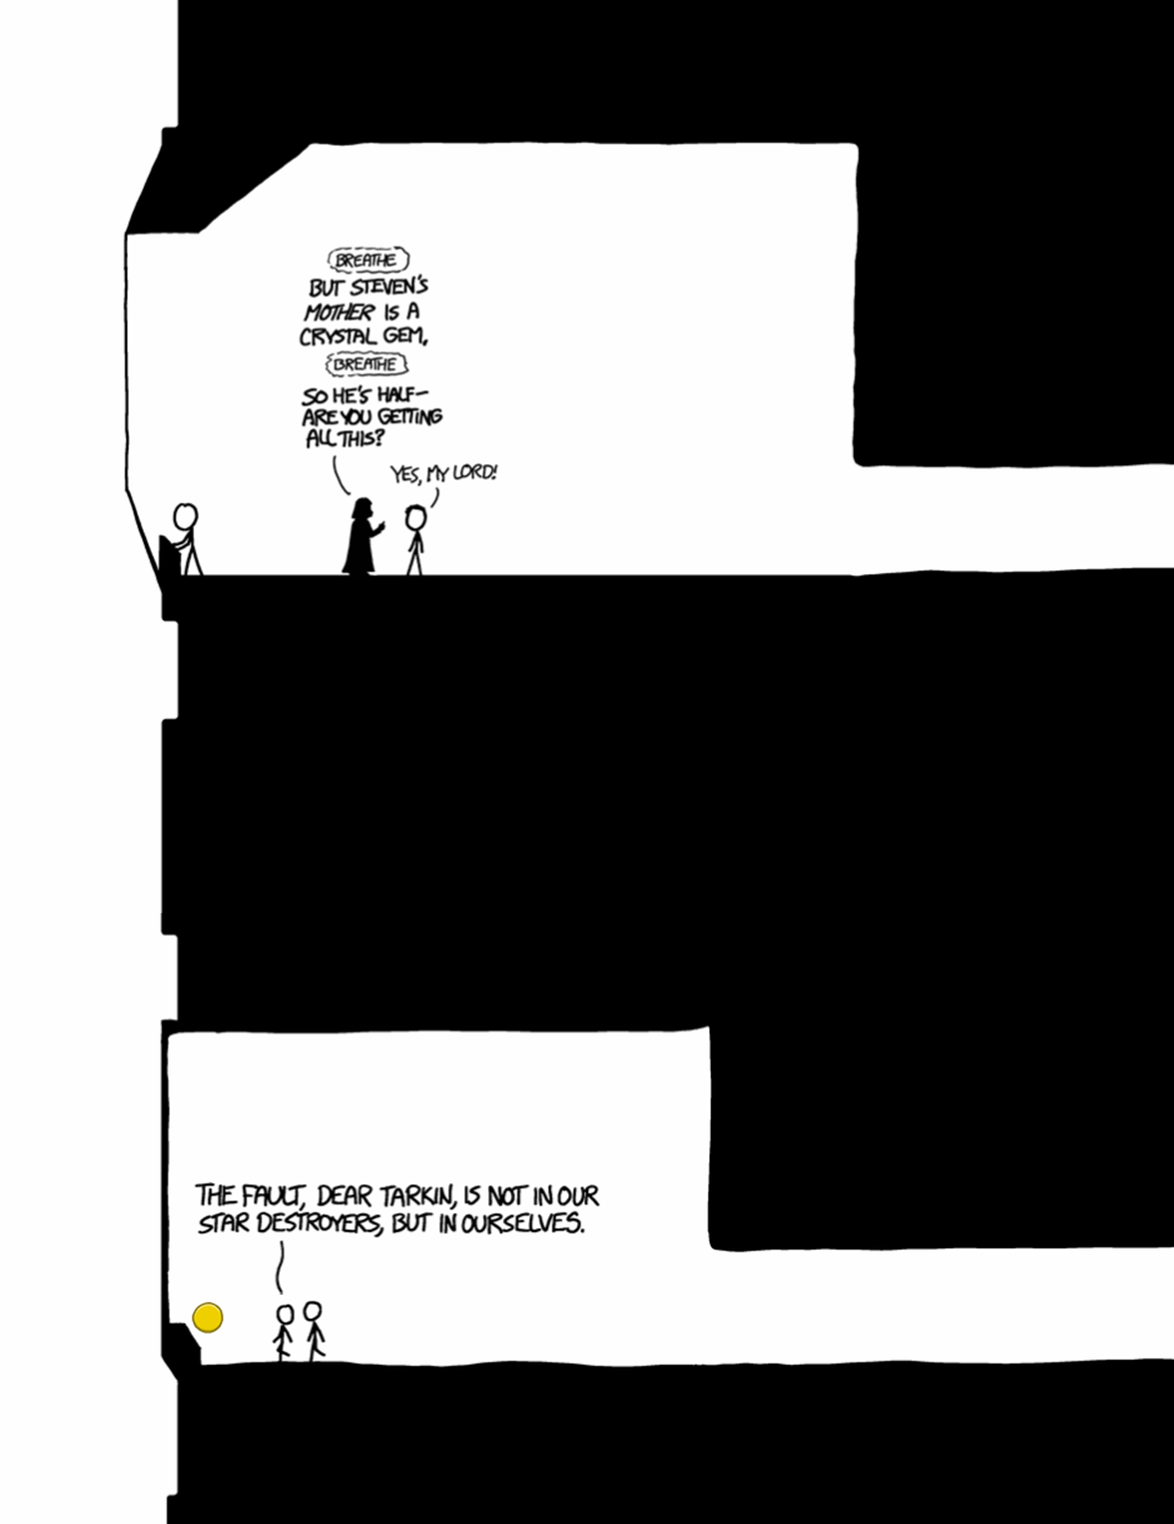
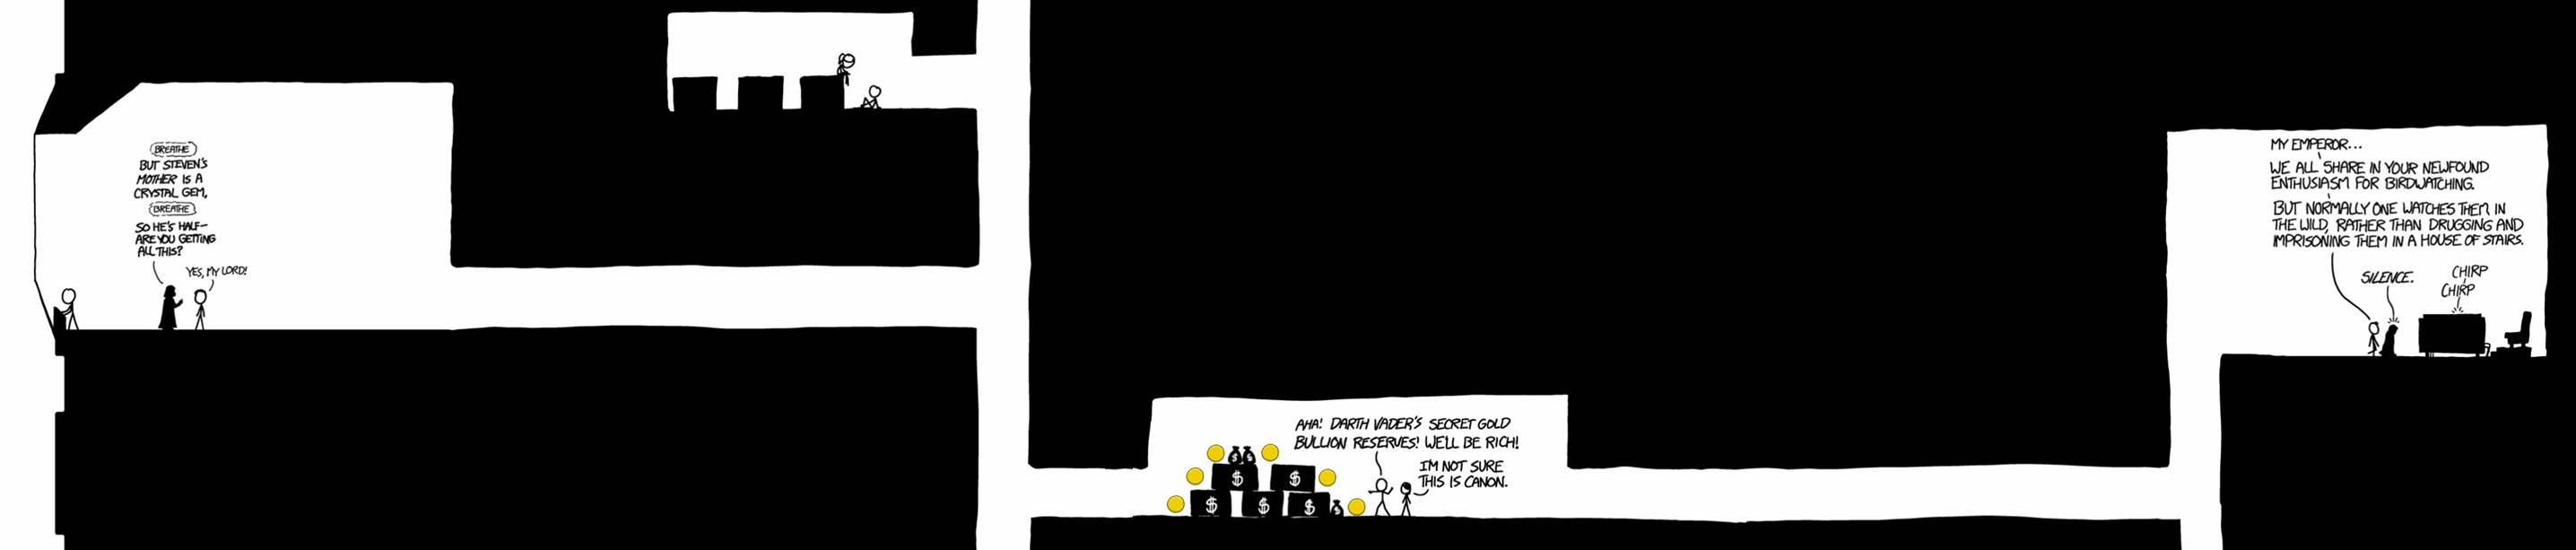
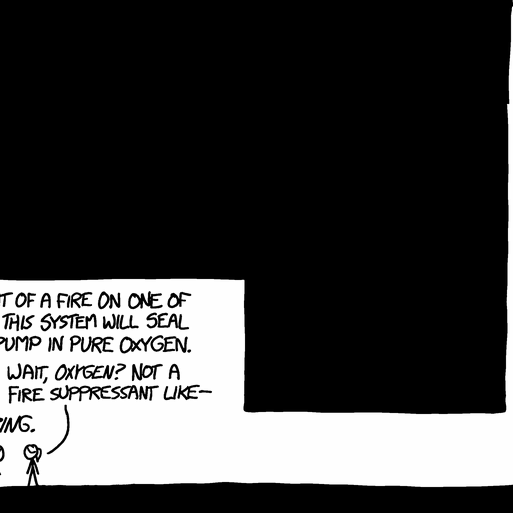
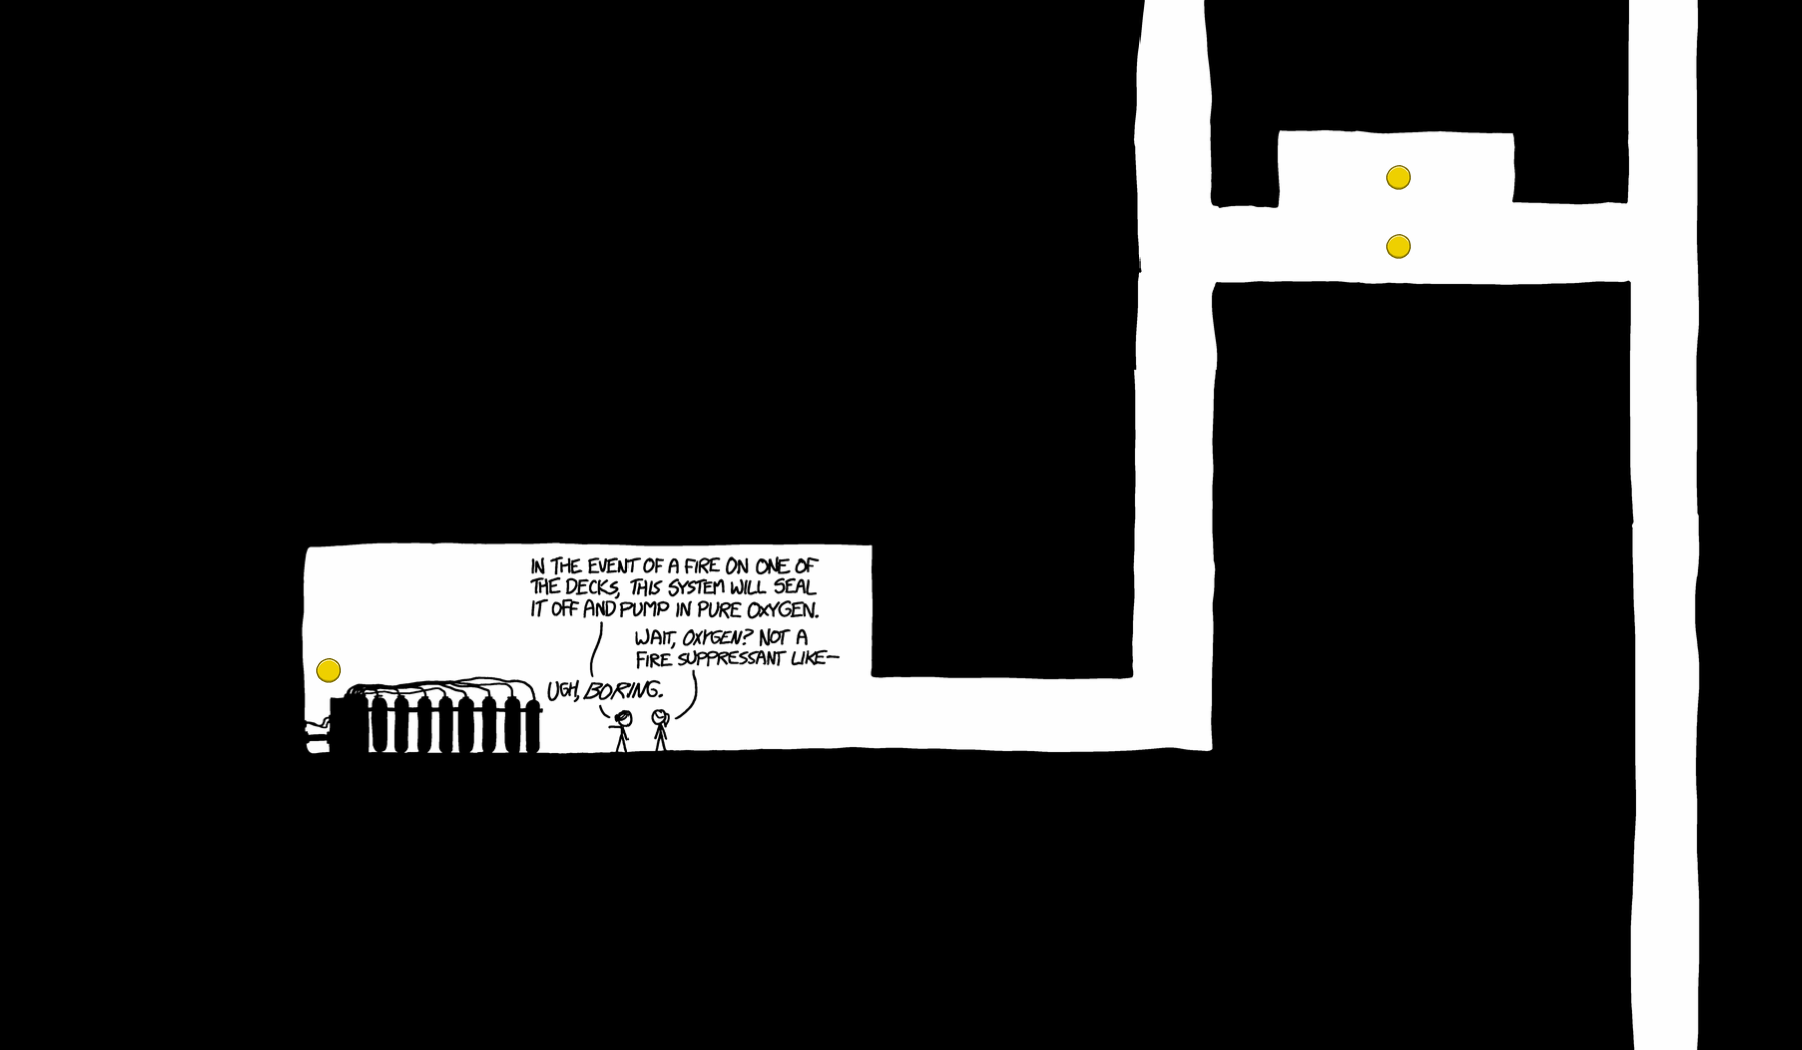
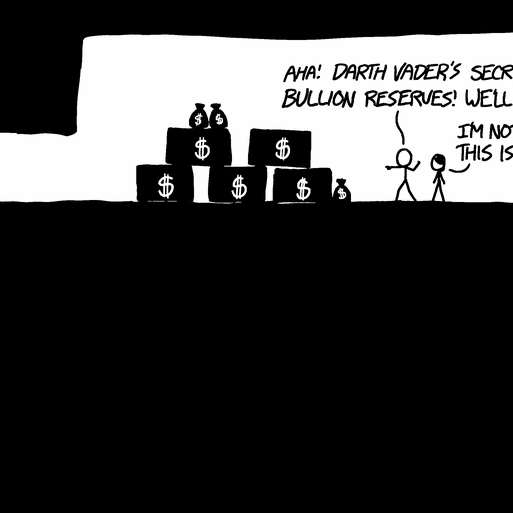
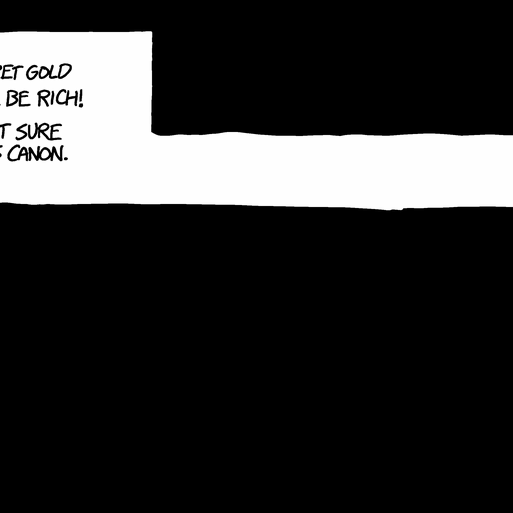
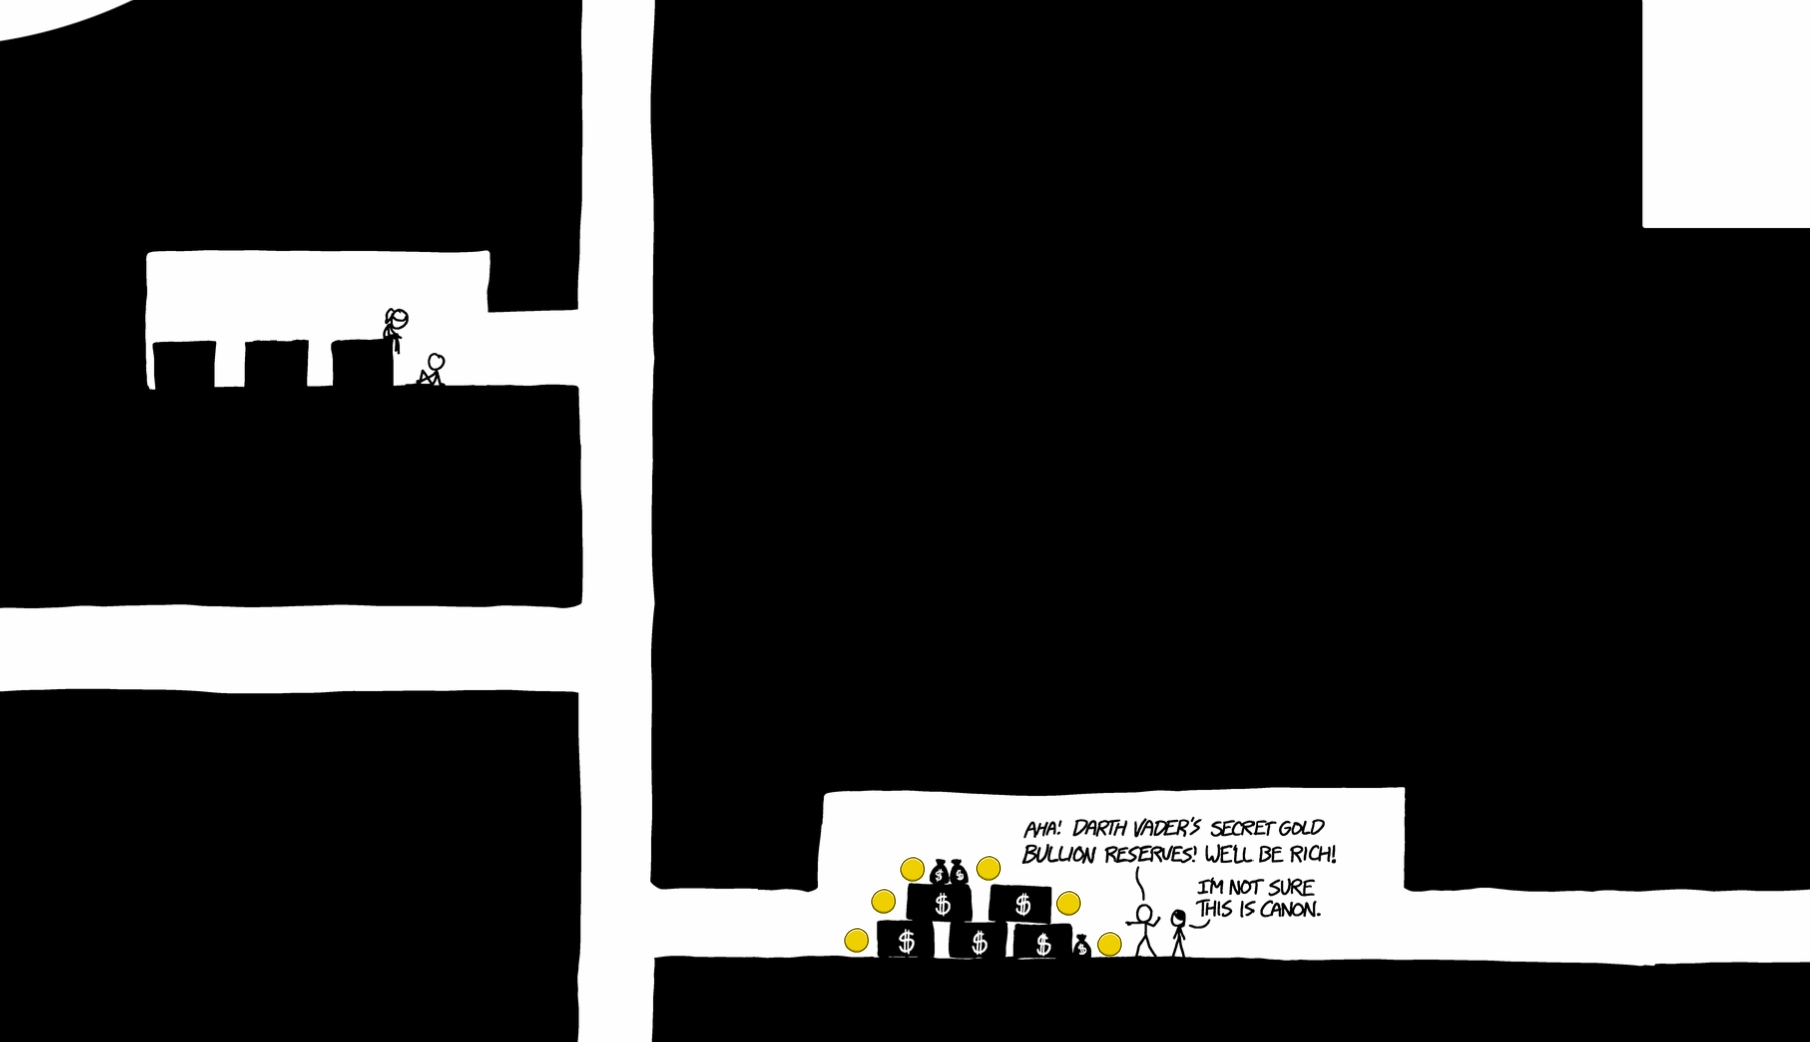
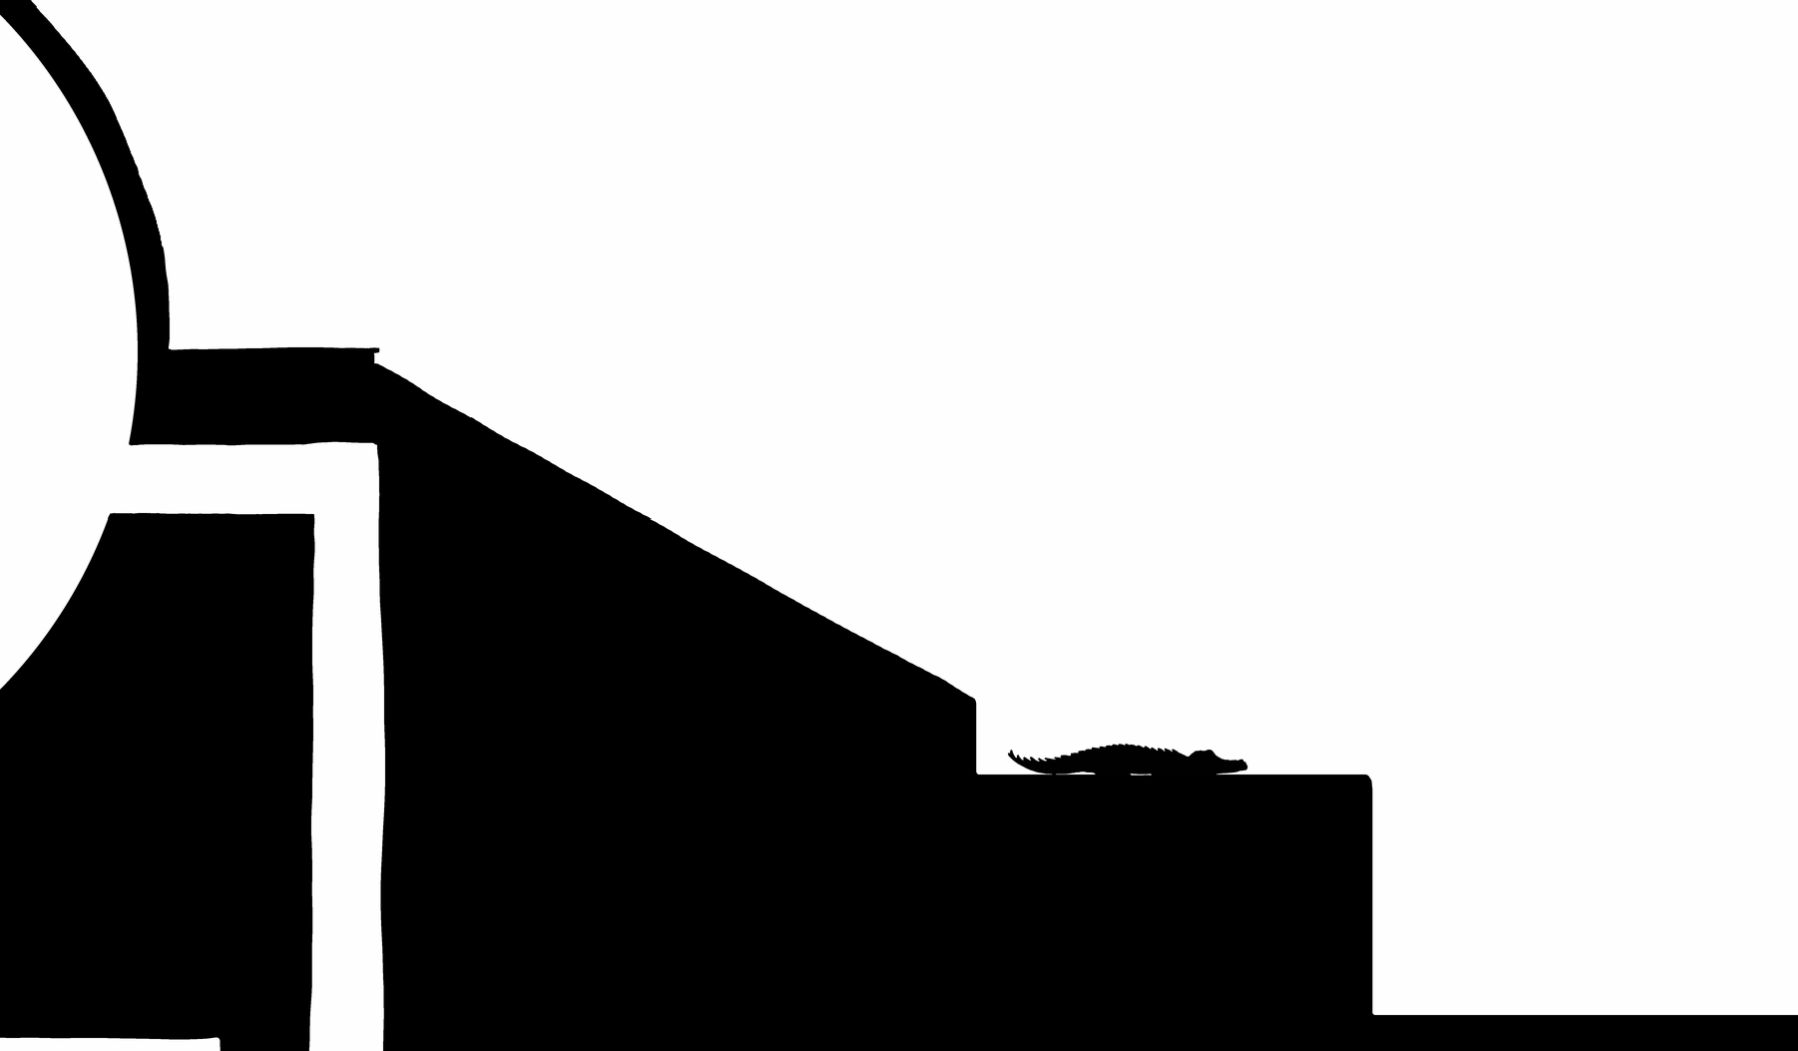
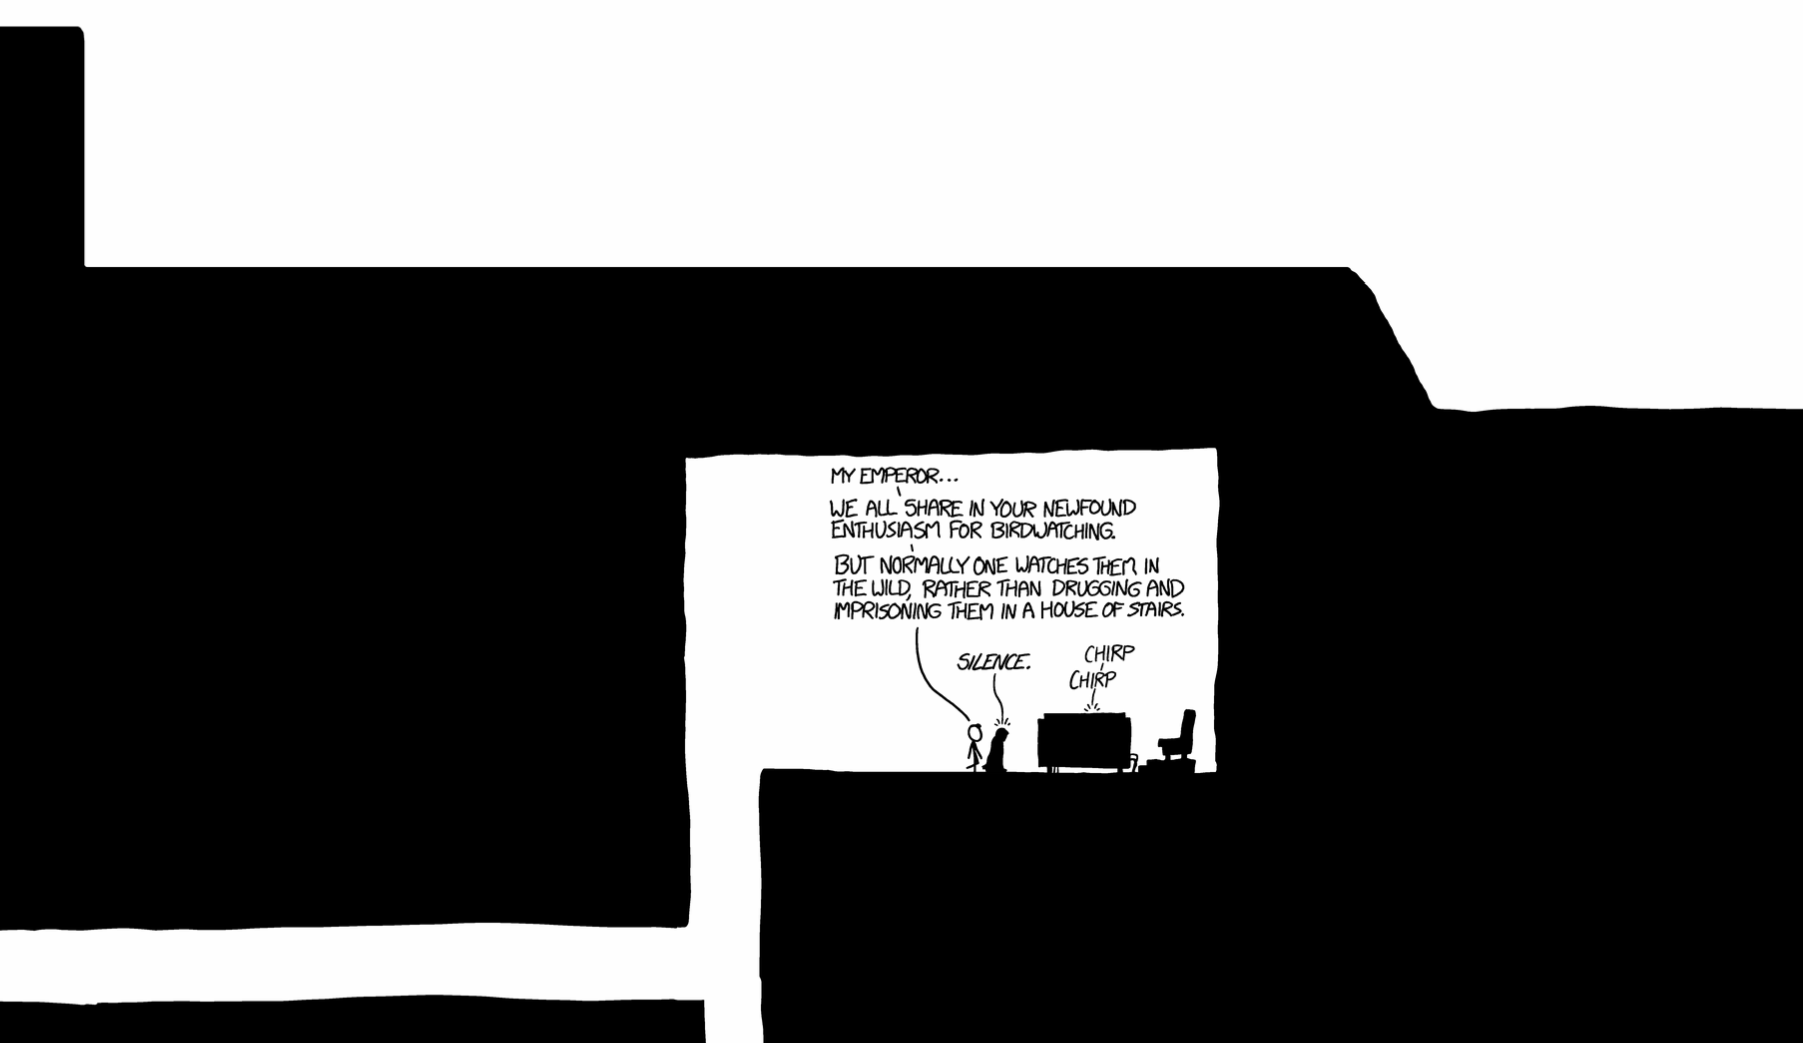
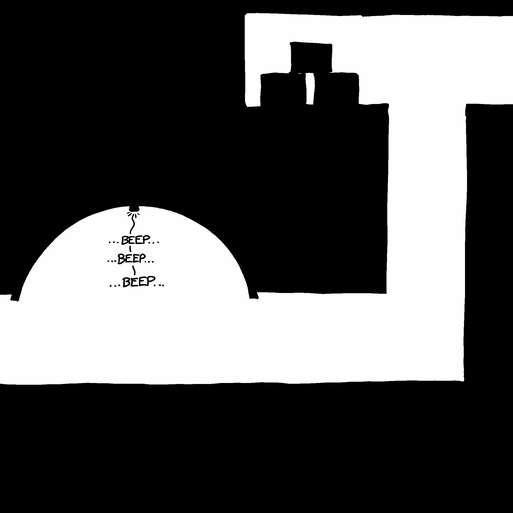
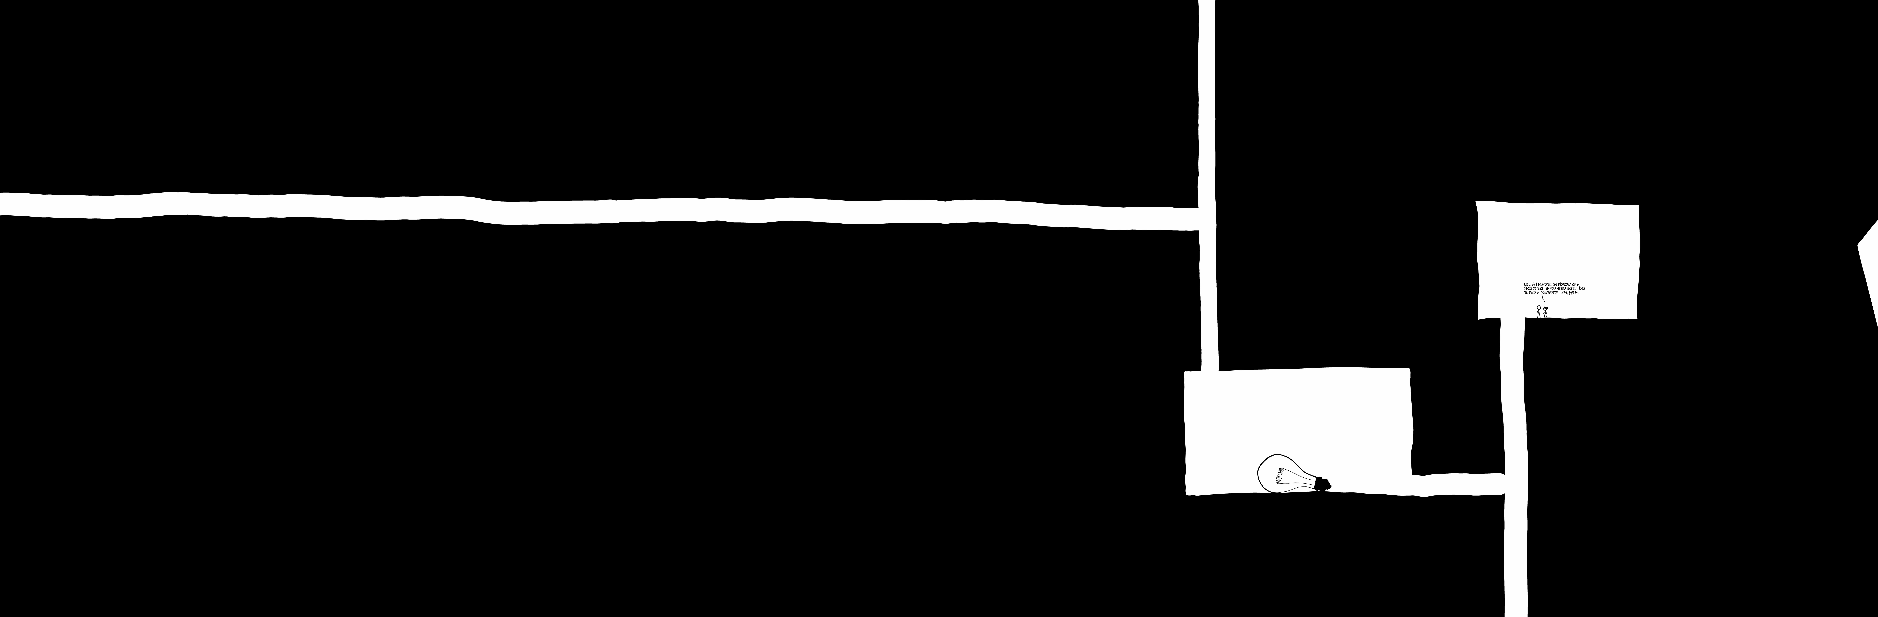
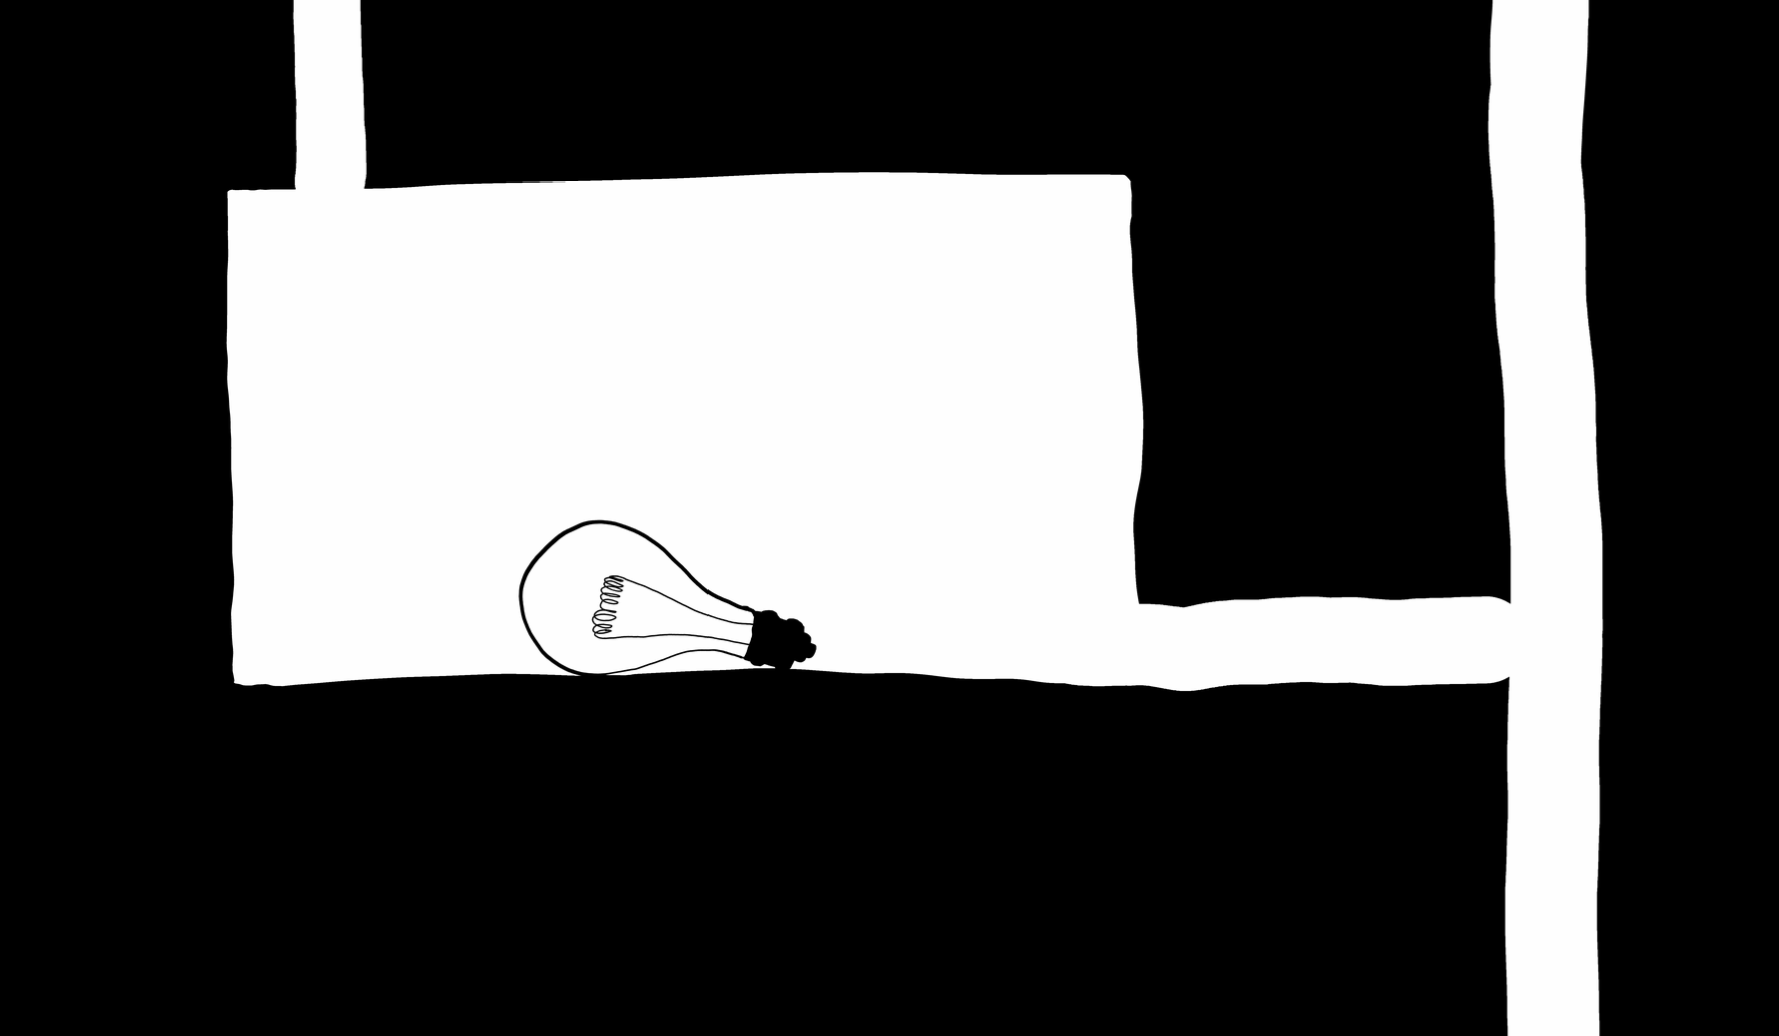
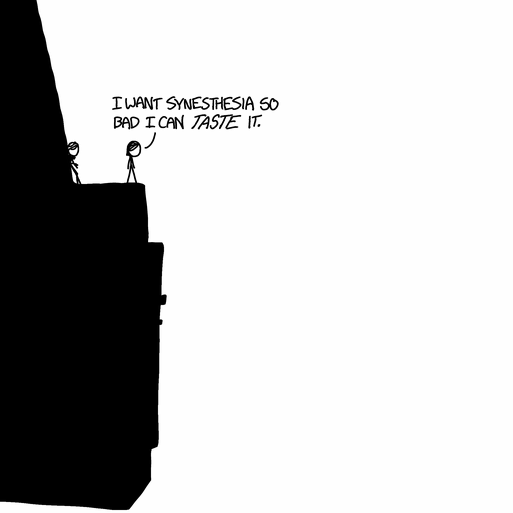